How to Connect to Linux VPS from Windows

 6m
6m
 0 comments
In this title, we are going to provide an easy tutorial on How to connect to Linux VPS from Windows. As you know, using a VPS provides improved security due to its ability to provide separate RAM, CPU, and storage for each user. VPS isolates the users using the same physical server. As a result, there is less traffic on your website, leading to improved performance.
Recommended service: Windows VPS
What is VPS?
To explain it simply, think of a powerful computer that is divided into smaller virtual computers. Each of these virtual machines operates like a separate machine, even though they share the same hardware. This is essentially what a VPS is.
In summary, a VPS provides a powerful and secure hosting solution. You have more control over it, and it is very flexible.
A Linux VPS runs explicitly on a Linux operating system, making it an excellent choice for those who want to customize their servers.
After connecting a Linux VPS from Windows, you are going to be able to access and manage your remote machine.

What are PuTTY and SSH?
SSH, or Secure Shell, is a protocol used for securely connecting to another computer over a network. PuTTY is an SSH client, which means that it is software that promotes this connection. Essentially, it acts as another computer terminal that allows you to input commands and interact with a remote computer. However, it’s important to note that SSH is not the only protocol supported by PuTTY.
In this tutorial, we will use PuTTY due to its security, stability, and user-friendly interface.
Requirements
- PuTTY
- IP Adress
- Internet connection
5 steps to Connect to Linux VPS from Windows
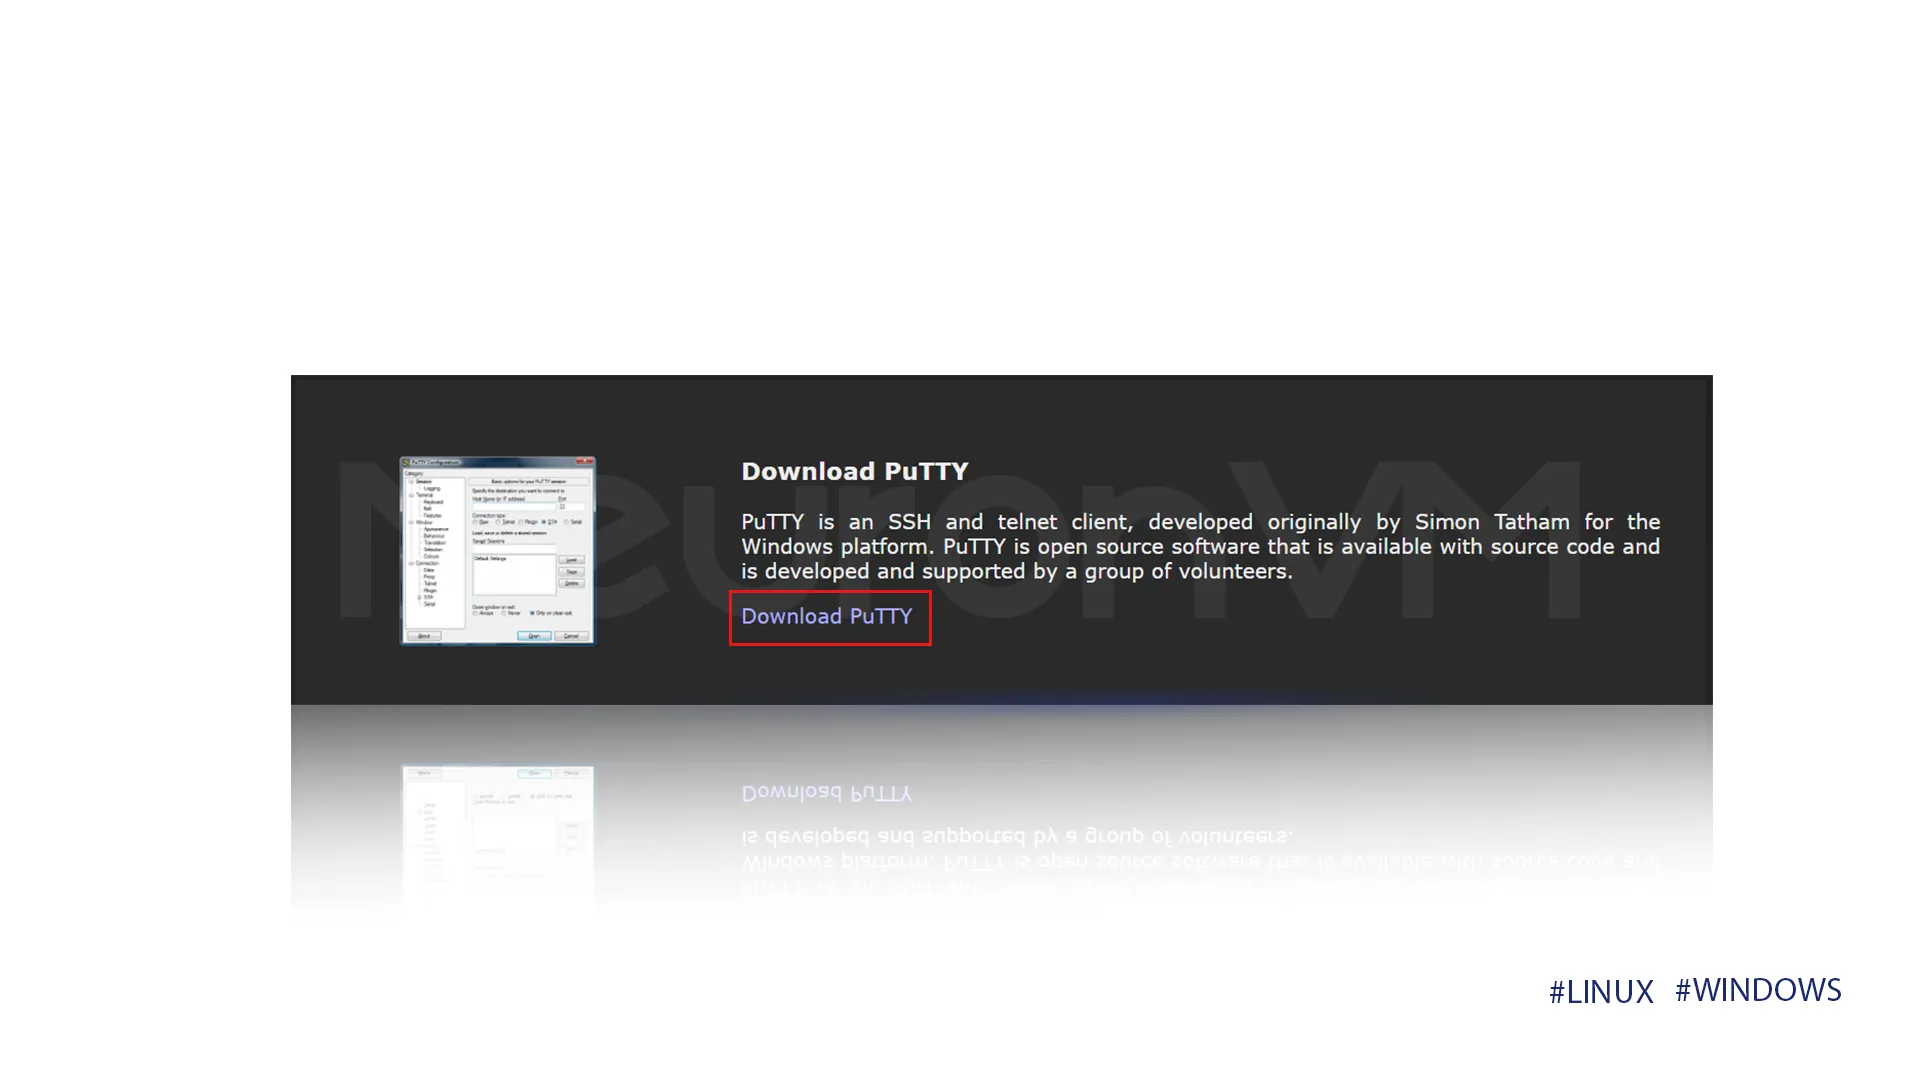
Step 1) The first thing you want to do is download and install the PuTTY terminal in your Windows system. It’s best to download it from their main website.
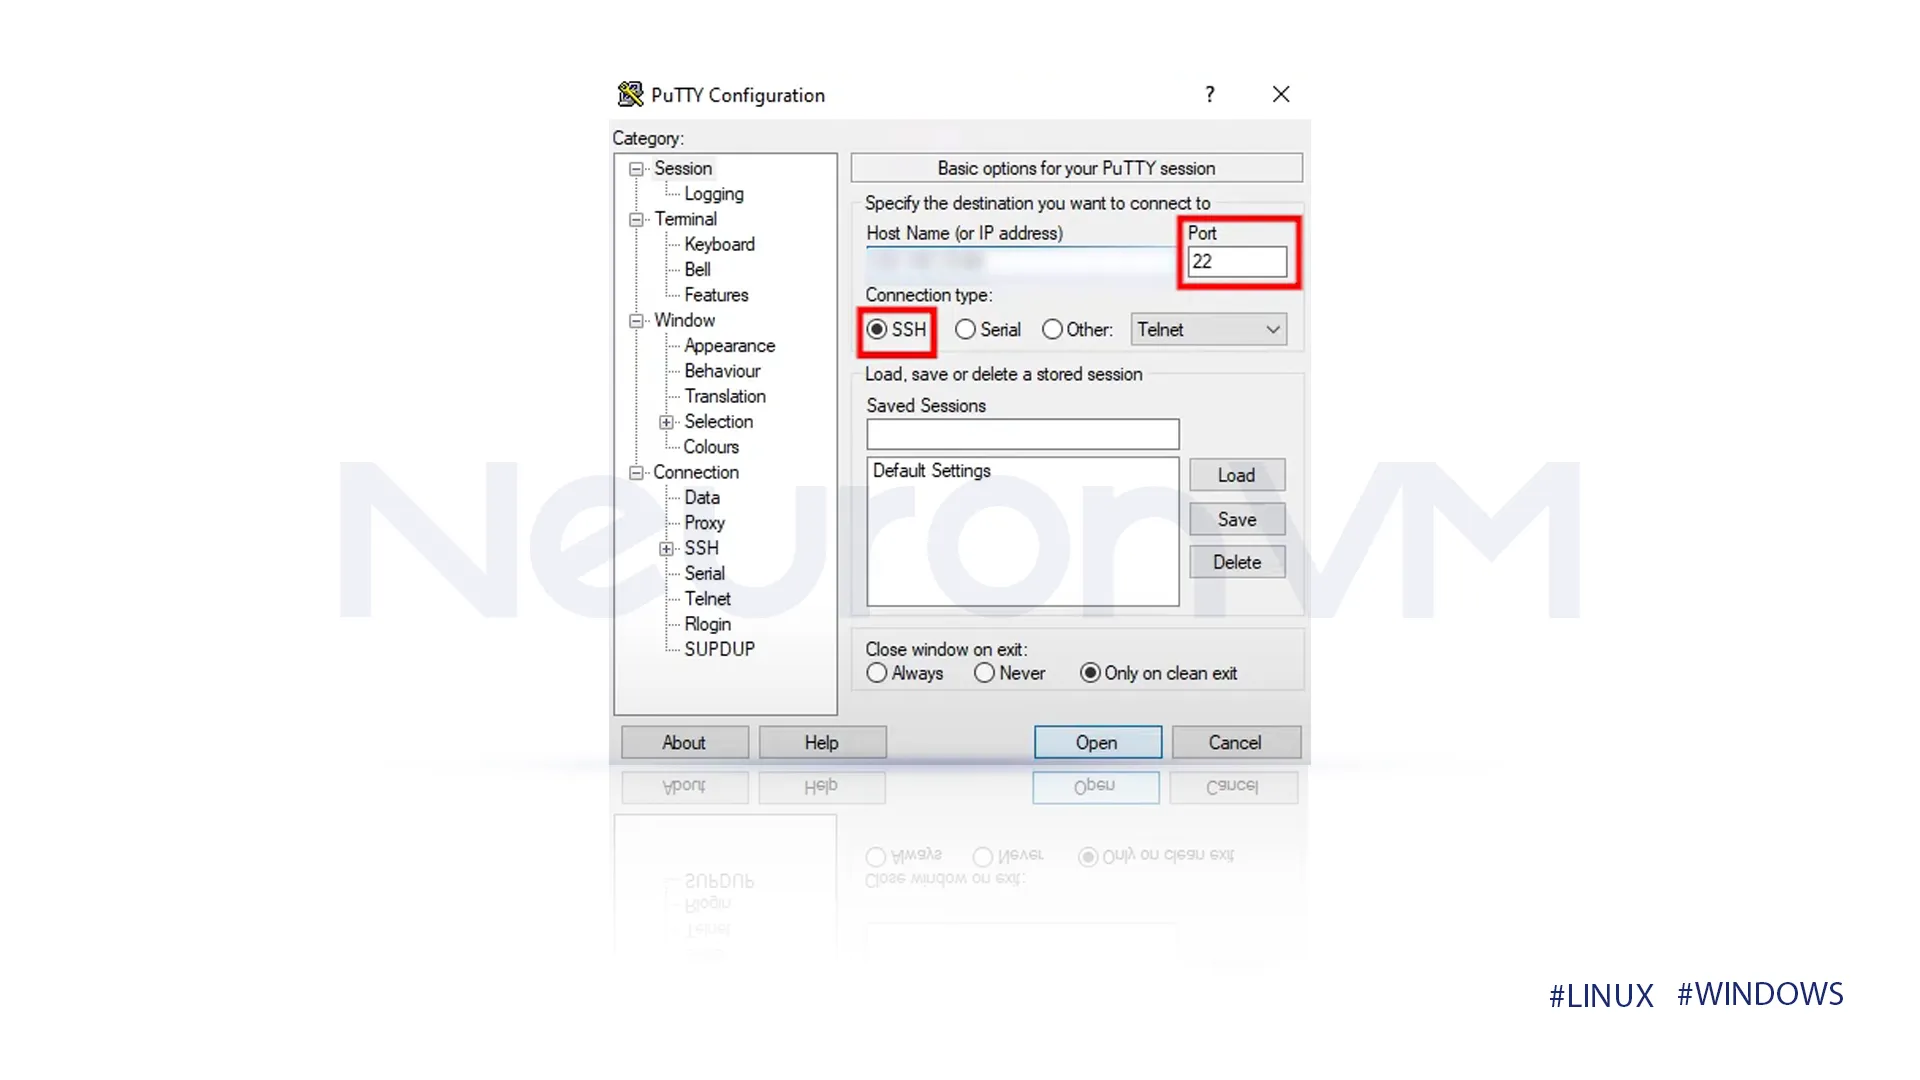
Step 2) After installing PuTTY, open it on Windows. Then, enter the IP address of your VPS or server in the hostname field. Ensure the port is set to 22, and select SSH as the connection type.
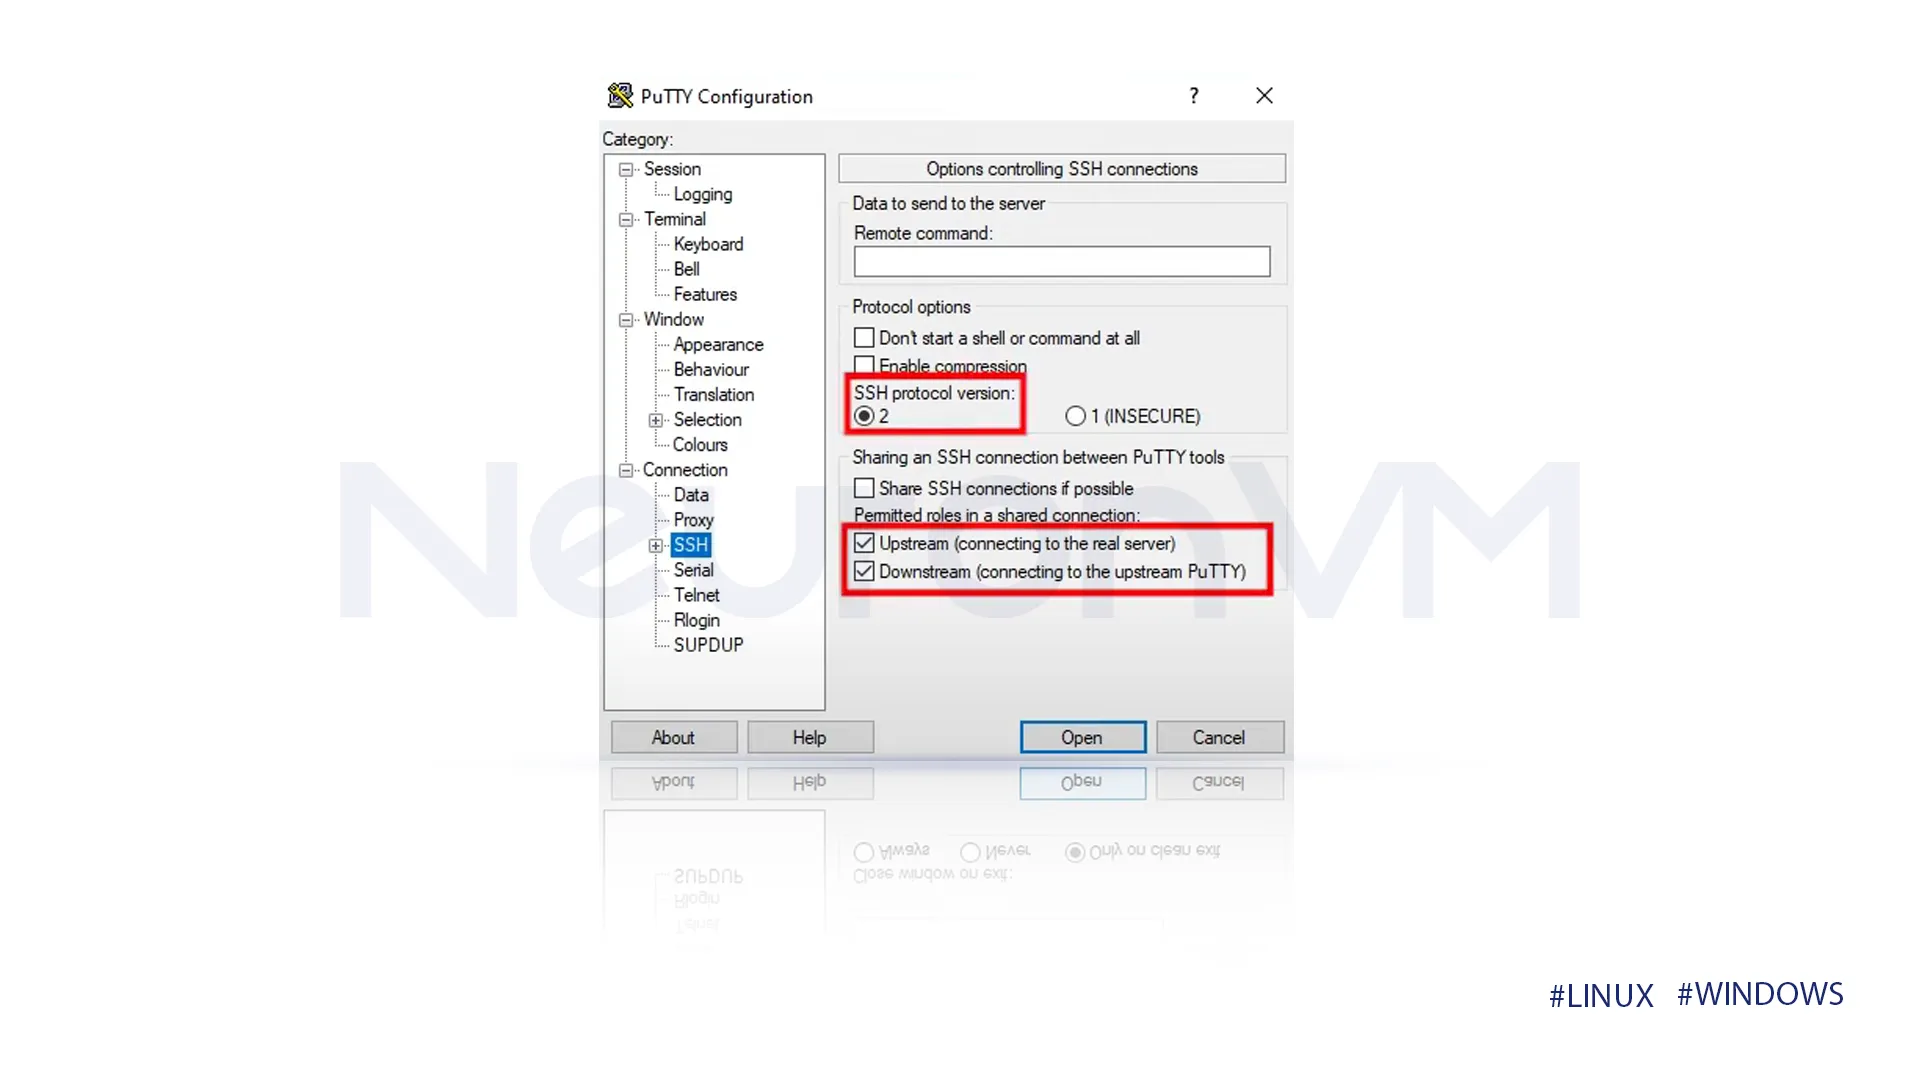
Step 3) Set the SSH protocol version to 2 and select the two permitted roles for a shared connection.
Step 4) After clicking open, a login message will appear. You should first enter your SSH username, then your password, and finally press Enter.
Note: No characters will appear on screen as you type due to security reasons.
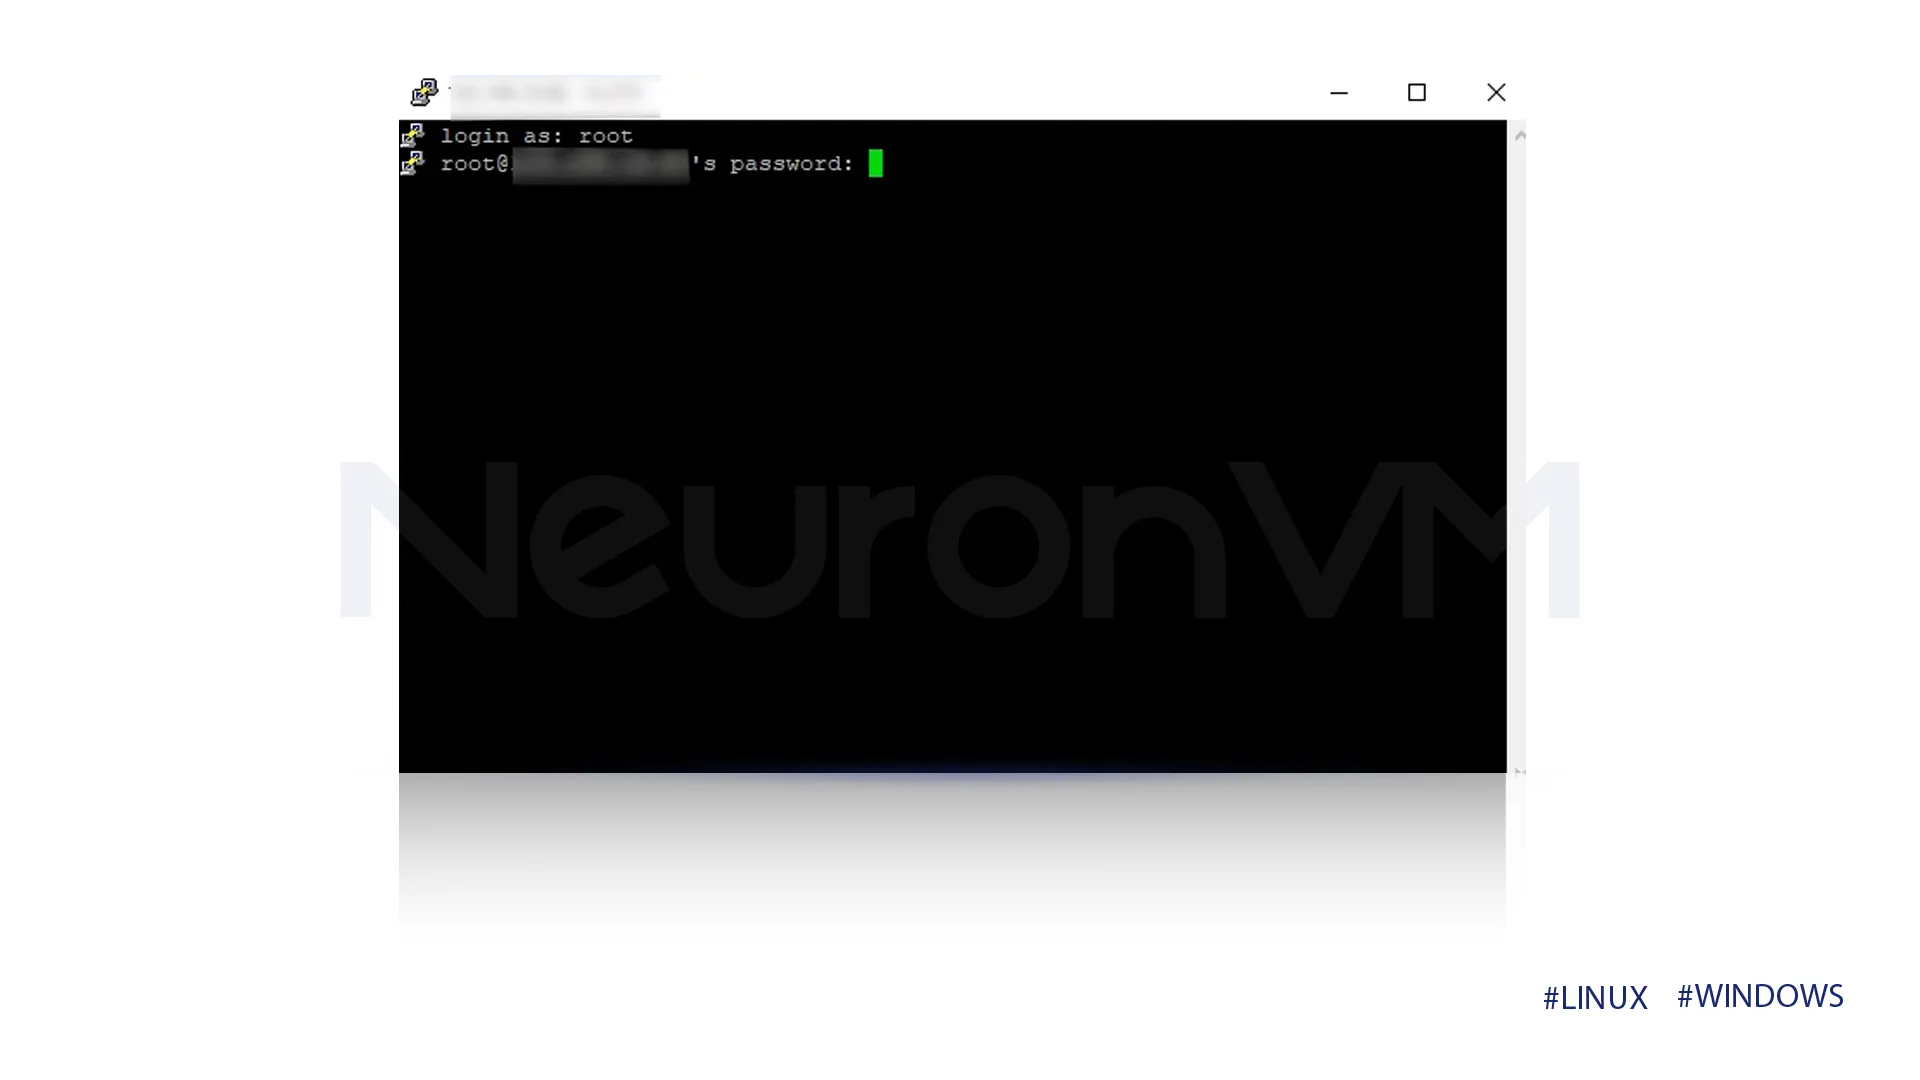
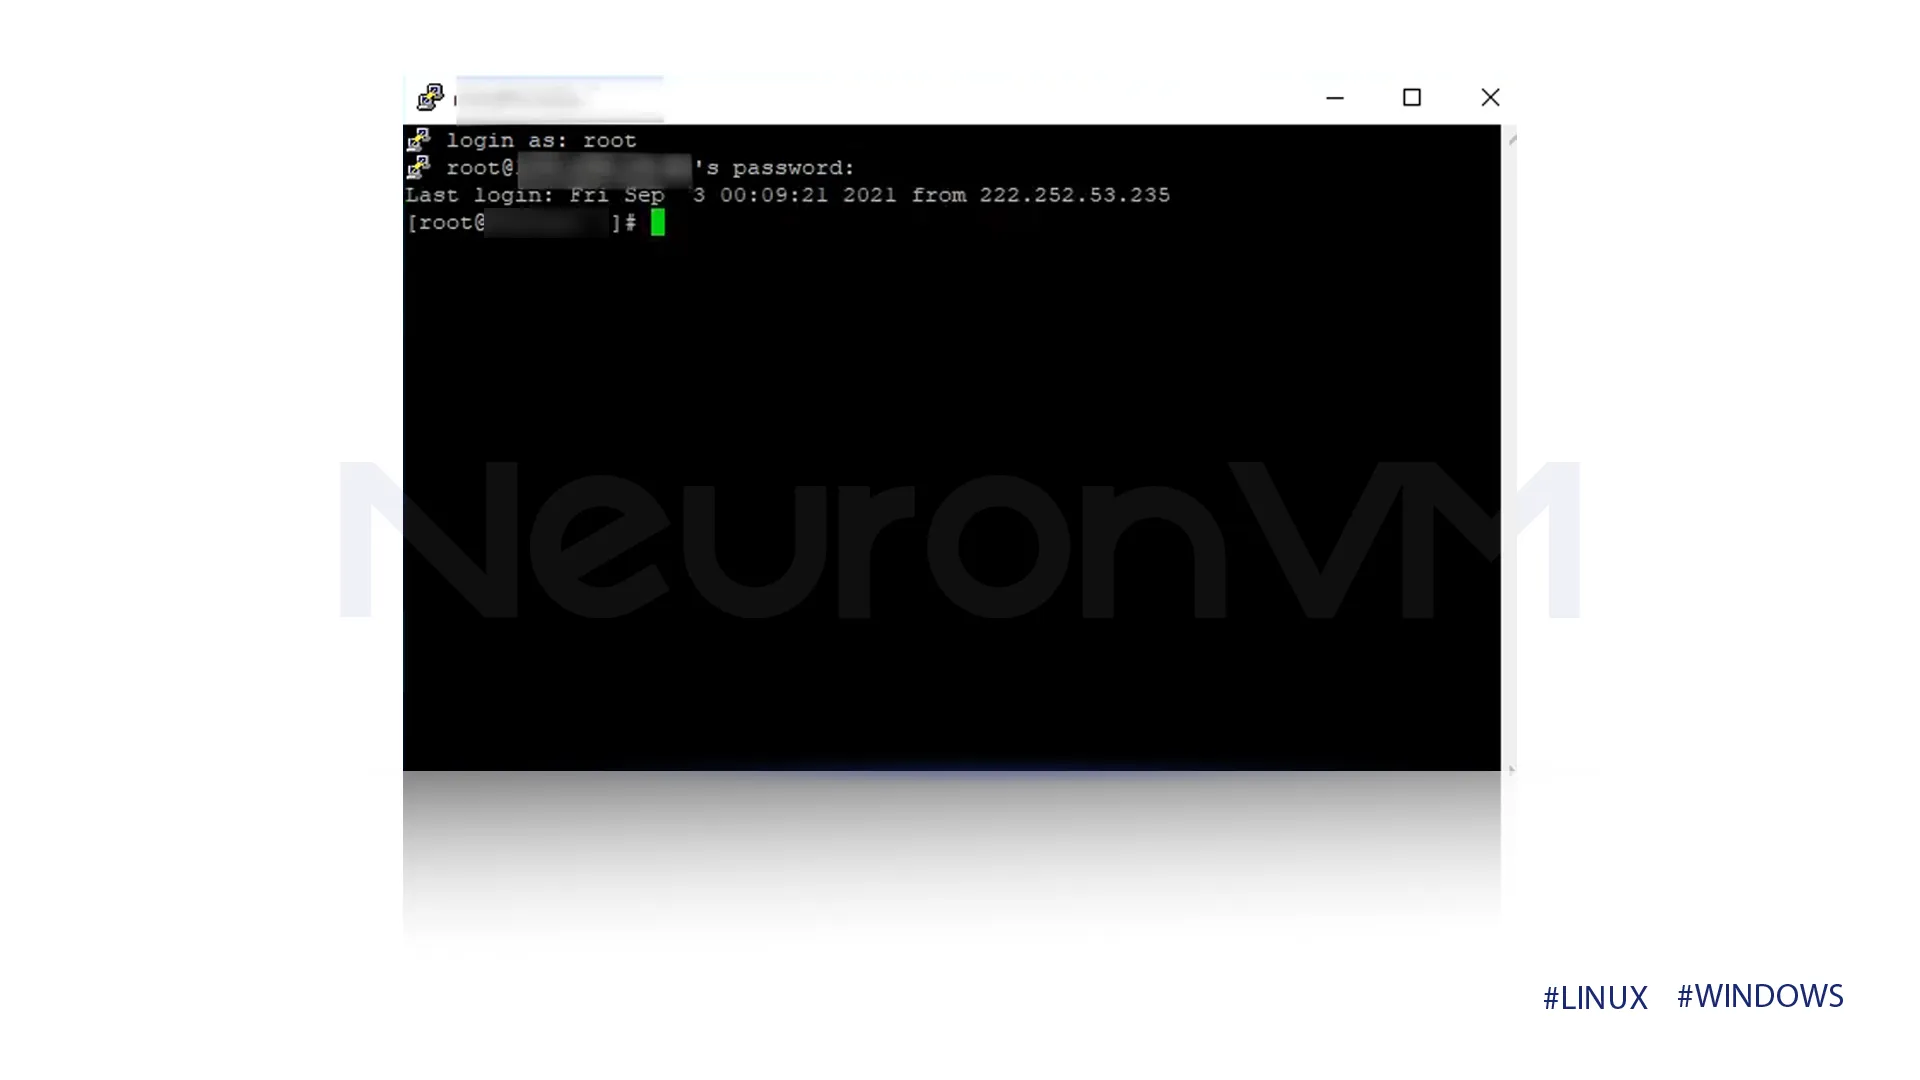
Step 5) Next, a command window will be launched where you can type your Linux commands, which will execute on a server.
Conclusion
In this tutorial, you learned about Virtual Private Servers (VPS), as well as the SSH and PuTTY tool, and also how to connect to a Linux VPS from a Windows computer. We offered a simple, five-step guide that can be completed in just a few minutes. We understand that navigating your VPS can be challenging. With our step-by-step instructions, you’ll find it easy to connect and run your commands, making the process smoother for you. If you found this tutorial helpful, please let us know in the comments below!
You might like it


