


How to Install Windows on Mac with Boot Camp

 10m
10m
 0 comments
 Print
Print
Many Mac users sooner or later reach a point where they realize that they can’t do everything with macOS alone; some specialized software only runs on Windows, some games don’t have a Mac version, and sometimes a work or academic environment is only compatible with Windows. This is where installing Windows on a Mac becomes a real necessity, not just a choice. I speak from personal experience: the first time I wanted to install Windows on a Mac, I thought my system was going to crash, or I would have to go through a complicated process. But Boot Camp is made for exactly that; so that you can have Windows alongside your main operating system without any hassle, without removing macOS, and without the risk of losing data. In this guide, you are not going to see just a dry tutorial. I have explained all the steps in such a way that even if you have no previous experience, you can safely install Windows on Mac and end up with a professional dual system that has both the power of macOS and the flexibility of Windows.
Things to Consider Before You Start Installing Windows on Mac
When it comes to installing Windows on your Mac, many people think it’s just a simple installation, but the truth is that it’s like “two operating systems on one machine,” and if you’re not prepared beforehand, you might get confused in the middle of the process. Here’s the important thing: You’re not going to erase macOS. Boot Camp creates a separate space for Windows, this means that Windows and Mac will be on your machine at the same time, and you can choose which one to log in to each time you turn on your system. If your Mac is low on SSD storage, you need to be realistic right now. Windows take up more space than you think.
Steps to install Windows on Mac with Boot Camp in simple language
Step 1: Download the Windows 10 installation file
At this stage, you need to prepare the main Windows installation file. This file is provided in ISO format and contains all the files necessary to install Windows. Be sure to download the official version of Windows 10 (multi-edition) so that it is fully compatible with Boot Camp.
Save this file to a place on your Mac where you can easily access it.

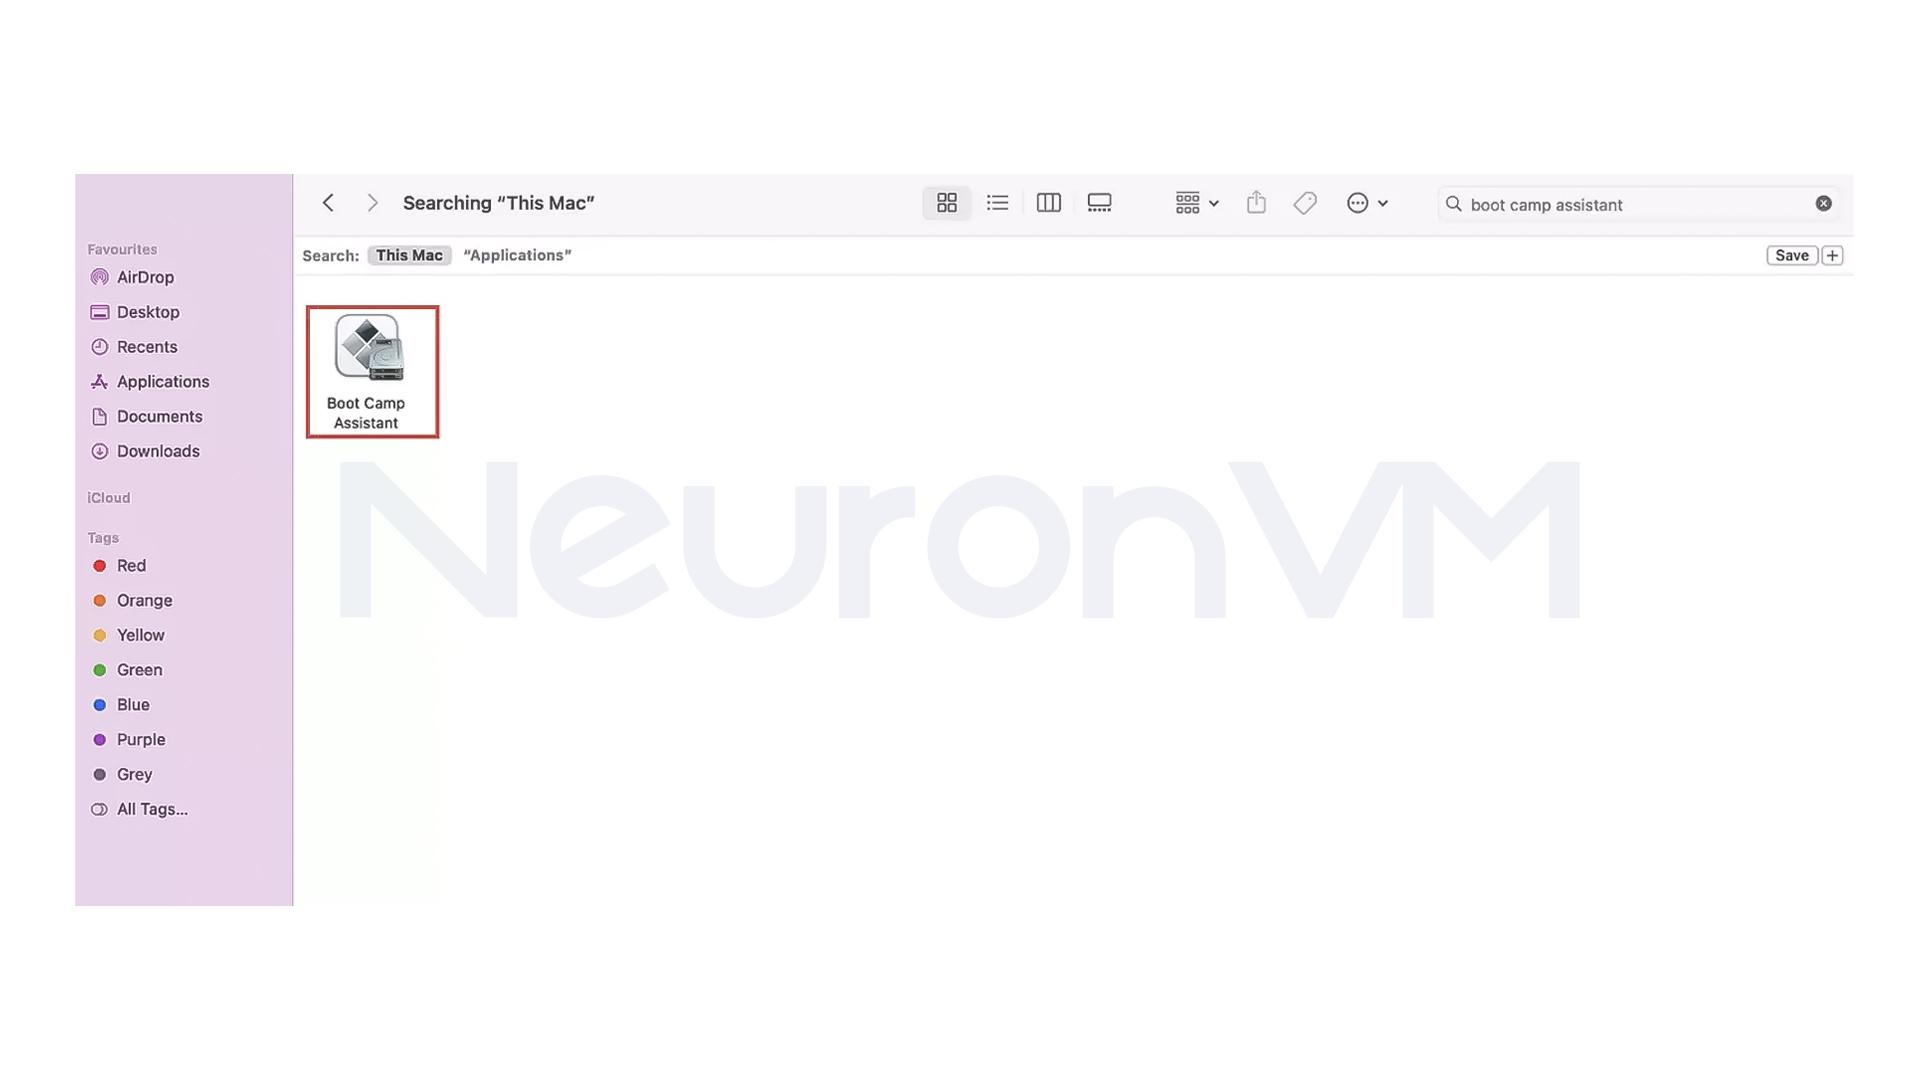
Step 2: Run Boot Camp Assistant
Boot Camp Assistant is a tool that comes pre-installed on Macs and is responsible for preparing the system for installing Windows.
After running it, you need to select the Windows ISO file and specify the amount of space you want to allocate to Windows. It is recommended that you choose no less than 60 GB to 80 GB so that you do not run out of space later. At this point, Boot Camp will automatically partition the hard drive.
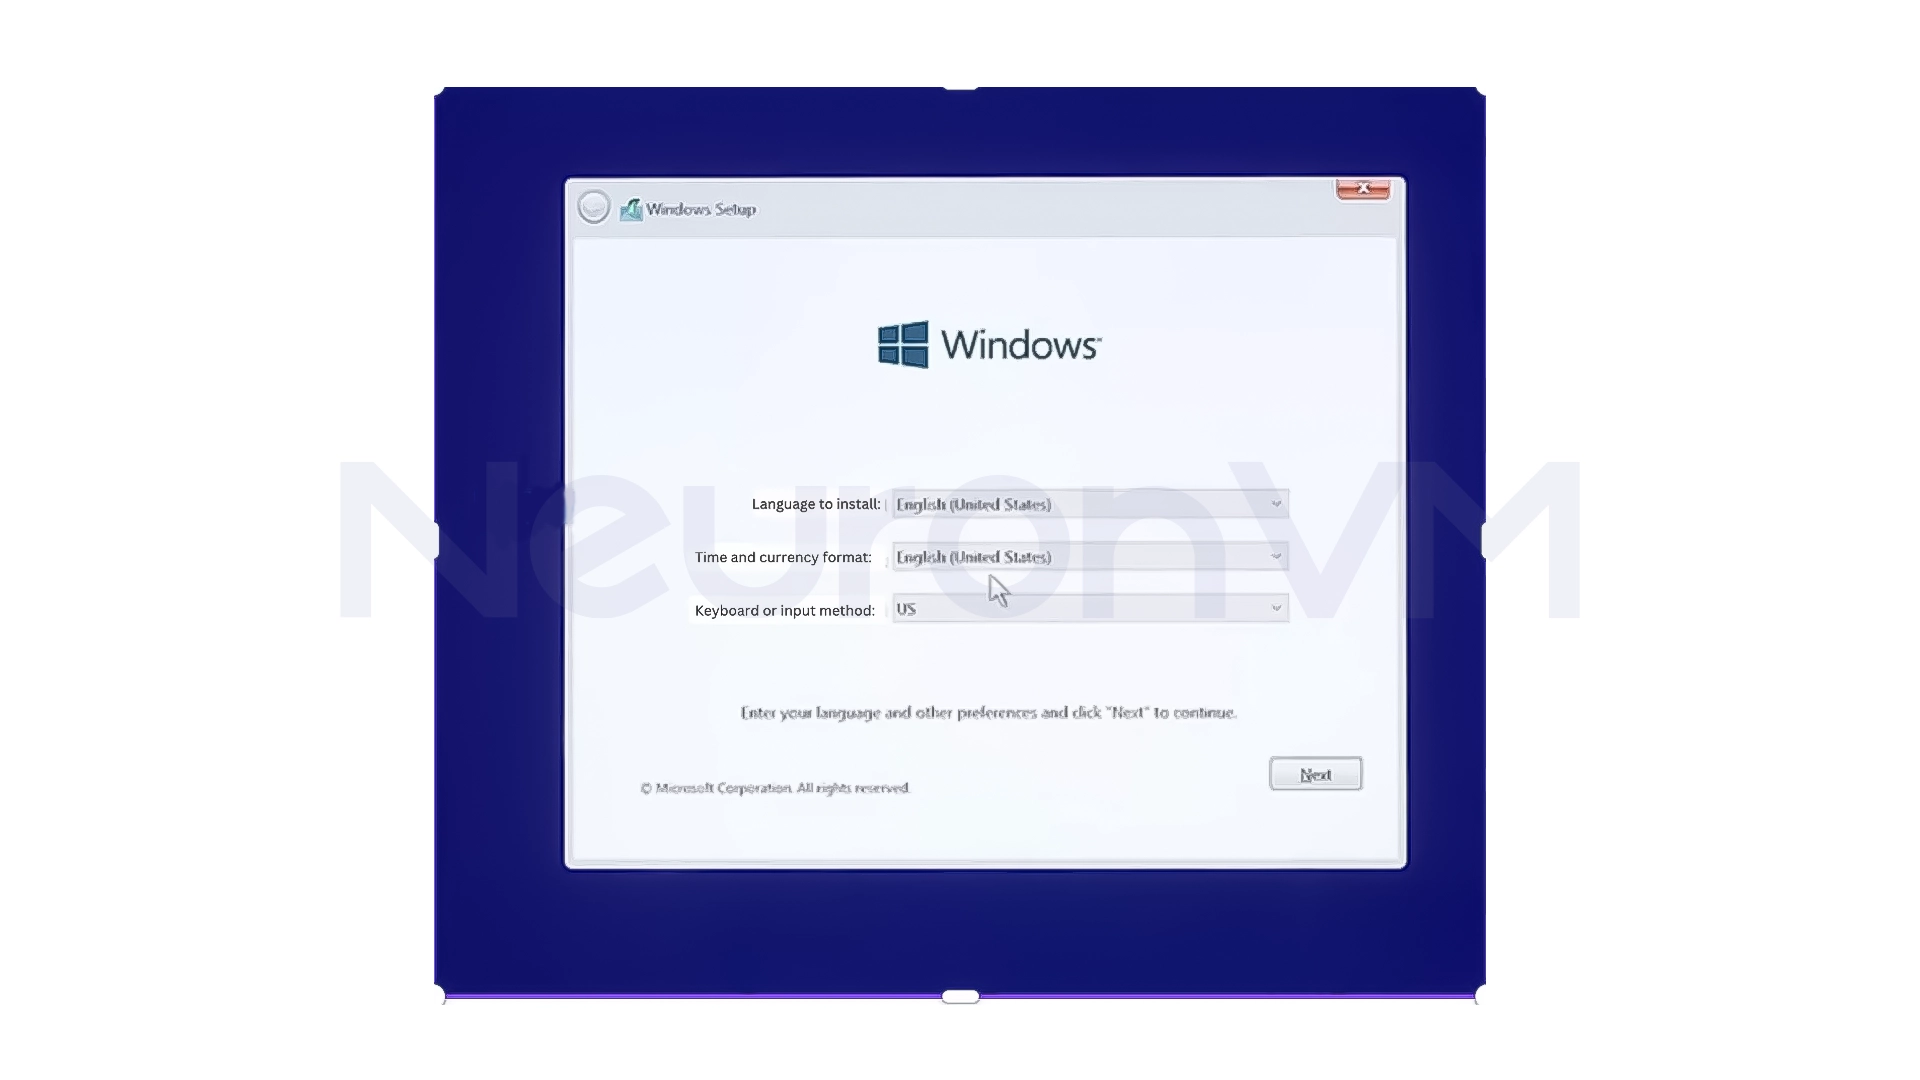
Step 3: Install Windows on the Boot Camp Partition
After partitioning is complete, your Mac will automatically restart and enter the Windows installation environment. On this screen, you will need to select your language, time zone, and keyboard. When you reach the storage selection section, select only the drive labeled BOOT CAMP. This will ensure that Windows is installed exactly in its own space and that macOS is not affected.
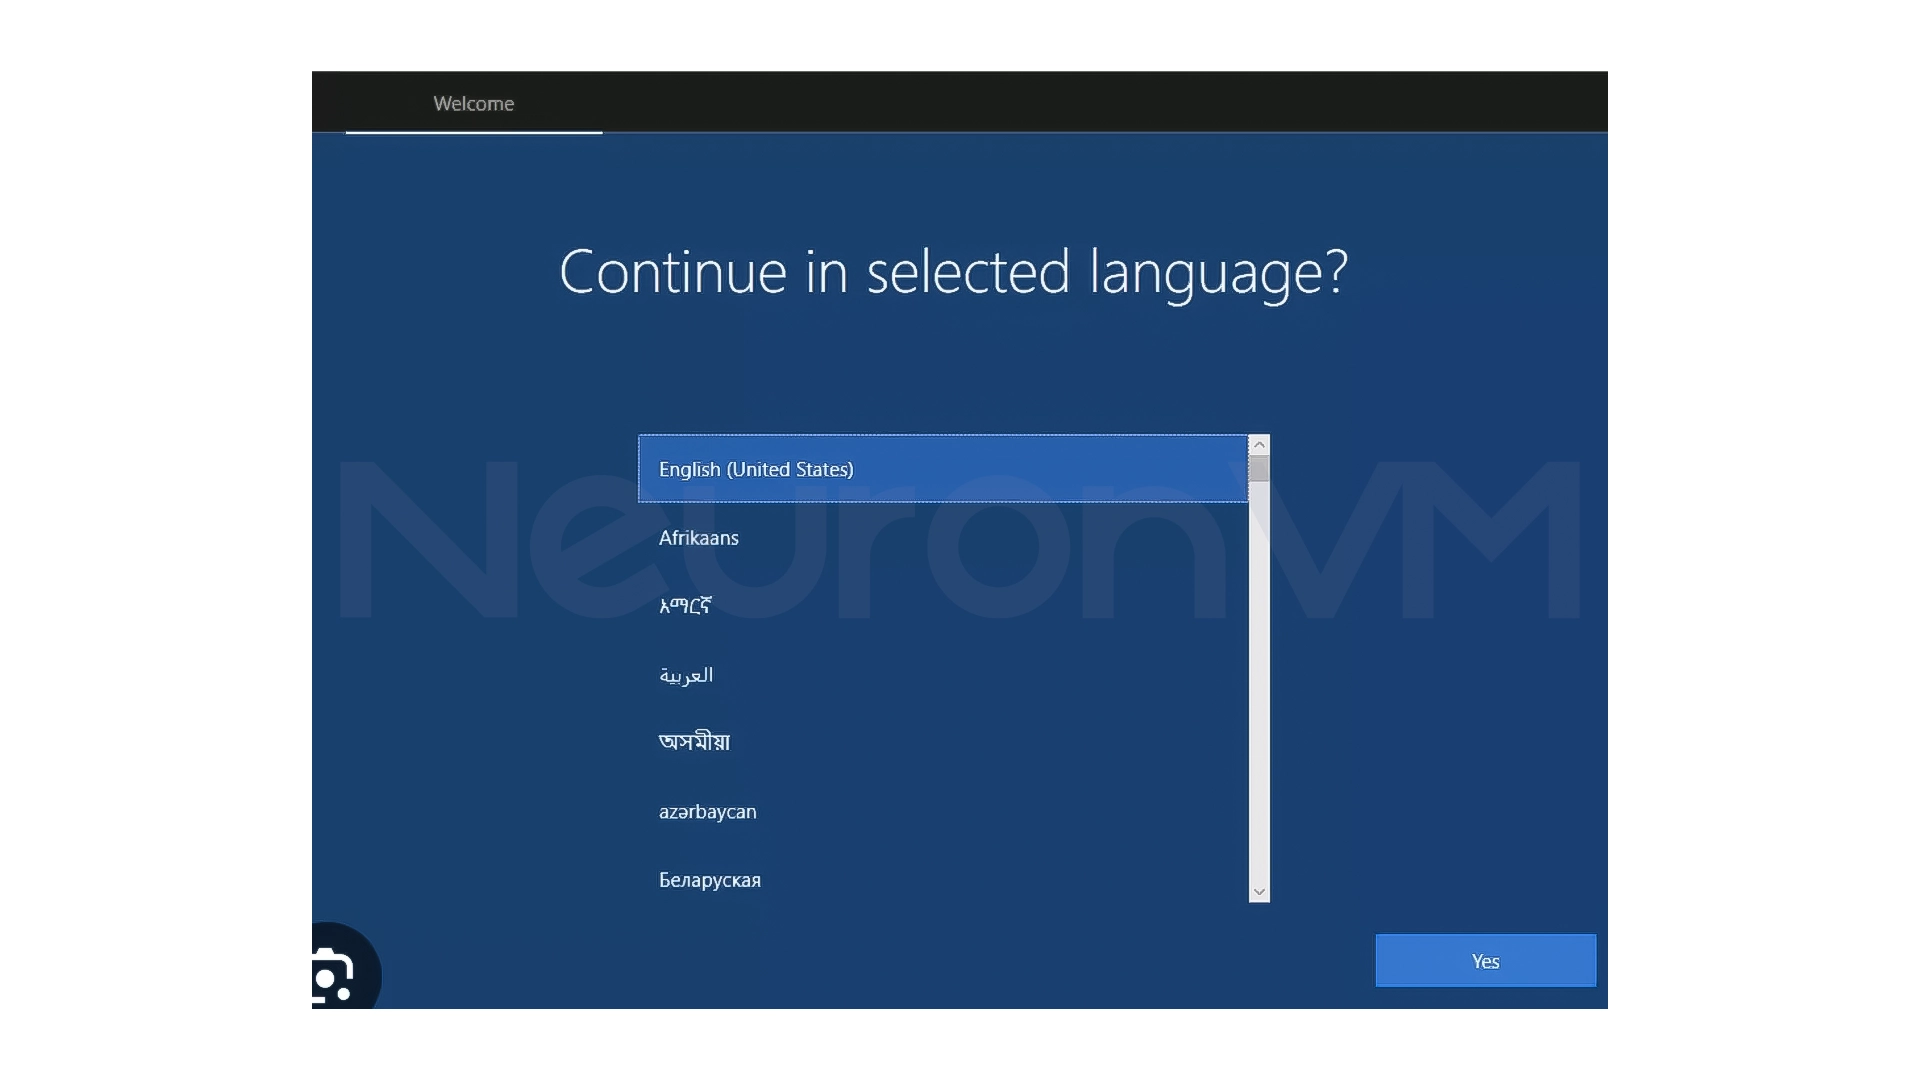
Step 4: Perform initial Windows setup
After installation, the system will restart, and you will enter the initial Windows setup phase. In this section, you need to specify the following:
- System language
- Country
- Keyboard type
- Wi-Fi connection
Then you will log in to your Microsoft account or create a new account and set a password or PIN for the system.
Step 5: Automatically Install Boot Camp Drivers
After you’ve fully entered the Windows environment, the Boot Camp tool will automatically launch and begin installing drivers.
These drivers will allow your Mac’s audio, Wi-Fi, touchpad, graphics card, and other components to work properly in Windows. Be sure to wait until all drivers are installed.
Step 6: Choose your default operating system
Here you can choose whether your Mac will boot into macOS or Windows by default when you start it up and If you work mostly with Windows, choosing Windows as your default operating system can save you time, you can switch between Windows and macOS at any time by holding down the Option (Alt) key when you start it up.
My Real Experience Installing Windows on a Mac
The first time I installed Windows on a Mac, I thought it would be a complicated and risky process, but in reality, everything was simpler than I expected, the biggest mistake I made was allocating too little space to Windows, and after a while, I started to experience memory problems and slow down the system, but after installation, I was very impressed with the performance of Windows on a Mac, it was fast, ran smoothly, and even ran games better than some Windows laptops I had used before.
Conclusion
Installing Windows on a Mac with Boot Camp isn’t just about “adding an operating system”, it’s about creating a dual-boot device that has the power and stability of macOS and full compatibility with Windows software, If you follow the steps carefully and allocate a decent amount of memory to Windows, the result will be a fast, stable, and fully functional system, This method is for people who don’t want to sacrifice one thing between Mac and Windows and with a proper setup, you can switch between the two worlds whenever you want and use the best features of both operating systems without any hassle, learn more about Mac on ourwebsite.
No, Using Boot Camp, Windows and macOS are installed side by side, and your macOS will not be removed.
No, You can install Windows without entering a license, but for full activation, it is best to have a valid license.
Yes, You can choose which operating system you want each time you turn on your Mac.
You might like it

Fedora Tutorials
How to Install and Configure Gradle on Fedora 33

Linux Tutorials
How to Uninstall Kernel From Linux

Linux Tutorials
How to Install MS-DOS on VMware