How to Install Postfix Mail Server on Ubuntu 20.04


 Study duration :
12 Minutes
Study duration :
12 Minutes
 0 Comment
In this article, I am going to show you step by step how to install and configure Postfix Mail Server on Ubuntu 20.04 so that you can have a functional mail server very quickly. Whether for personal use or for professional work.
For weeks, I struggled with multiple Postfix installation attempts on Ubuntu 20.04. After several crashes and retries, I finally found a reliable method and wrote this guide based on that experience. If you are a Linux user, you are probably familiar with the name Postfix. Because it is truly one of the most popular and reliable mail servers. Statistics also show that about 25% of public email servers on the Internet are running Postfix. The reason is clear: it is lightweight, secure, flexible, and has worked for many small and large projects.
Step-by-Step Guide to Install Postfix Mail Server on Ubuntu 20.04
To install Postfix on Ubuntu 20.04, follow these steps. We will launch the terminal on Ubuntu 20.04 and update the system to get all the new packages and updates ready. To do this, type the following command in the terminal and then press Enter:
sudo apt update
After successfully running the above command, type the following command in your terminal and then press Enter:
sudo DEBIAN_PRIORITY=low apt install postfix
Here, DEBIAN_PRIORITY is an environment variable that allows us to configure additional options with regular Postfix installation. These options appear in the terminal as notifications or dialog boxes that allow us to choose from the given options.
How to Configure Postfix on Ubuntu 20.04
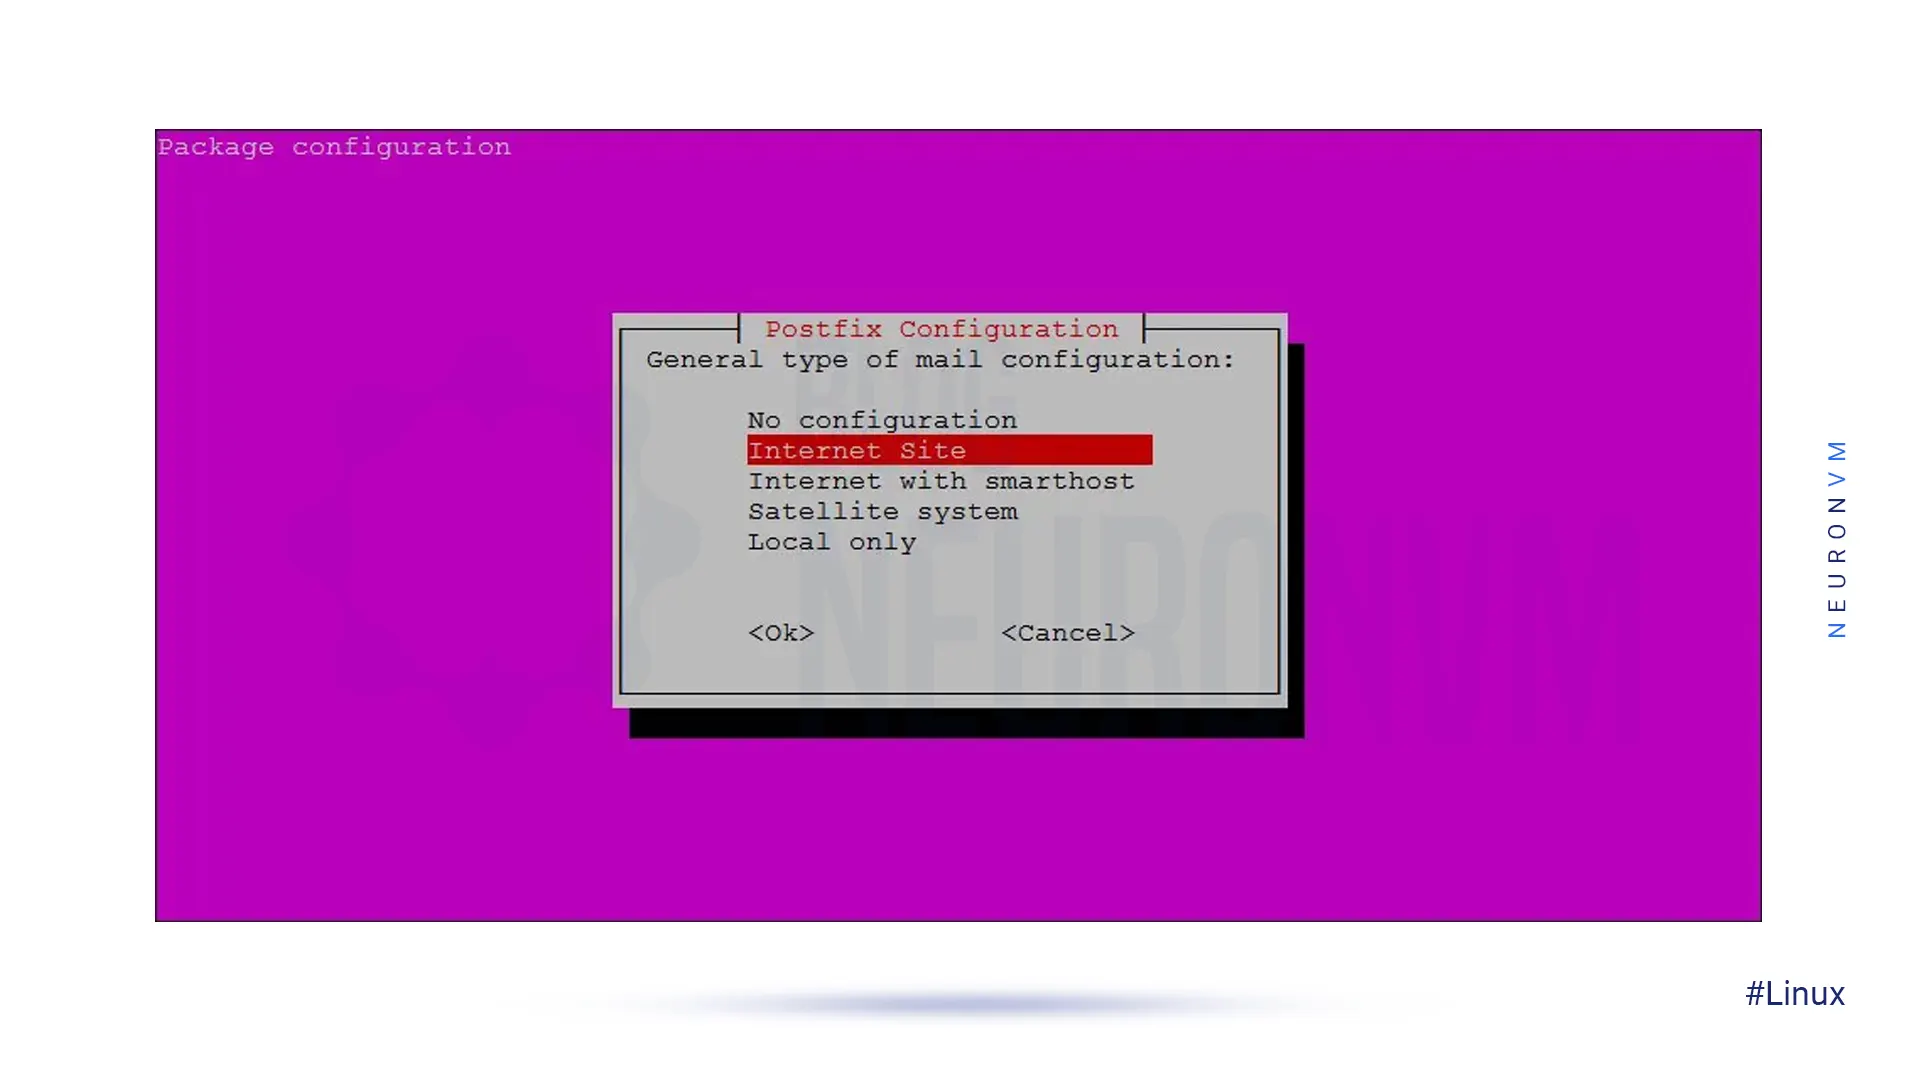
As soon as we press the Enter key to start the Postfix installation process, different types of email server configurations are displayed. Press the Enter key to continue as shown below:

In the Mail Server Configuration page, select the Internet Site option and press Enter. This option means your server will send emails directly, which is the best choice if you already have a domain with proper DNS records (MX, SPF, DKIM). If you were using a third party relay like Gmail or Mailgun, you would choose Smarthost instead. But for most VPS or dedicated servers, Internet Site is the right choice.
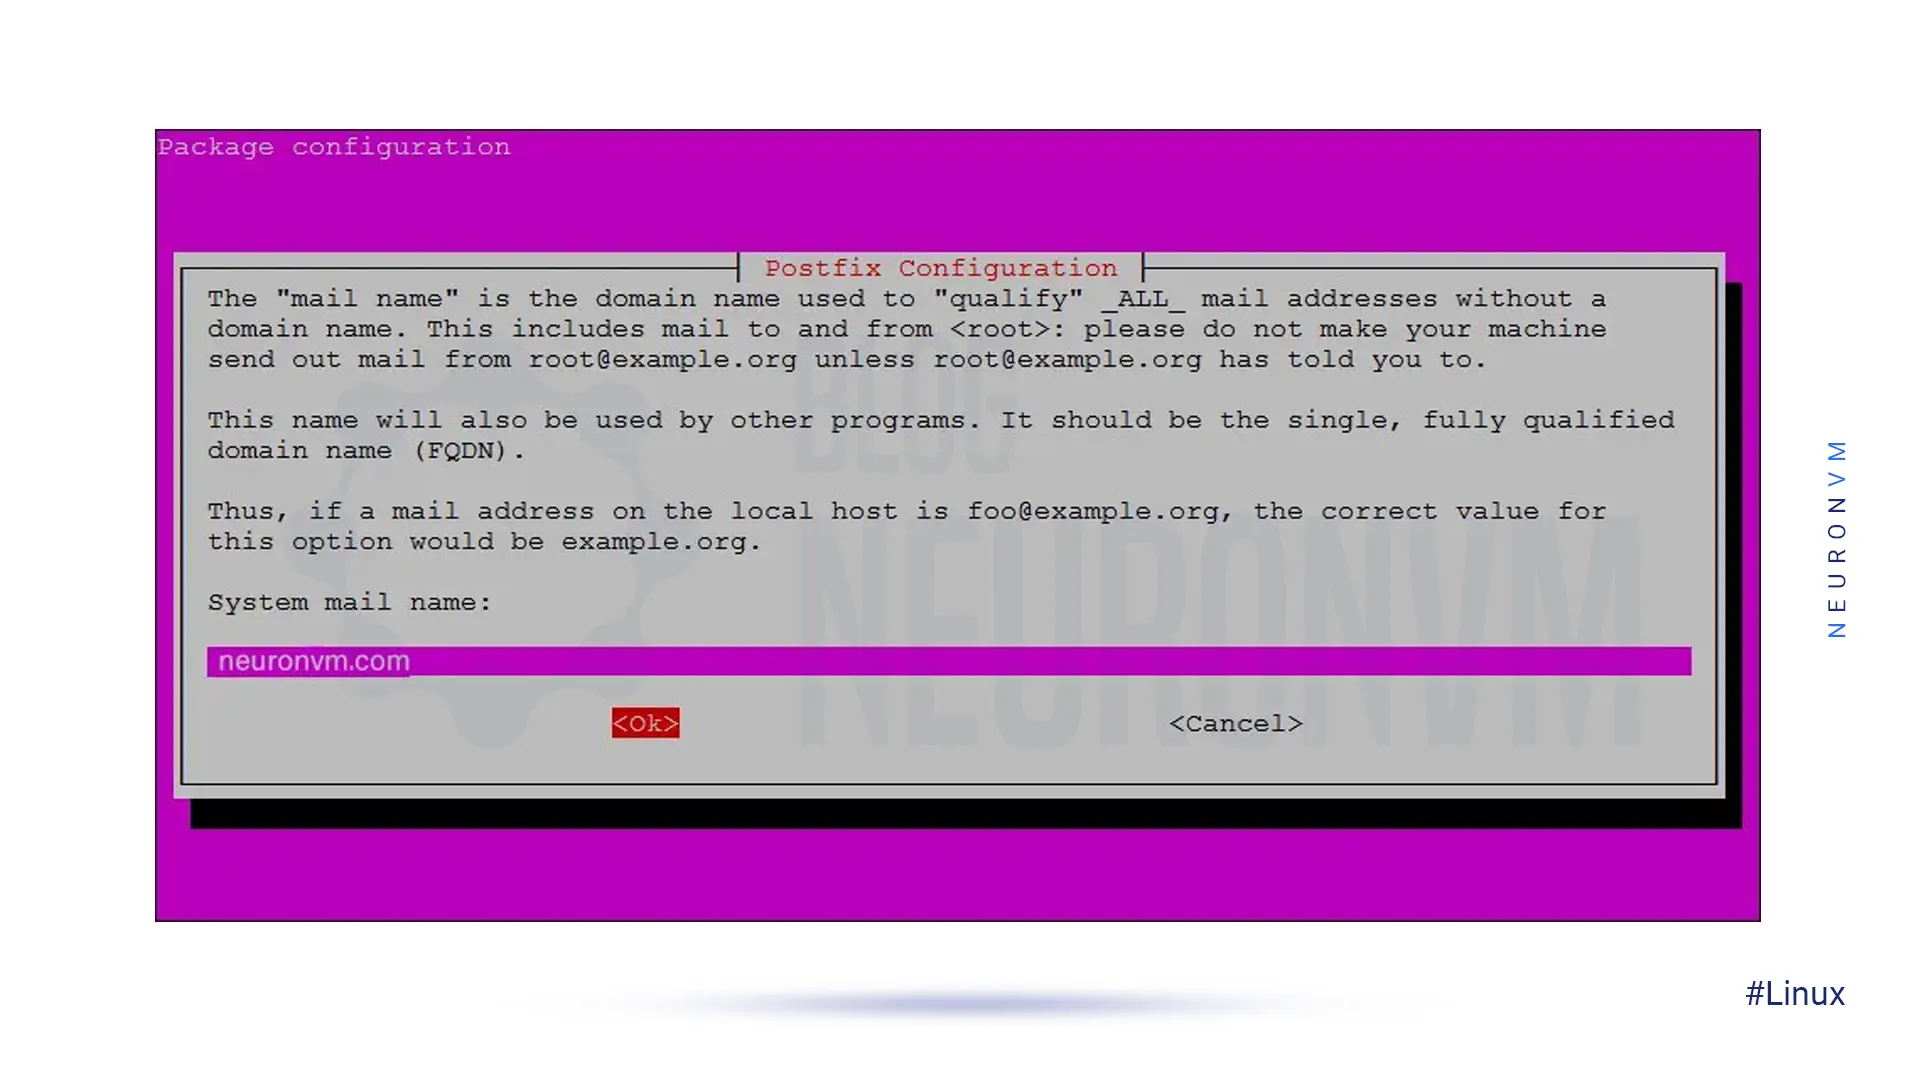
In the next step, select Fully Qualified Domain Name (FQDN) or System Mail Name. I typed my email name in the textbox and then pressed the Enter key to continue:
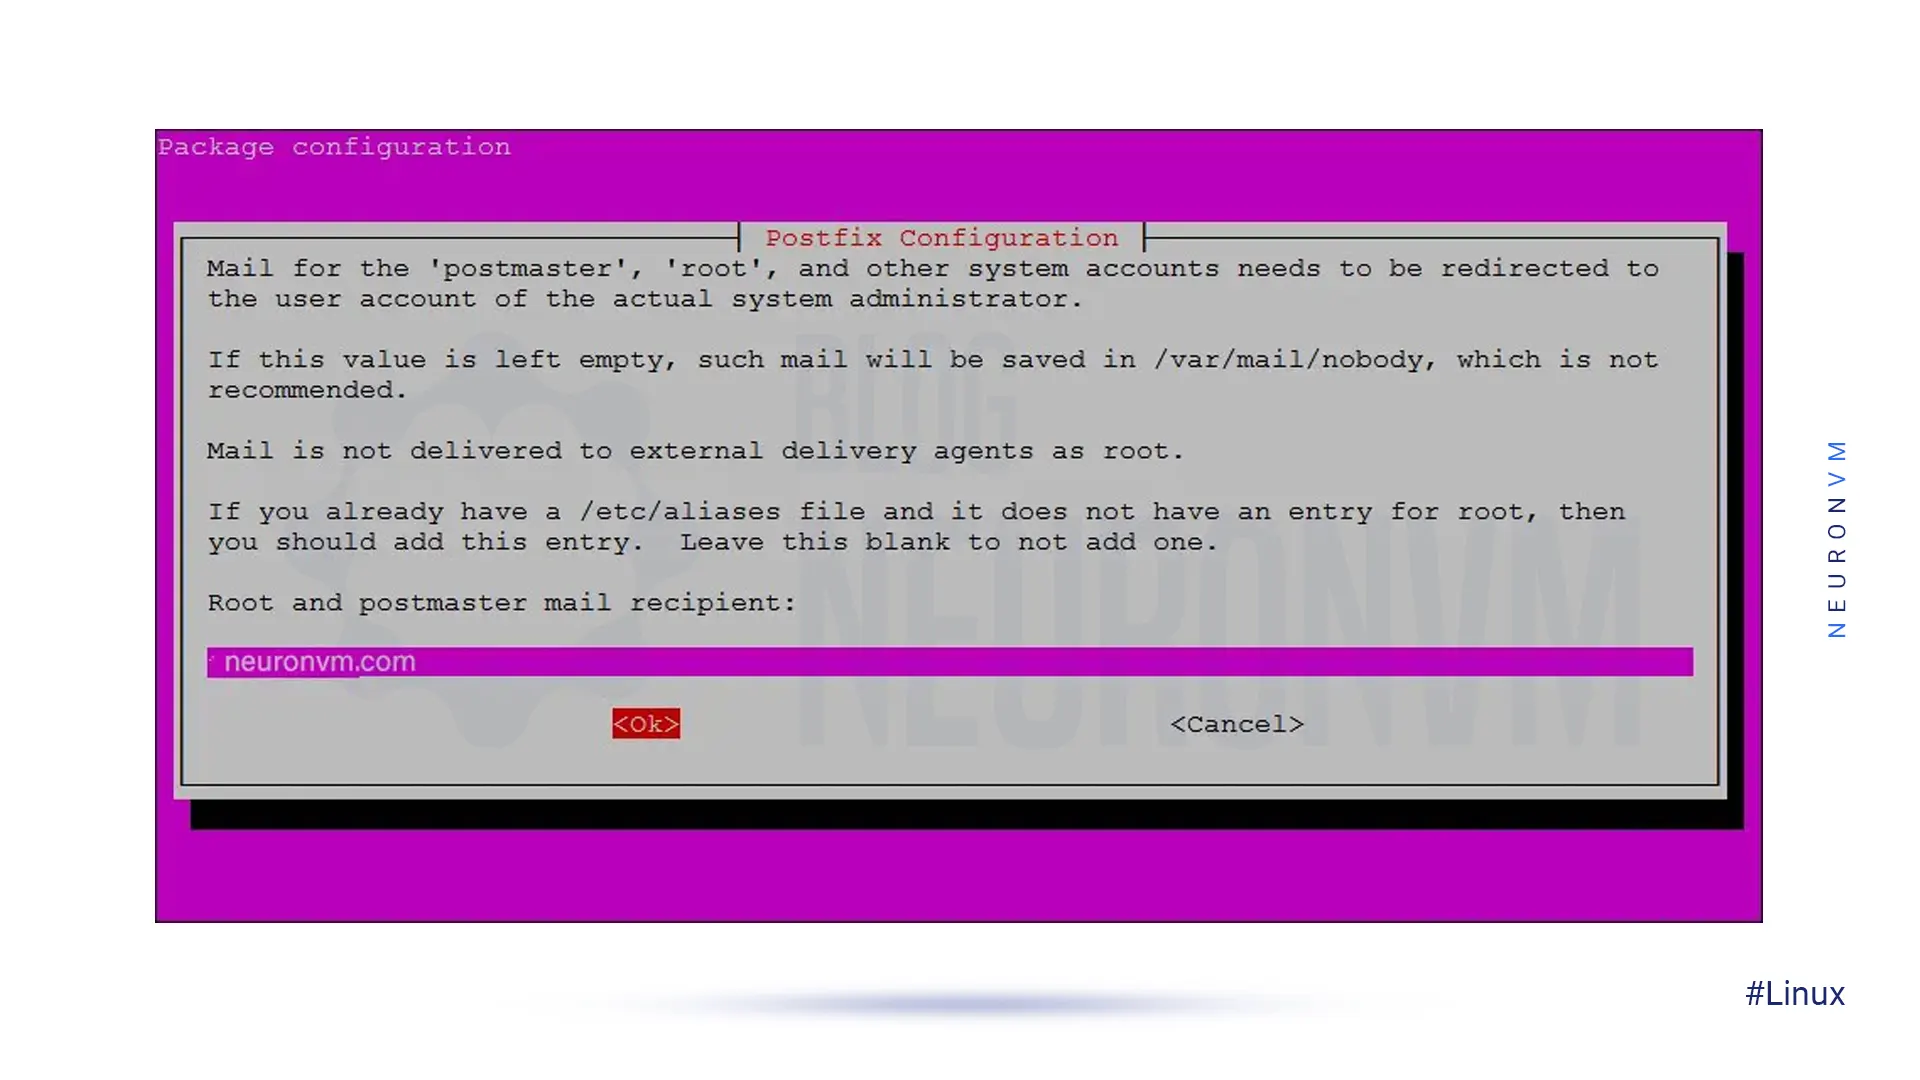
To select the Root and Postmaster Mail recipient, you can keep your original username in Ubuntu 20.04. Press the Enter key to continue:
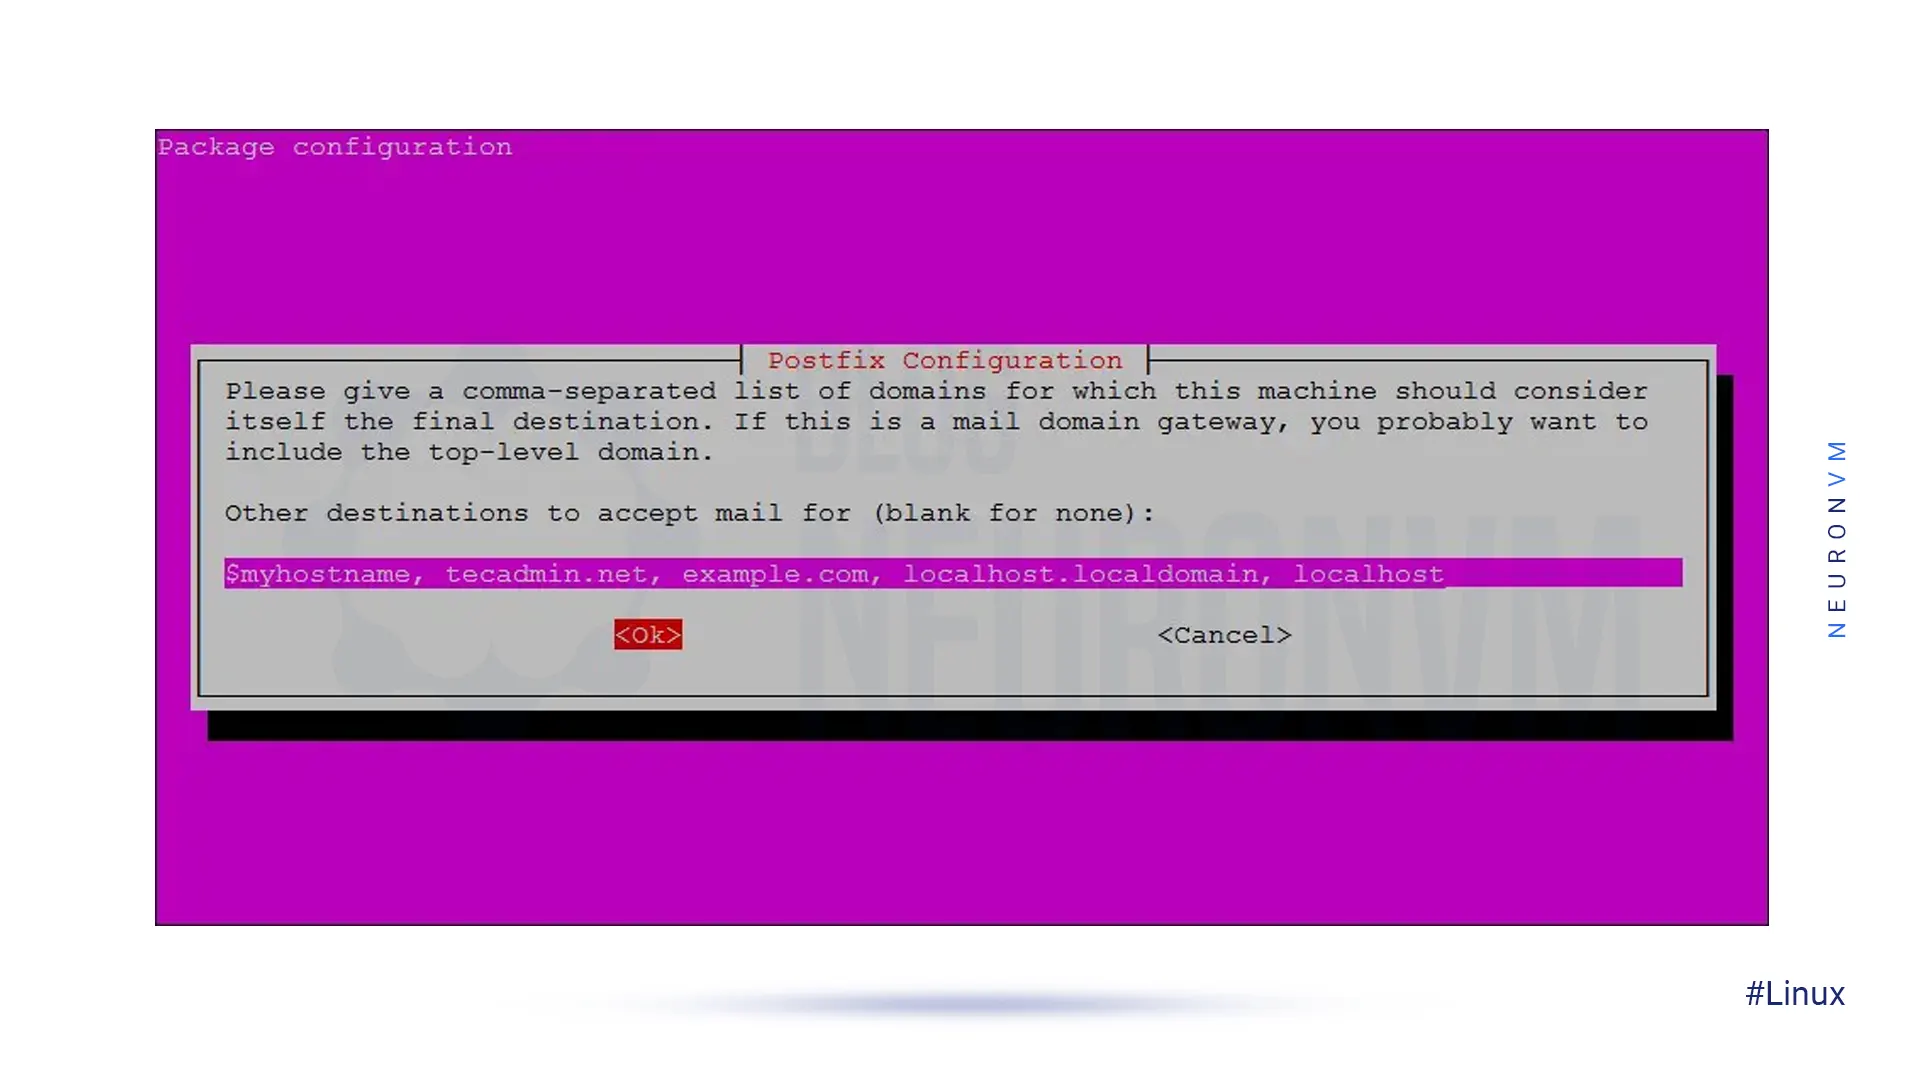
The next step is selecting all possible domains for which the email server can accept emails. You can add another domain name according to your needs. Otherwise, you can go to the default options and press the Enter key to continue:
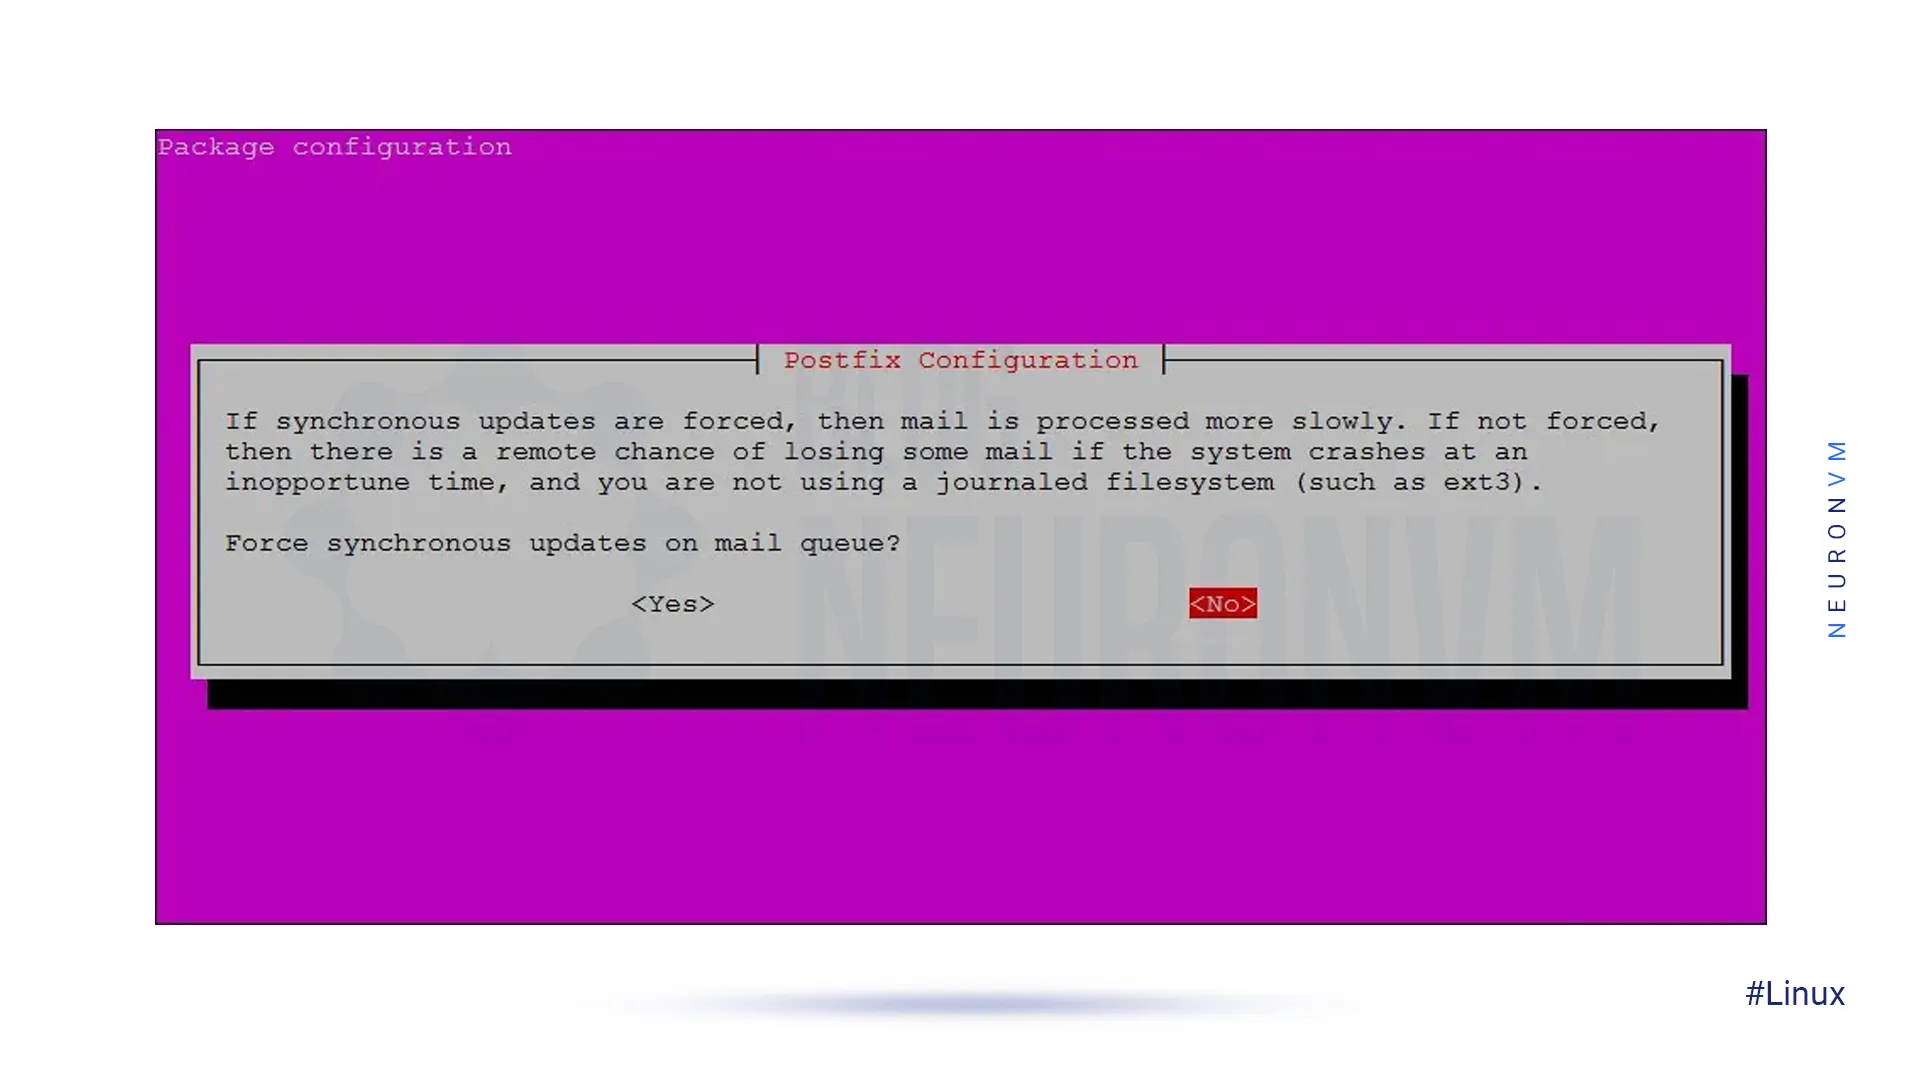
At this stage, Postfix asks whether you want synchronous updates in the mail queue. The default is No, which means the server will process emails faster without waiting for each one to be written to disk immediately. If you select Yes, it improves reliability (every email is saved before moving forward) but slows down performance. For most cases, choosing No is recommended, so just press Enter:
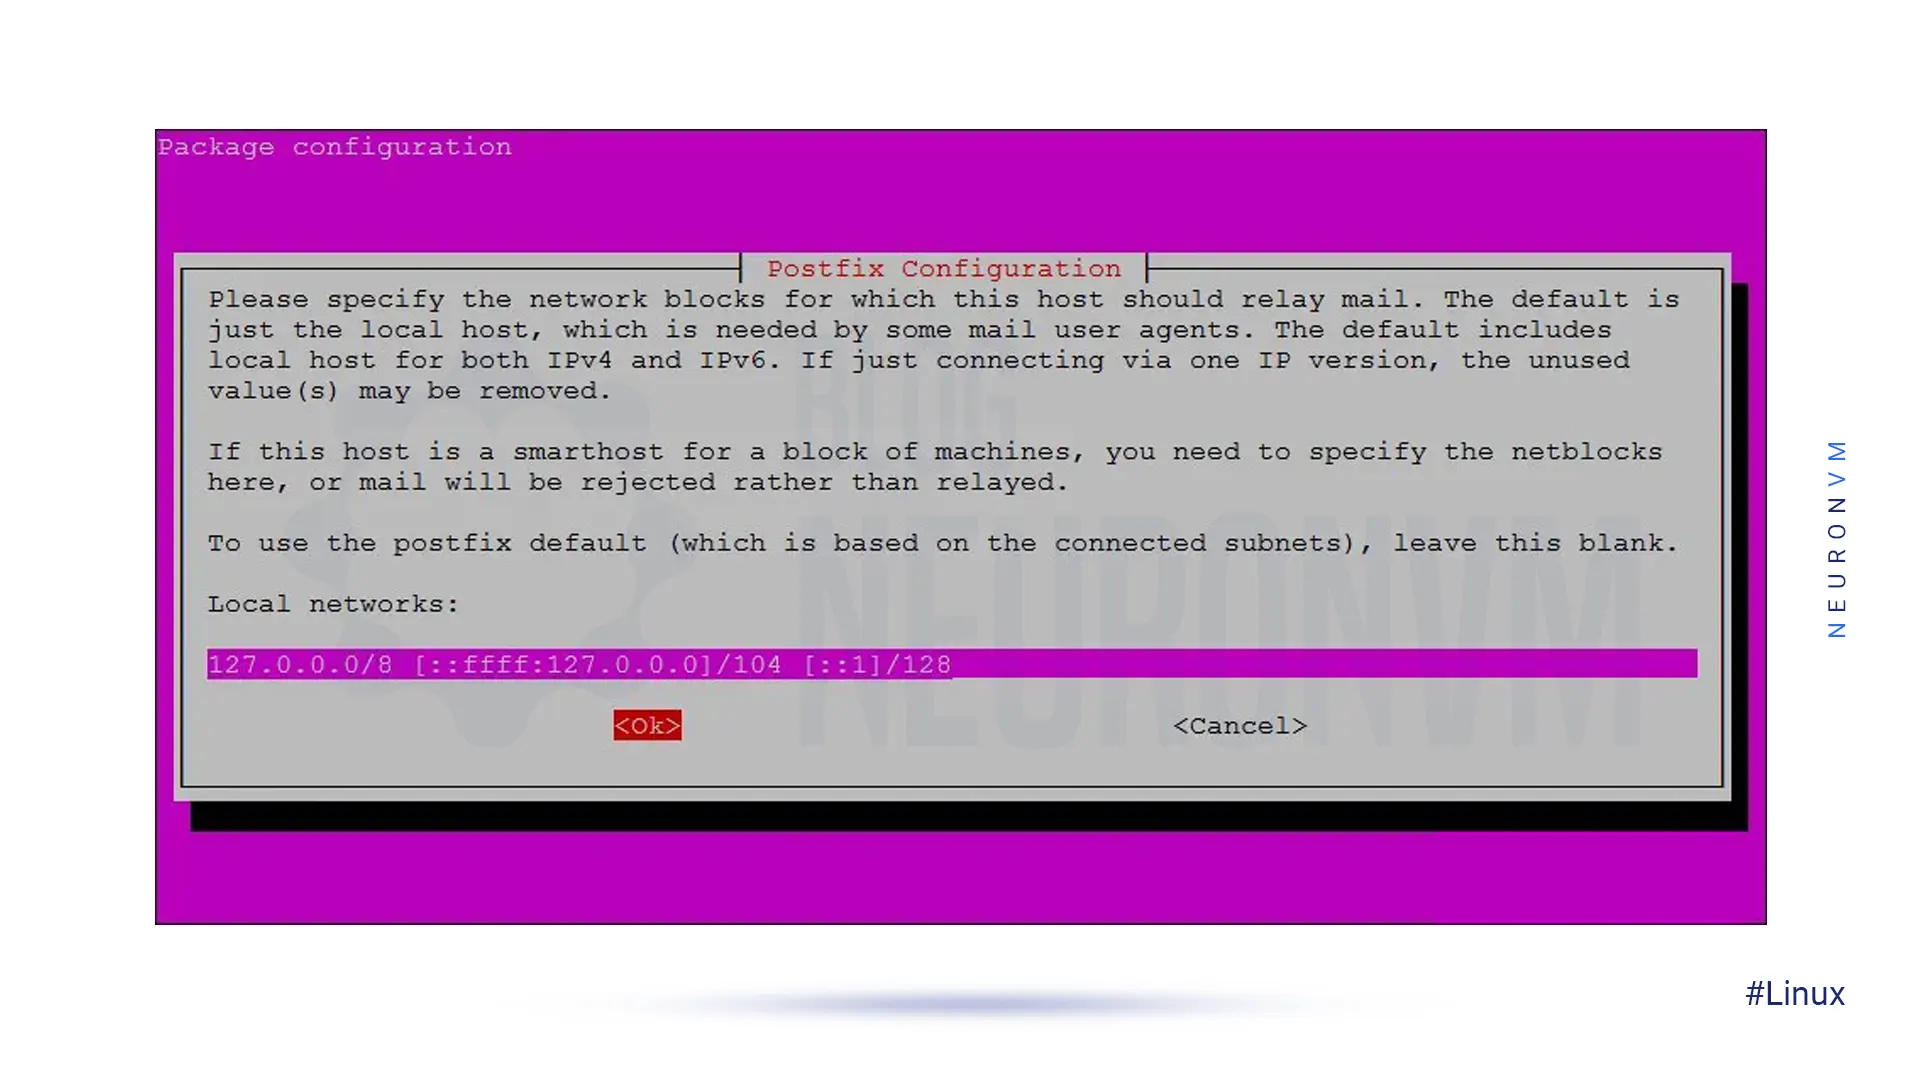
You can change LANs to suit your needs, or even select the default ones by pressing the Enter key:
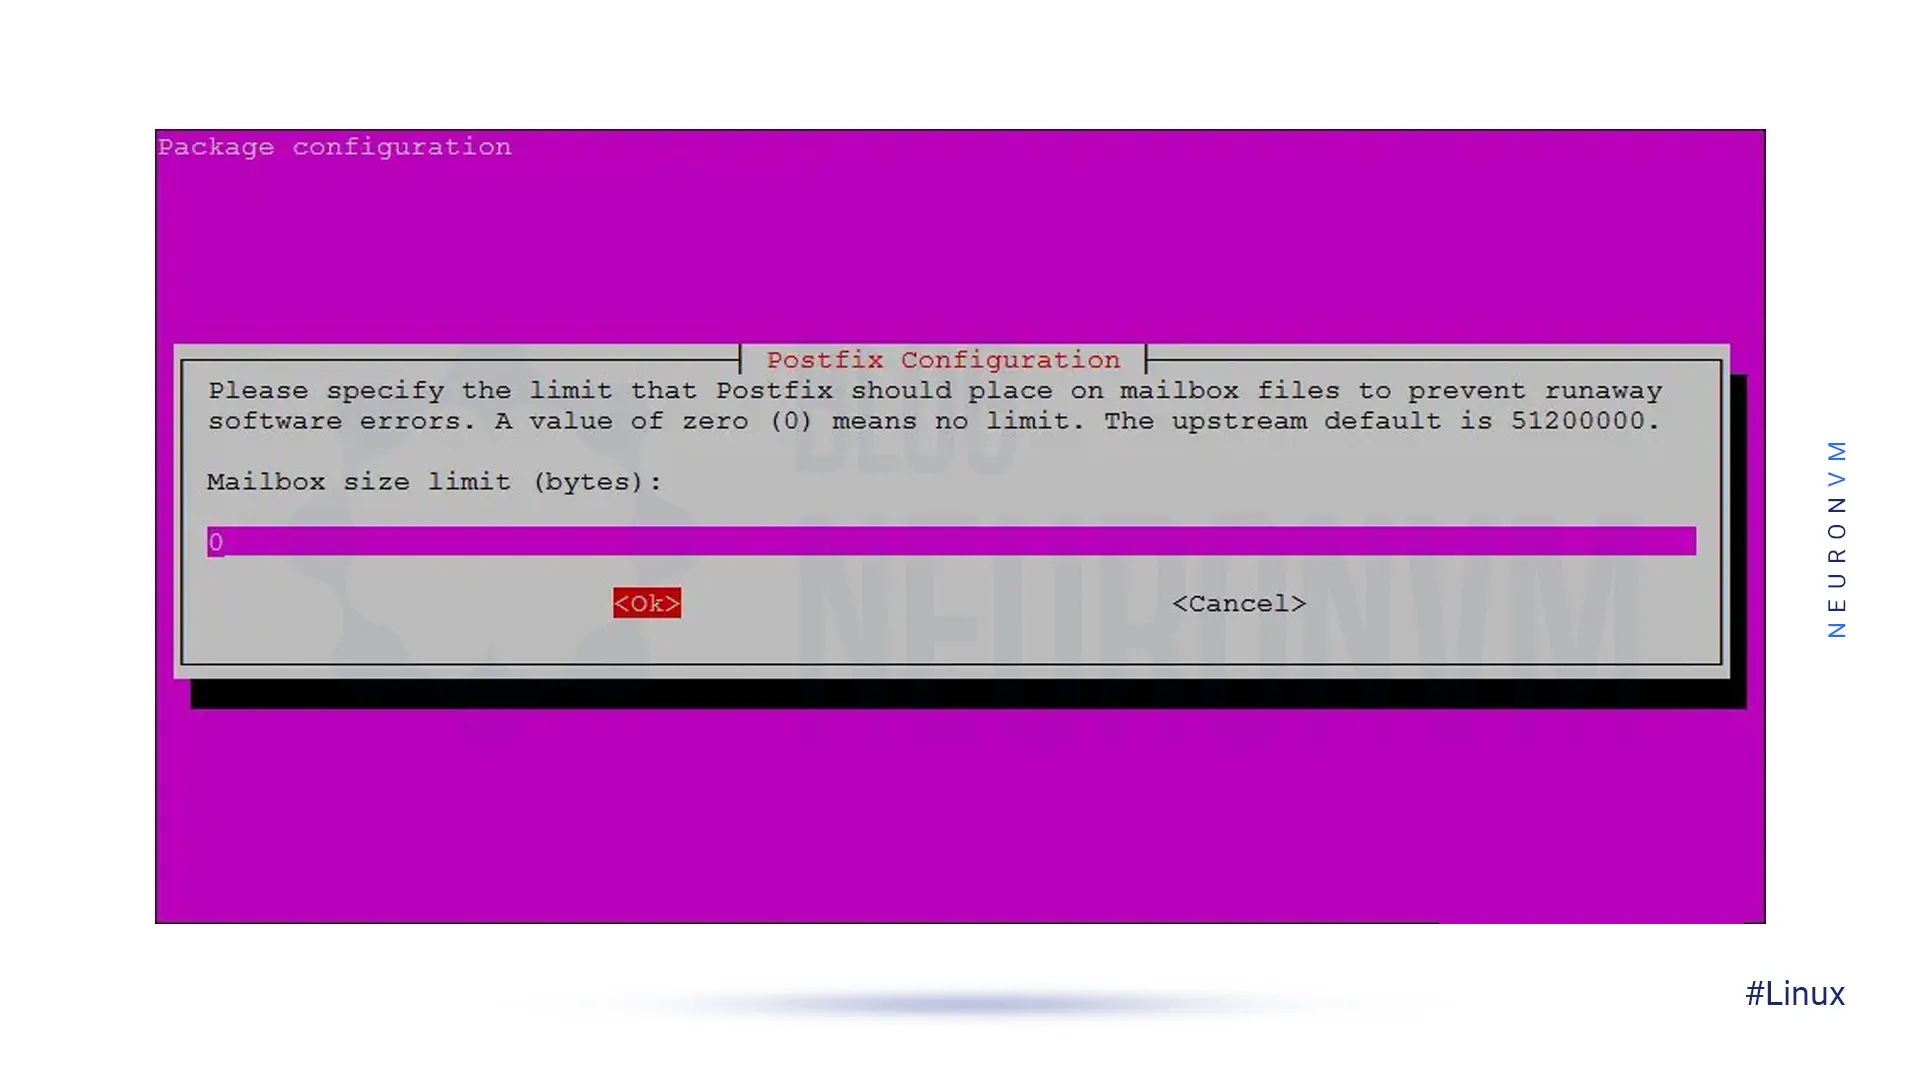
The next step is to adjust the size range of Mailbox by bytes. This is using to determine the size of messages that the inbox can accept. Its default value is zero, which means that there is no limit to the size of the messages. Stick to the default option and press Enter:
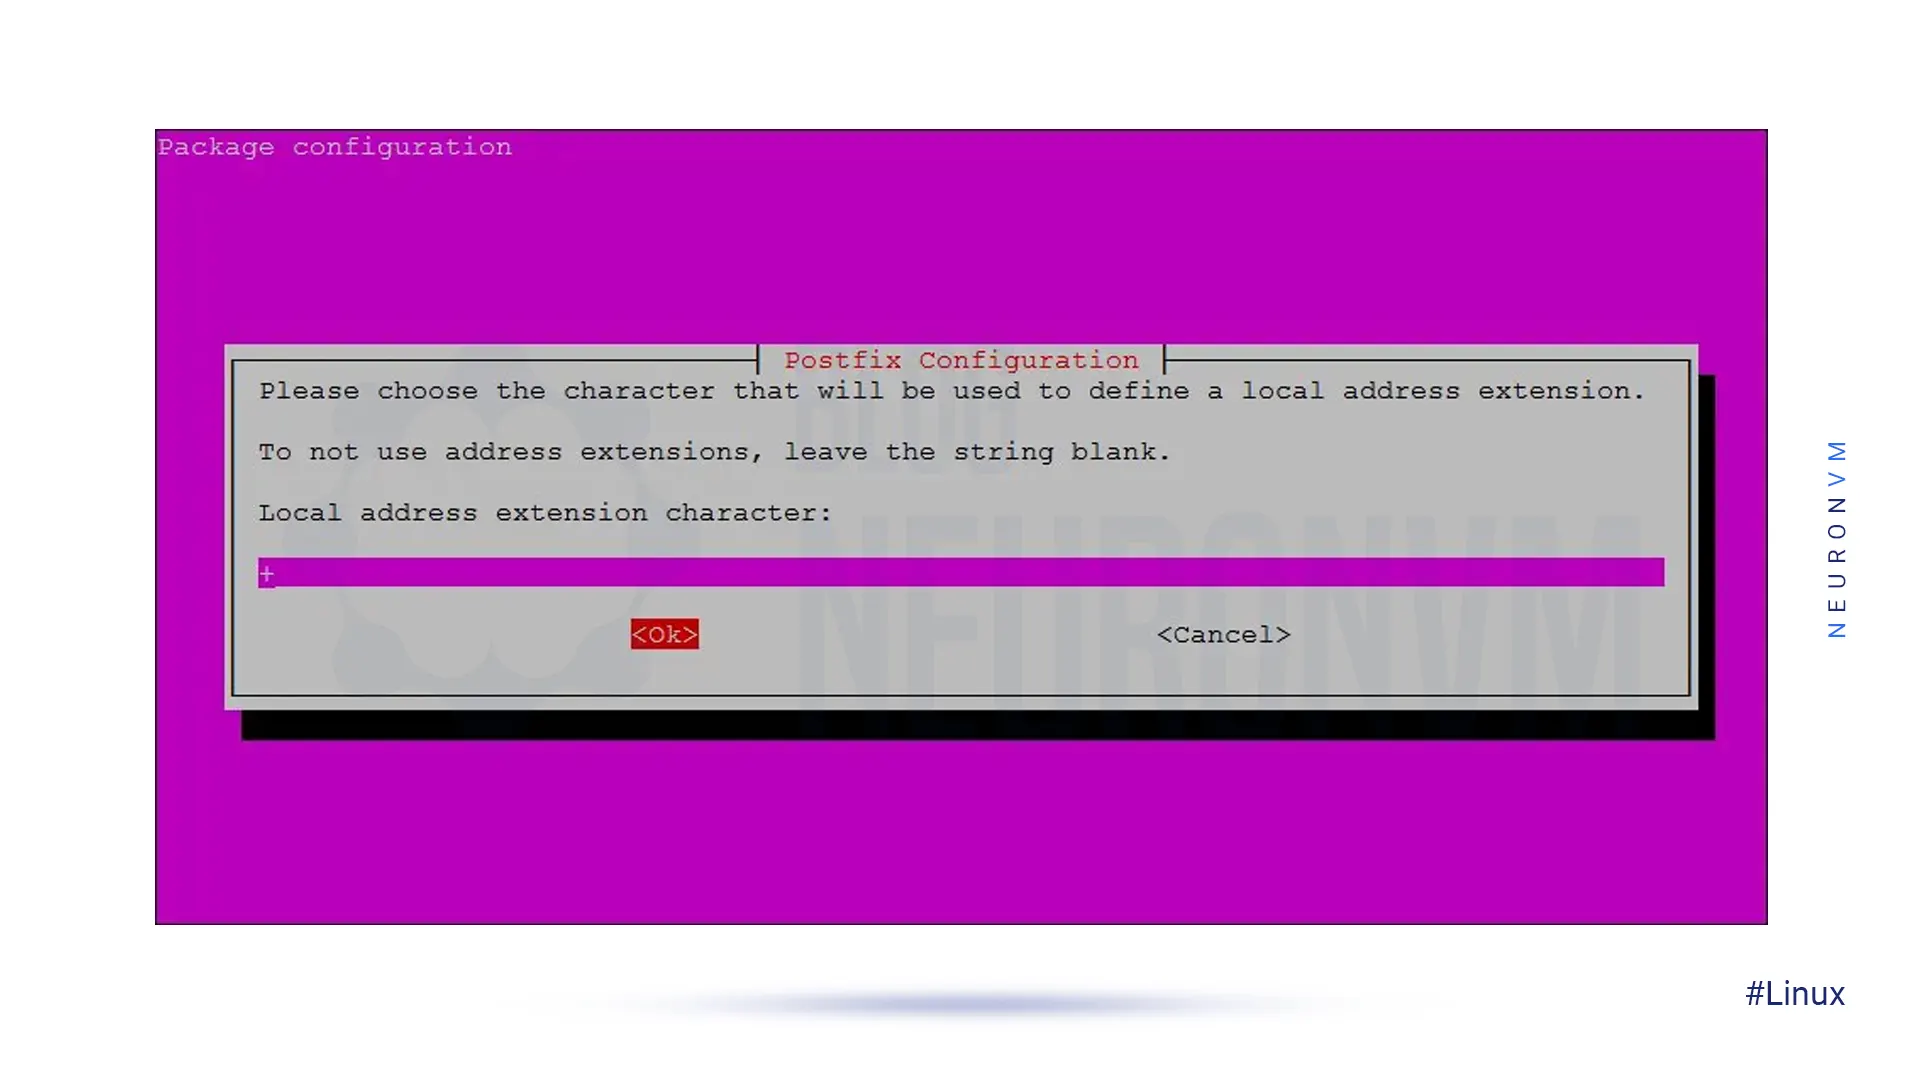
Stay with the default character and press the Enter key to continue:
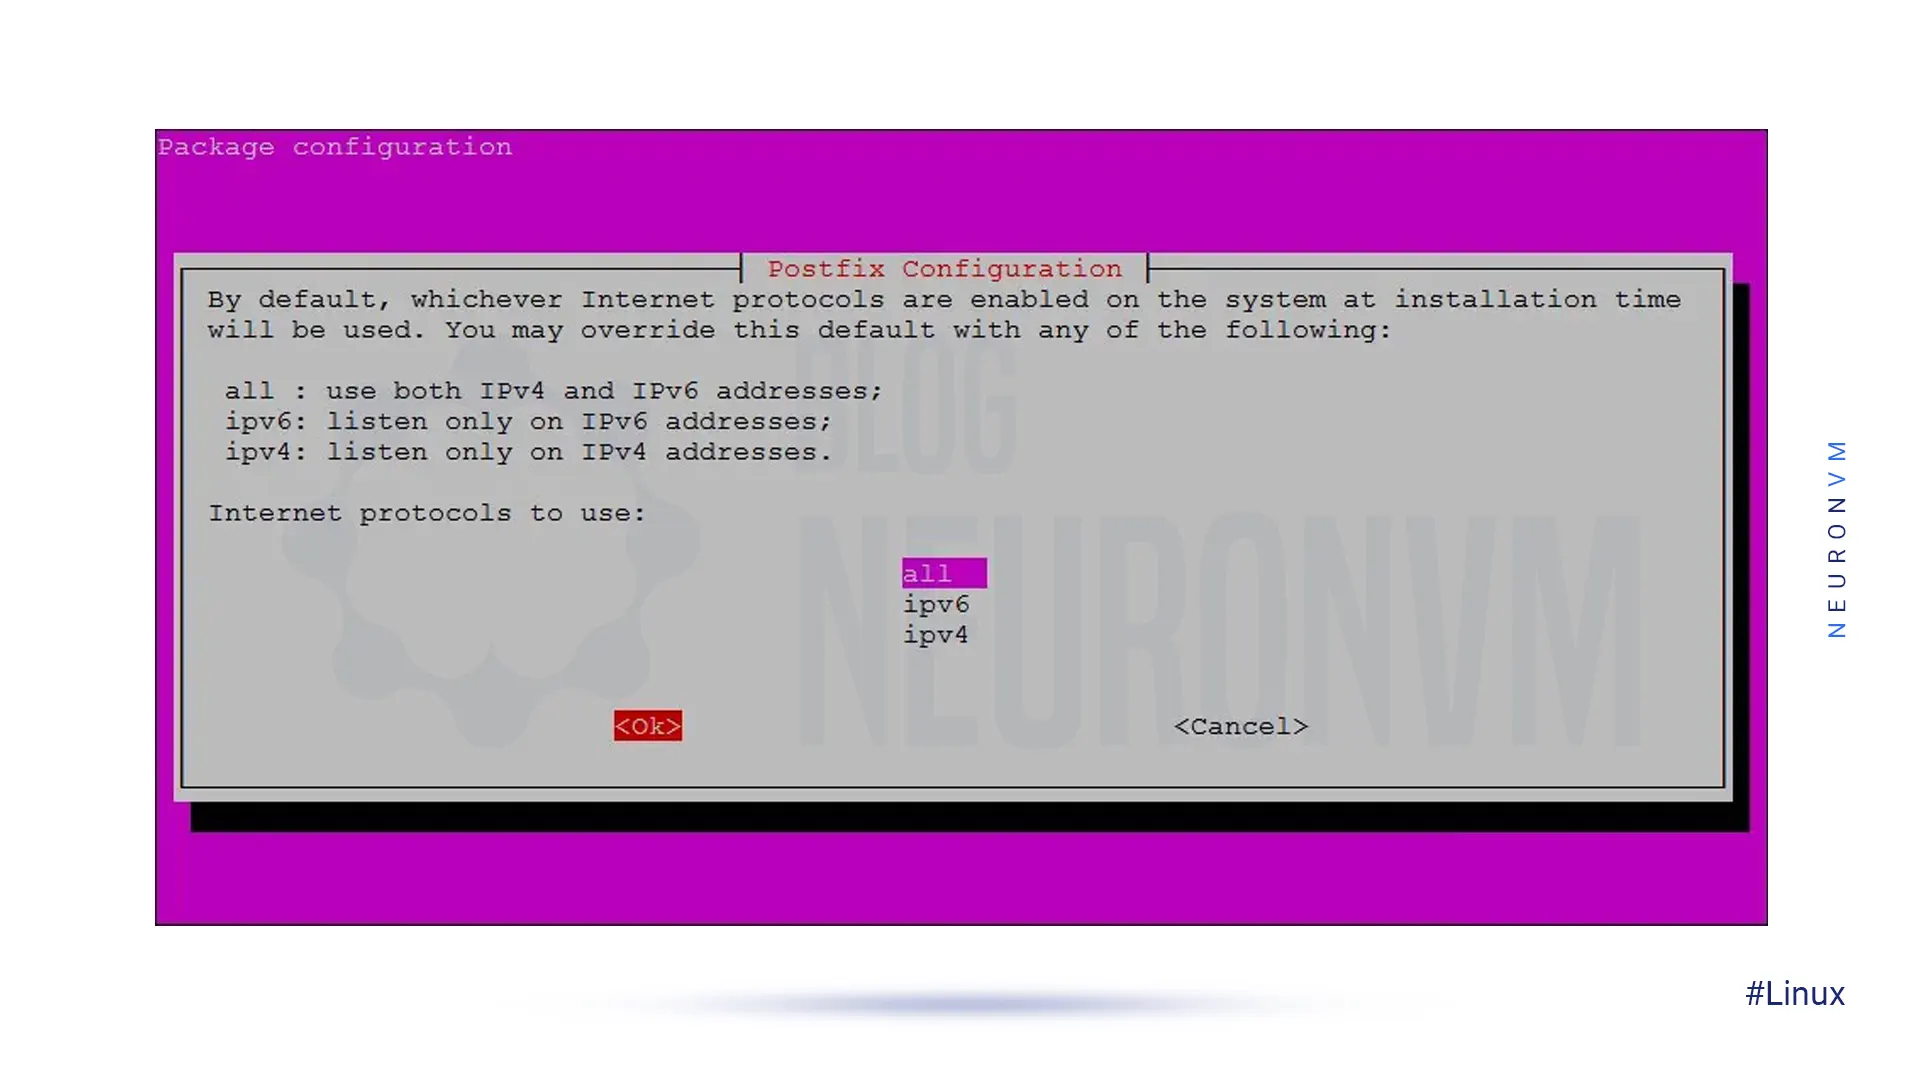
Finally, select all from this list and then press Enter to continue:
Now the Postfix installation process takes a while to complete.
Best Practices After Installing Postfix
Now that Postfix is installed and running on Ubuntu 20.04, it’s a good idea to do a few additional things to make sure your server is both secure and working properly:
- 1- Set up DNS Records (SPF, DKIM, DMARC): Without these records, your emails are more likely to end up in Spam. Adding these records to your domain will increase the credibility of your emails.
- 2- Monitoring Logs: Always check the Postfix log with the command
tail -f /var/log/mail.log
. This way, you’ll know quickly if there’s an error or a bug.
- 3- Enable TLS/SSL: It’s better to encrypt your emails when sending. You can use Let’s Encrypt or a valid SSL certificate for this.
- 4- Install Dovecot (optional): If you need to receive emails via IMAP or POP3 in addition to sending emails, Dovecot is the best option.
- 5- Regular updates: Always keep your Postfix server and packages up to date to prevent bugs and security holes.
Postfix Configuration in Ubuntu 20.04
As soon as you press Enter, you will be asked a few questions about the type of mail server configuration.
- 1- Mail Server Configuration: Select the Internet Site option and continue.
- 2- System Mail Name or FQDN: Here you need to enter the domain name or email name. I wrote my own domain name and went to the next step.
- 3- Root and Postmaster recipient: You can enter the main Ubuntu username and continue.
- 4- Domains: If you have multiple domains, you can add them. Otherwise, leave the default.
- 5- Synchronous updates: Set to No, because that is the default.
- 6- LANs and Mailbox Size: It is usually better to leave the default. The mailbox size is also set to 0, which means there is no limit.
Finally, select the “all” option and press Enter.
Common problems and troubleshooting tips in installing Postfix
Setting up Postfix can sometimes be tricky. Even with careful steps, a few common issues may appear during installation:
1- Emails not being delivered
Ensure the port is open, or use a reliable external SMTP service to make sure your emails are sent successfully. Because this problem could be your hosting provider limiting outgoing SMTP traffic.
2- “Relay access denied” error
This error typically indicates that Postfix isn’t set up to send emails for your domain. Recheck your configuration and confirm that your domain is included under the mydestination parameter in /etc/postfix/main.cf.
3- Authentication problems:
If users cannot log in to send emails, make sure you have SA SL authentication enabled and properly configured. A missing or misconfigured SASL setup is one of the most common causes.
With these checks, you can solve most beginner level issues without having to reinstall everything from scratch.
Conclusion
Once Postfix is up and running, sending and receiving emails becomes straightforward. To keep everything running smoothly, set up DNS records (SPF, DKIM, and DMARC), monitor the logs, and optionally enable TLS and Dovecot for a complete and reliable email system. With this setup, you’re not just installing Postfix, you’re creating a dependable mail server. Next, we’ll look at security hardening, a full SPF/DKIM configuration, and advanced Dovecot integration to take your email server to the next level.


As a professional MTA (Mail Transfer Agent), Postfix also supports bulk email sending. However, to prevent emails from being sent to the spam folder, things like correct SPF, DKIM, DMARC, and rate limiting settings should be observed. If you plan to use Postfix for email marketing campaigns, it is recommended to use auxiliary tools such as Mailjet API or Mailgun SMTP relay along with it.
When installing Postfix on Ubuntu 20.04, the "Internet Site" option is suitable for servers that send and receive emails directly (for example, mail.example.com). But the "Satellite system" option is used when this server only intends to send emails through another server (relay host). Simply put, a satellite system is suitable for clients that are not directly connected to the Internet and use a main server to send emails.
To increase the probability of emails reaching the Inbox instead of the Spam folder, it is necessary to observe the following:rnrn1- Setting up DNS records such as SPF, DKIM and DMARCrn2- Using a static and authoritative IP with a good historyrn3- Setting up reverse DNS (PTR) for the domainrn4- Maintaining the reputation score of the email serverrn5- Avoiding sending promotional or suspicious content without user consent