


How to Install Apache OpenOffice on Ubuntu 20.04

 9m
9m
 0 comments
 Print
Print
Tired of bloated office suites that come with features you’ll never use? Installing Apache OpenOffice on Ubuntu 20.04 might be exactly what you need. It’s light, free, and feels familiar like those classic tools that just let you write, calculate, and create without getting in your way.
If you’ve been using LibreOffice and feel like trying something a bit more straightforward, or you’re just looking for an alternative that won’t drain your system, this guide will walk you through the process. No tech jargon, no guesswork just a clean, working setup in a few simple steps.

Apache OpenOffice Features
The following applications are also downloaded by installing Apache OpenOffice:
1. Impress creates effective multimedia presentations and is one of the fastest and most powerful ways.
2. Writer is a word processor that can be used for anything from writing a quick letter to producing an entire book.
3. Calc is a powerful spreadsheet and has all the tools you need to calculate, analyze, and present your data in stunning numerical reports or graphics.
4. Draw lets you generate everything from simple diagrams to dynamic 3D illustrations.
5. Base allows seamless database manipulation, as well as the ability to create and modify tables, forms, queries, and reports from within Apache OpenOffice.
6. Math allows you to create mathematical equations with a graphical user interface or by typing your formulas directly in the equation editor.
Uninstalling LibreOffice on Ubuntu 20.04
If LibreOffice is already installed on Ubuntu, you must uninstall it before installing Apache OpenOffice on Ubuntu, If you install LibreOffice, the Desktop integration installation for Apache, and OpenOffice will fail.
Important Note: OpenOffice and LibreOffice cannot operate on the same system.
It should be noted that all commands require Sudo or root privileges to run, You should enter the Sudo password to execute commands or turn on root mode.
Enter the following command to uninstall LibreOffice:
sudo apt-get remove --purge libreoffice*
If you are asked for a yes or no option, press “y” and then press Enter to continue the installation process.
By running the following commands, you can remove the broken and held packages:
sudo apt clean
sudo apt autoremove
Installing Apache OpenOffice on Ubuntu 20.04
Want to get Apache OpenOffice up and running on your Ubuntu 20.04 system? It’s easier than you think, follow these simple steps to install this for free.
What You’ll Need:
- A computer running Ubuntu 20.04
- An internet connection
- At least 512 MB of RAM
- Around 400 MB of free disk space for a full installation
Step 1: Visit the Official Websites
Head over to the Apache OpenOffice website to grab the latest version, It’s always best to download from the official source to ensure you’re getting a safe and up-to-date file.
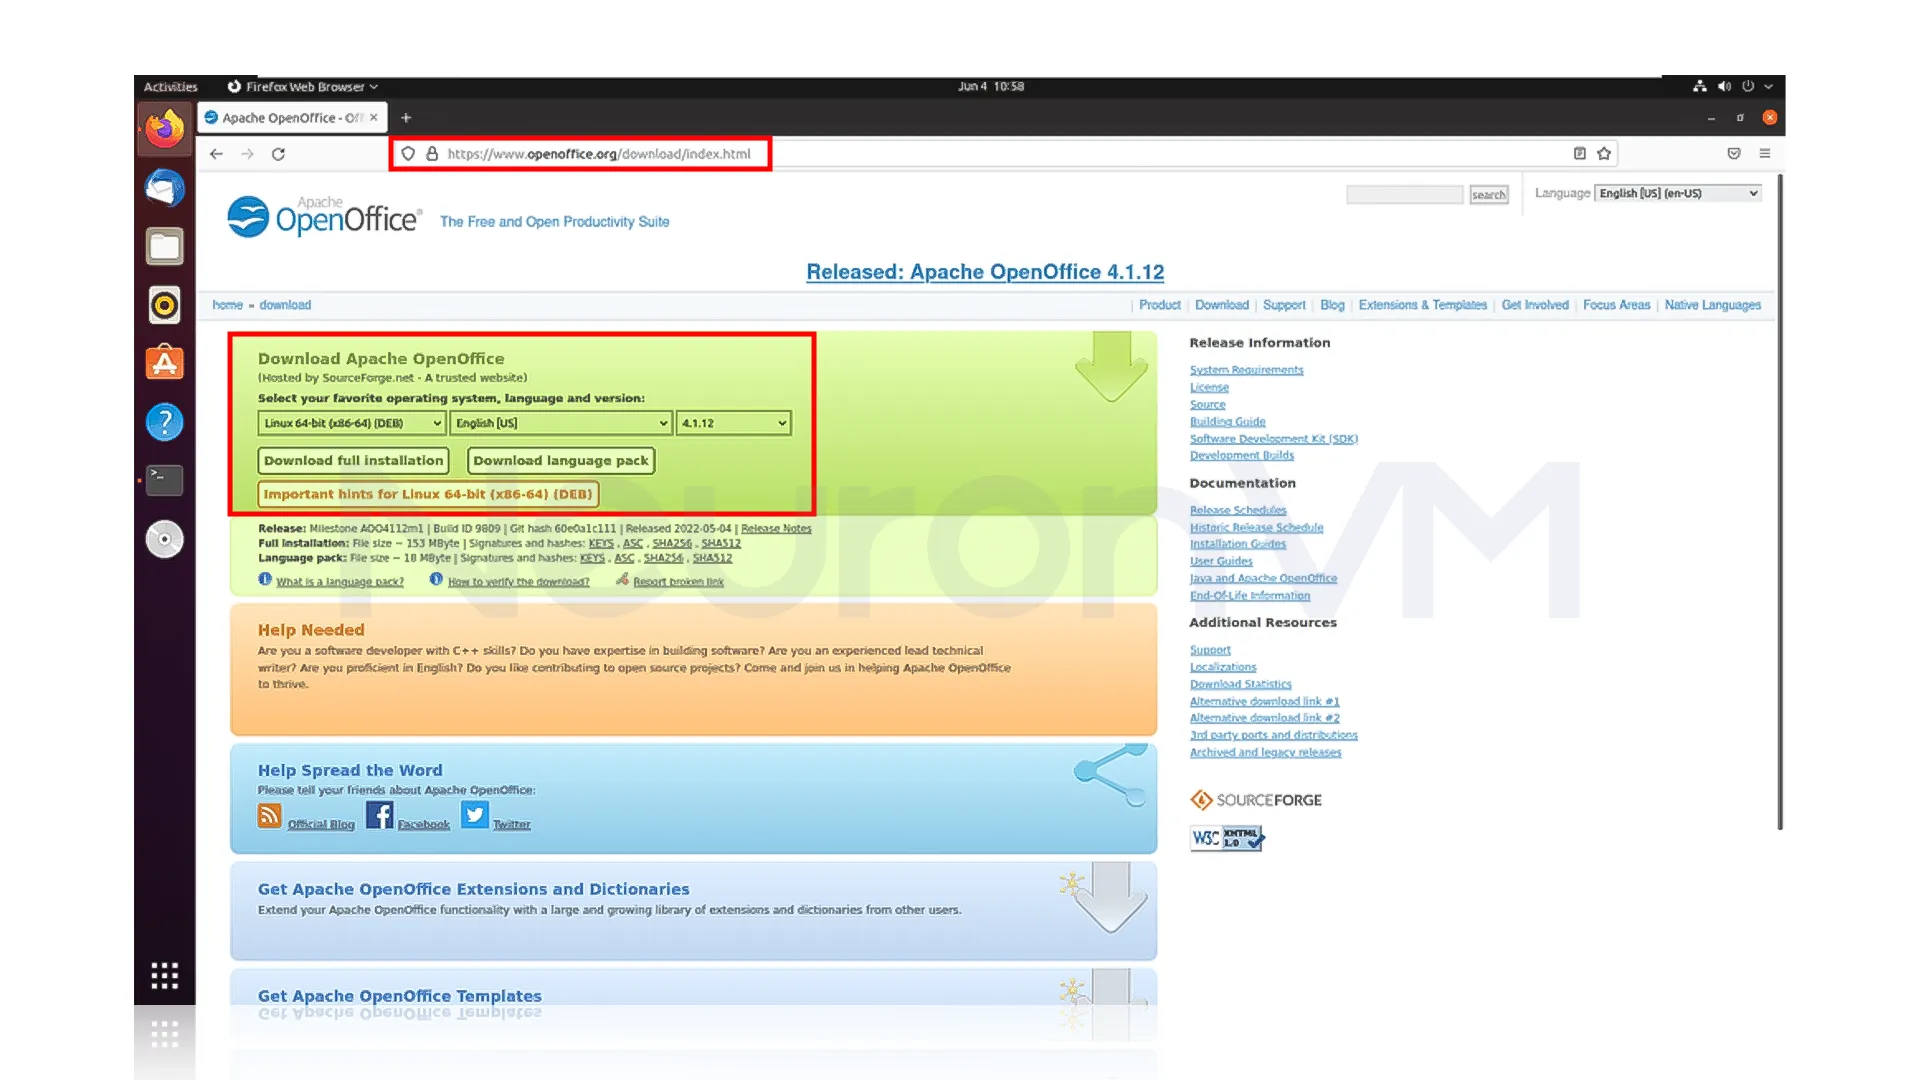
Step 2: Download the Installer
Look for the download button for Linux, choose the version that matches your system (usually 64-bit for modern computers), click to start the Download, and save the file to your Downloads folder when prompted.

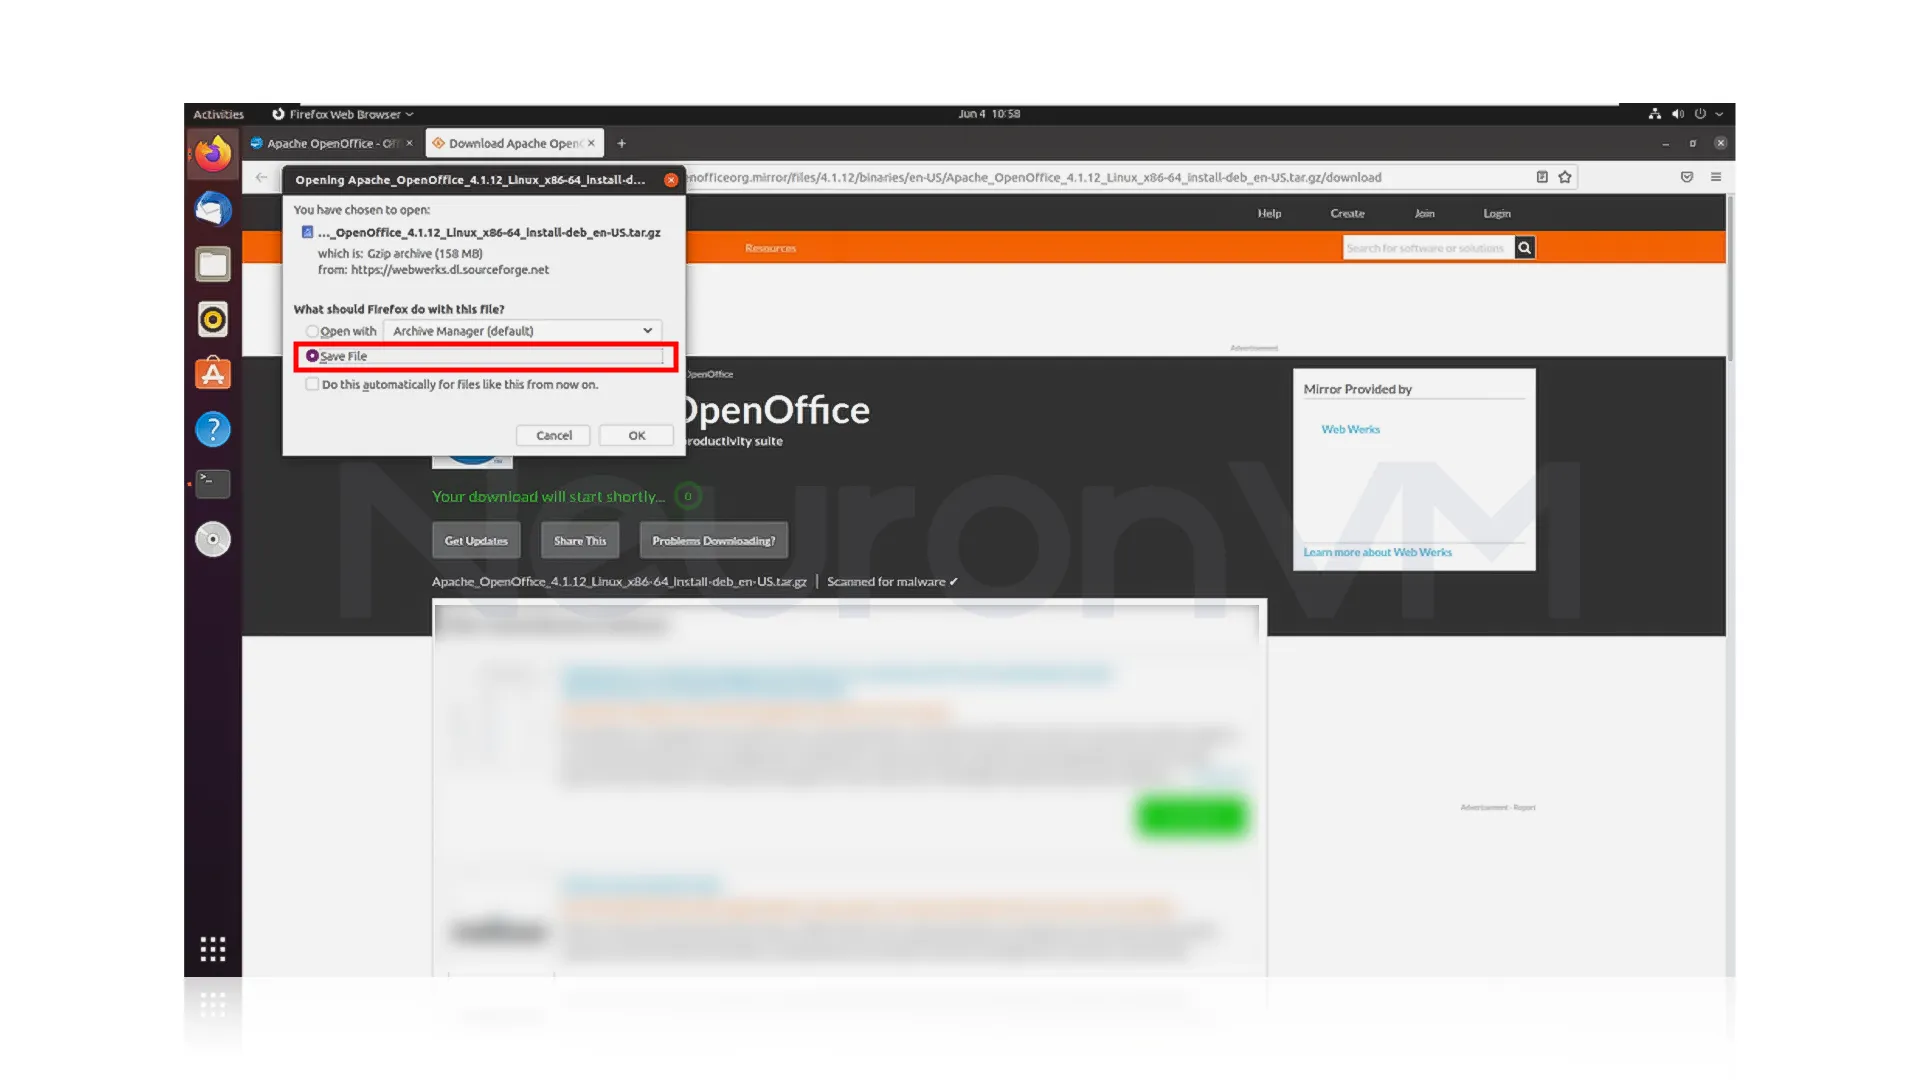
Step 3: Click on Save File
In this step, you need to click on the Save File to save the previously downloaded file in the Local Directory.
Step 4: Go to your Downloads folder
Open the Terminal app on Ubuntu, then type the following command and press Enter to move to your Downloads folder, you should see a file name starting with “Apache_OpenOffice” and ending with “.tar.gz”.
cd Downloads/

ls
Step 5: Unpack the File
That “.tar.gz” file is like a zipped folder, let’s unpack it by entering the command below, make sure to replace the file name with the exact one you see.
sudo tar -xvf Apache_OpenOffice_4.1.12_Linux_x86-64_install-deb_en-US.tar.gz
Step 6: Change the Directory
In this step, after unpacking the downloaded file, use the command below to change the directory.
cd en-US/
Step 7: Install the Main Files
Now, let’s install the main OpenOffice files, type this command to install all the “.deb” files, these are installer packages for Ubuntu, make sure to enter your password if asked:
sudo dpkg -i *.deb
Step 8: Move to the Desktop Integration Folder
There are a few additional files needed to ensure OpenOffice integrates smoothly with your system move to the desktop integration folder by typing:
cd desktop-integration/
Step 9: Install the Remaining Files
Run the same install command again to set up extra files:
sudo dpkg -i *.deb
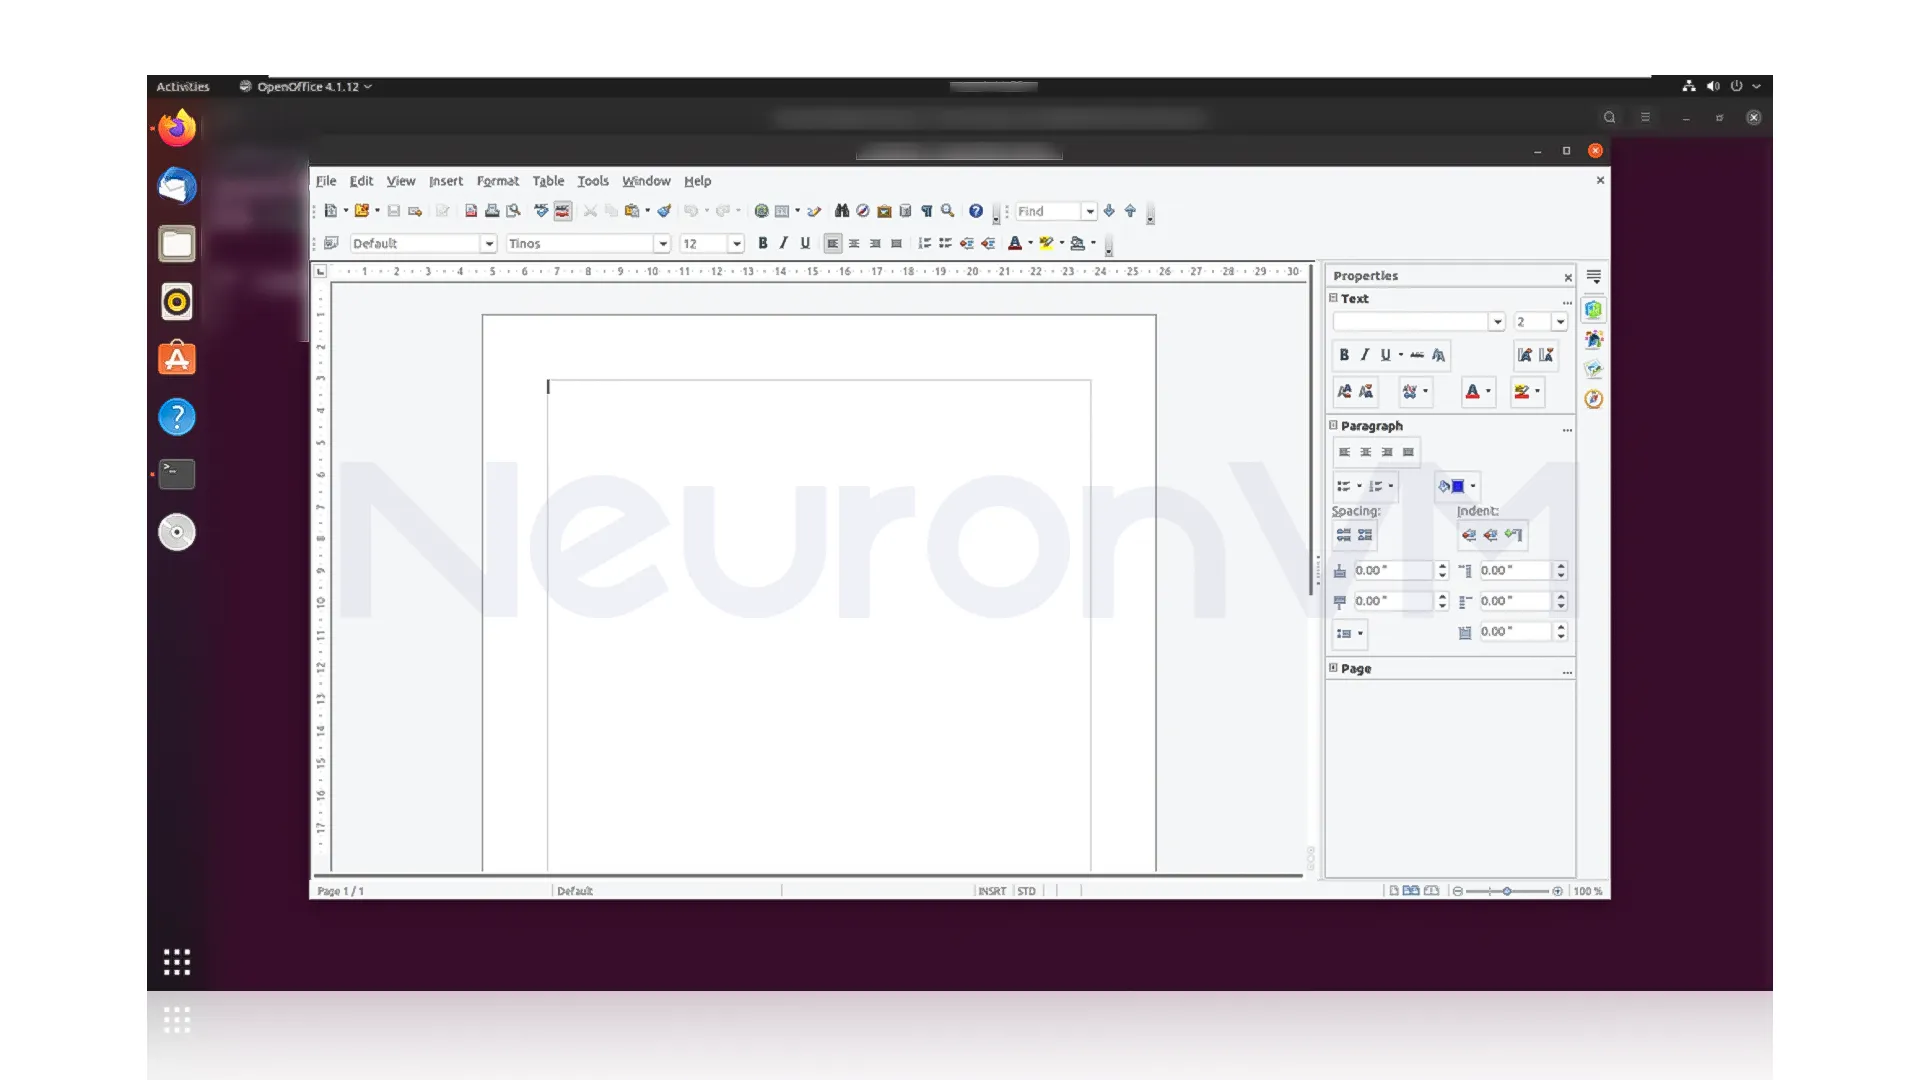
Step 10: Launch OpenOffice
You’re almost done! to start OpenOffice, type the last command for this installation in the Terminal:
openoffice4
Step 11: Explore and Create
Now that OpenOffice is ready, you can start writing documents or designing presentations, look for “Apache OpenOffice: in your application menu to open it anytime.
Conclusion
In this guide, we have shown you how to install Apache OpenOffice on Ubuntu 20.04, By following these simple steps, you can start using this powerful office suite on your Linux system, Apache OpenOffice offers a wide range of features and capabilities that make it a great alternative to commercial office suites, Give it a try and see for yourself the benefits of using Apache OpenOffice on Ubuntu 20.04. If you need to install Java, we suggest you read the articles about it on NeuronVM.
Search "OpenOffice" in the applications menu.
Yes, if you download it from official website.
You might like it

Linux Tutorials
How to Install VPN on VPS Script - Openvpn on VPS


How to Install and Optimize Redis on macOS for Faster Apps

Ubuntu Tutorials
How to Install Ubuntu on Windows 10 (Step-by-Step with WSL)