
How to Install Cacti on Fedora 34 (Step-by-Step Guide)

 15m
15m
 0 comments
 Print
Print
If you want to monitor your network like a pro, Cacti is one of the best open-source tools available, because it creates easy-to-read charts that help you track CPU, RAM, and bandwidth in real-time, in this guide, we’ll show you how to install Cacti on Fedora 34 in simple steps, along the way, you’ll also find tips, troubleshooting advice, and comparisons with other tools, so you get more than just a checklist of commands.
Why Use Cacti for Network Monitoring?
Cacti isn’t just another monitoring tool because it is powerful and lightweight, unlike heavier systems like Zabbix or Nagios, it is great for smaller networks or for admins who want quick visual feedback, but it is also a great option for bigger networks too, this tool is really easy to set up.
Key benefits of Cacti:
- Easy-to-read graphs for CPU, RAM, and network bandwidth
- Simple web interface for beginners
- Lightweight compared to other enterprise solutions
Pro Tip: For bigger networks, you can use Cacti with alert tools so you get a warning when something goes over the limit.
Why choose Cacti over Other Tools?
1- Perfect for home labs, startups, or even small businesses.
2- If you want to see how bandwidth or CPU load changes over weeks or months.
3- Works well on lightweight systems, unlike some enterprise-heavy tools that are not worth it.
Tip: You can manage a large network; you can try to pair Cacti with tools like Nagios, so you can get the best of both worlds..
Installing Cacti on Fedora 34
Let’s begin by installing Cacti on Fedora 34, but first, let’s look at the tools and services we will need.
Prerequisites:
– Apache web server to display network diagrams created by PHP and RRDTool
– MySQL Database Server to store Cacti information
– PHP script module to create charts using RRDTool
– A PHP plugin for SNMP for data access
– NET-SNMP for network management
– An RRDTool database tool for managing and retrieving time series data such as CPU load, network bandwidth, etc.
Step 1: Install Required Packages
First, you should install Apache on your system by entering the command below:
dnf install httpd httpd-devel
MariaDB offers an alternative to MySQL and is a community-developed fork of the MySQL database project, To install MariaDB, just run the following command:
dnf install mariadb-server -y
Now, after installing MariaDB, you can install PHP and its necessary modules:
dnf install php-mysqlnd php-pear php-common php-gd php-devel php php-mbstring php-cli
After completing the previous step, you should install the PHP-SNMP prerequisites for data access, just Simply enter the following command:
dnf install php-snmp
Also, you should install NET-SNMP for network management:
dnf install net-snmp-utils net-snmp-libs
Finally, you have to install RRDTool:
dnf install rrdtool
Step 2: Start Services
After completing the installation prerequisites for installing Cacti, you should start it:
systemctl start httpd.service
systemctl start mariadb.service
systemctl start snmpd.service
In this step, you need to configure the system startup links, Configure Apache, MySQL, and SNMP Services to start on boot:
systemctl enable httpd.service
systemctl enable mariadb.service
systemctl enable snmpd.service
Step 3: Install Cacti on Fedora 34
Now it’s time to install Cacti on your Fedora 34 system, In the first step, you need to install and enable the EPEL Repository, Then you can install the Cacti application:
dnf install epel-release
dnf install cacti
Step 4: Configure MySQL for Cacti
First, you should secure the MySQL Server by entering the following command:
mysql_secure_installation
Now you will create the MySQL Cacti database, You should log in to the MySQL Server with the newly created password, create the Cacti database with the Cacti user, and then set a password for it:
mysql -u root -p
Enter password:
MariaDB [(none)]> create database cacti;
Query OK, 1 row affected (0.00sec)

MariaDB [(none)]> GRANT ALL ON cacti.* TO cacti@localhost IDENTIFIED BY 'neuronvm';
Query OK, 0 rows affected (0.00 sec)

MariaDB [(none)]> FLUSH privileges;
Query OK, 0 rows affected (0.00 sec)

MariaDB [(none)]> quit;
Bye
Next, you should install Cacti tables in MySQL. The first step to install Cacti tables in MySQL is to find the path to the database file using the RPM command, then enter the following command to install the Cacti tables in the new Cacti database:
rpm -ql cacti | grep cacti.sql
The output sample is as follows:
/usr/share/doc/cacti-1.2.6/cacti.sql
OR
/usr/share/doc/cacti/cacti.sql
After locating the Cacti.sql file, you can install the tables, Remember to enter the Cacti user password.
mysql -u cacti -p cacti < /usr/share/doc/cacti-0.8.8b/cacti.sql
Enter password:
Step 5: Configure Database Settings
In this step, you will configure the MySQL settings for Cacti, so you have to open the /etc/cacti/db.php file with any editor:
vi /etc/cacti/db.php
You should make the following changes that we provided and then save the file:
/* make sure these values reflect your actual database/host/user/password */
database_type = "mysql";
database_default = "cacti";
database_hostname = "localhost";
database_username = "cacti";
database_password = "your-password-here";
database_port = "3306";
database_ssl = false;
Step 6: Open Firewall Ports
Now, configure the Firewall for Cacti:
firewall-cmd --permanent --zone=public --add-service=http
firewall-cmd --reload
Step 7: Configure Apache for Catcti
First, open the /etc/httpd/conf.d/cacti.conf file in your desired editor:
vi /etc/httpd/conf.d/cacti.conf
You should have access to the Cacti application on your local network or at any IP level. So you have to enable it. For example, this article enables LAN network 123.45.67.8/01 access.
Alias /cacti   /usr/share/cacti

<Directory /usr/share/cacti/>
        Order Deny,Allow
        Deny from all
        Allow from 123.45.67.8/01
</Directory>
Then, remember to change the settings in the latest version of Apache as follows:
Alias /cacti   /usr/share/cacti

<Directory /usr/share/cacti/>
        <IfModule mod_authz_core.c>
                # httpd 2.4
                Require all granted
        </IfModule>
        <IfModule !mod_authz_core.c>
                # httpd 2.2
                Order deny,allow
                Deny from all
                Allow from all
        </IfModule>
<Directory>
In the end, you must restart the Apache service:
systemctl restart httpd.service
Step 8: Configure Cron for Cacti
You should open the /etc/cron.d/cacti file to set Cron for Cacti:
vi /etc/cron.d/cacti
Be careful to uncomment the following line. The poller.php script runs every 5 minutes and collects known host data used by the Cacti application to display graphs.
#*/5 * * * * cacti /usr/bin/php /usr/share/cacti/poller.php > /dev/null 2>&1
Step 9: Run Cacti Web Installer
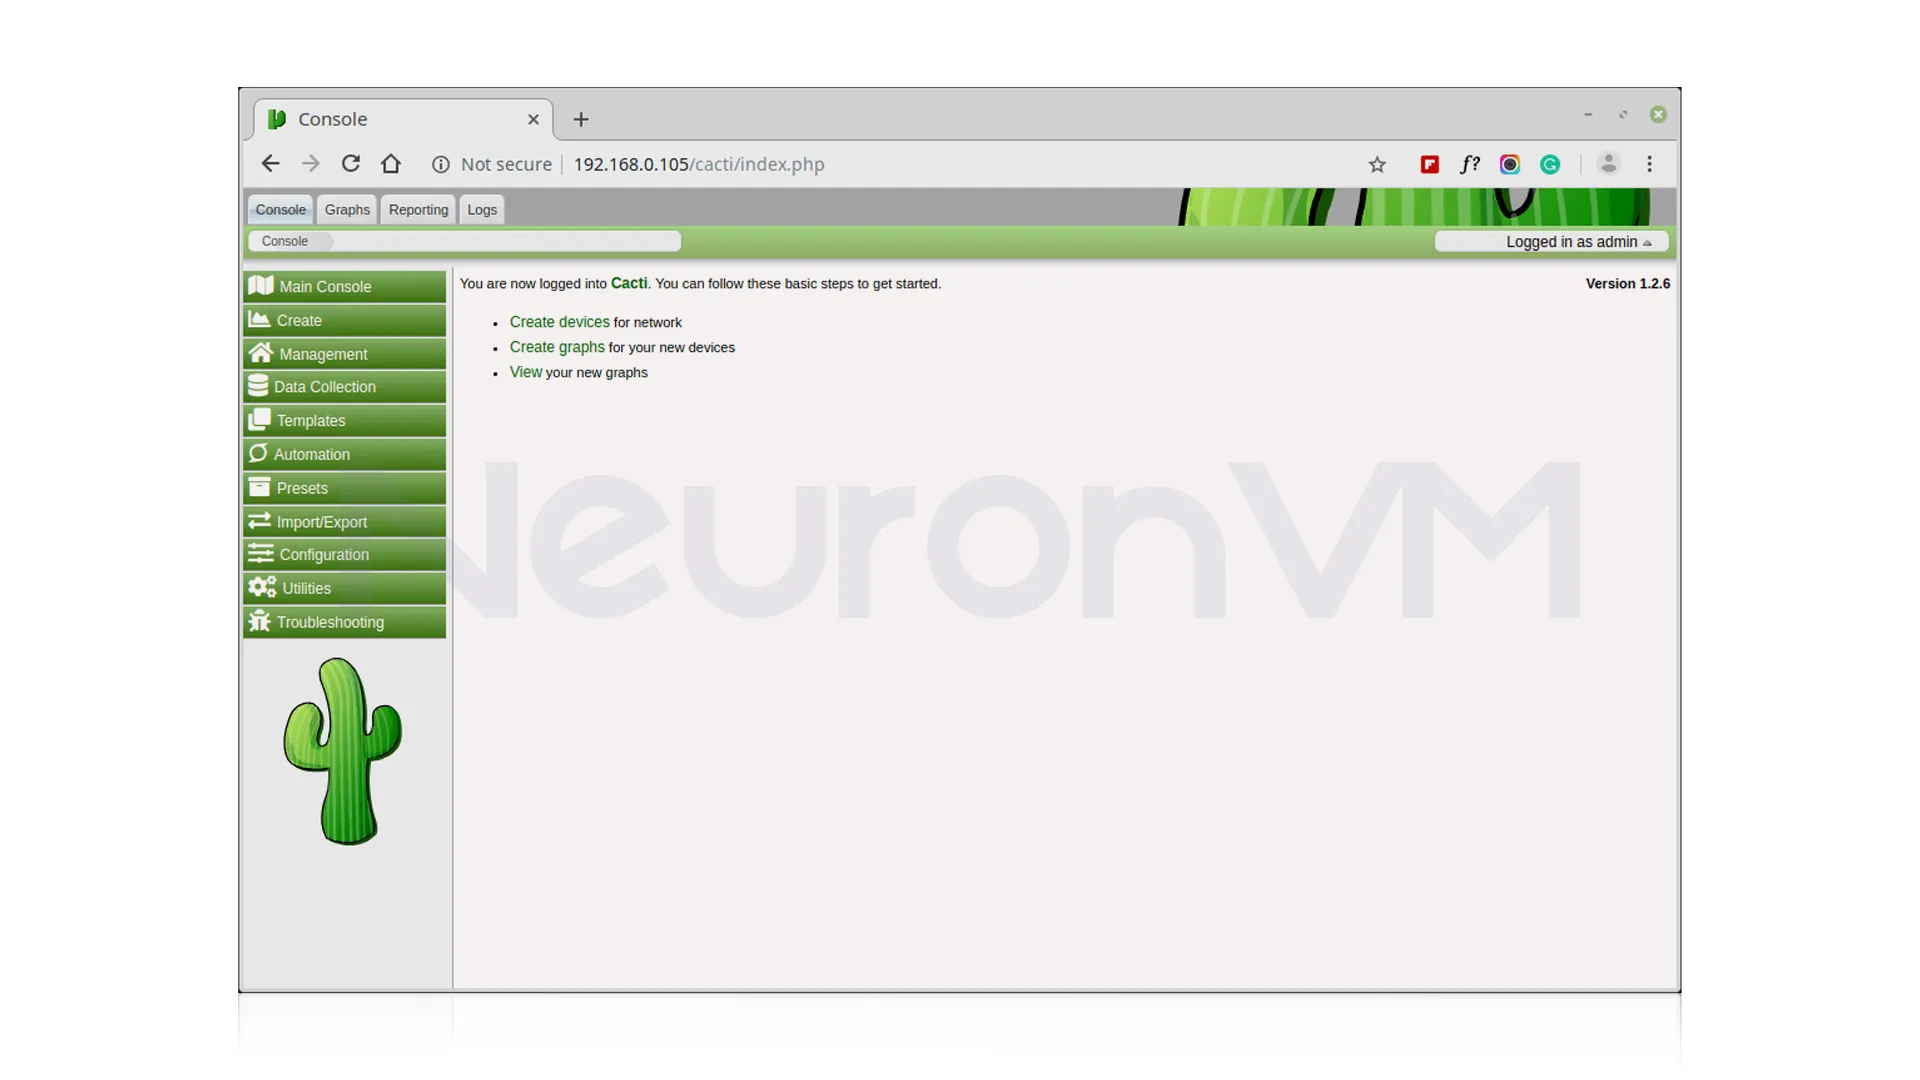
Go to http://YOUR-IP-HERE/cacti/ and follow the installer instructions through the following pages. Then you must enter the default login details and press the Enter key.
User: admin
Password: admin
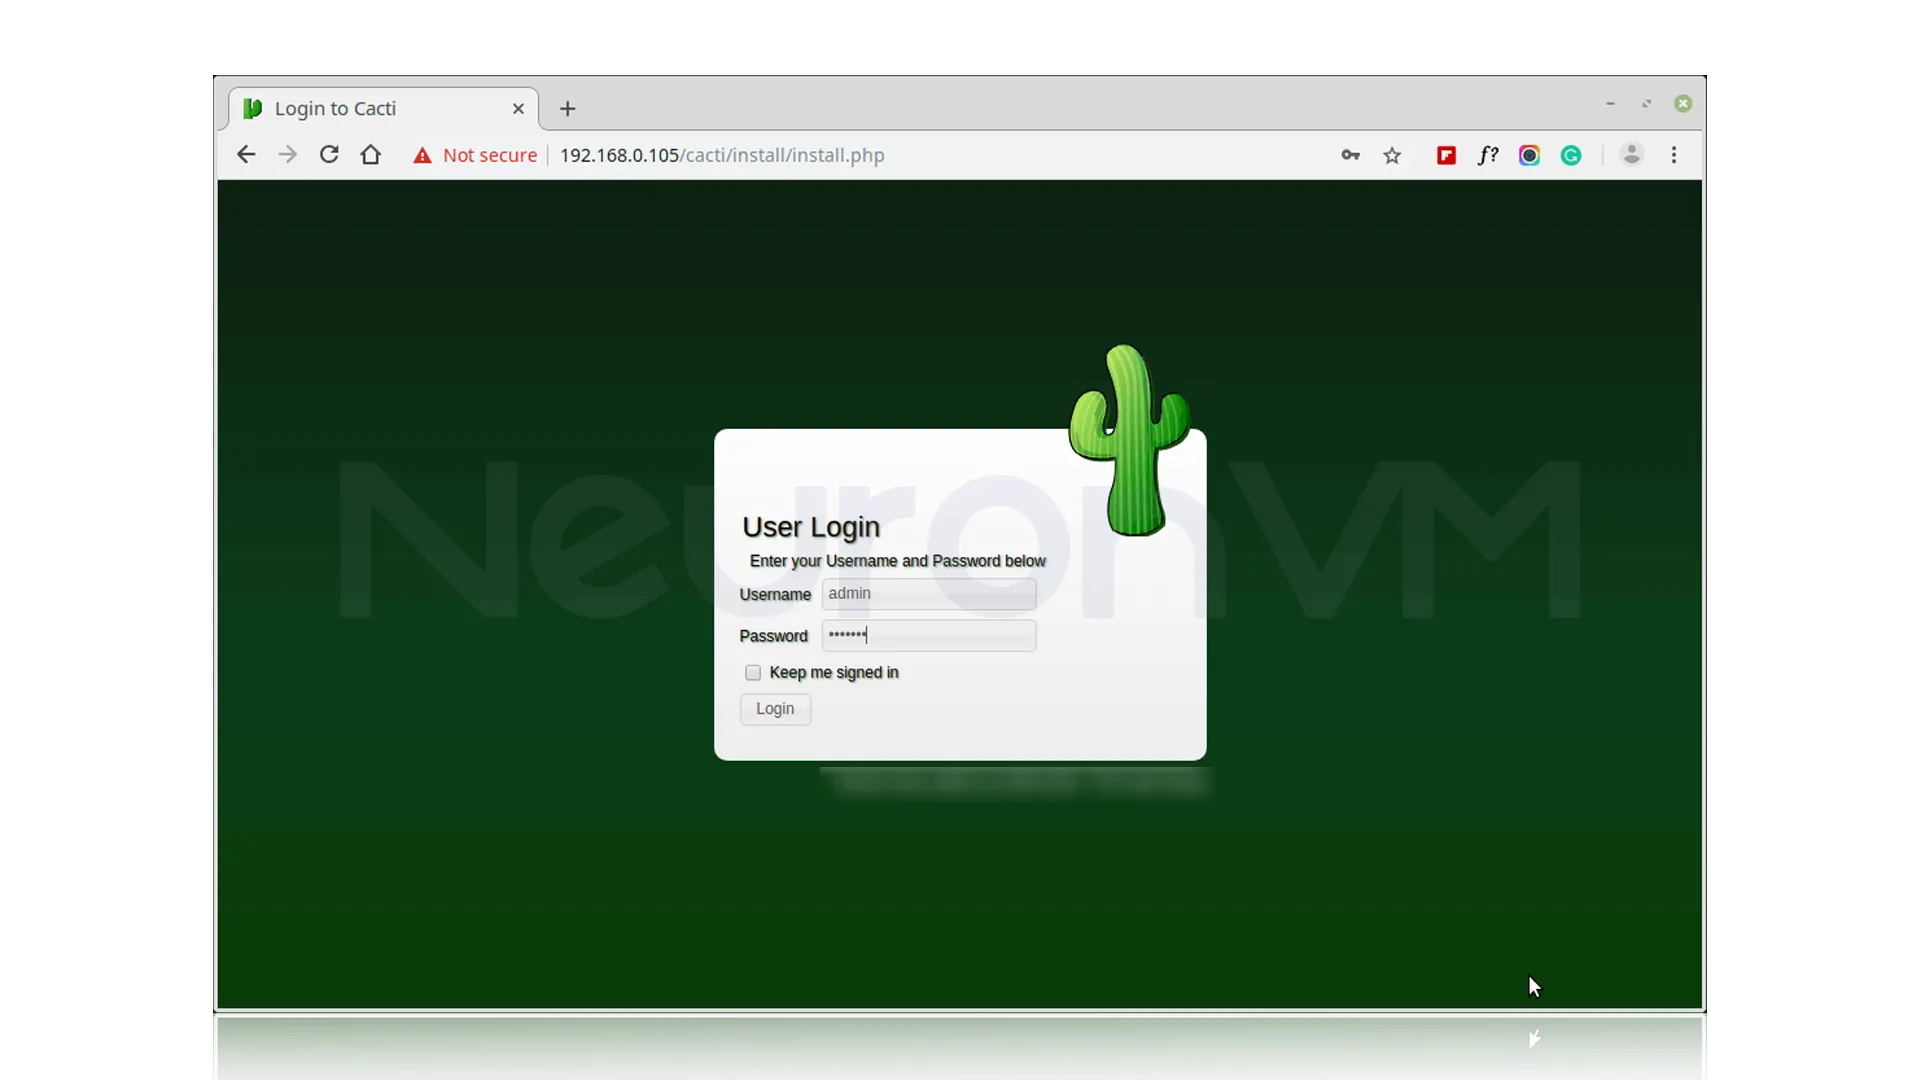
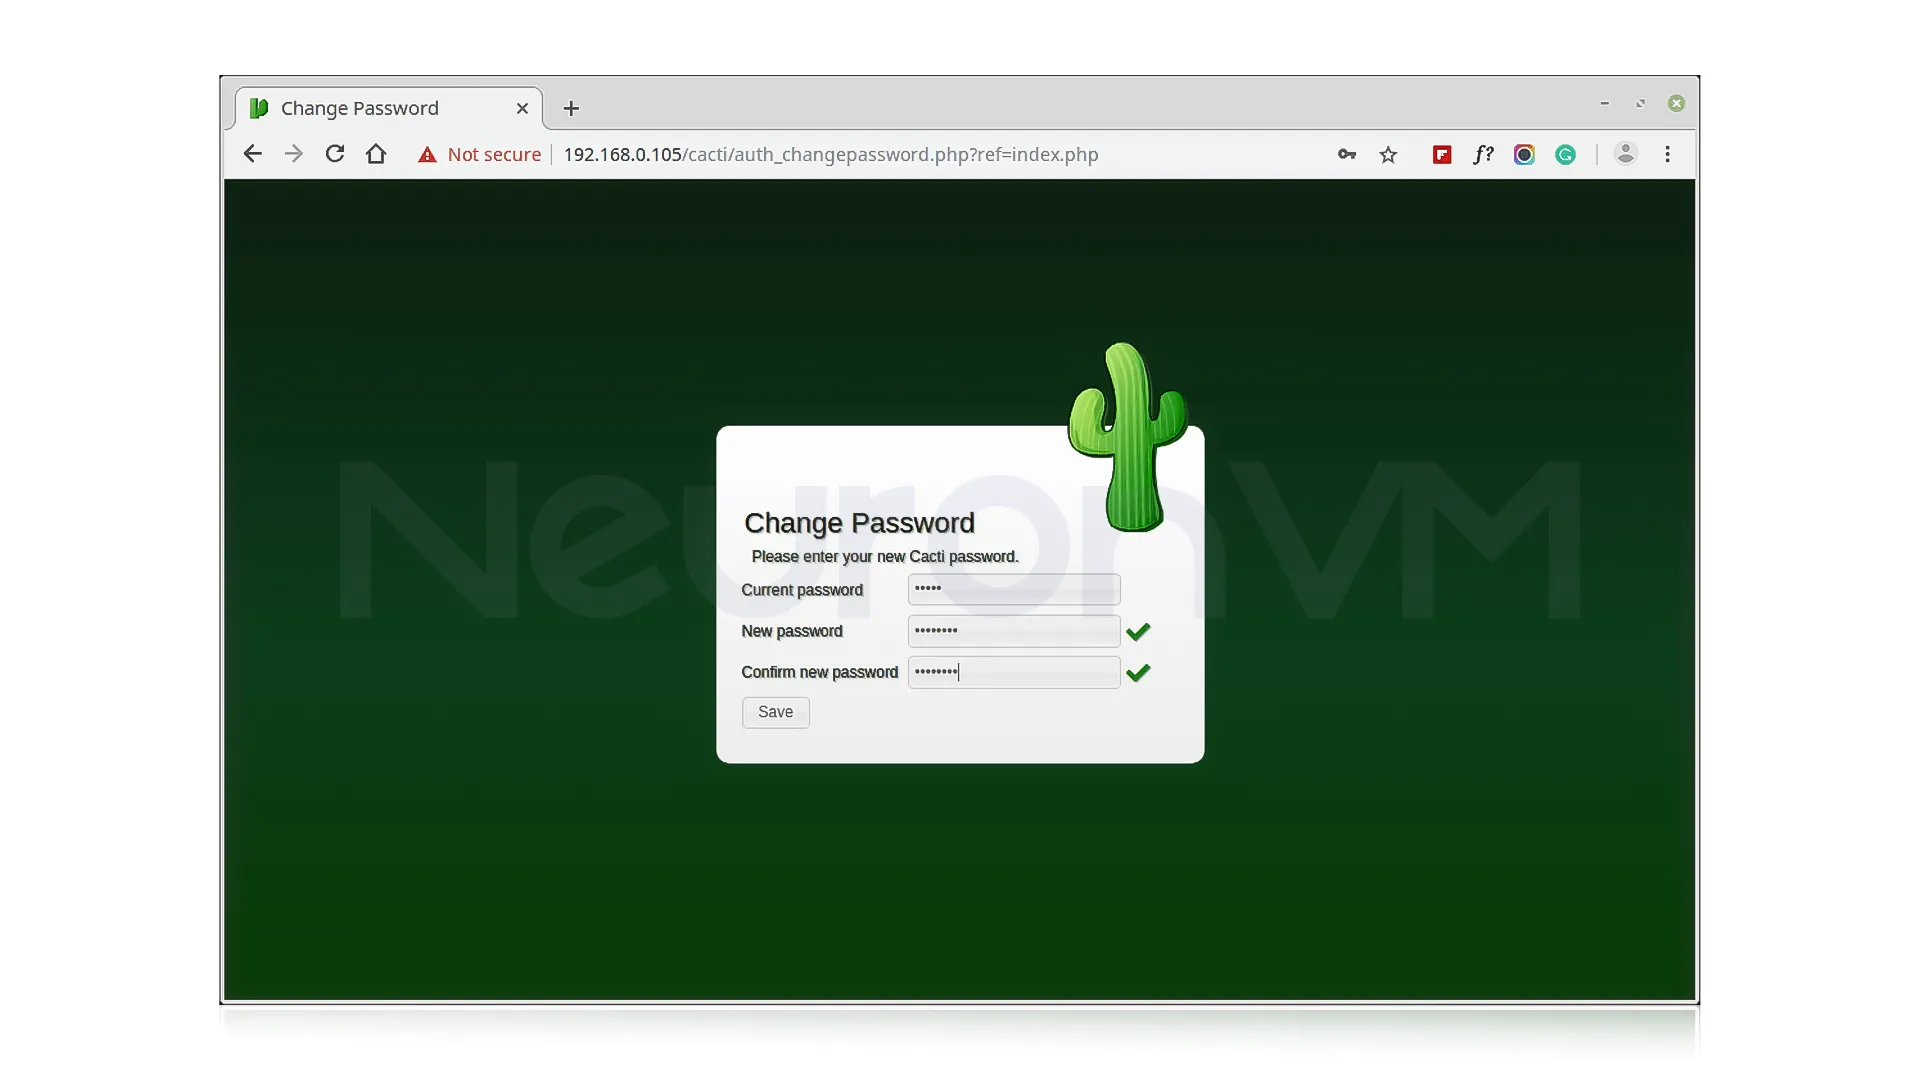
Now you need to change the default Cacti password:
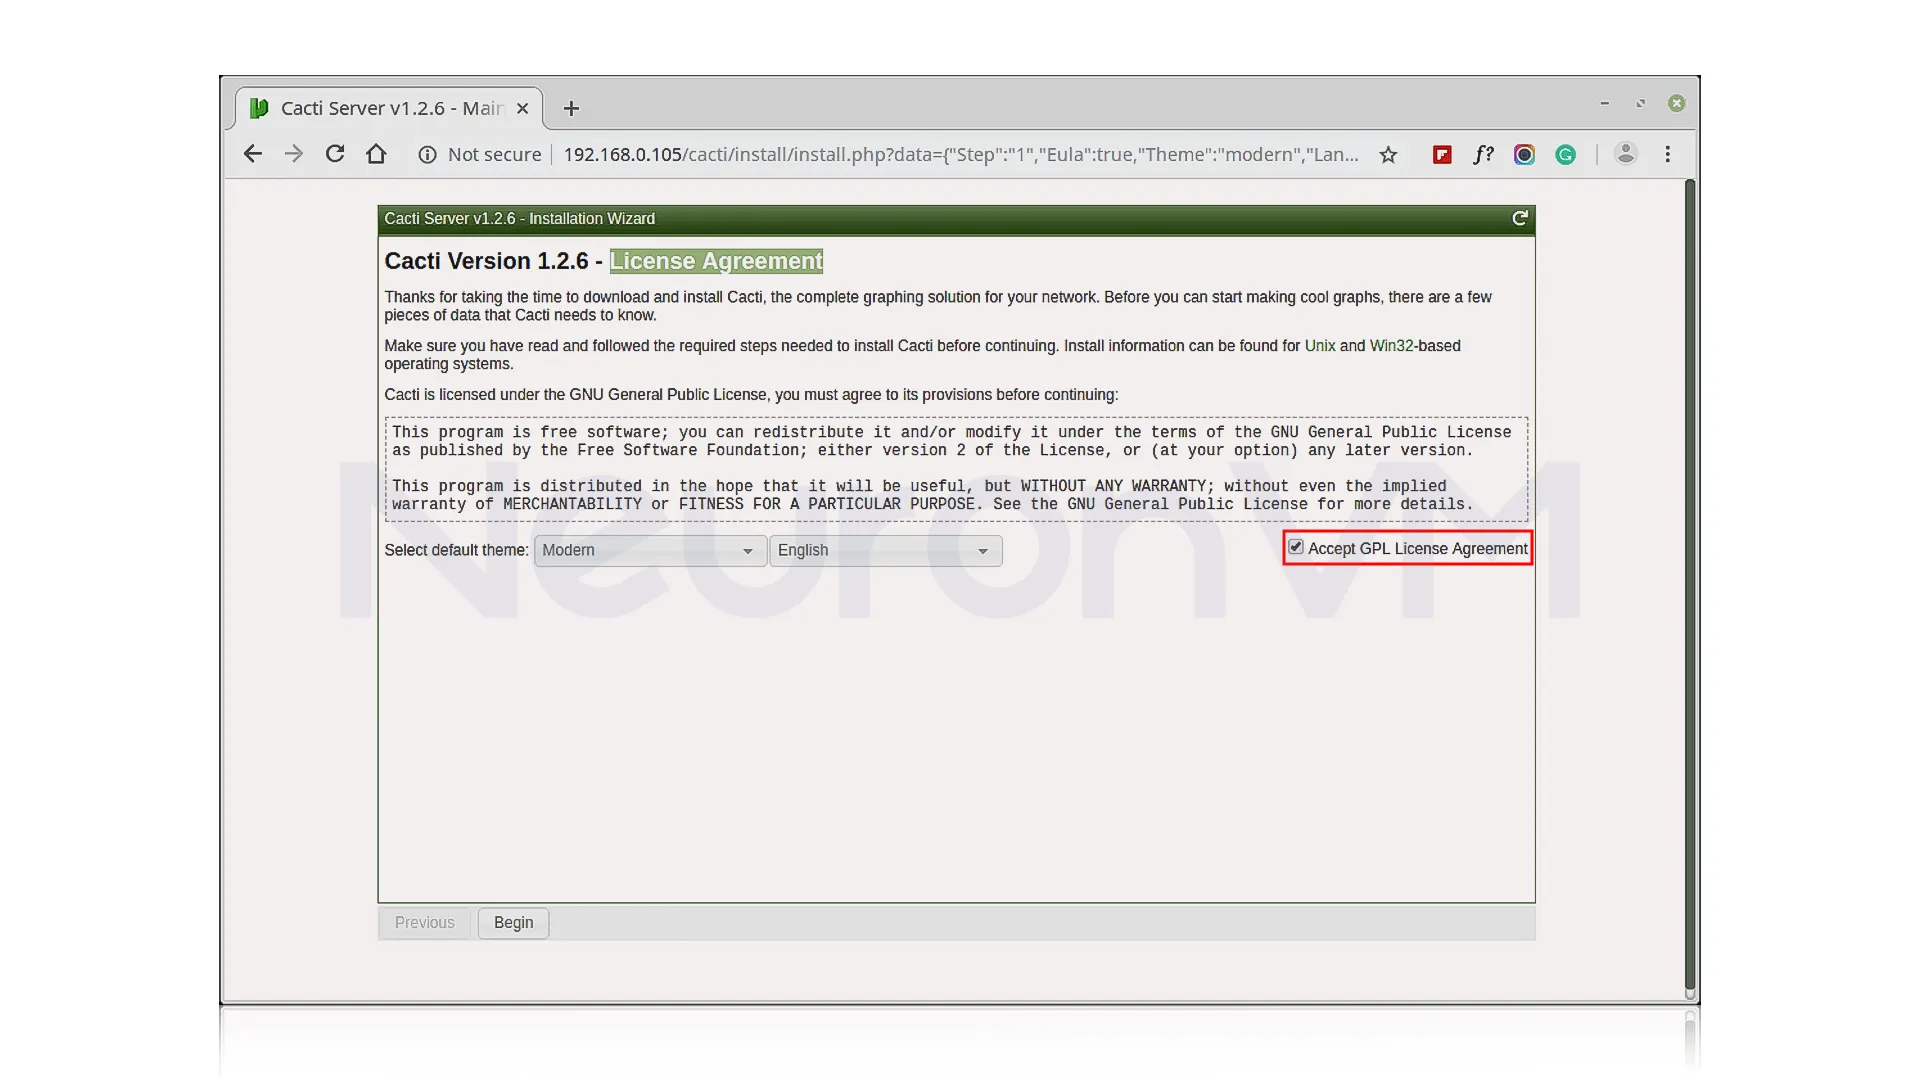
Check the Cacti License Agreement box:
Step 10: Complete Installation Wizard
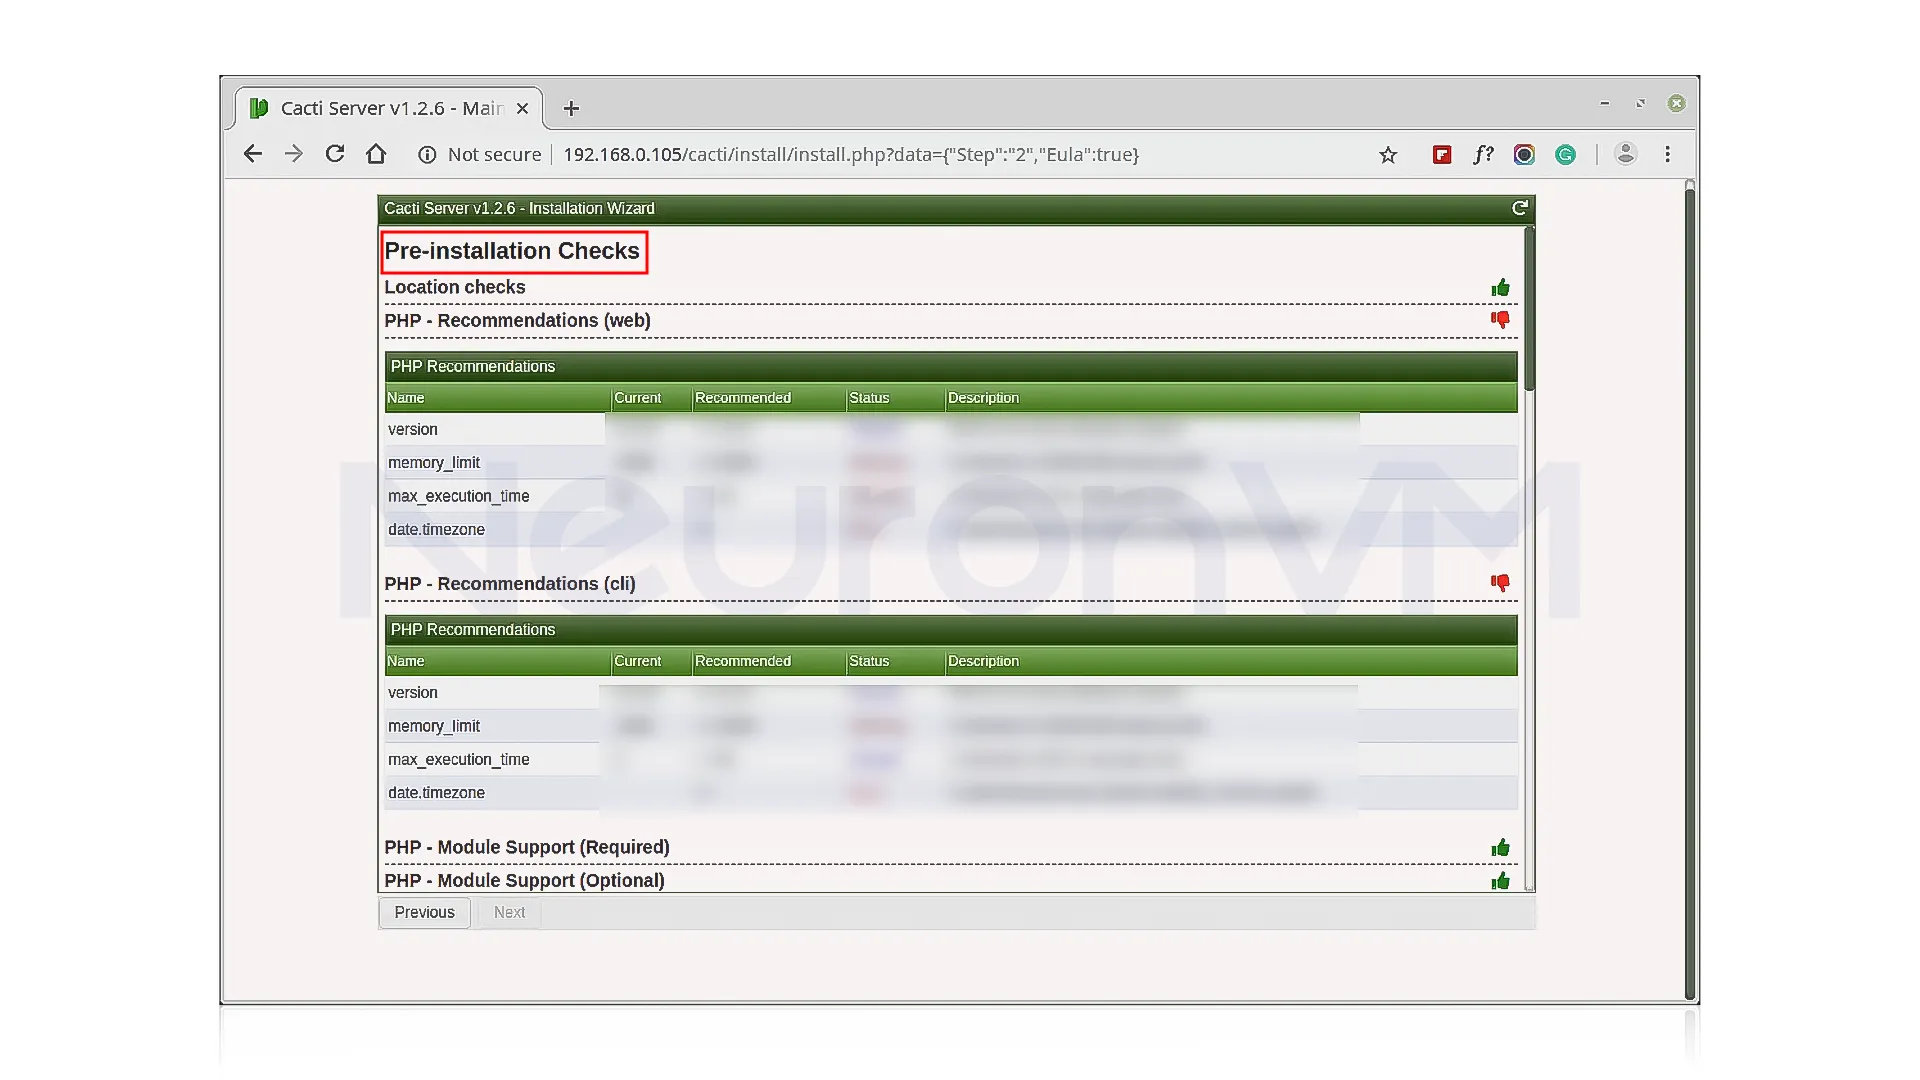
In this step, the screen shows Pre-install Checks for Cacti installation. Then you should correct the suggested settings in your /etc/php.ini file as shown in the image, and restart Apache after making the changes:
memory_limit = 800M
max_execution_time = 60
date.timezone = Asia/Kolkata
Now you should give the Cacti user access to the MySQL TimeZone database so that the database is filled with TimeZone global information:
mysql> use mysql;
mysql> GRANT SELECT ON mysql.time_zone_name TO cacti@localhost;
mysql> flush privileges;
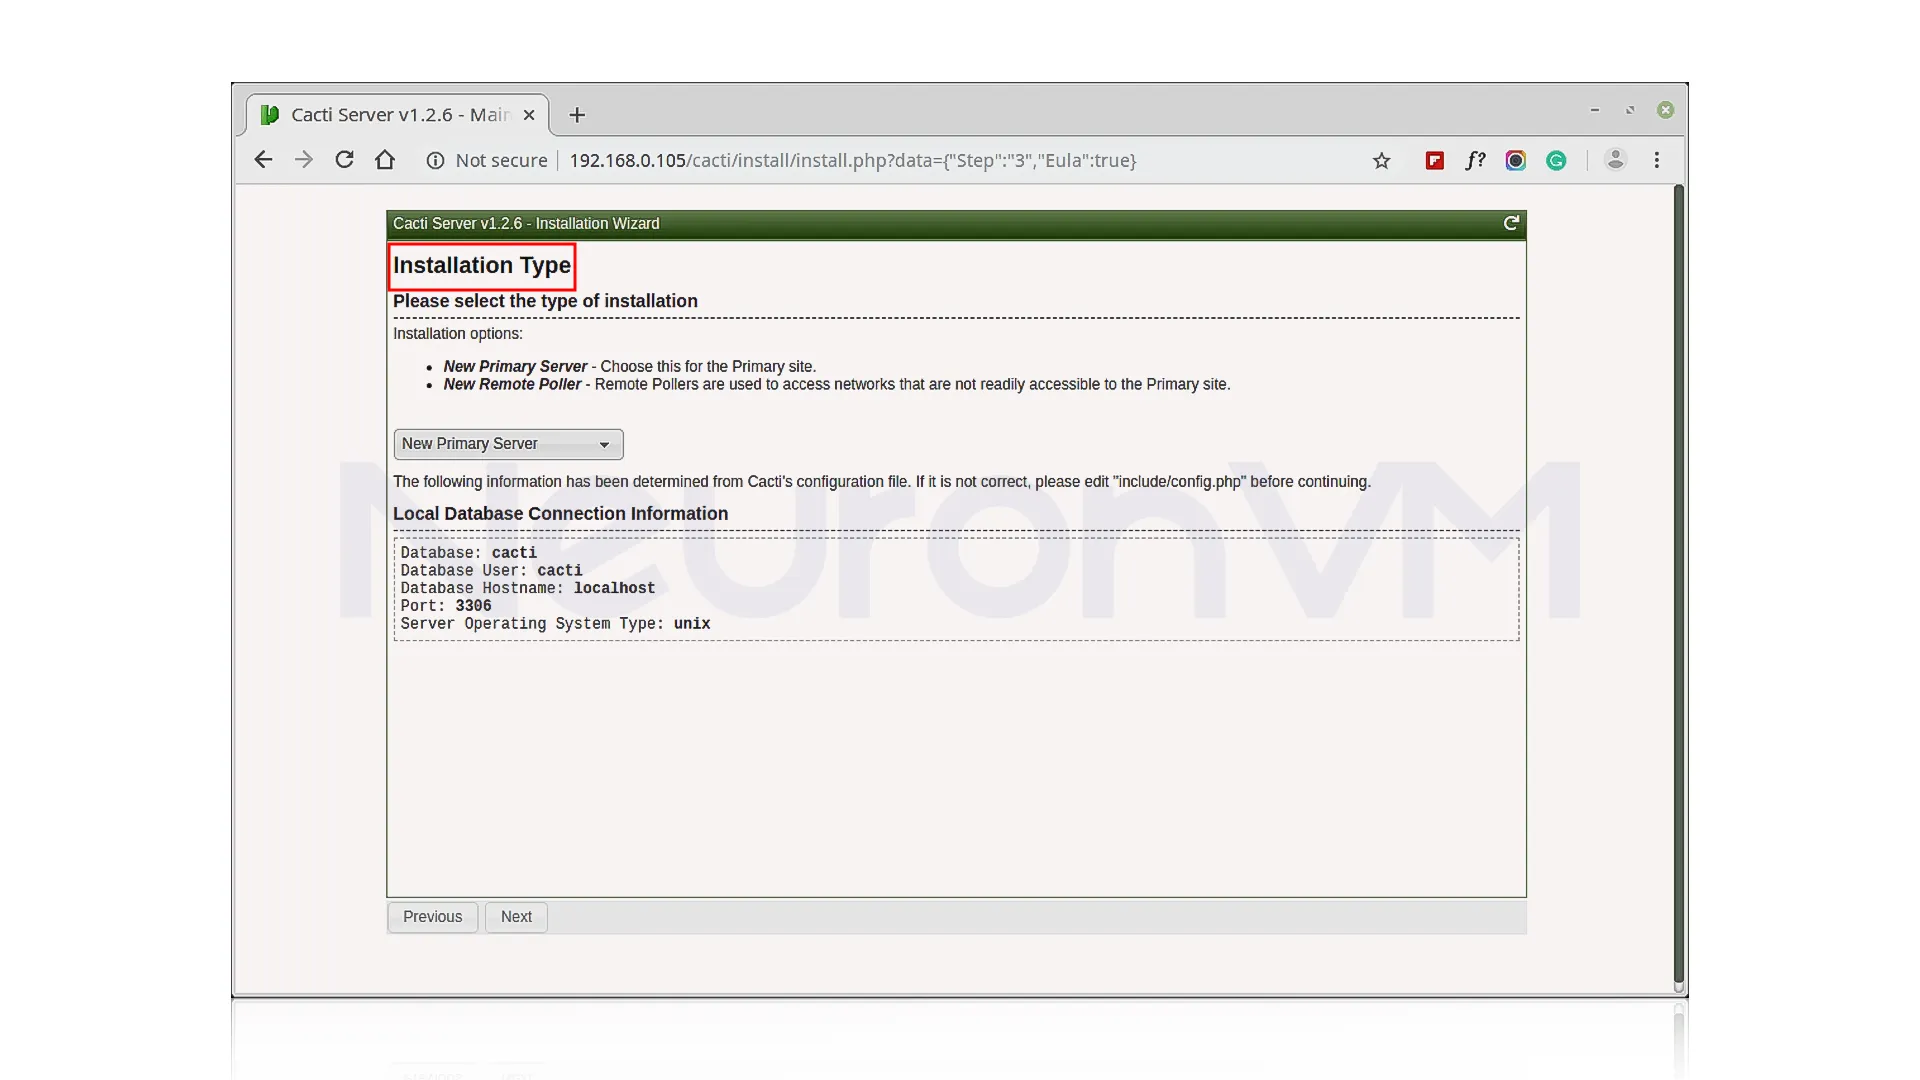
In the installation type, you must select “New Install“:
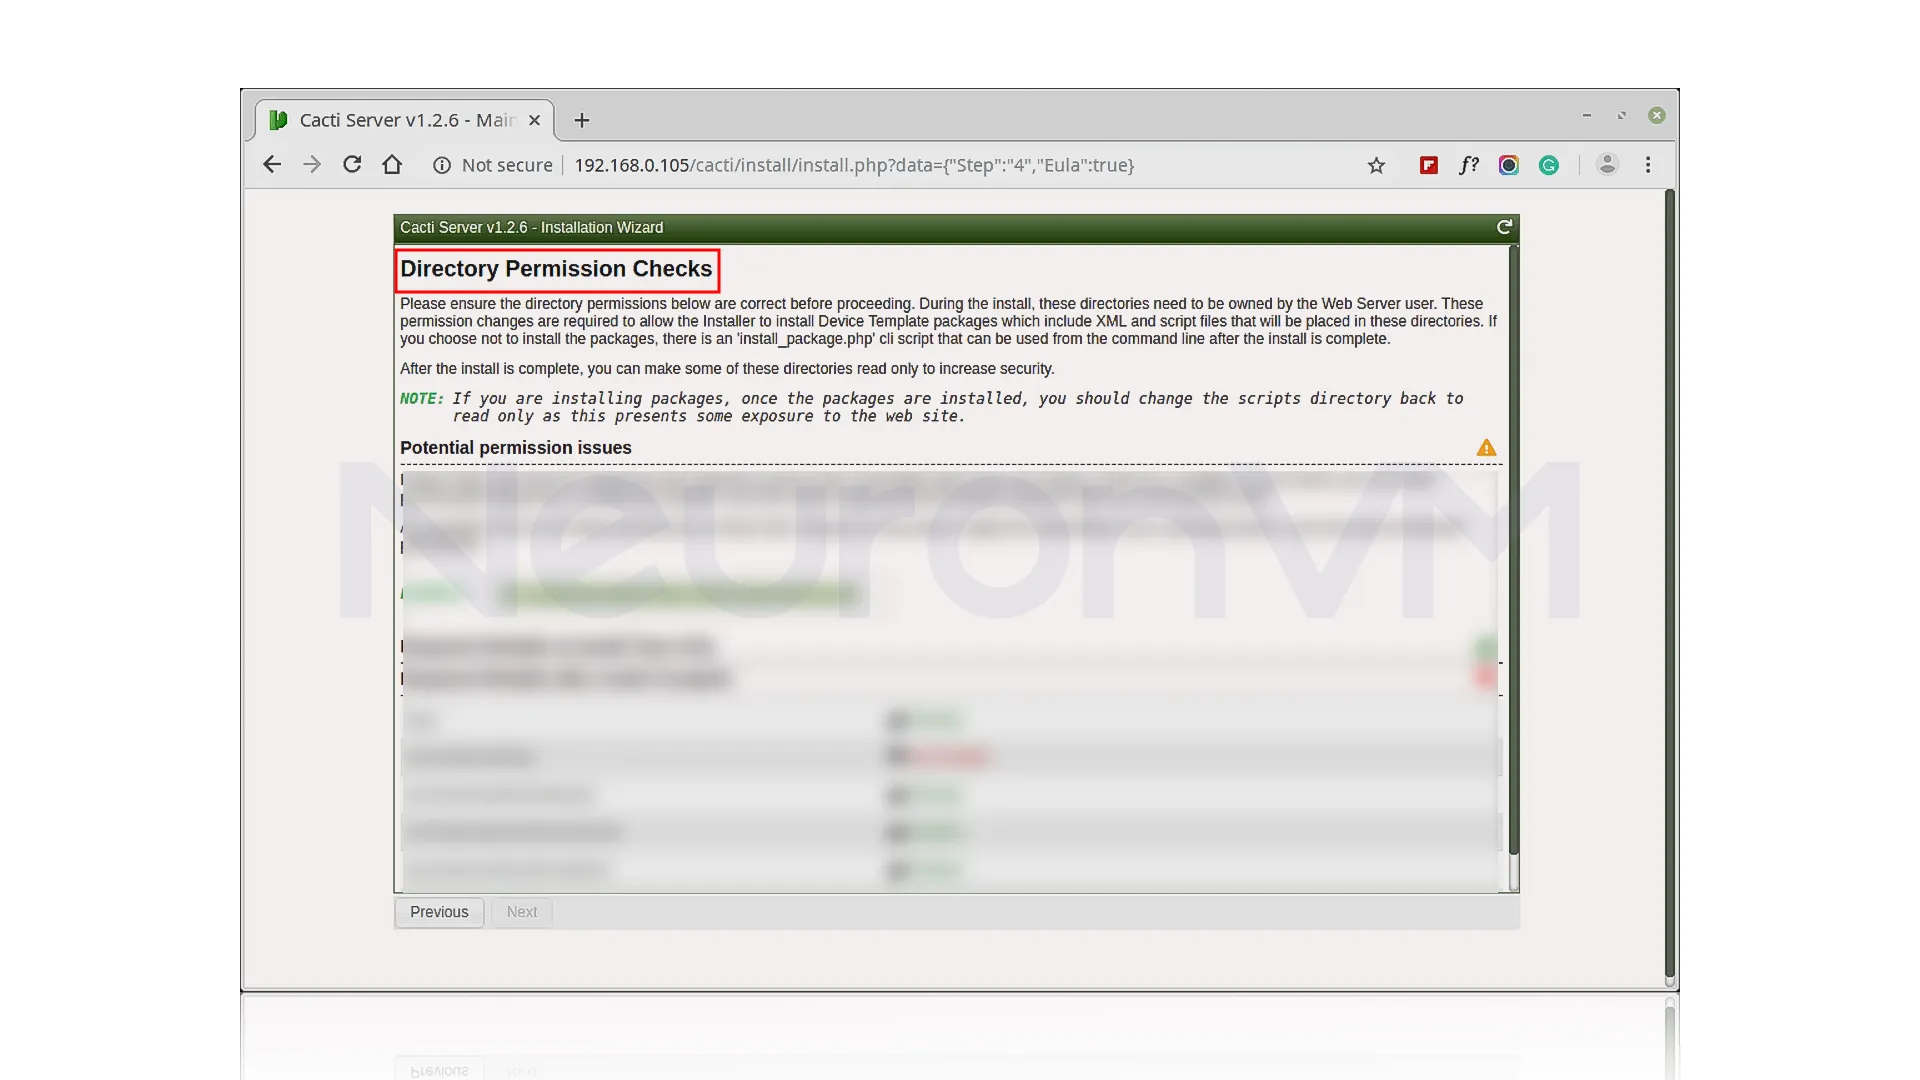
Make sure all permissions in the following directory are correct:
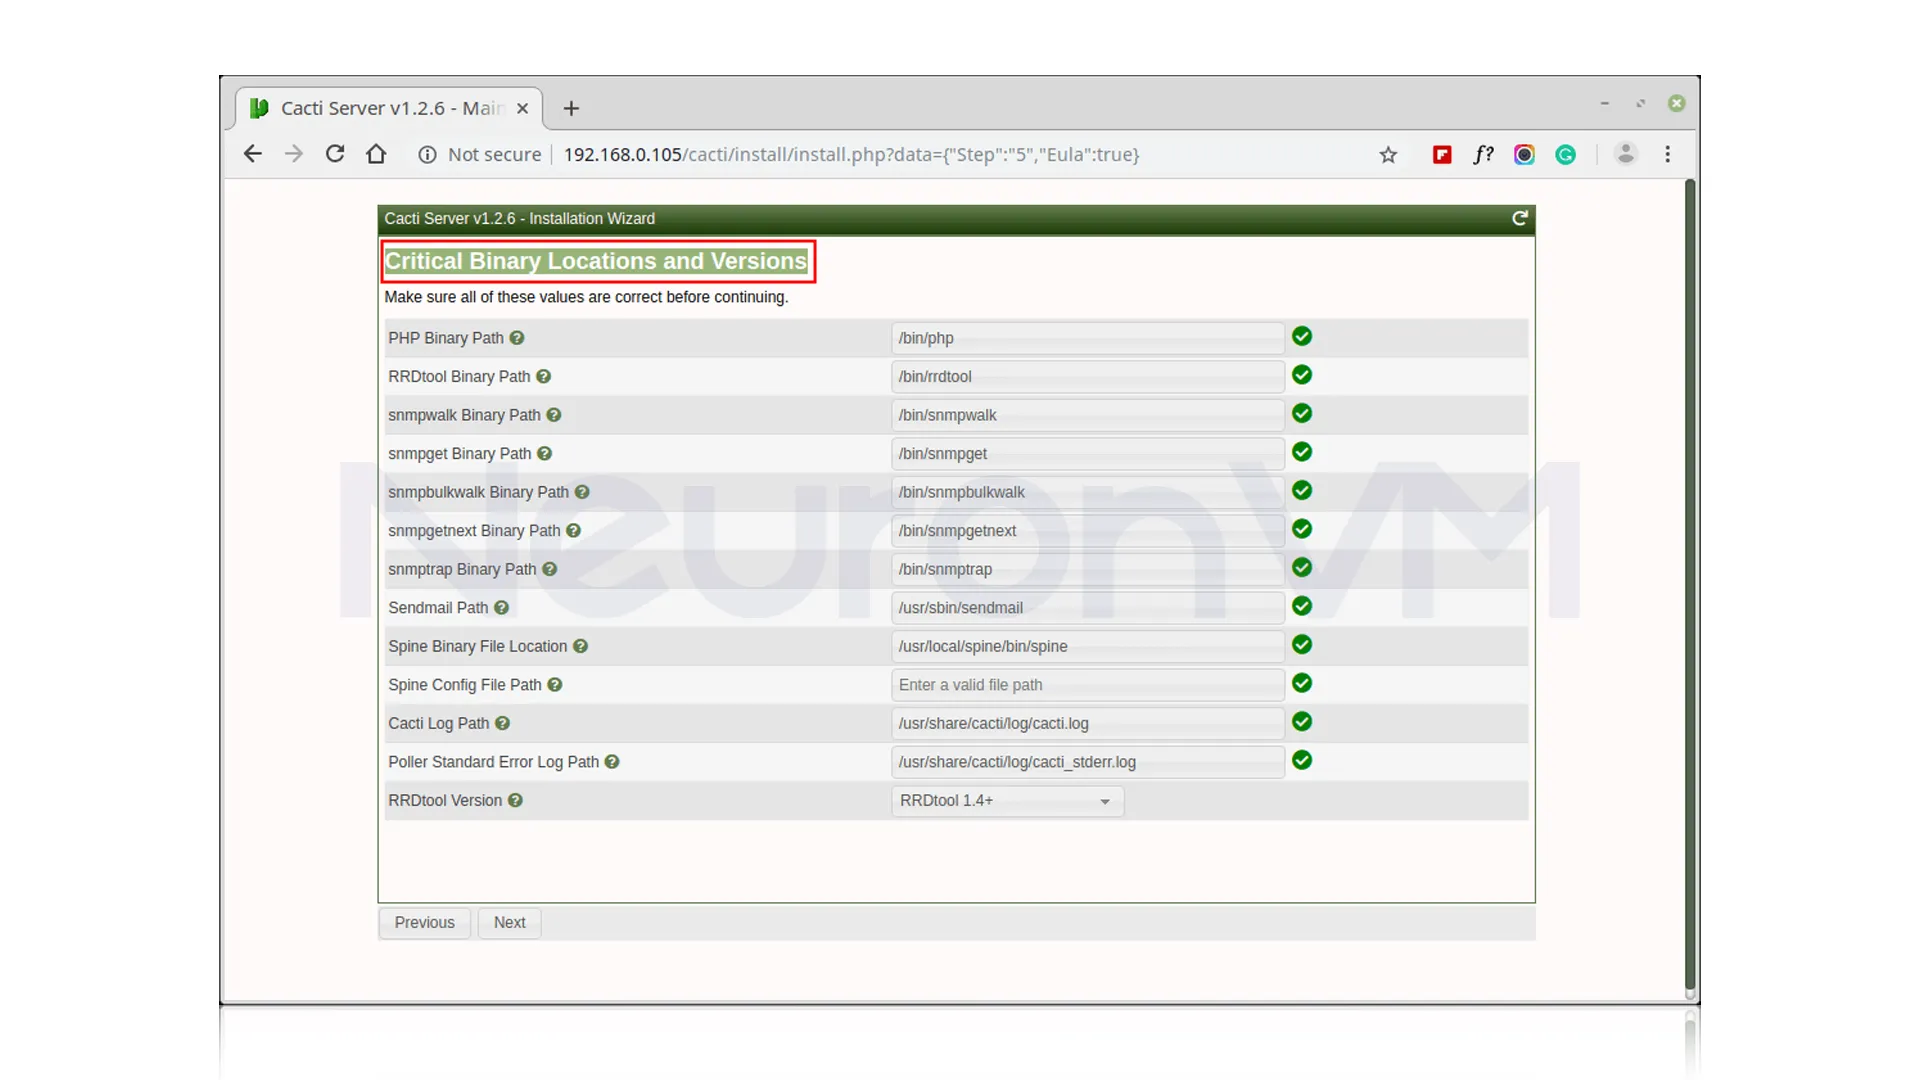
Then you need to know that all of these Critical Binary Locations and Versions values are correct:
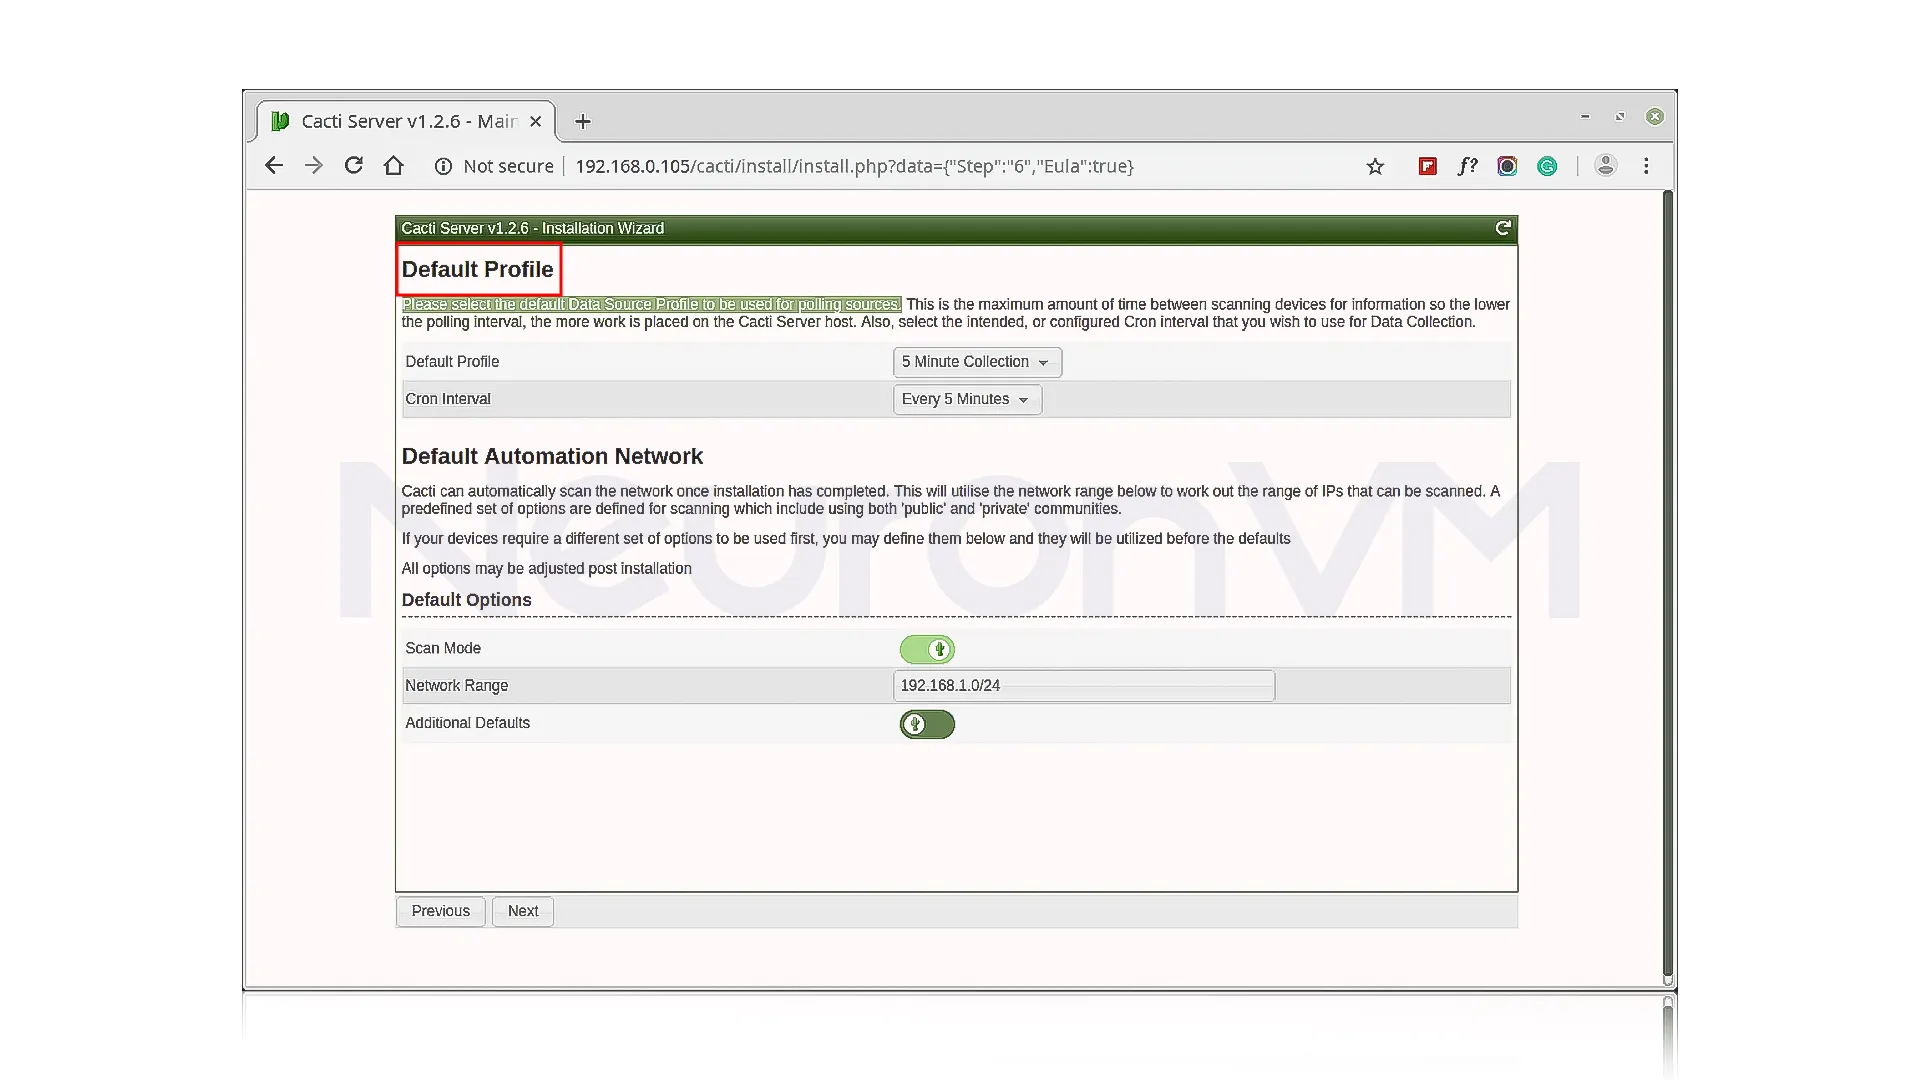
In this step, you should select the default Data Source Profile to use in the polling sources:
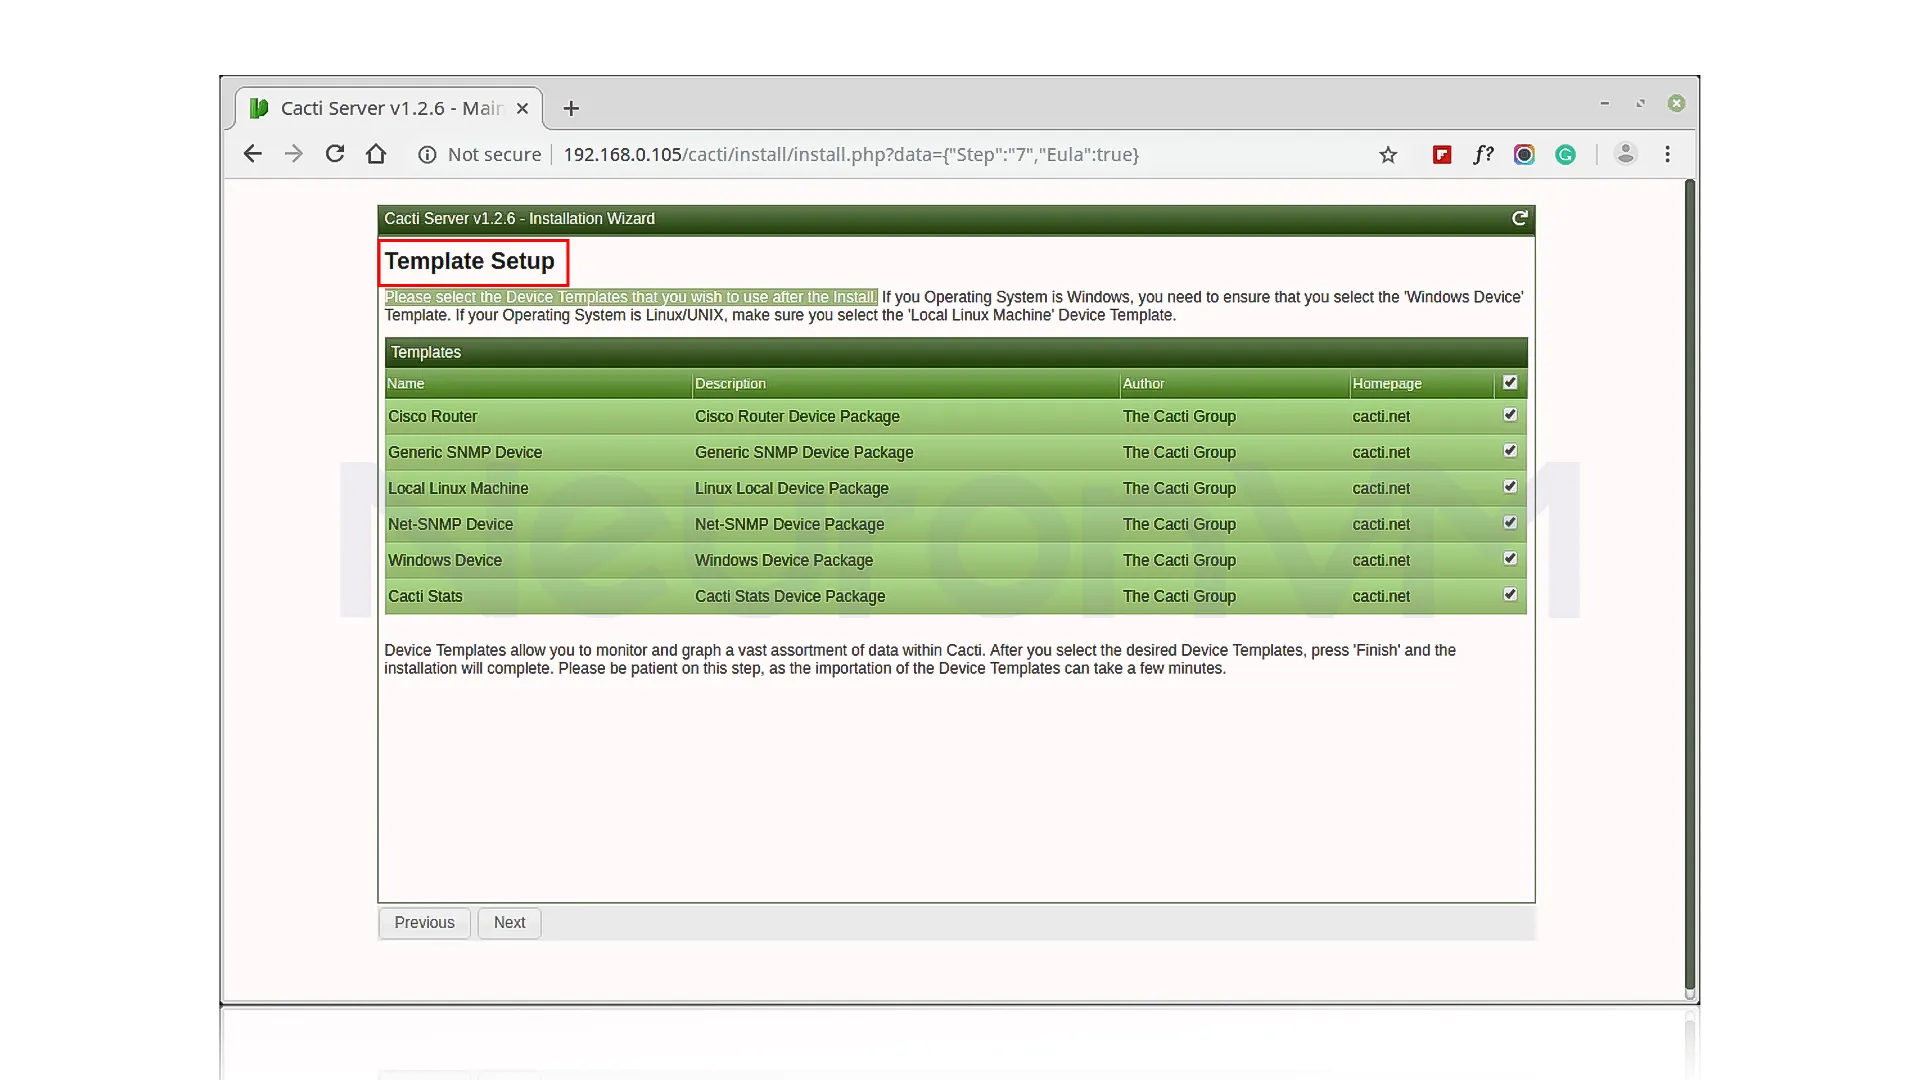
Now you need to select the Device Templates that you want to use after installing Cacti:
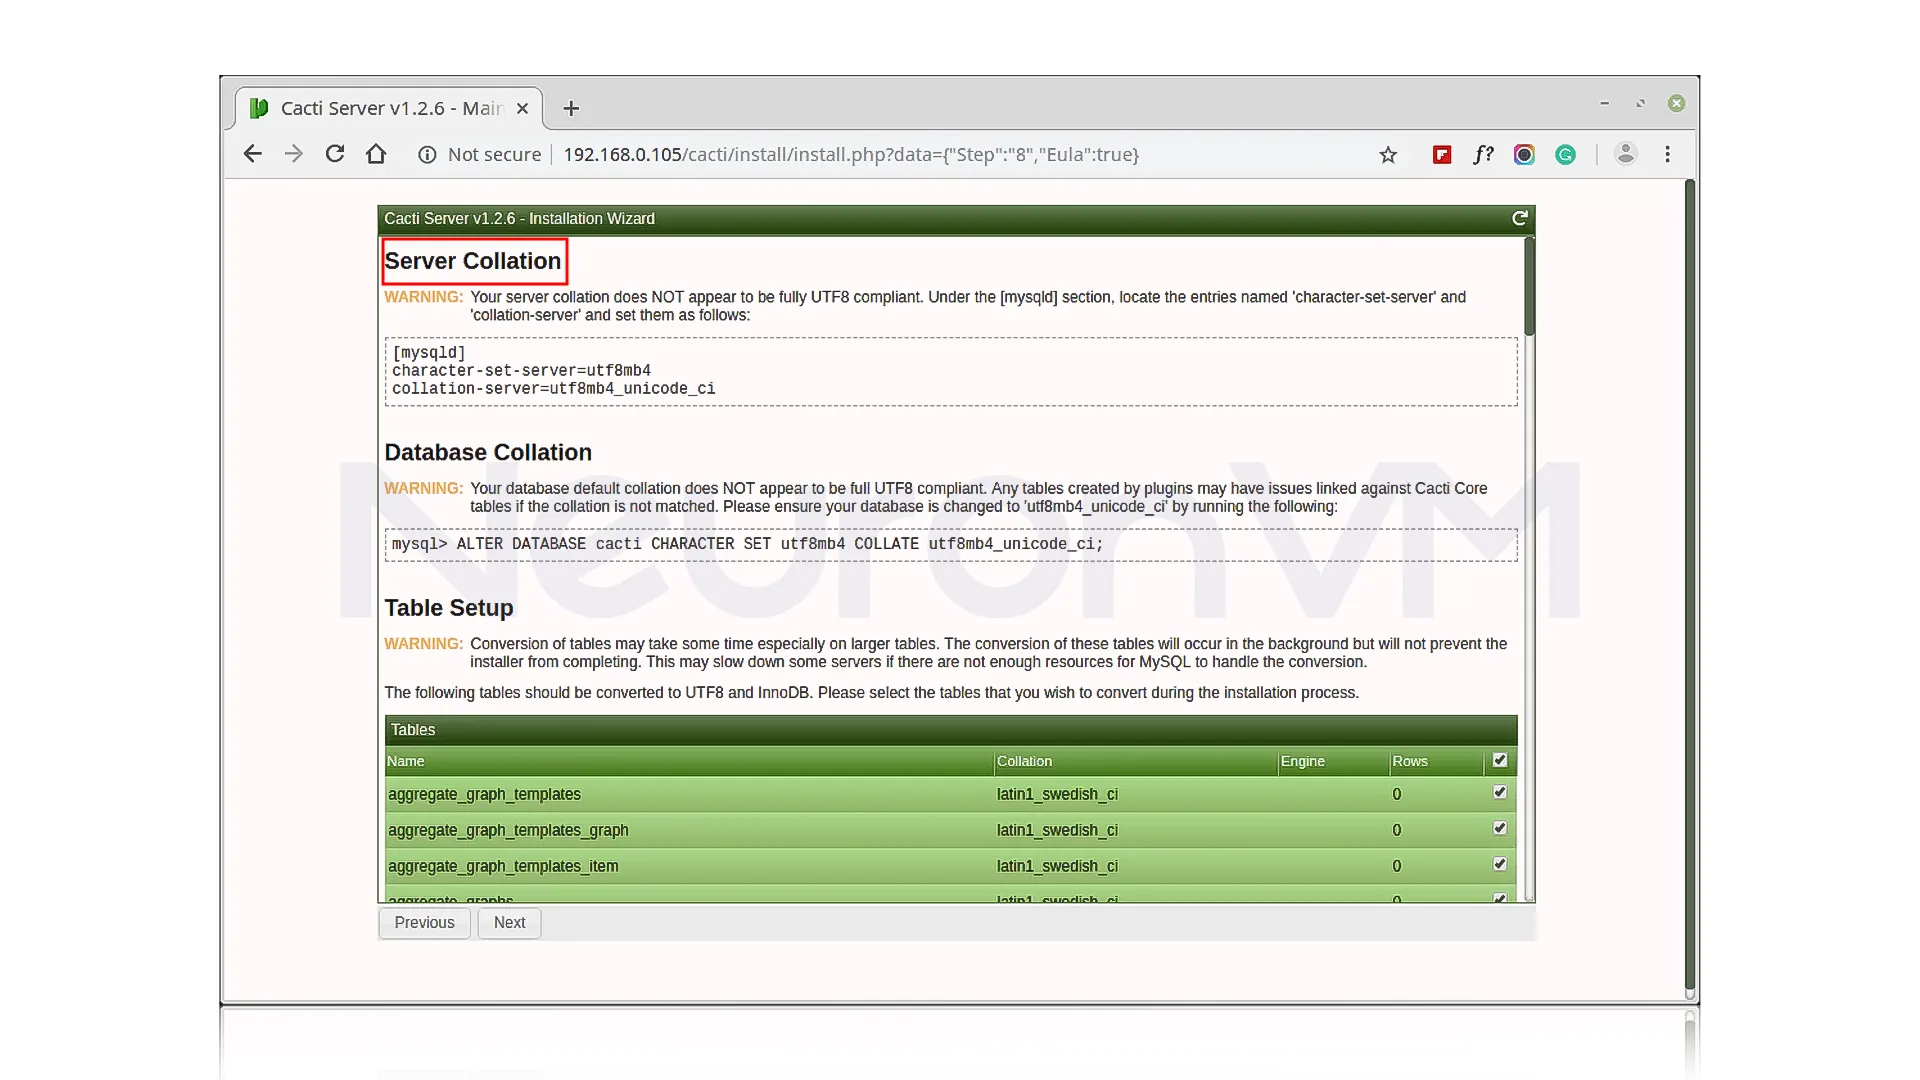
Next, you should set the Server Collation in your MySQL /etc/my.cnf configuration file under the [mysqld] section:
[mysqld]
character-set-server=utf8mb4
collation-server=utf8mb4_unicode_ci
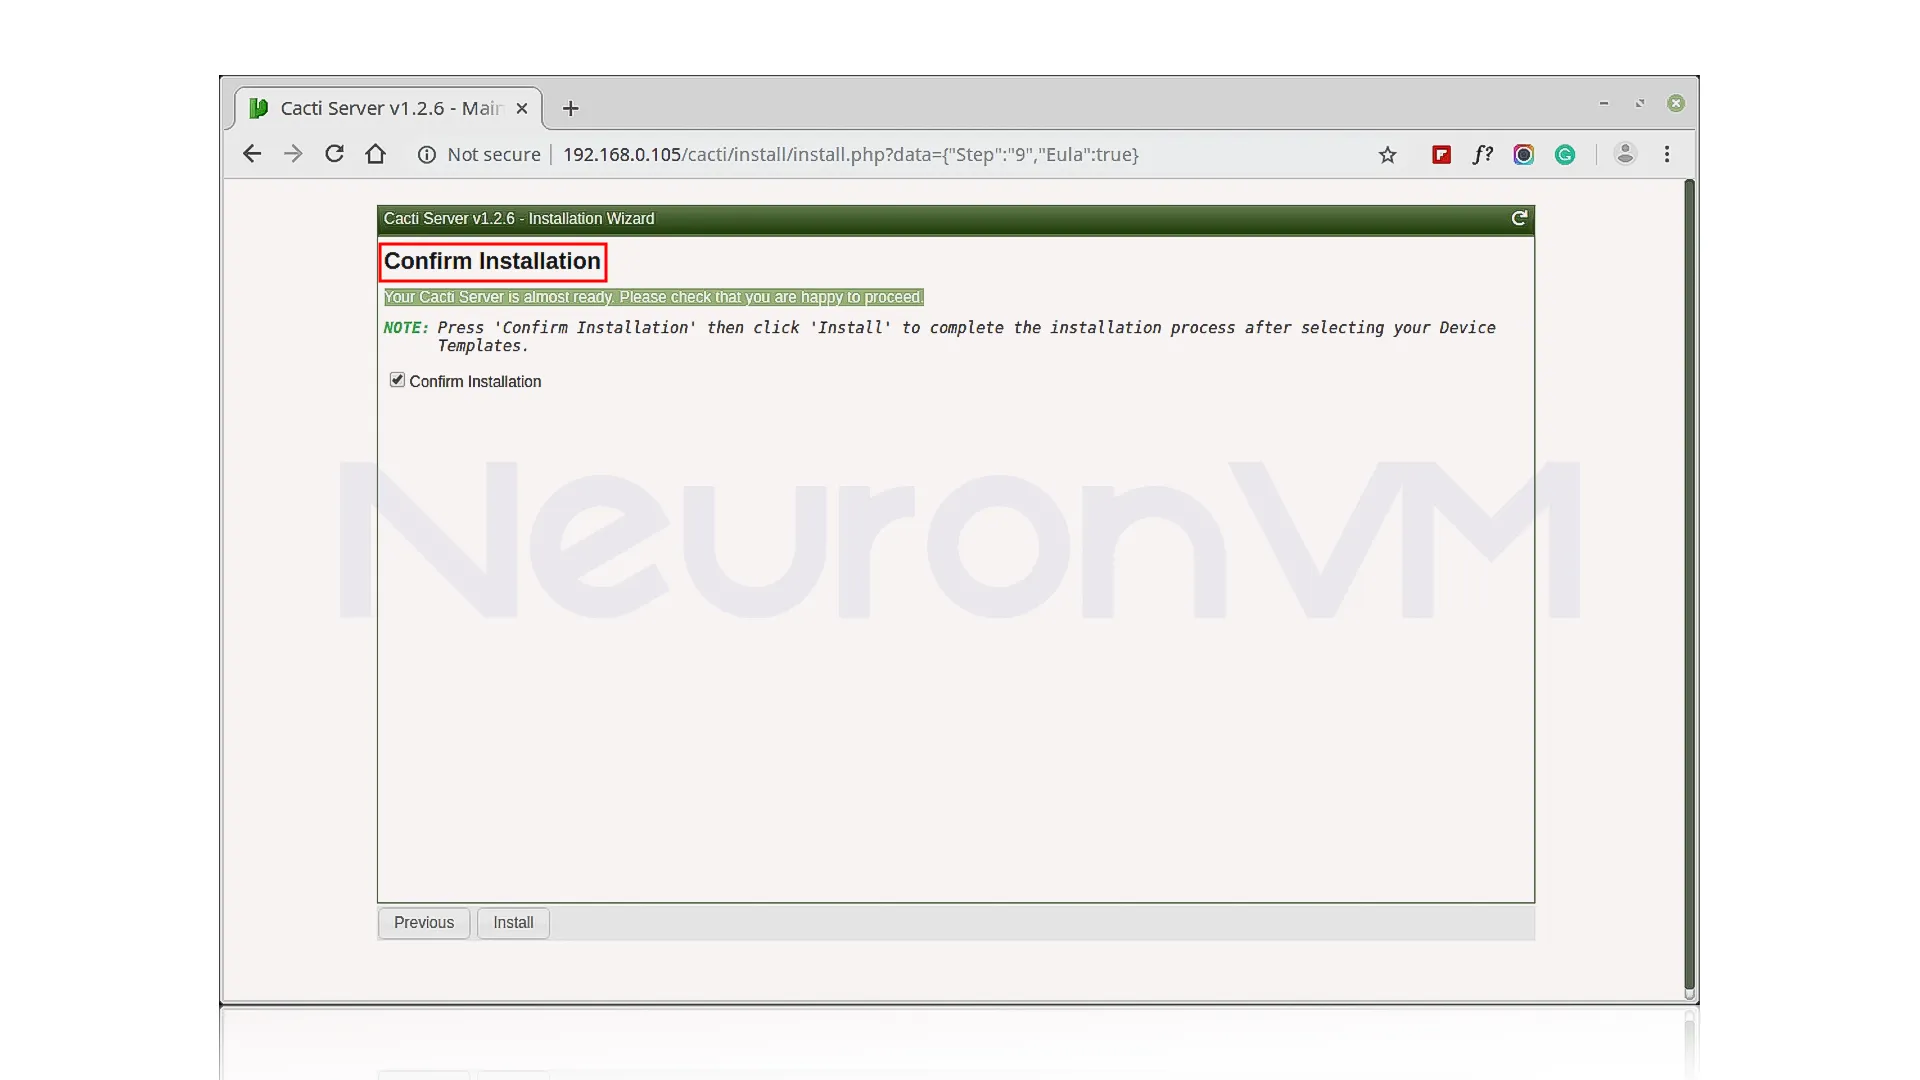
Then check the Confirm Installation box and wait until the end of the process:
***
Real-World Example
One of my friends was struggling to track CPU load on the router and switches after installation, but after setting it up and seeing live graphs, which helped him find a device using two bandwidths, and in just a few minutes, he was able to fix the problem and in just a few minuets he was able to fix the problem and keep my network run perfectly.
Why Cacti Stands Out
- Lightweight and fast
- Flexible graphing with RRDTool
- Easy combines with other tools
- Great for both beginners and advanced users
Compared to Nagios, which focuses more on alerts, Cacti shines with visual data over time, for admins, Cacti is ideal.
Troubleshooting Tips
Graphs not showing: Check if cron is running poller.php every 5 minutes.
Database errors: Verify db.php credentials match your MySQL settings.
Access denied: Double-check Apache’s cacti.conf permissions.
Conclusion
Installing Cacti on Fedora 34 is straightforward if you follow these steps, beyond installation, its graphs and charts give you powerful insight into your network’s health, by using Cacti, you can easily manage your devices and understand your network like a professional.
It is a tool to monitor and graph network and system performance.
Yes, it's used to store Cacti's data.
You might like it