How to Clone Root Disk in Linux Mint 21.3 [Step-by-Step Guide]
![How to Clone Root Disk in Linux Mint 21.3 [Step-by-Step Guide]](https://neuronvm.com/wp-content/uploads/2025/03/how-to-clone-root-disk-in-linux-mint-21.webp)

 Study duration :
14 Minutes
Study duration :
14 Minutes
 0 Comment
If you’re worried about data loss, cloning your root disk in Linux Mint 21.3 is the safest solution, in this guide, we will walk you through the process of “How to Clone Root Disk in Linux Mint.” This article is just made for the people using Linux Mint 21.3, We will make it easy, so you can keep your Linux Mint safe.
If you want a safer, faster alternative to manual disk cloning, you can get a ready-to-use Linux Mint VPS with full root access and SSD storage.
Why Clone Root Disk in Linux Mint?
Making a copy of your main Linux Mint drive is a really smart move, because this process is like having a security net; it will save all your files, and you can use the copy to get all your files back, if you use a new hard drive like an SSD, you can use this to move everything and setup many computers.
Not everyone wants to deal with cloning tools or commands. If that’s you, deploying a Linux Mint 21.3 VPS in seconds could be your ideal solution.
A Guide to Clone Root Disk in Linux Mint
Cloning your Linux Mint is essential for backups and recovery, You can use different tools like the command line and Clonezilla to achieve this goal of yours.
Prerequisites
●Tools:
- Command Line (dd)
- Clonezilla
- GParted
⚠️Note: Before starting, make sure both the source and destination drivers are connected, and also that the destination drive is the same size or larger.
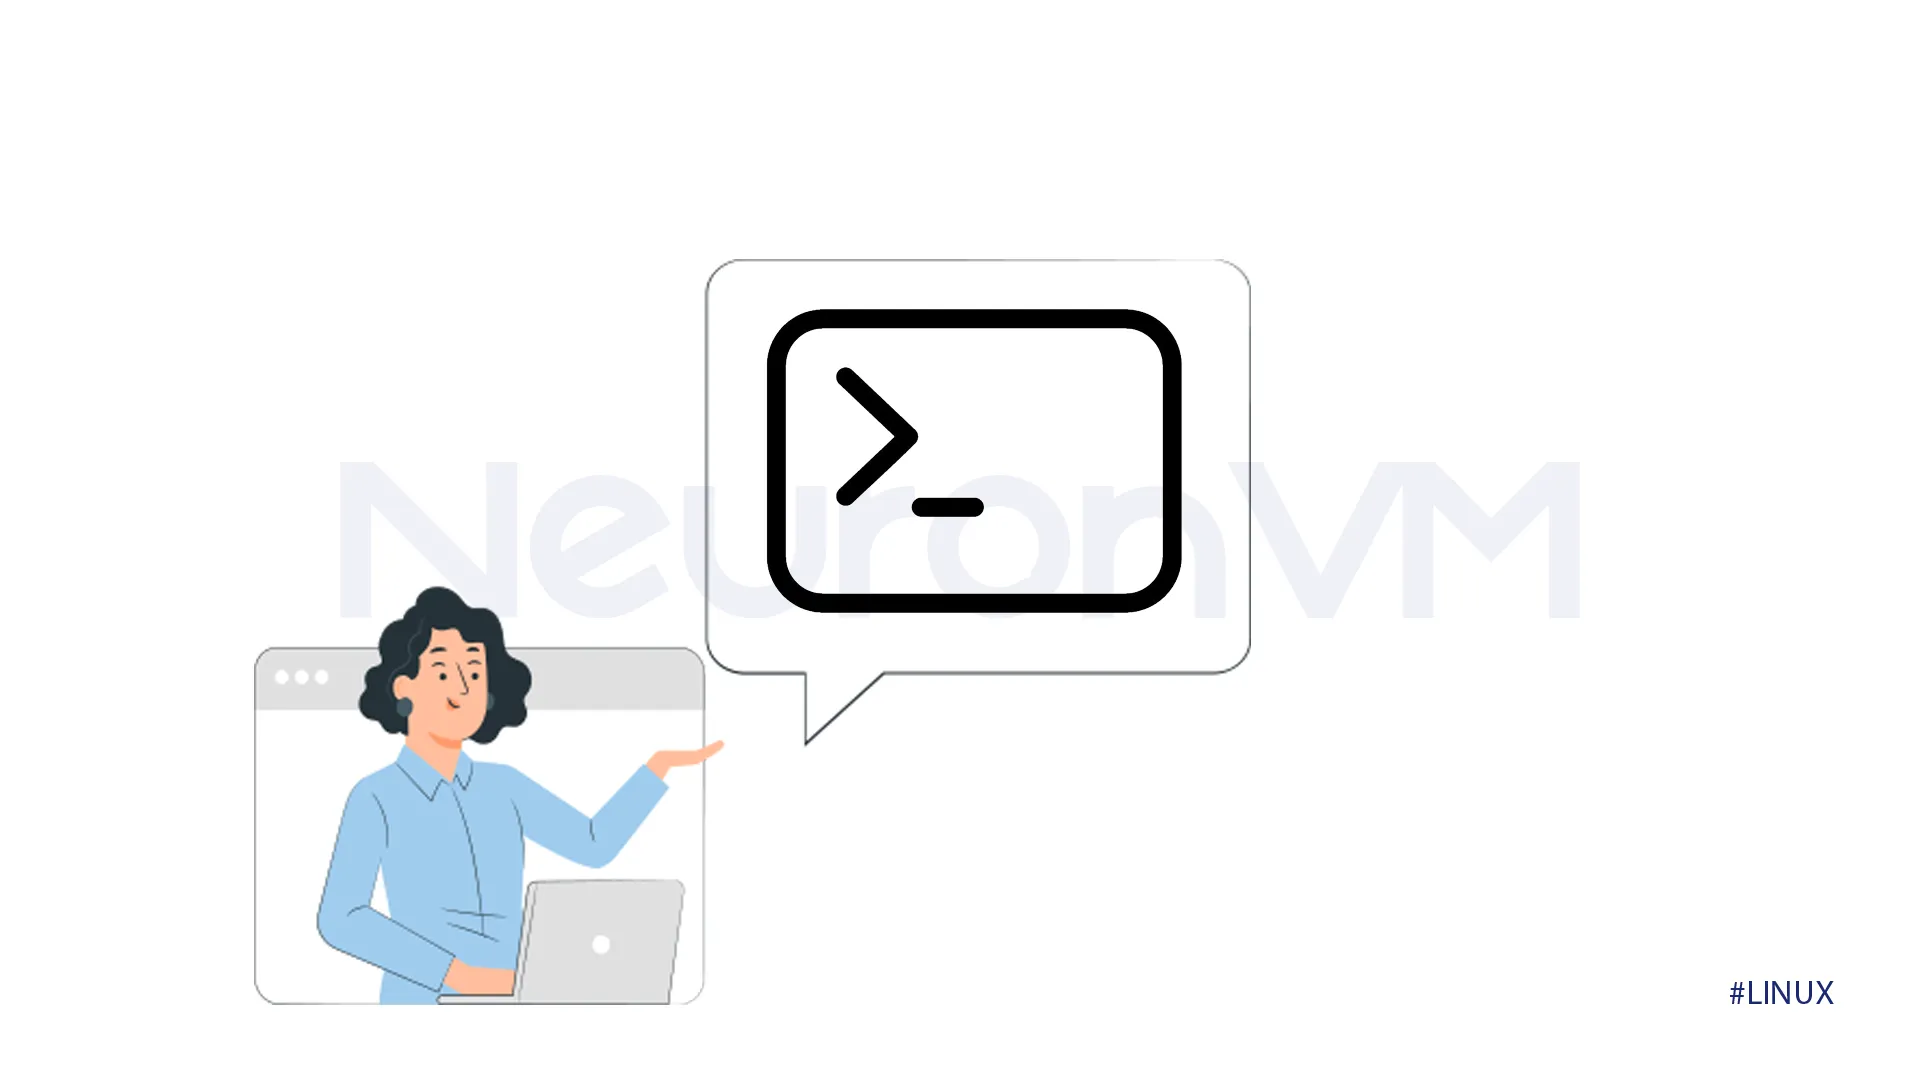
✔️Method 1: Clone root disk in Linux Mint 21.3 using dd
●Identify Drives
For the first step, you need to find the names of your old drive and new drive, but be careful because if you choose the wrong drive, you could lose all your data, You can try using the program named “Disks” to find the right names but it is easier to enter the following commands in the terminal.
lsblk
sudo fdisk -l
●Turn off the Old Driver Files
Before you copy your hard drive, make sure to “Unmount” it, which will tell your computer to stop using the files on it, You can do this by entering the unmount command in Terminal.
umount
Then use the following command, replacing /dev/sda1 with the appropriate partition.
sudo umount /dev/sda1
●Make a Copy of The Old Drive
To clone the source drive, enter this command in the terminal.
sudo dd if=/dev/sda of=/path/to/image.img bs=4M status=progress
The status=progress option displays live feedback during the cloning process
⚠️Note: This process might take a long time, depending on the size of your drives.
●New Drive
After you have made a copy of the old drive, use this command to put the copy into your new drive.
sudo dd if=/path/to/image.img of=/dev/sdb bs=4M status=progress
●Verify Success
After the process is done, you need to verify that the destination drive is a successful clone, you can do this by trying to boot the computer from the new drive, and if it boots to Linux Mint successfully, it is verified. You can also verify it by running a file system check on the new drive.
sudo fsck /dev/sdb1
⚠️Note: Replace/dev/sdb1 with the partition of the new drive, you can also manually check that your important files are present on the new drive.
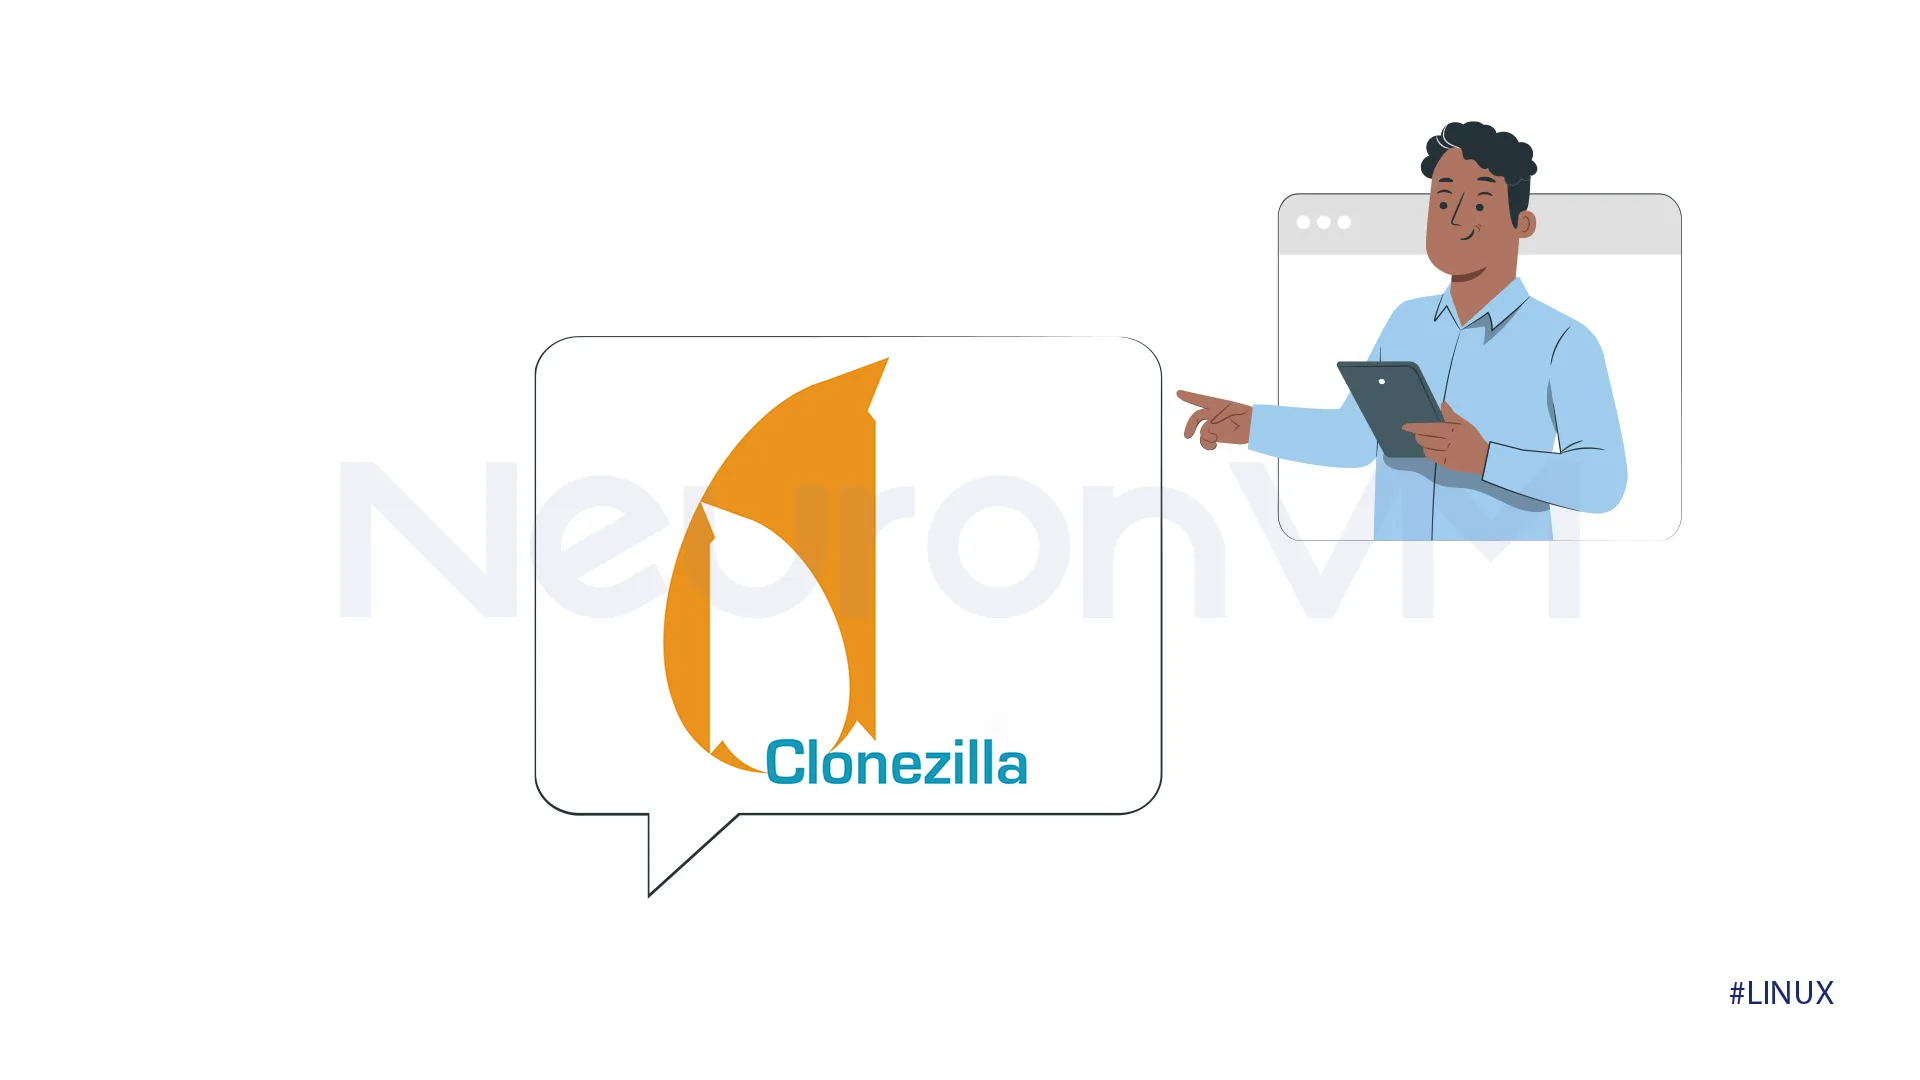
✔️Method 2: Clone root disk using Clonezilla in Linux Mint 21.3
●Download Clonezilla
Download Clonezilla from their main website, and make sure to use a USB drive or DVD that can start your computer, then start your computer from Clonezilla USB or DVD.
●Pick your copy method and drives
Clonezilla will ask you to choose the copy method you want, you can choose between “disk to disk” and “disk to image.” Then, carefully choose your old drive and new drive, and make sure to choose the right ones to protect yourself from data loss.
⚠️Note: Clonezilla will display a list of your selections, review them carefully, and confirm that you want to proceed, then wait for the process to complete, This might take a while.
Once the cloning is finished, Clonezilla will prompt you to power off or reboot.
●Start Copying
Click on the start button to start the copying process, and wait for it to finish.
●Check the new Drive
You need to check to see if your computer can start from the new drive, and all your files are there.
⚠️Note: Make sure to always have a backup of your important files before starting this process, and pay attention to pick the right drives.
●Pro Tips for Faster Cloning
There are a few tricks you can try to make your cloning go faster, You can try to plug your old and new drives directly into your computer’s motherboard instead of using USB cables, which will make data move faster, you can also close any unnecessary programs running on your computer.
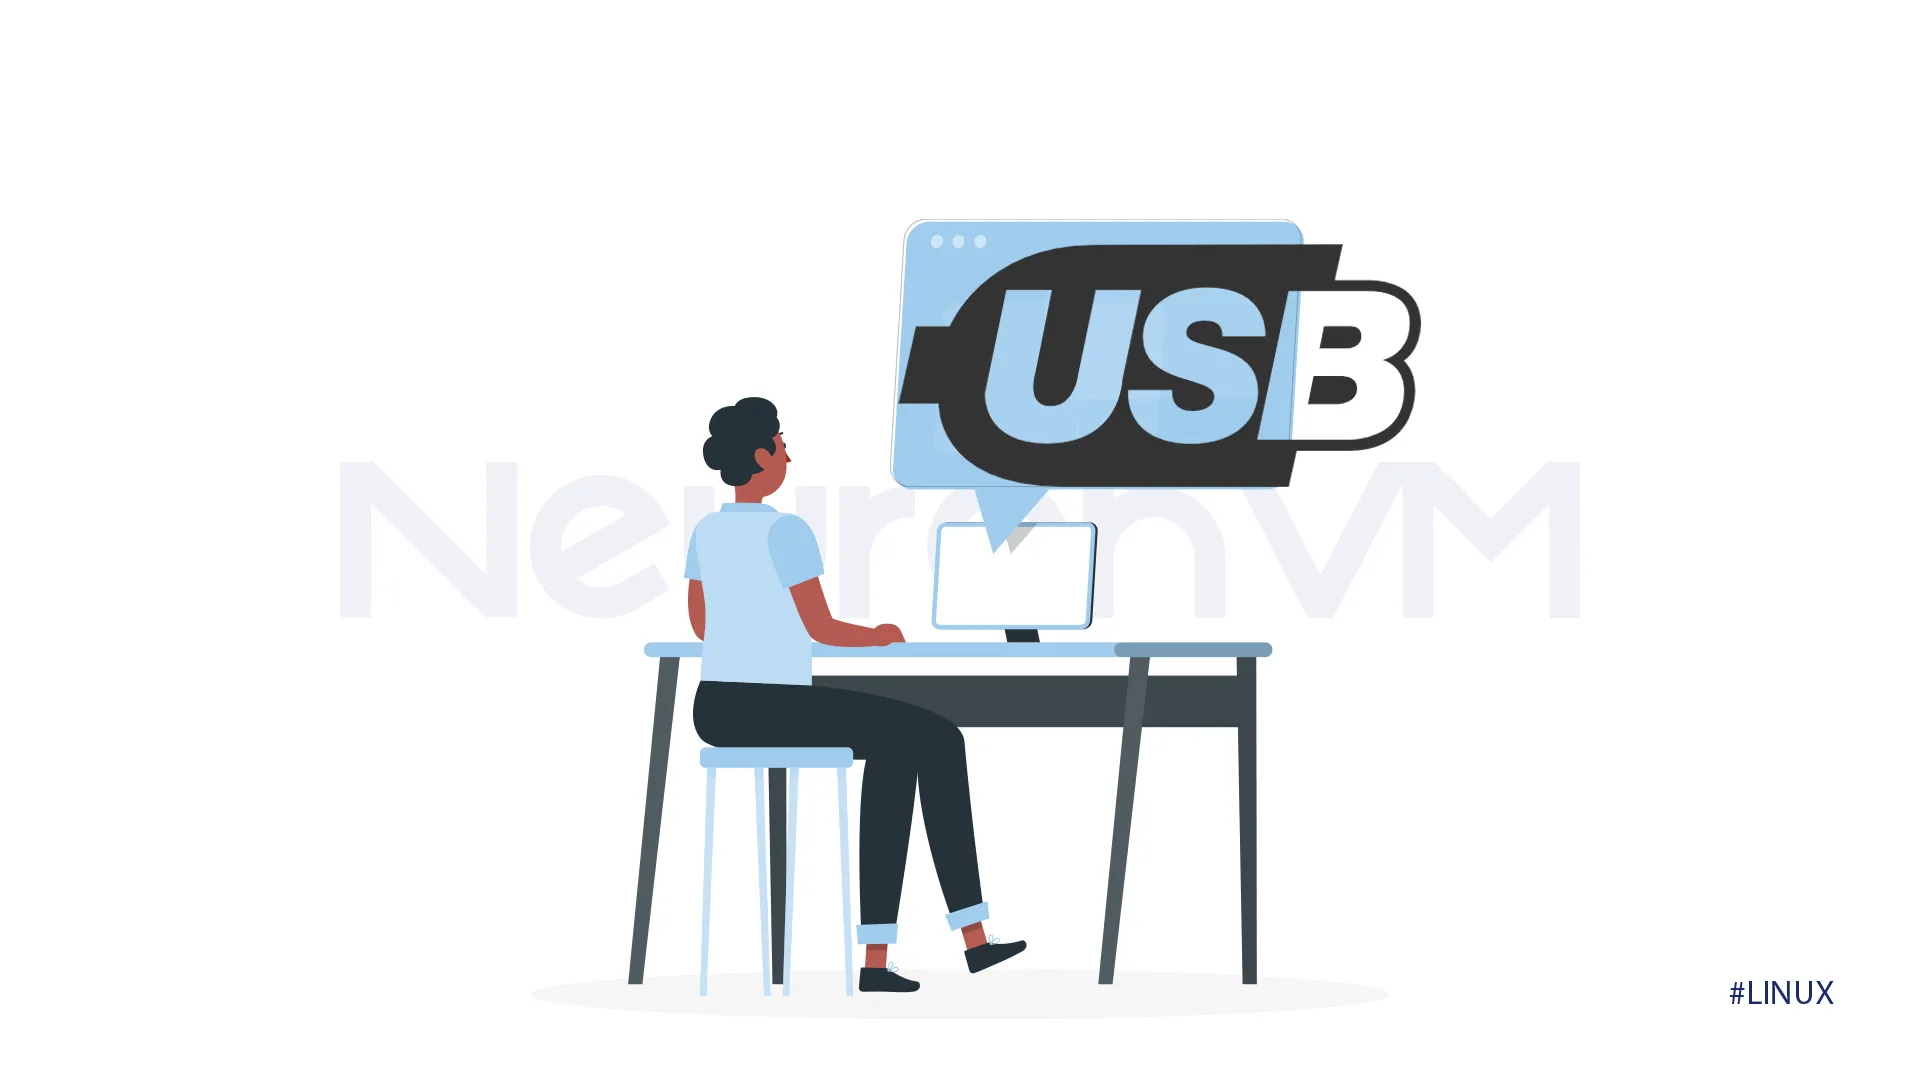
✔️Method 3: Clone root disk with GParted in Linux Mint 21.3
To clone your USB using the GParted live USB, follow the provided steps.
●Boot USB
Insert the GParted USB and restart your computer, then change the boot order in your BIOS settings to make it boot from USB.
●Identify Drives
It will display a graphical interface to show you the partitions and drivers, you need to identify your Linux Mint root partitions; make sure to be careful with this step.
●Clone Partitions
For each partition you want to clone, right-click on the source partition and select copy, then click on the unallocated space on your target drive and click on paste, then apply the changes.
●Boot Repair
Boot into a live Linux Mint environment, install and run boot repair, then choose the “recommended repair” option, if you are an expert user, you can also manually install GRUB from the command line.
●Verify the Cloned Drive
Restart your computer and try to boot from the target drive, if it works, it means that all your data works correctly, including your files and all applications.
Post Cloning Steps
After you have successfully cloned your Linux Mint using one of the three provided methods, there are a few steps to make sure your cloned drive works perfectly.
●Update “fstab”
The “fstab” file tells Linux Mint to connect your drives and partitions when it starts up. To update “fstab,” you need to boot into your Linux Mint system, then use the following command to find the new UUIDs.
sudo blkid
Next, open the “fstab” file with the following command, then replace the old UUID with the new one.
sudo nano /etc/fstab
Save the changes you have previously made, then reboot your computer.
●Reinstall GRUB
If you have cloned to a different physical disk, GRUB might not be installed properly, to reinstall GRUB, install boot repair.
sudo apt install boot-repair
Then run boot repair and choose “Recommended Repair.”
Troubleshooting Tips
●Disk Size Mismatch
If your new drive is slightly different from the old one, you can use GParted, the command line, or Clonezilla to resize the partitions to the correct size.
●UUID Conflicts
If a new drive has the same UUID as the old one, it might cause some issues, to fix this problem, you can update fstab, if you still have issues, you can regenerate the GRUB config.
sudo update-grub
●GRUB Not Loading
If you are getting a black screen or an error, you can use the “recommended pair” option in boot repair, which will usually fix GRUB issues automatically, you can also reinstall GRUB manually from the terminal, but this is not recommended for beginners.
Conclusion – Best Way to Clone Root Disk in Linux Mint 21.3
In this guide, we have walked you through the process of How to Clone Root Disk in Linux Mint, if you are worried about losing your files on Linux Mint, making a clone of your whole hard drive is a great idea, we have provided three methods you can choose one of them to easily clone roote disk, check the newest Linux Mint tutorilas on our website.
Whether you’re upgrading hardware or creating backups, knowing how to clone root disk in Linux Mint 21.3 gives you flexibility and peace of mind.

