How to Install APKs on Windows 11 Safely

 Study duration :
7 Minutes
Study duration :
7 Minutes
 0 Comment
Ready to run Android apps on your Windows 11 PC? This guide will show you how to safely install APKs on Windows and enjoy the best of both worlds. Windows 11 is a powerful operating system but doesn’t have access to the vast library of Android apps. This can be a major inconvenience for users who rely on specific Android apps for work or play. Fortunately, there is a way to install and run Android apps on Windows 11.
Prerequisites
- RAM
The minimum requirement is 8 GB but 16 GB is recommended for better performance. - Storage
An SSD is required. - Processor
Compatible processors are required, including Intel Core i3 (8th generation), AMD Ryzen 3000 series, and Qualcomm Snapdragon 8c. - Virtualization
Enabling the virtualization feature in the computer’s BIOS/UEFI settings is required.
Steps to install APKs on Windows 11 safely
Ensure safe APK installation on Windows 11 by following the steps below:
Step 1: Windows 11 APK Installation Requirements
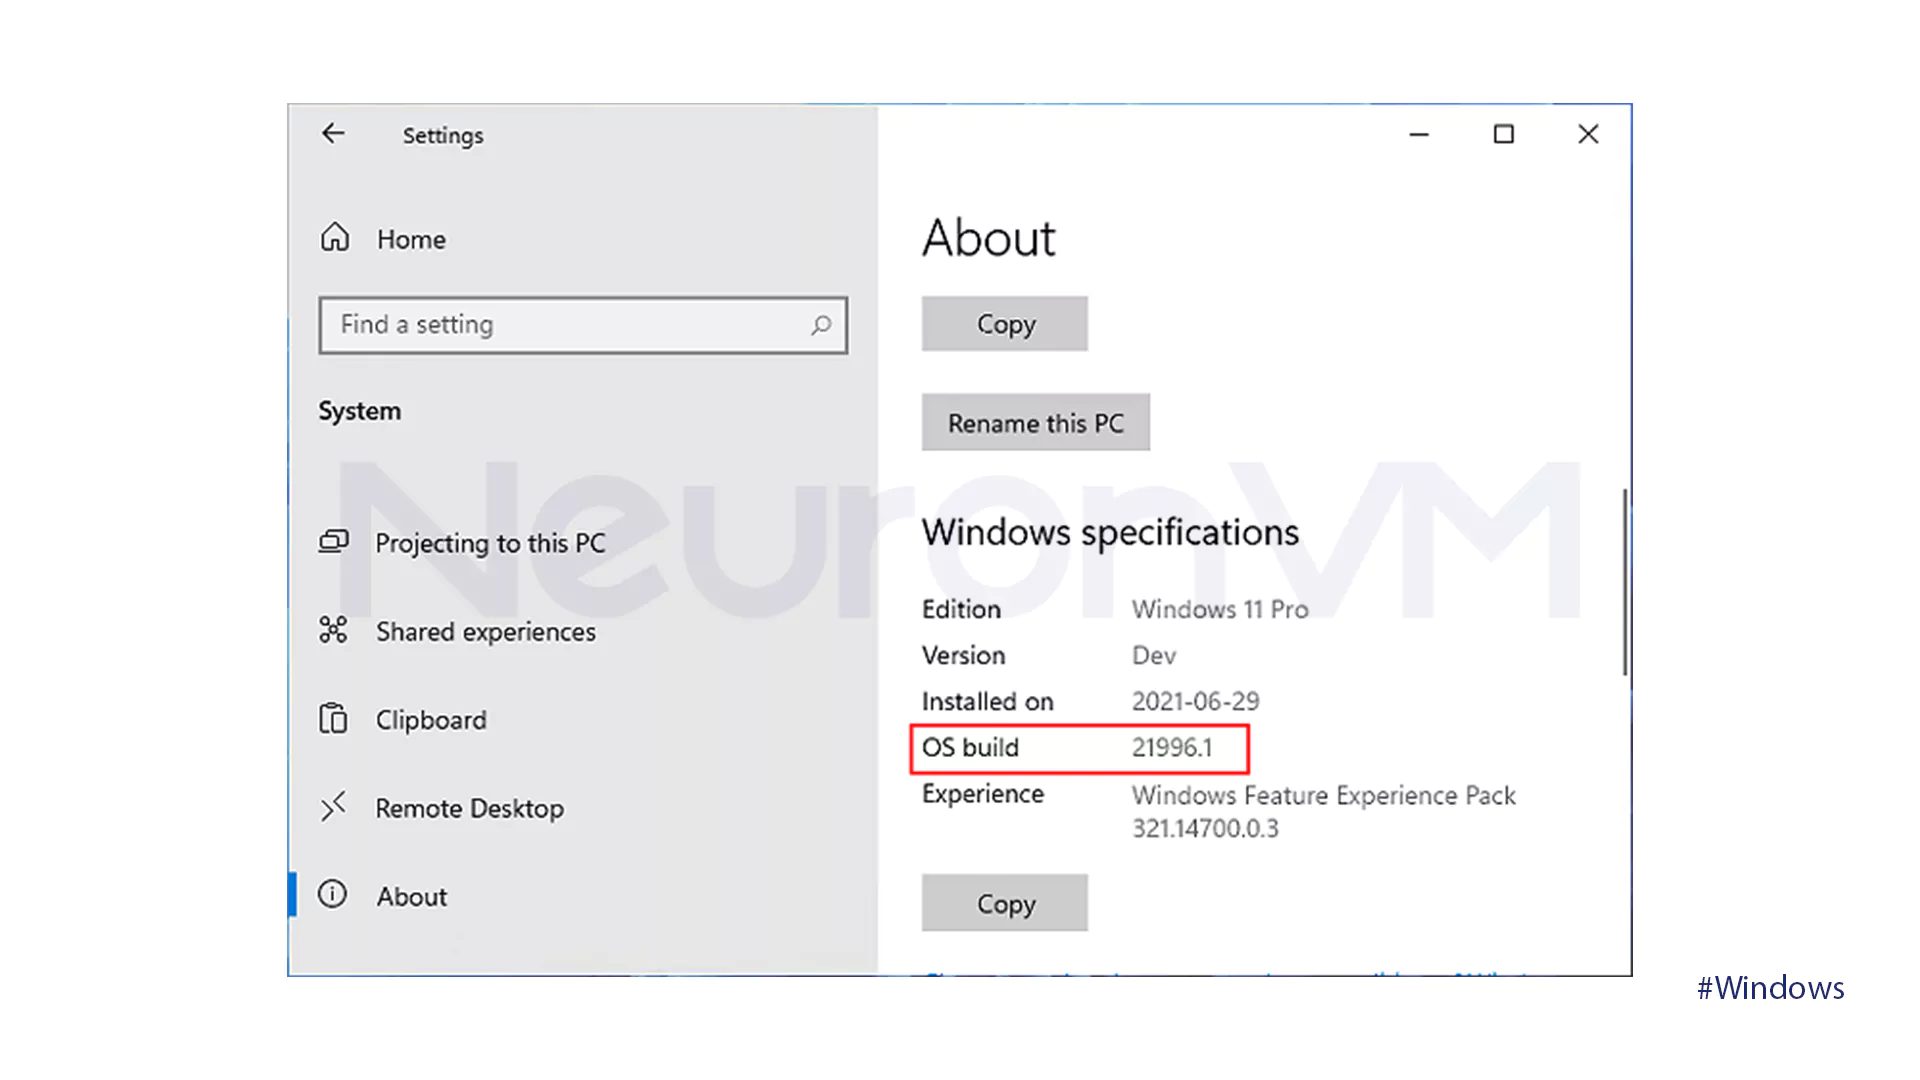
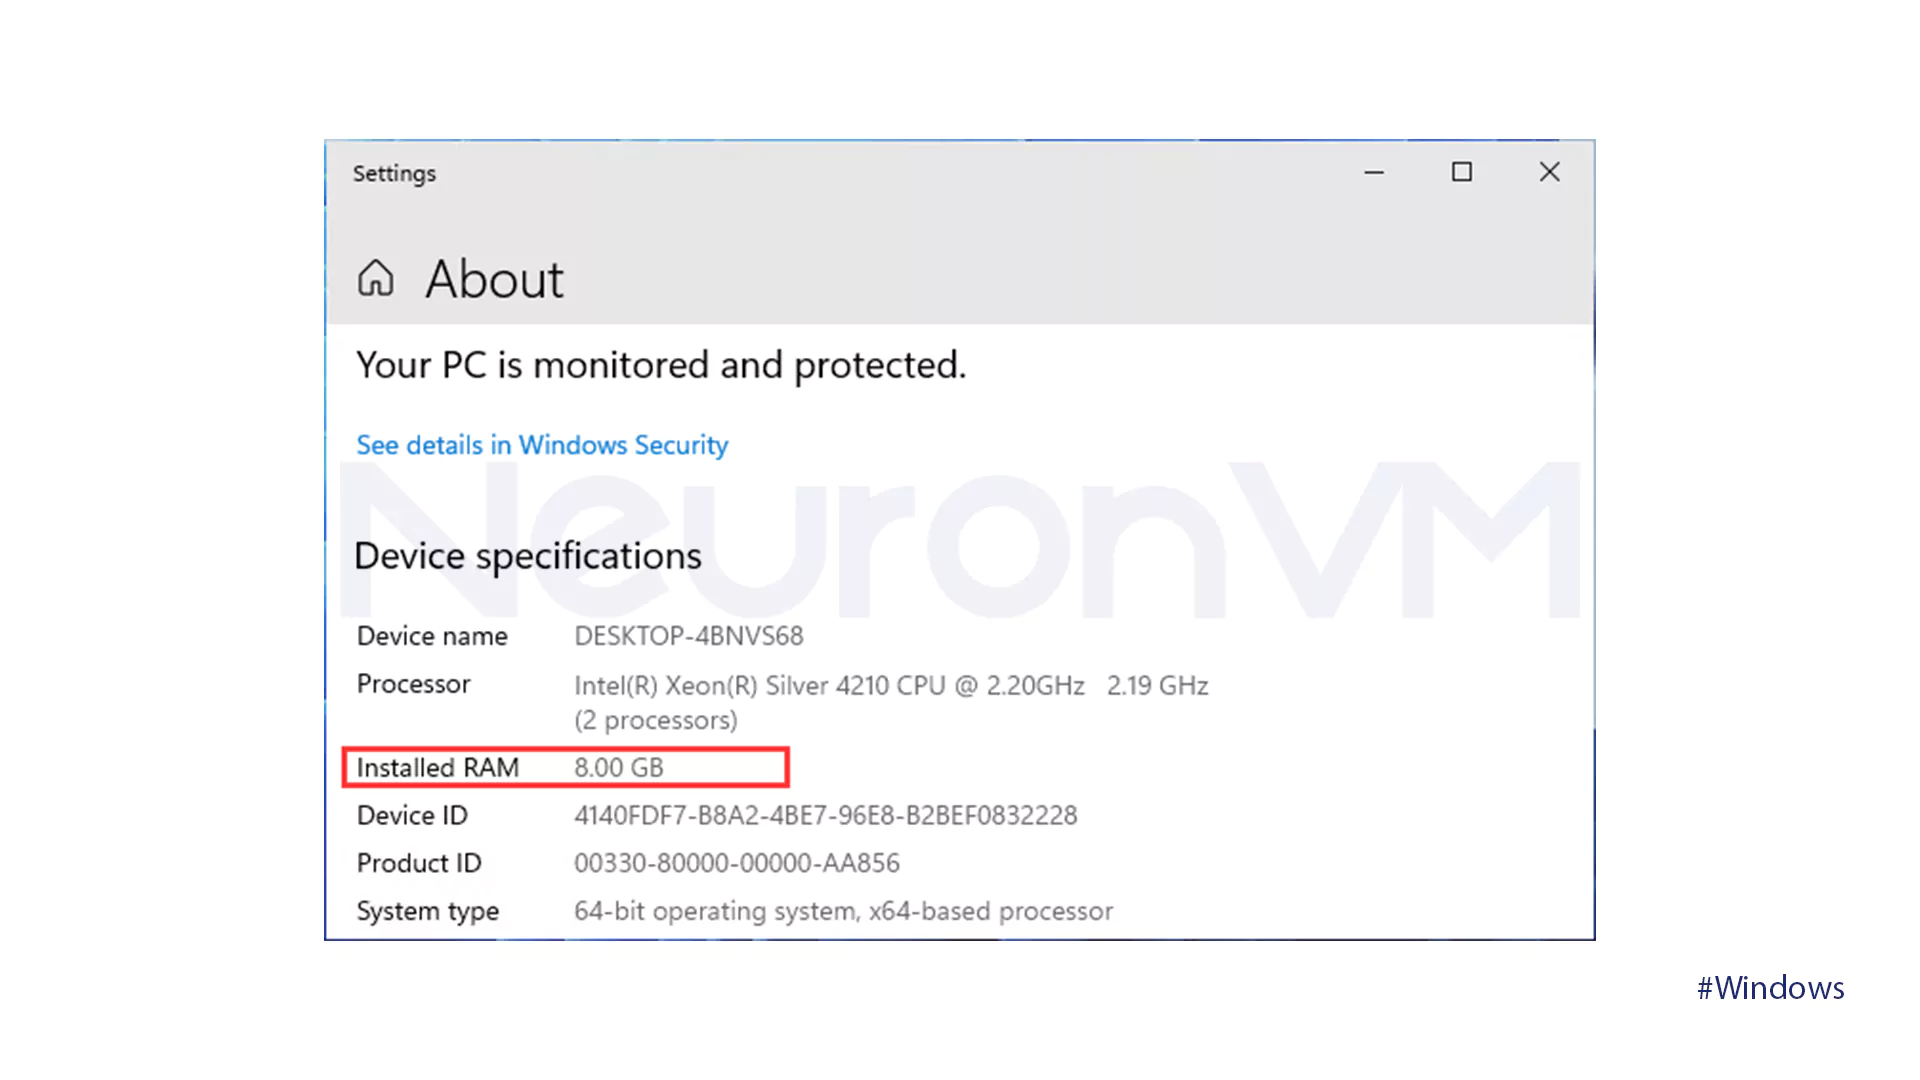
- Open Settings and go to System. Then click on the About.
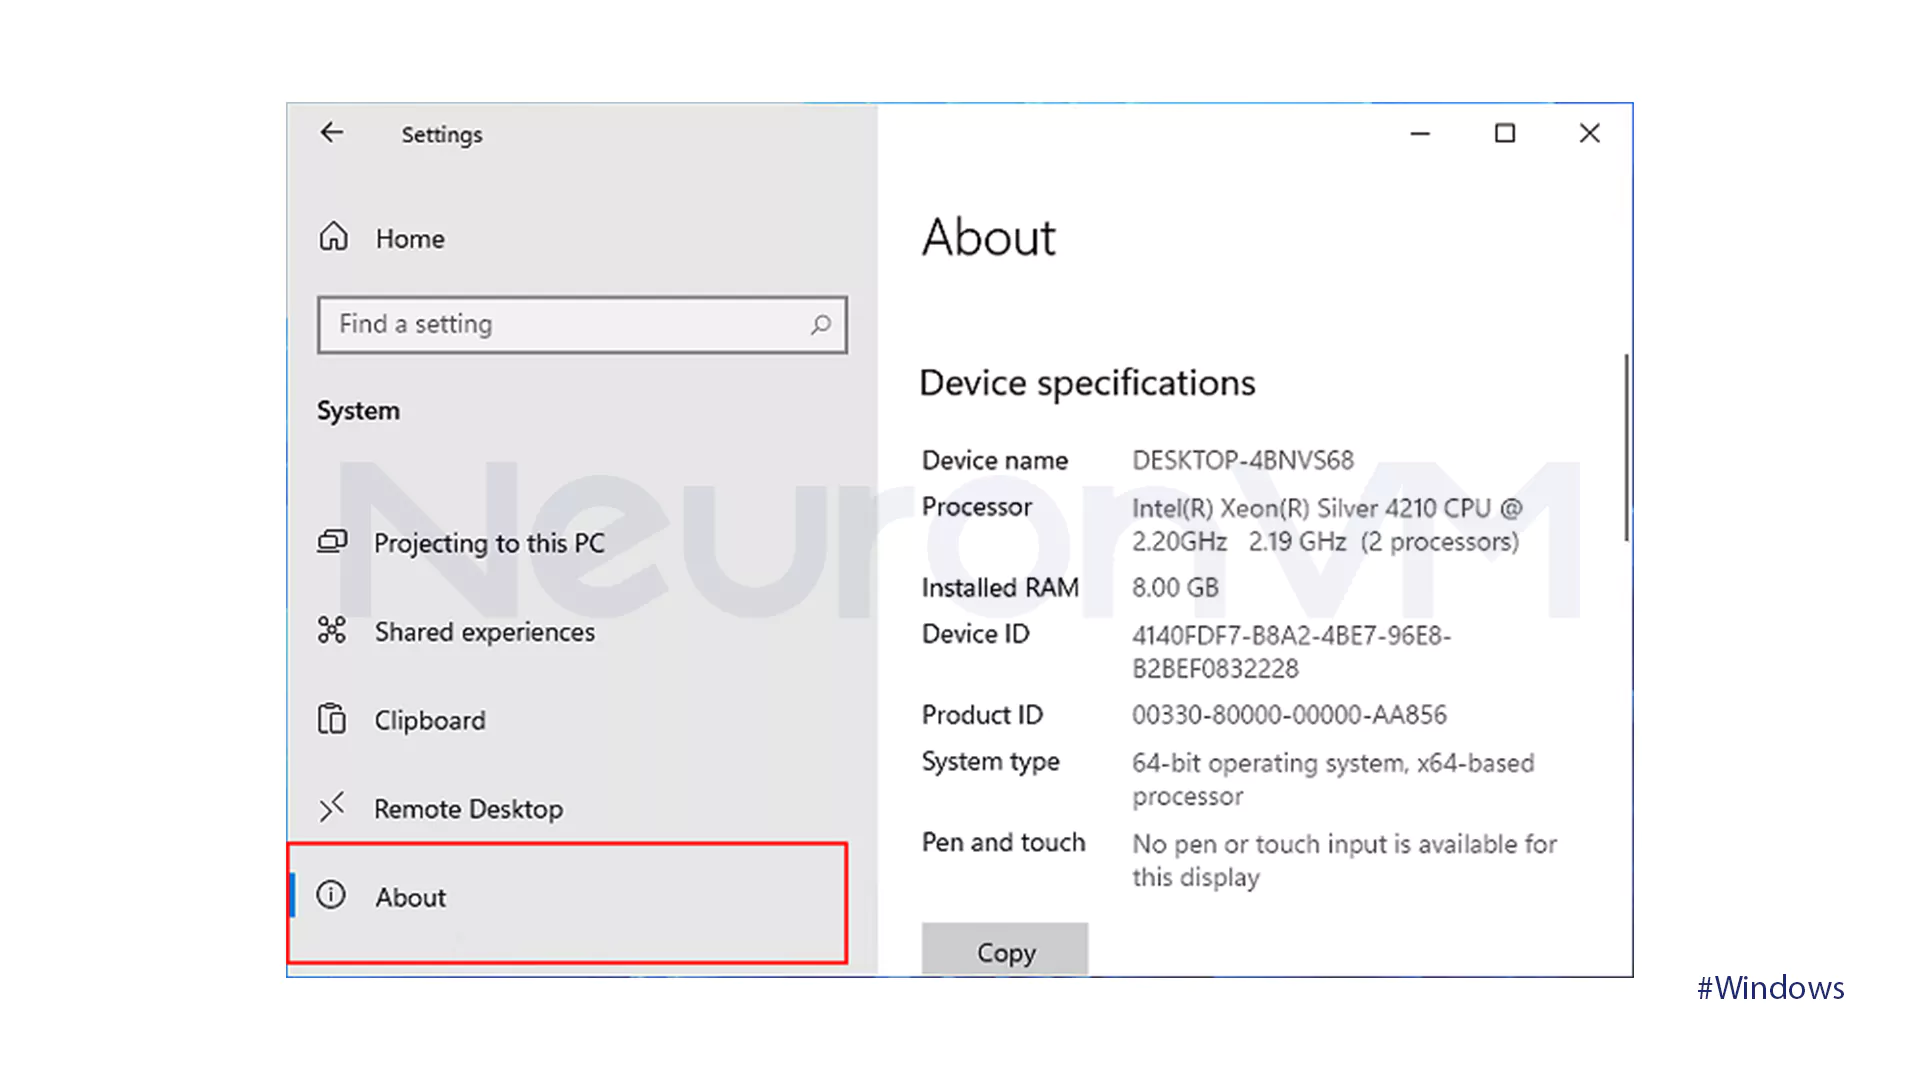
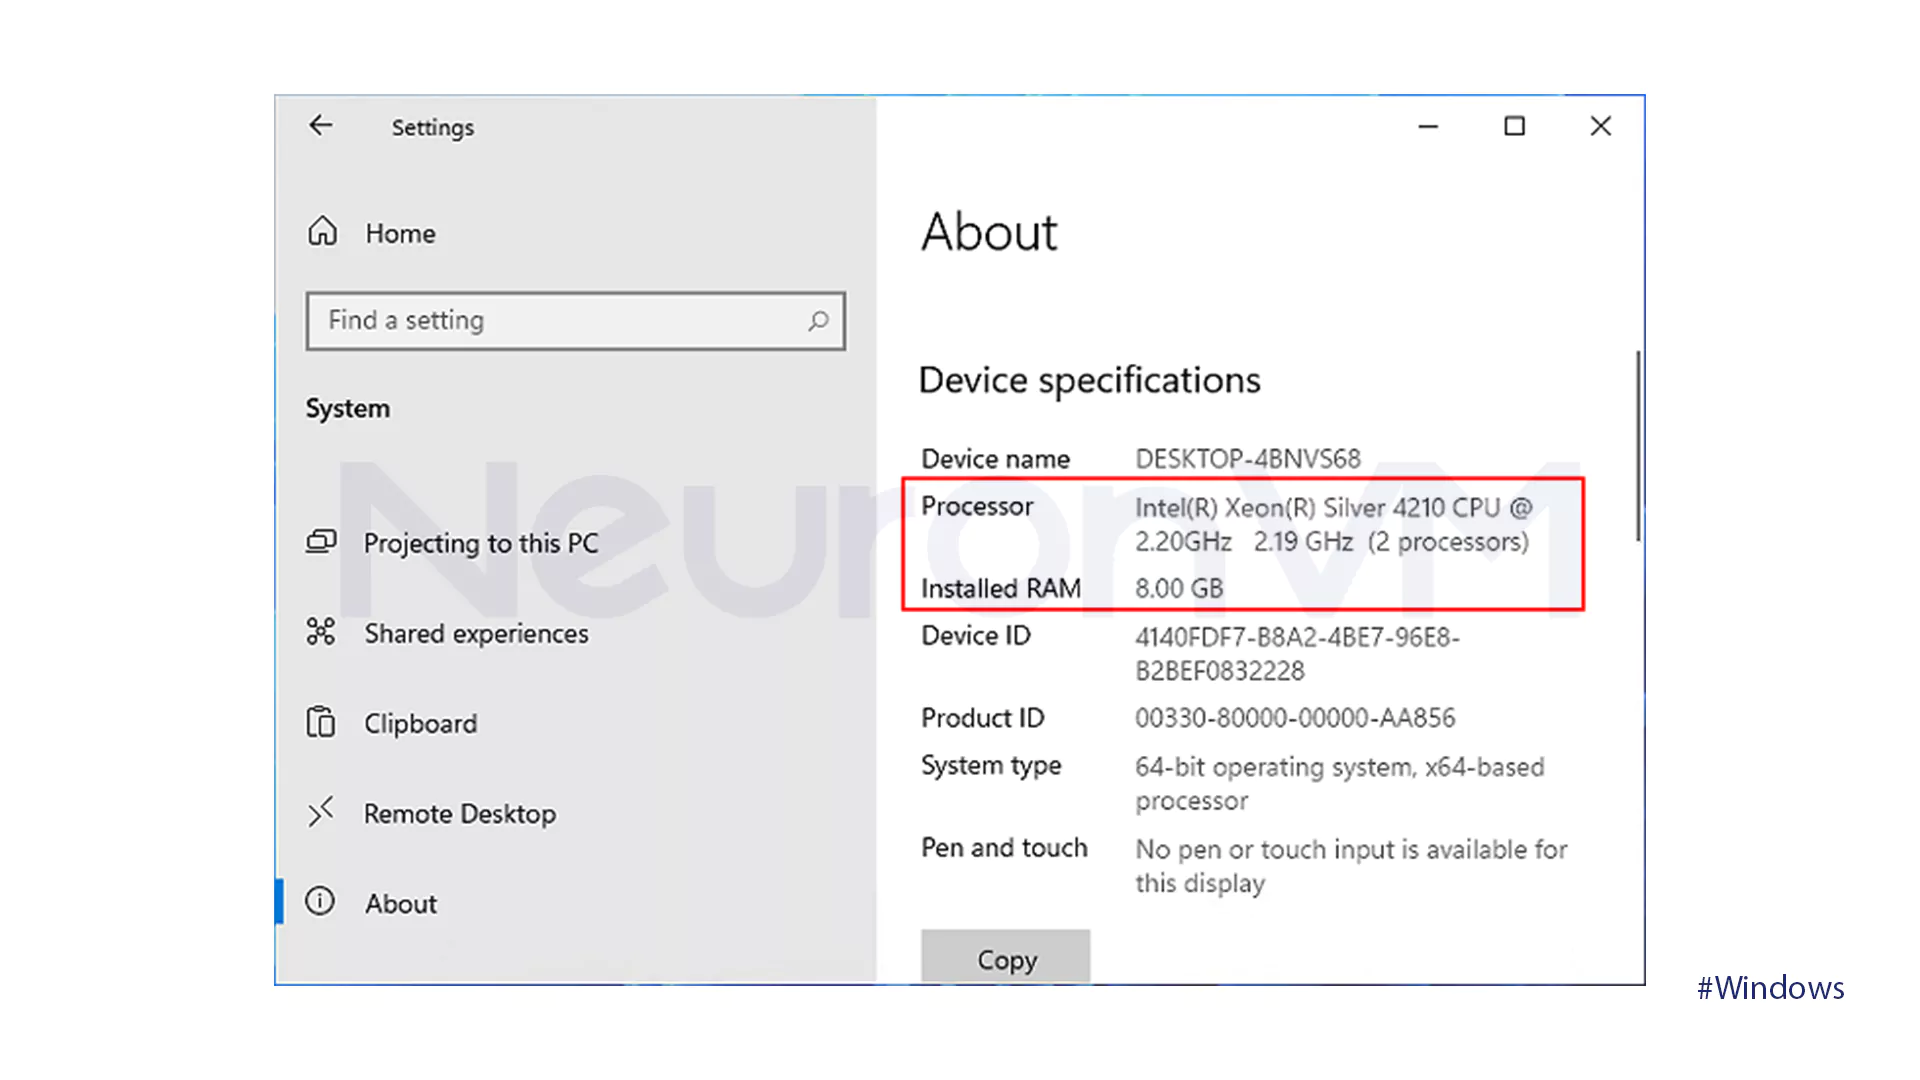
- Check that RAM and CPU meet the requirements.
- Check if your Windows 11 version is 22000.257 or higher. This indicates specific updates and features that are included in Windows 11.
- In the System section, click on the Storage option.
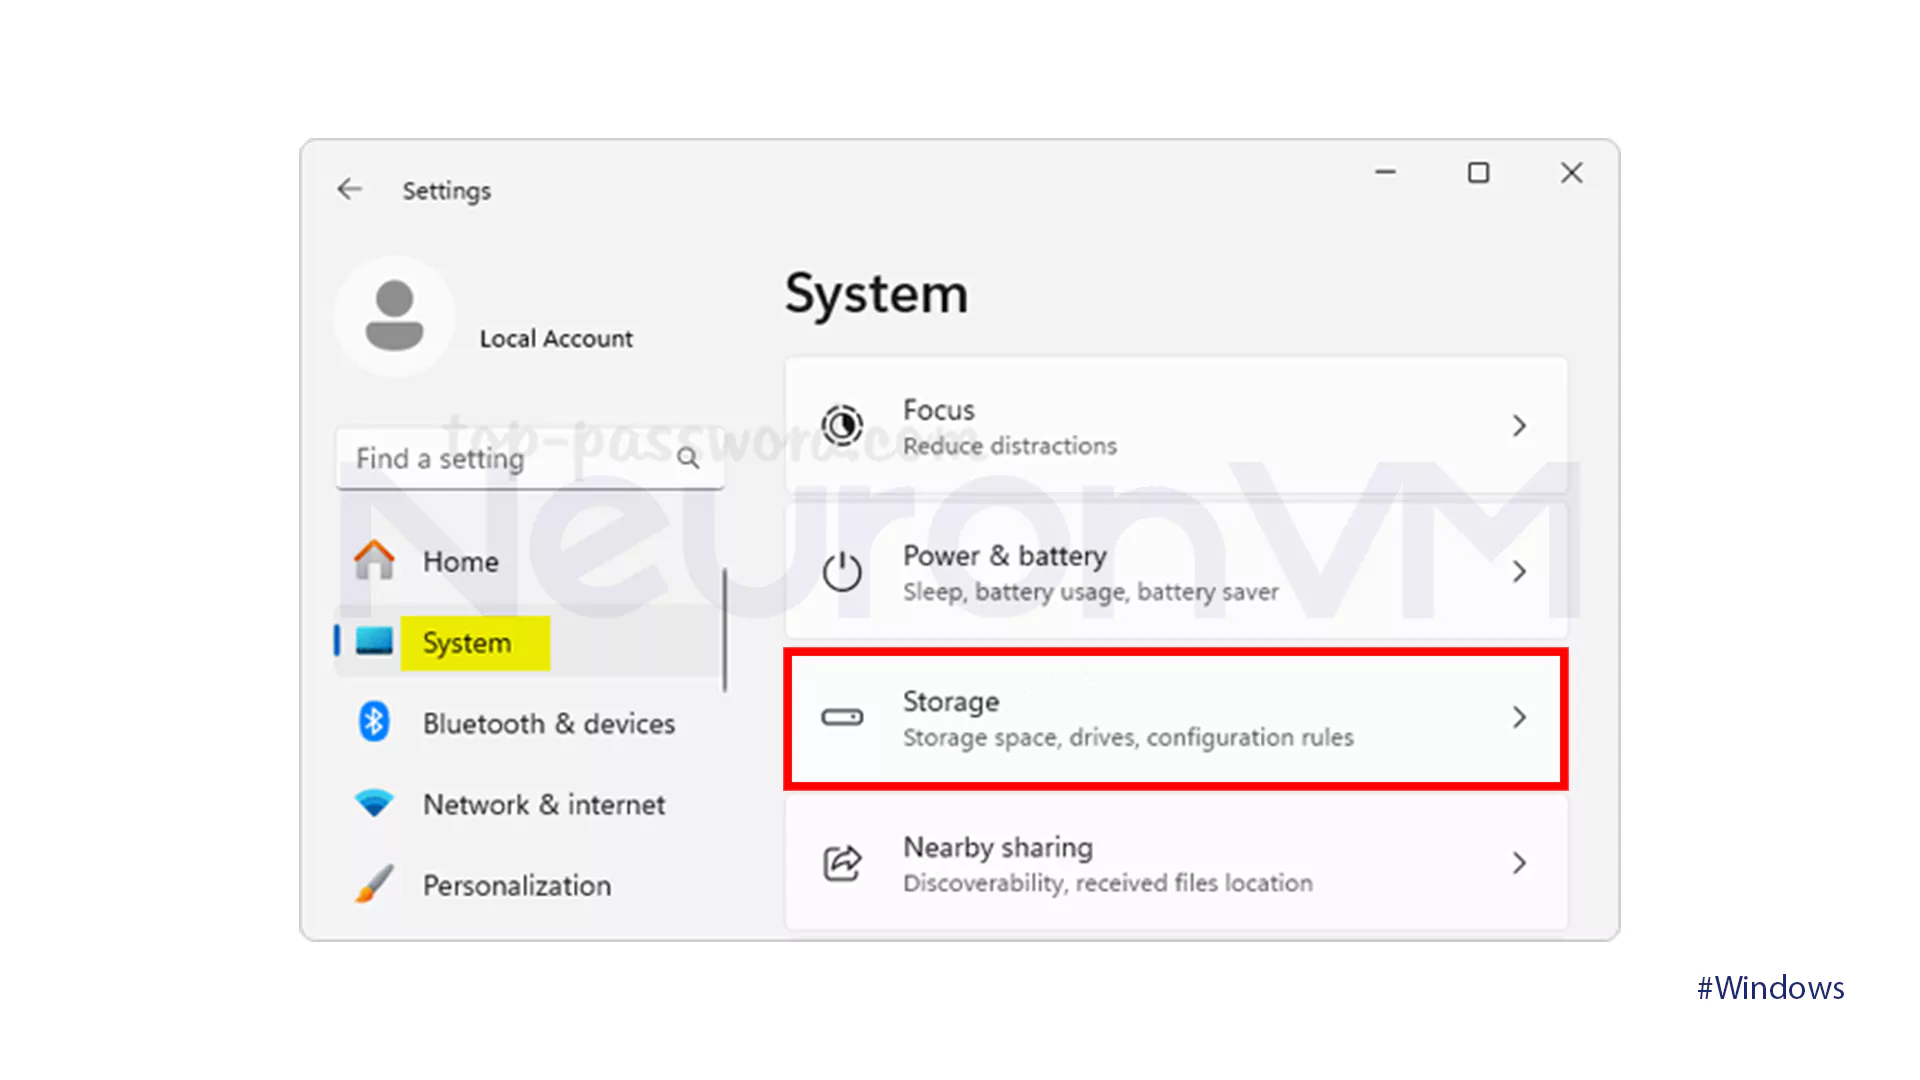
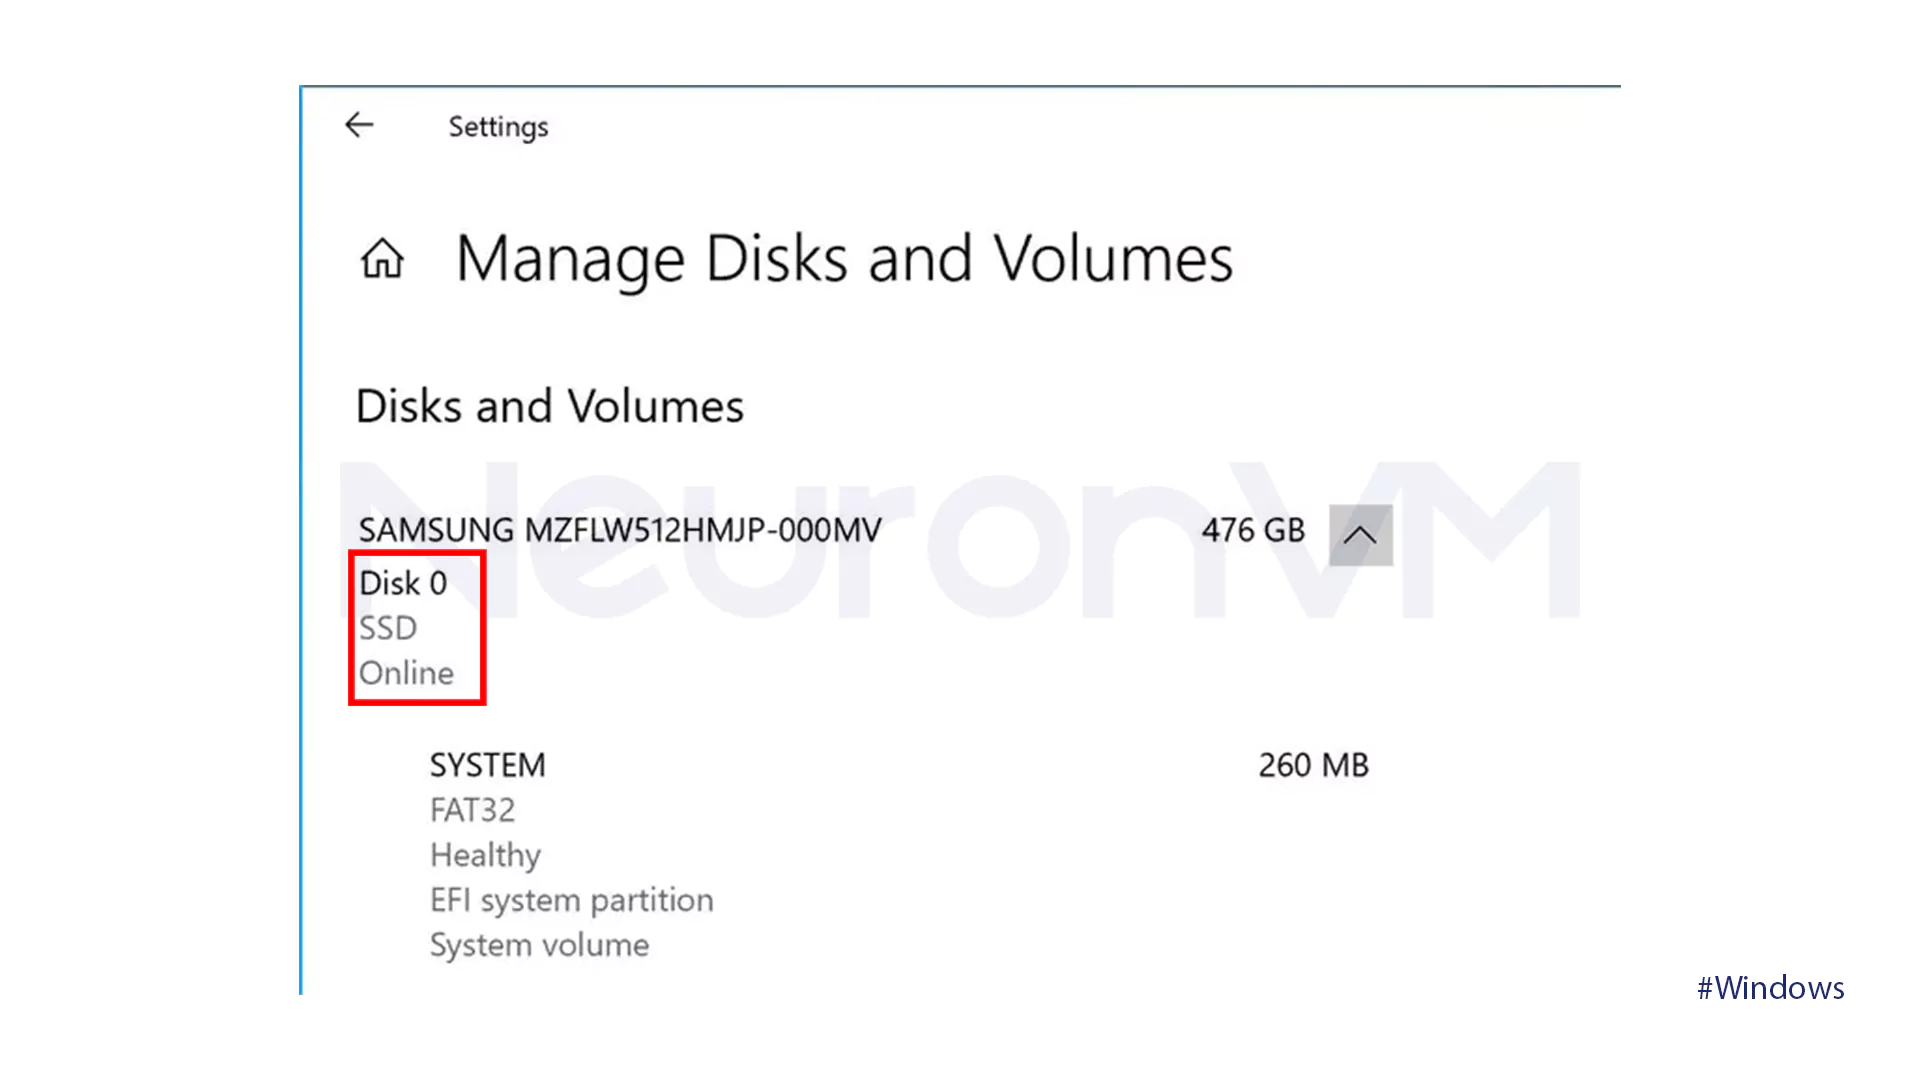
- Navigate the Storage Advanced Settings section and click on Manage Disks and Volumes. Your main drive’s media type should be SSD.
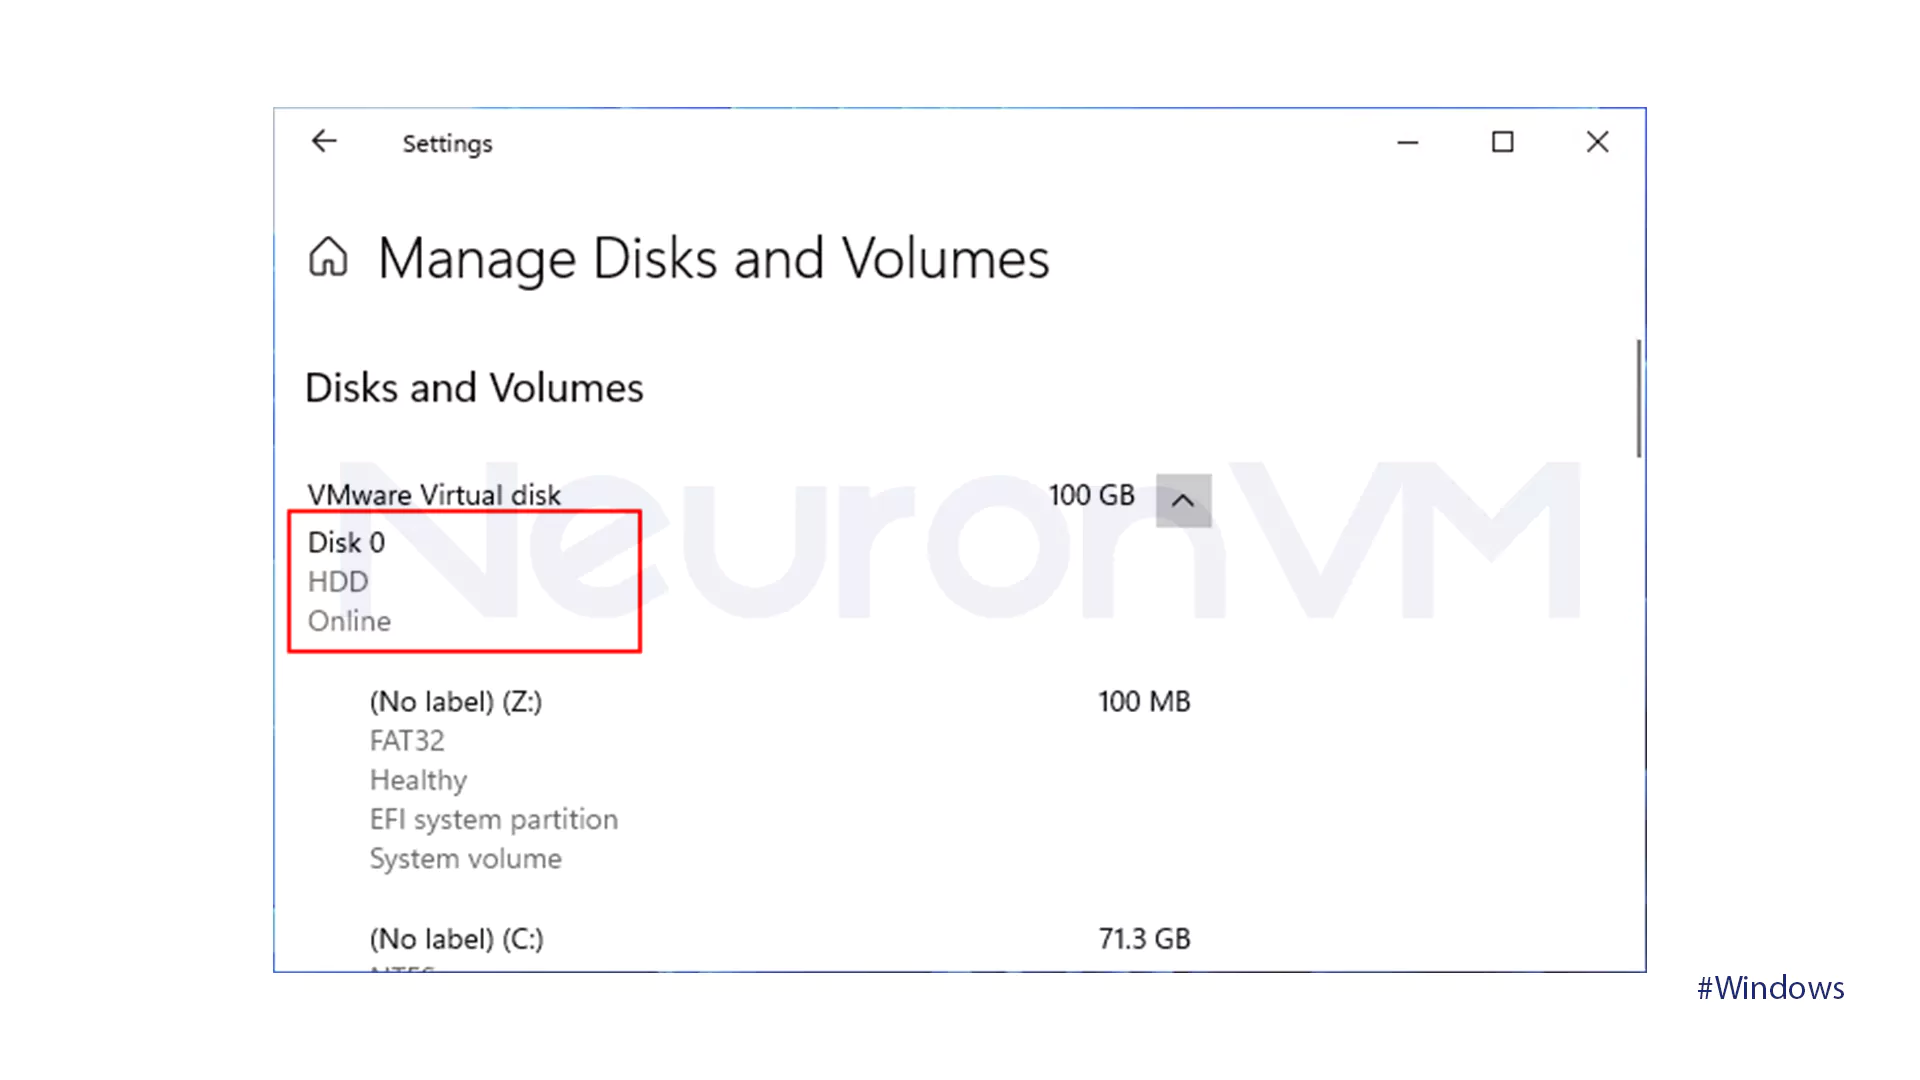
- If your main drive’s media type is HDD, you won’t be able to install APKs on Windows 11.
Step 2: Windows 11 APK Installation Prep
To prepare Windows 11 for APK Installation, use these 3 parts:
1- Increase RAM
- First, you need to check the storage of your current RAM before purchasing and extending it to 8 GB or 6 GB.
- In your settings, right-click on This PC option and select Properties. You can check the storage from the Installed RAM.
- Purchase a RAM card matching your PC’s existing capacity (e.g., 4GB for 4GB, 8GB for 8GB). If capacities differ, the new RAM will run at the speed of the older card.
- Shut down the computer and open its case.
- Insert the new RAM card in the appropriate slot.
- Shut the case and restart.
2- Processes Architecture
If your computer has an older processor (e.g., Intel Core i3 8th, AMD Ryzen 3000), you can use the 2 options below:
- Upgrade the CPU
Get the list of the Windows 11 compatible CPUs from the link below:
https://learn.microsoft.com/windows-processor-requirements
- Replace the entire Computer.
For non-technical users, replacing the CPU is not recommended and it can damage their computer. Upgrading to a new 64-bit computer is simpler and necessary for running APK files on Windows 11.
3- Enable Virtualization
To access and install APK apps, you need to run the Emulation Subsystem for Android on Windows 11. To start this process, you need to enable virtualization, the steps for which are as follows:
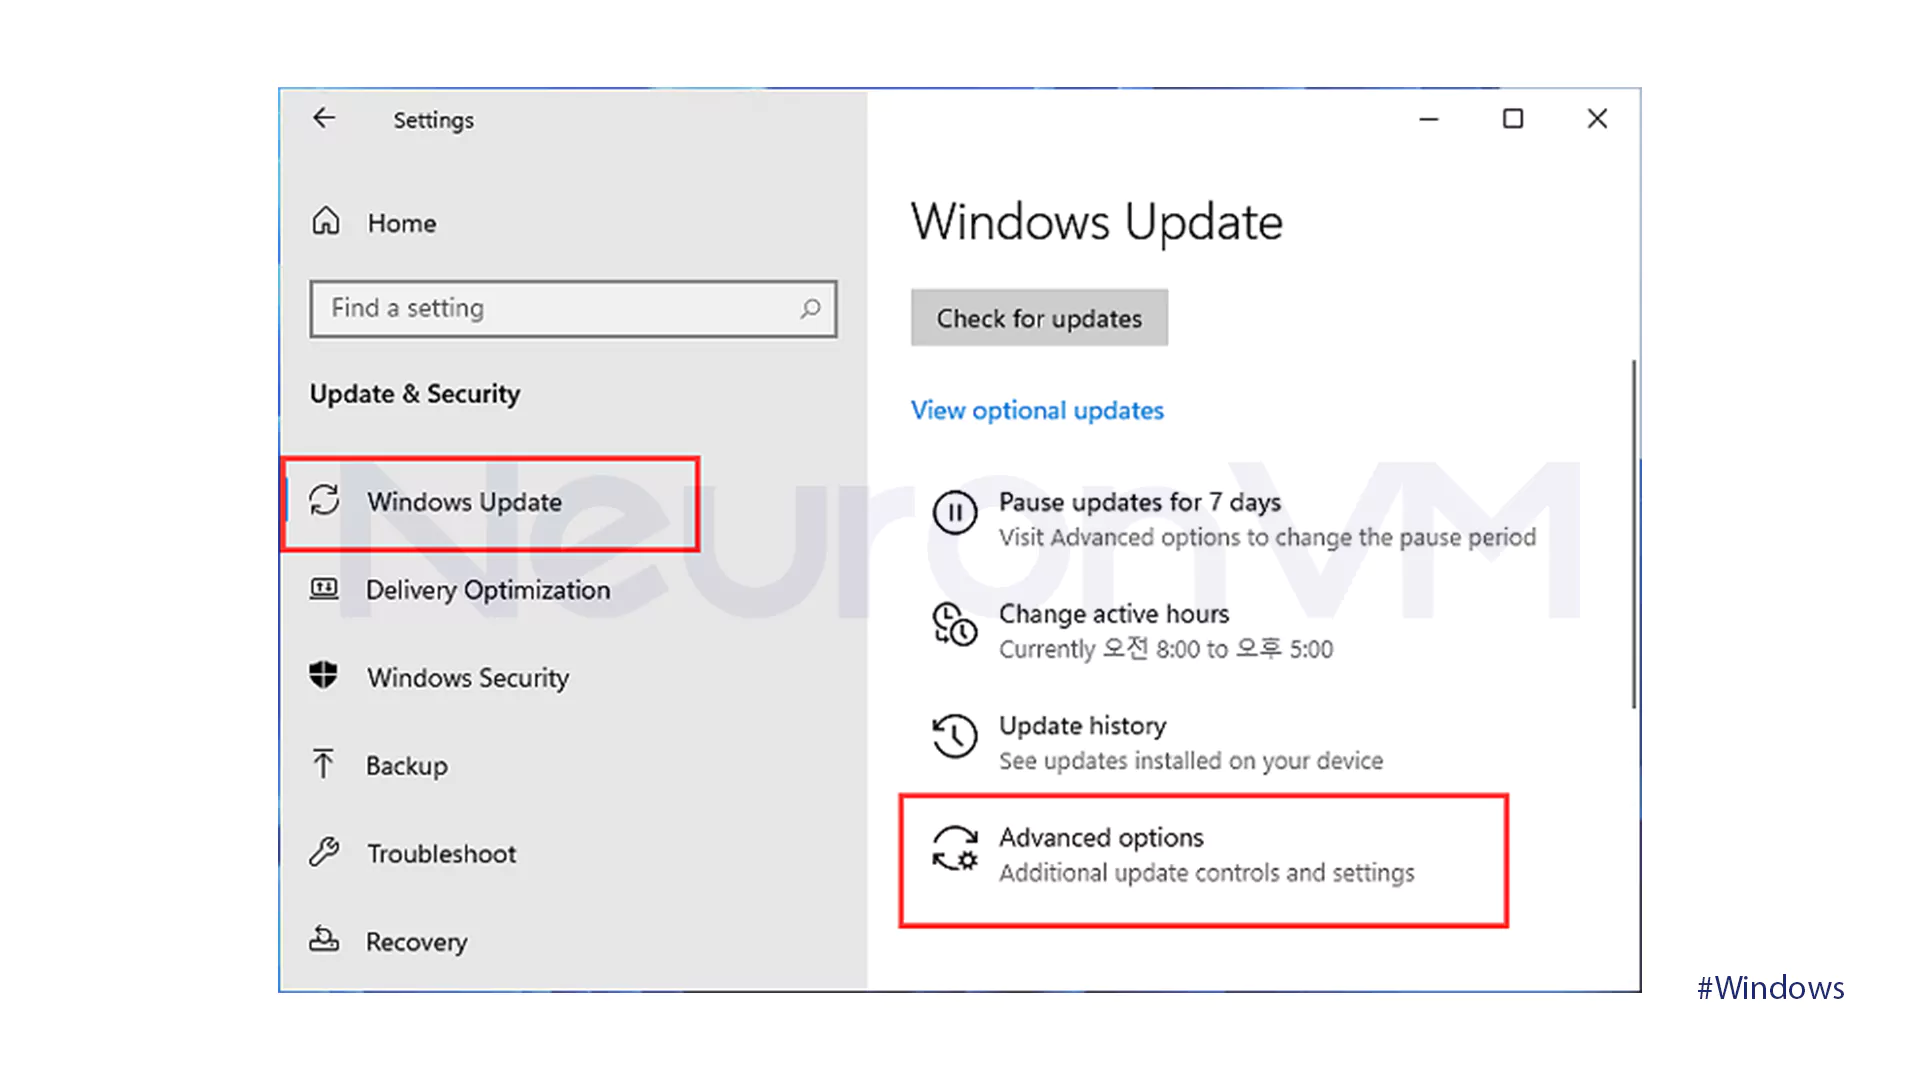
- Open Settings and navigate Windows Update.
- Find Advanced Options and click on it.
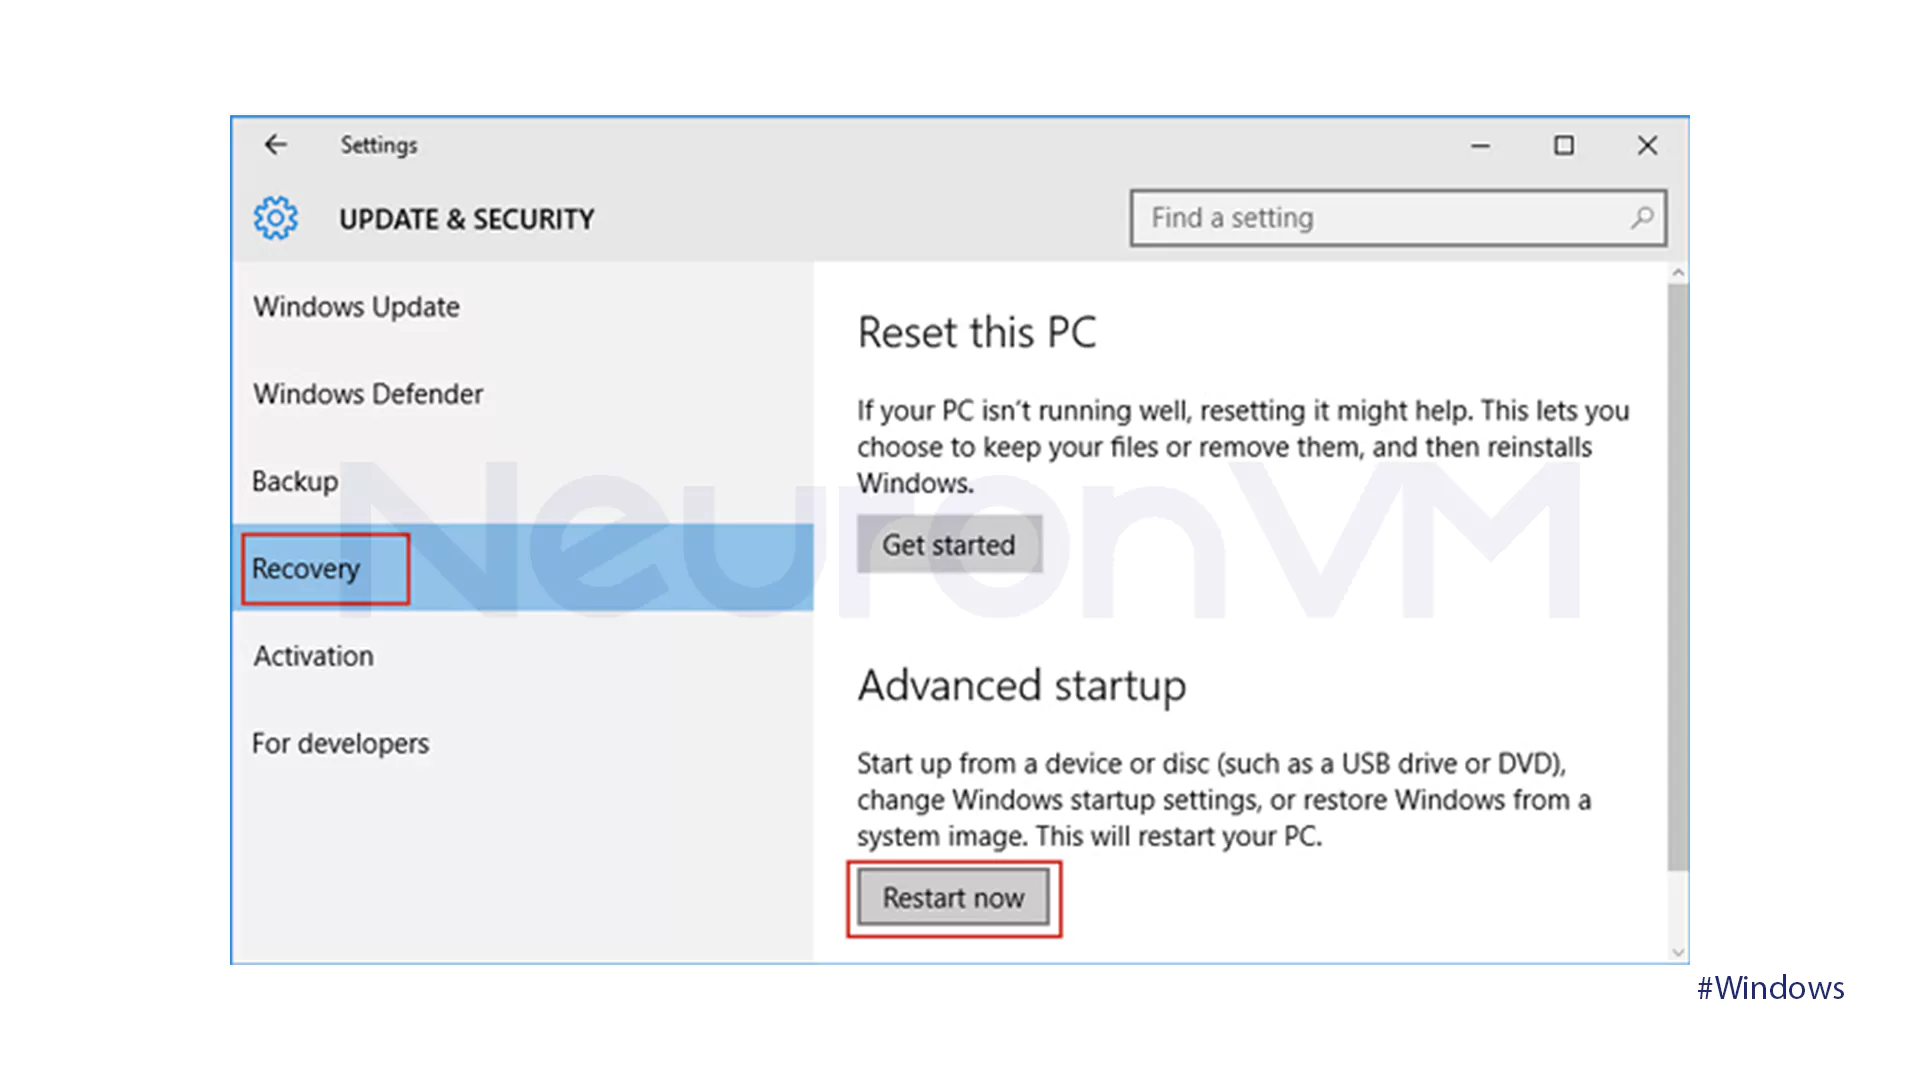
- Go to the Recovery section and tap on the Restart now.
- Choose the Troubleshoot option.
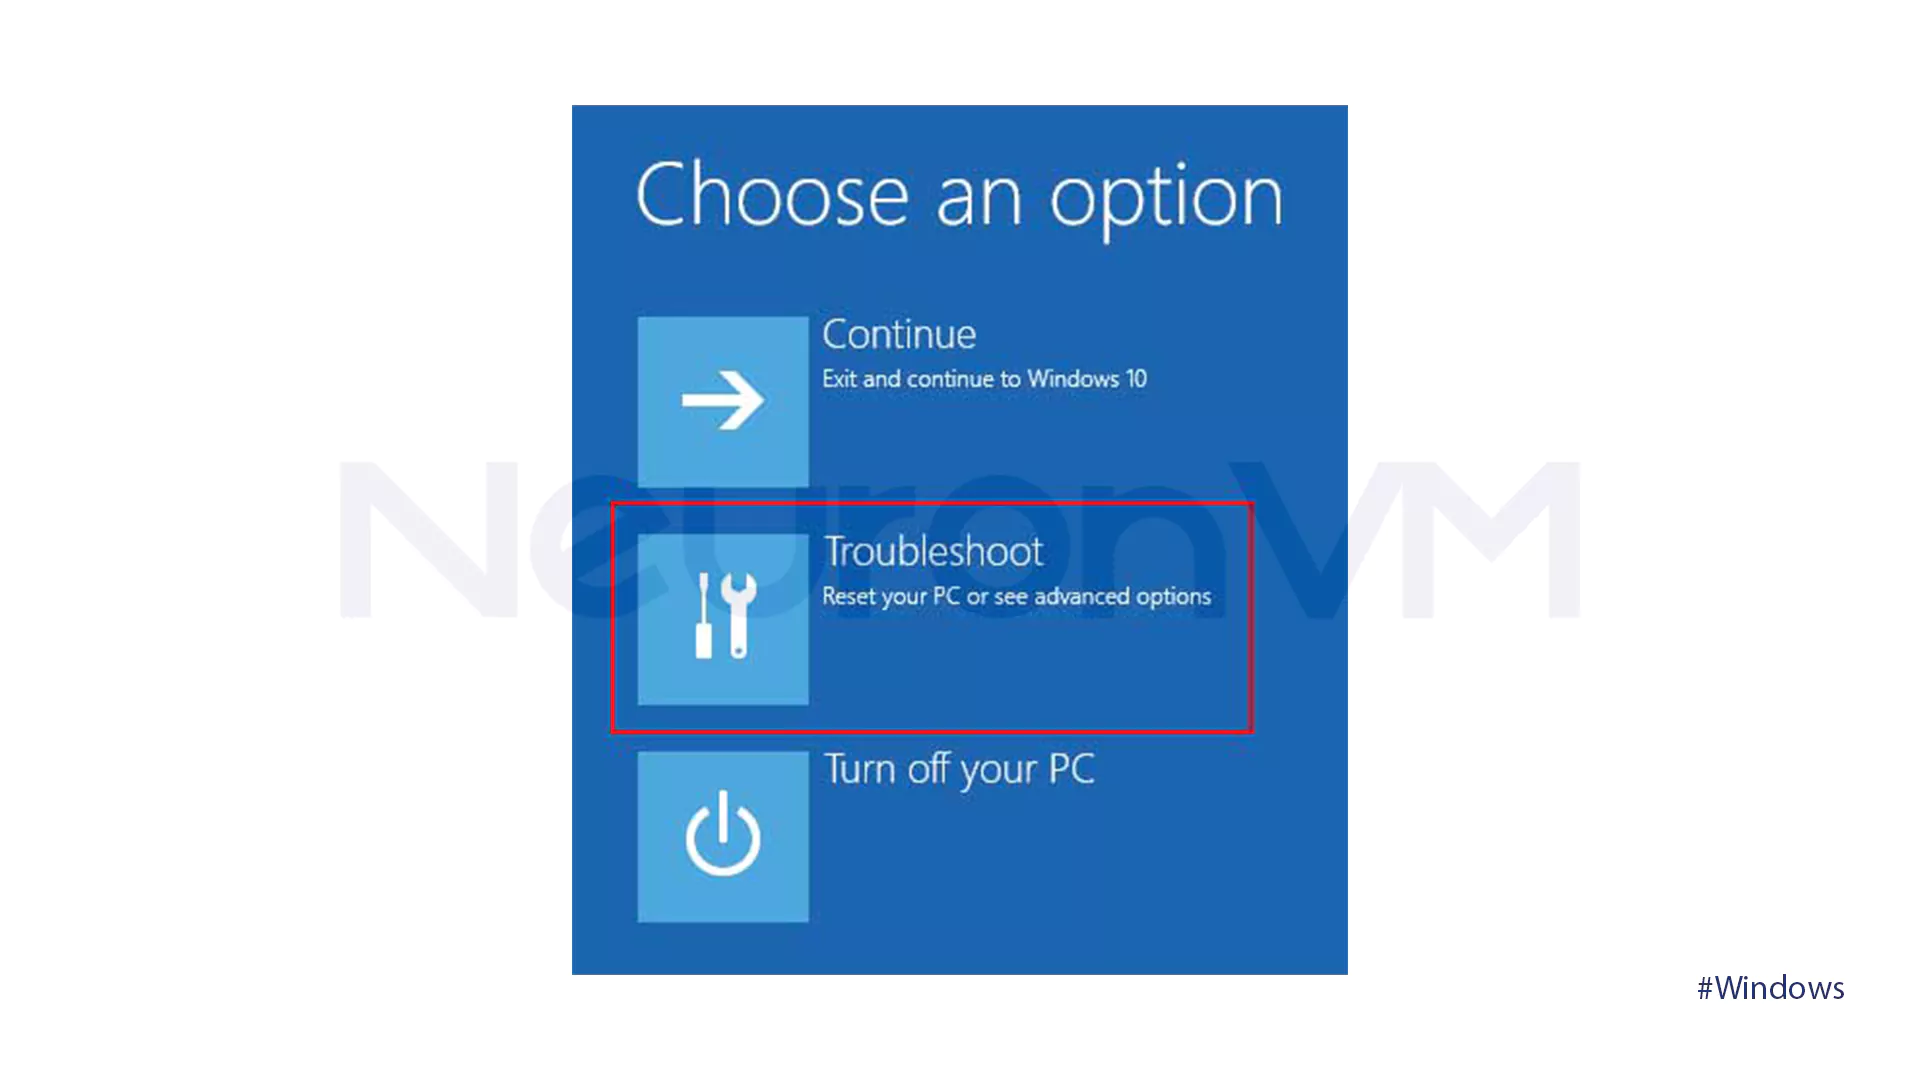
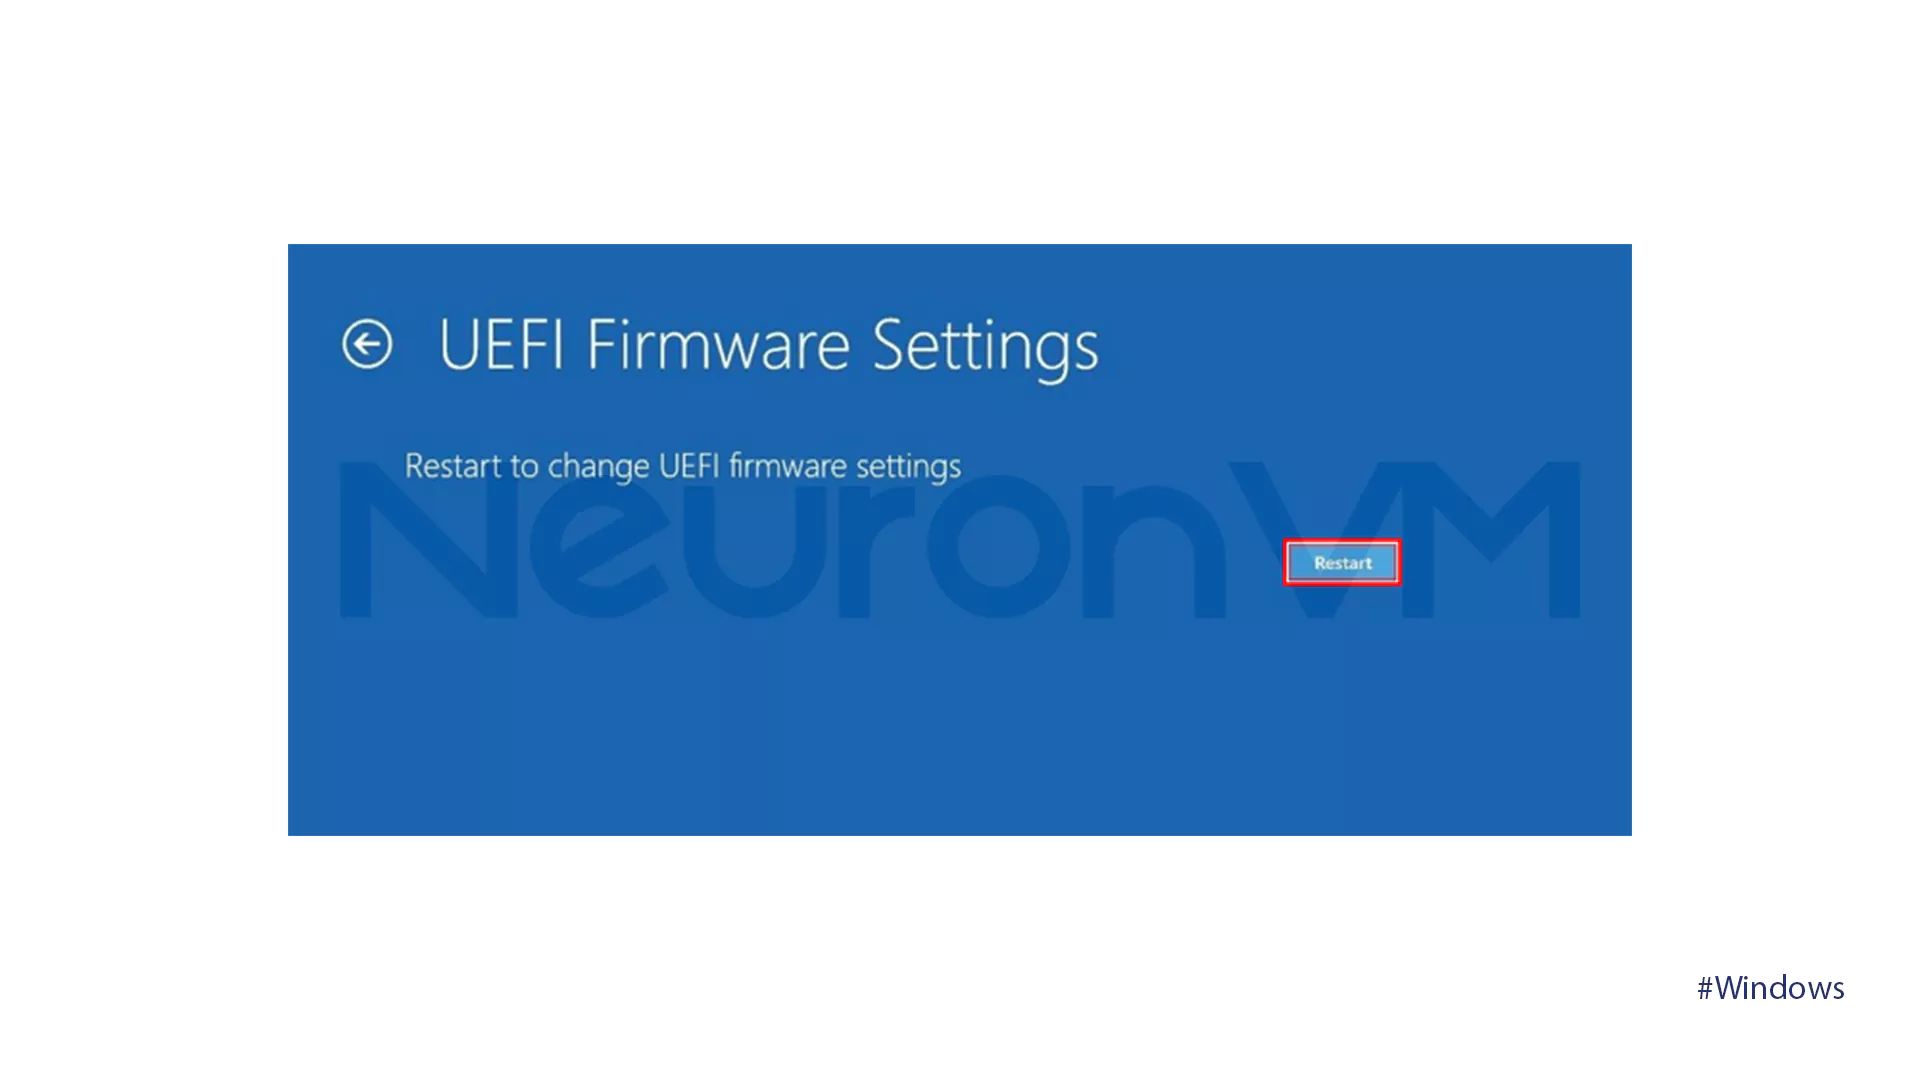
- From the Advanced Options window, select UEFI Firmware Settings.
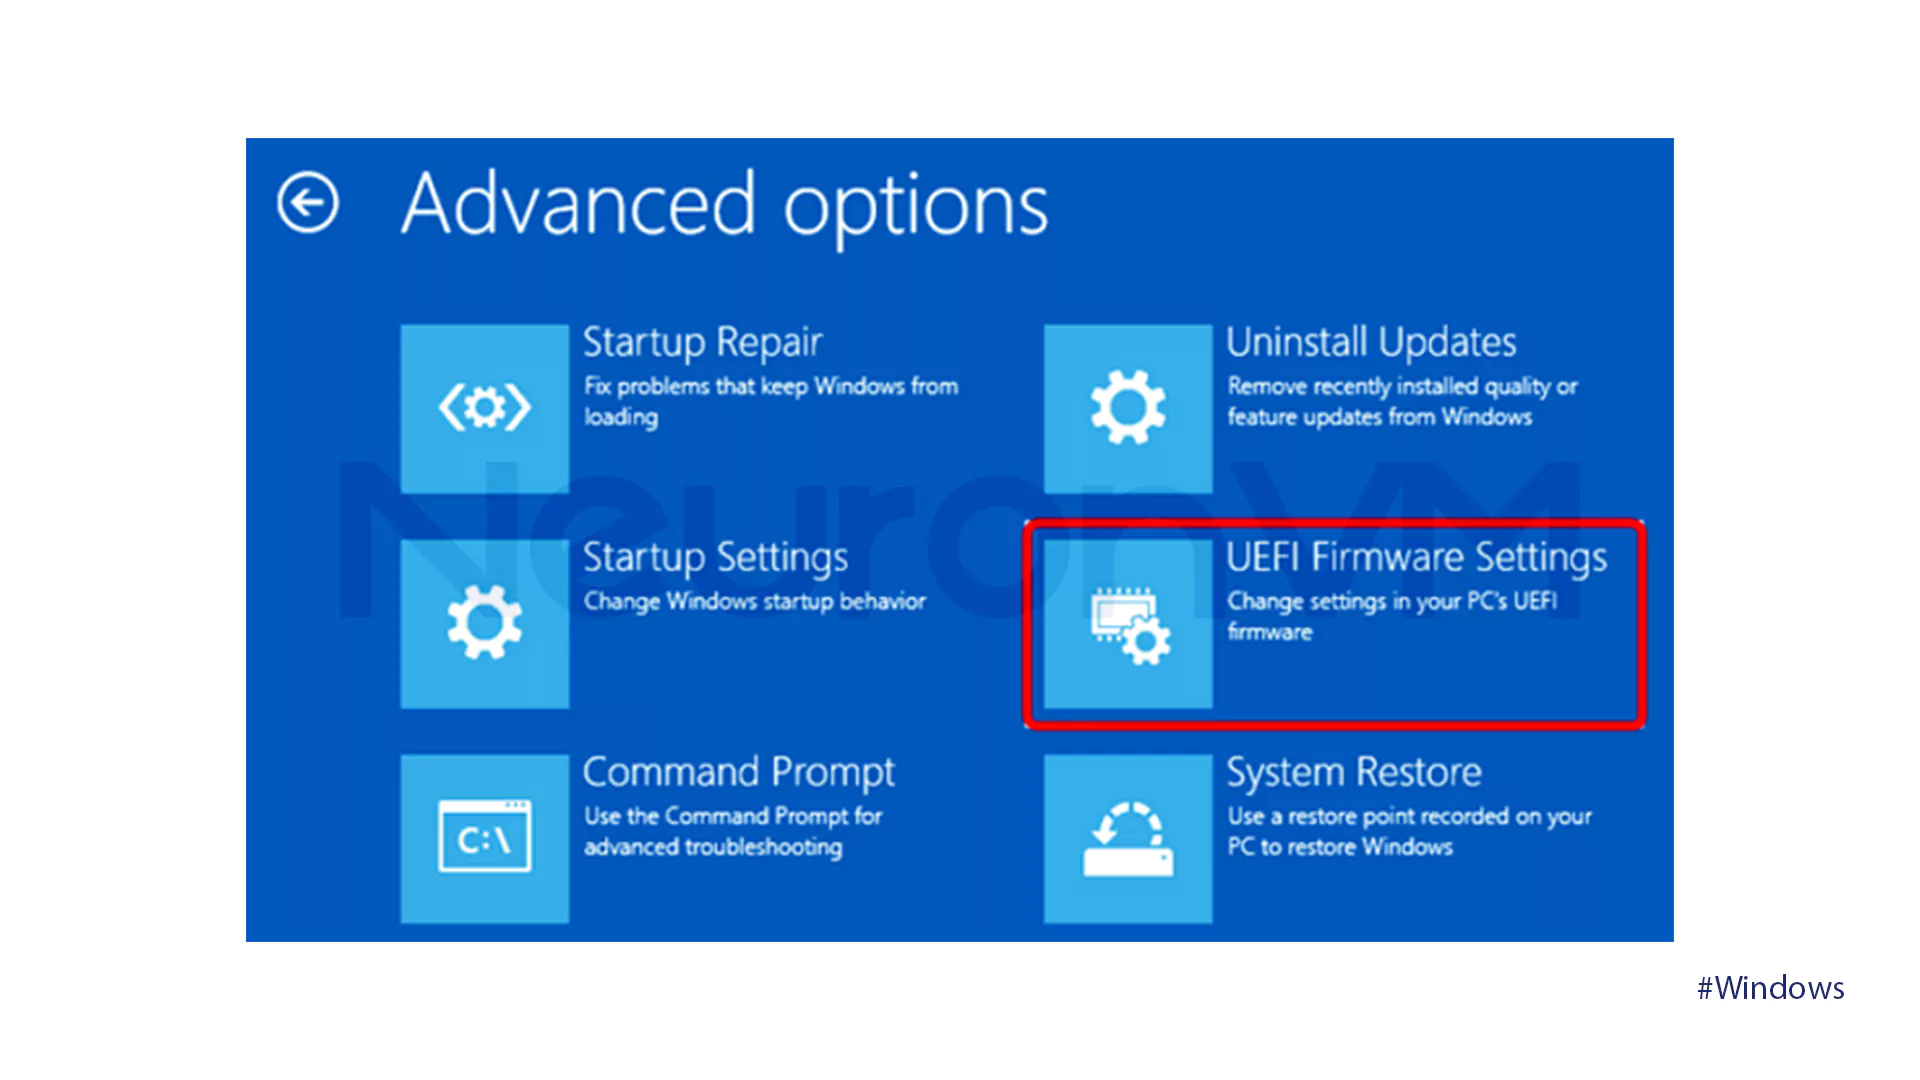
- Click on the Restart button.
Then, we have to activate virtualization Technology for Intel and AMD CPUs. Here is the tutorial for the Intel CPU:
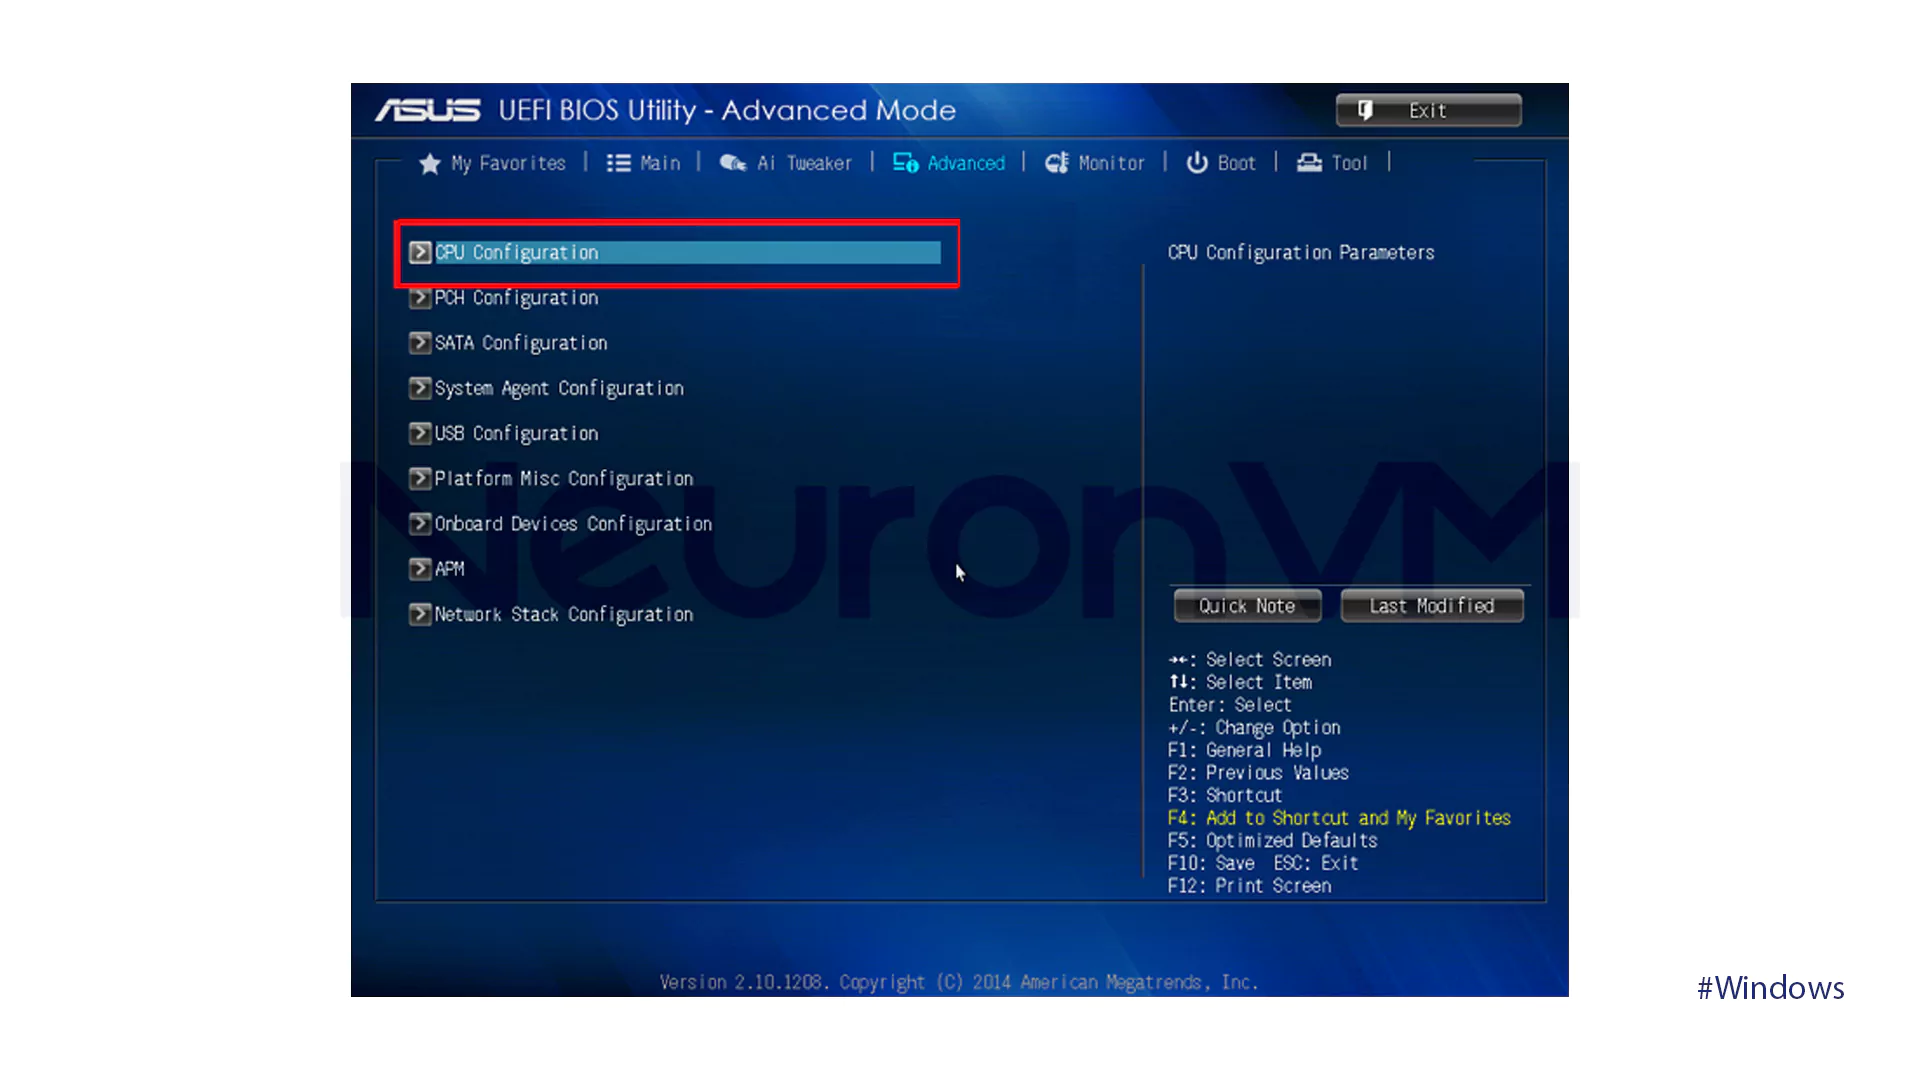
- In the BIOS settings, go to the Advanced Mode.
- Tap on the Advanced option and choose CPU Configuration.
- Enable the Intel Virtualization Technology option.
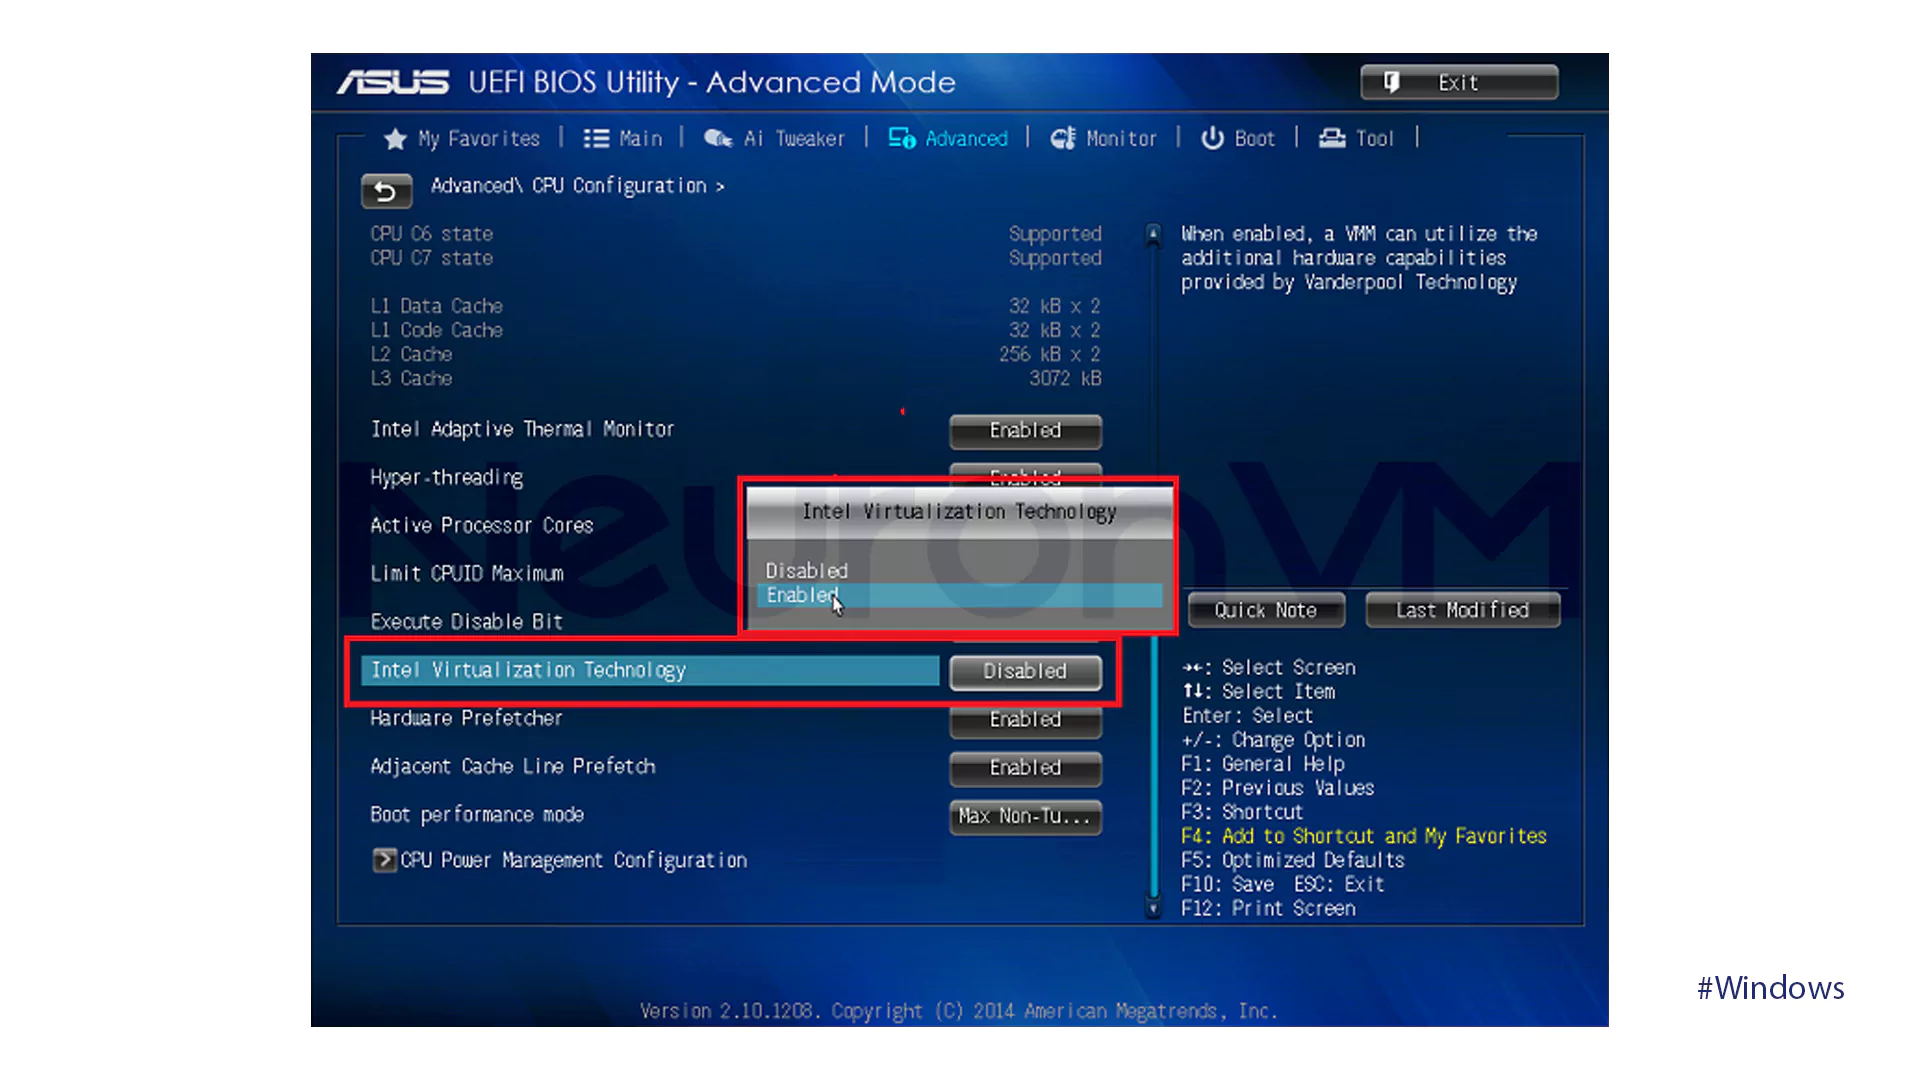
- Then click on Exit and Save Changes.
Next, the steps to activate virtualization Technology for AMD CPU:
- In the BIOS settings, go to the Advanced Mode.
- Tap on the Advanced option and choose CPU Configuration.
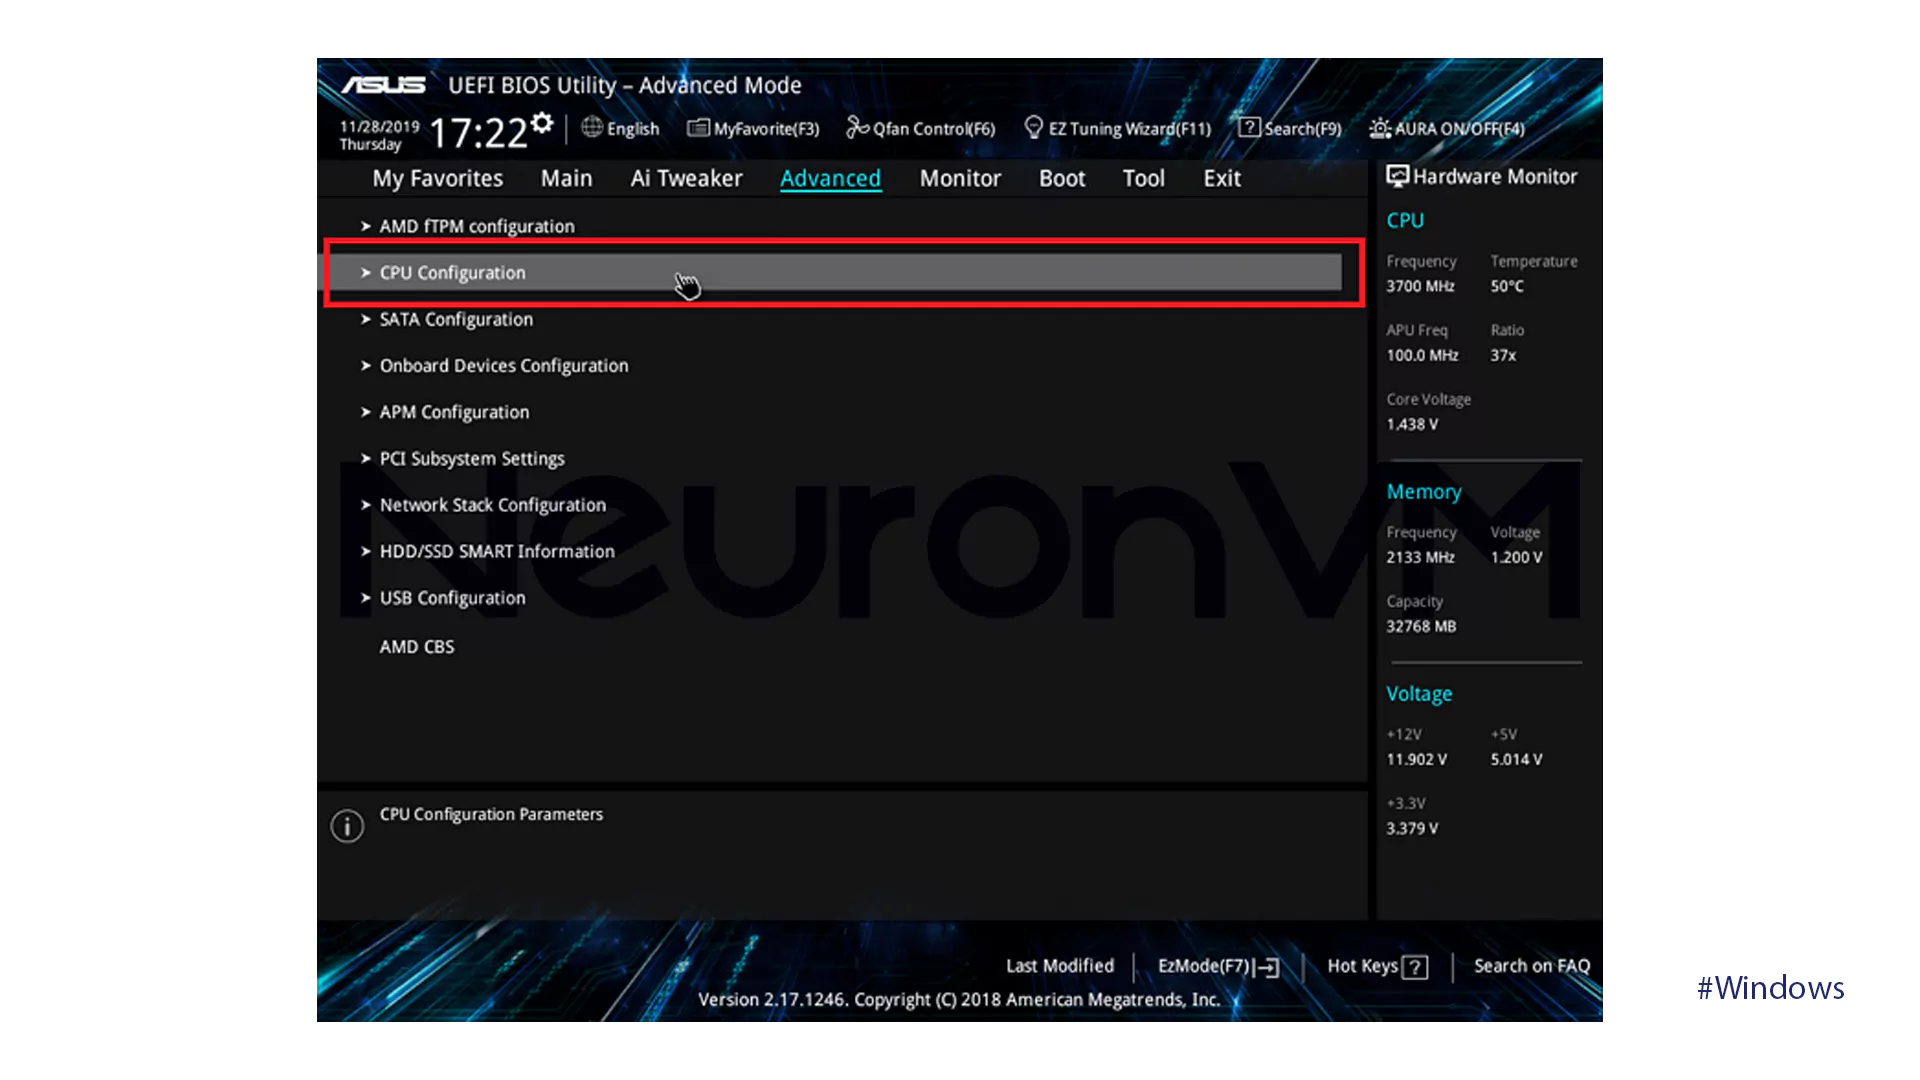
- Enable the SVM Mode.
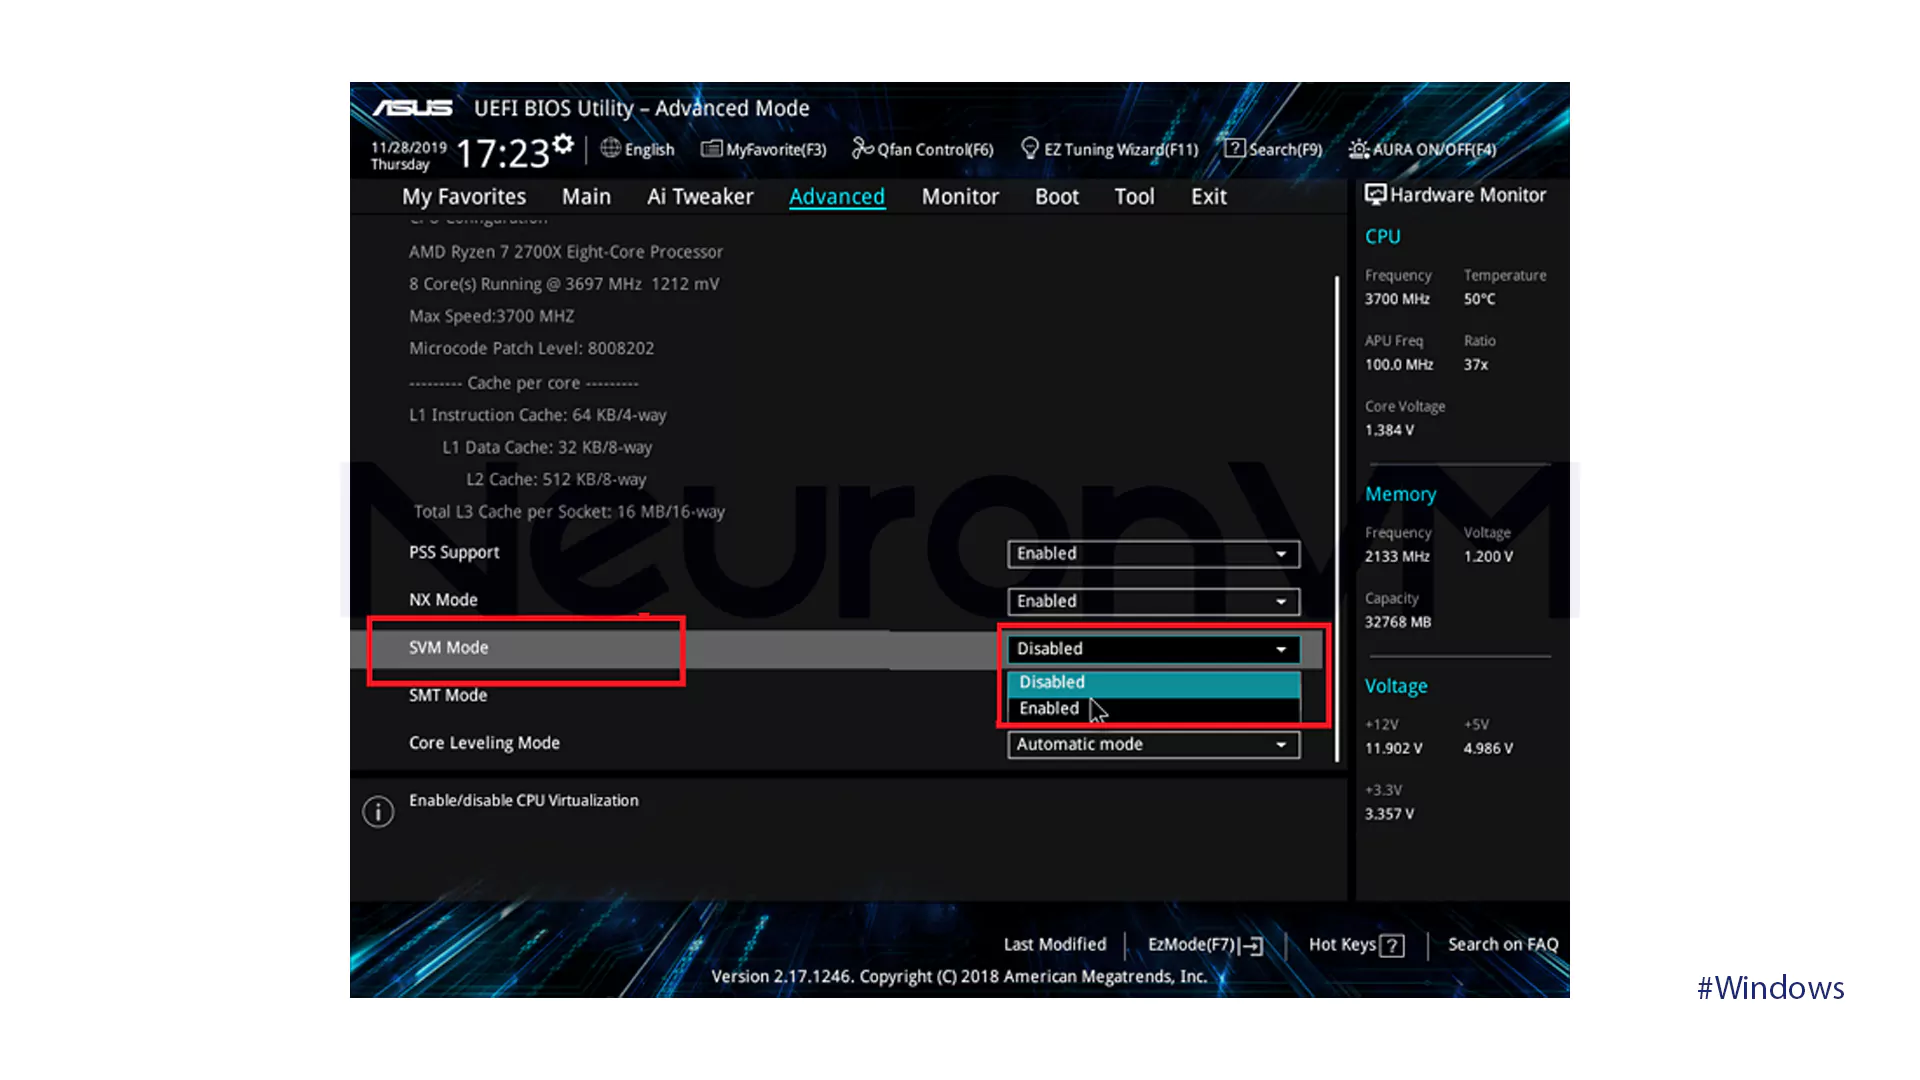
- Then click on Exit and OK to Save changes.
And here it is! You can download and install APKs on Windows 11 without taking any risks!
Conclusion
The ability to install APKs on Windows 11 opens up a wide range of new Android apps. With the information in this guide, you can enjoy these apps on your Windows device while minimizing security risks. We hope this article was helpful! Let us know if you have any other questions about this subject.

