How to Download smartphone photos to Windows 10 and 11
 6m
6m
 0 comments
If you want to transform or download smartphone photos to Windows 10 and 11 without any effort, we will guide you through it in the most effortless way possible.
Nowadays, taking pictures and keeping memories with loved ones and everything else going on in life is easy but thinking about the storage and the places every photo taken from our memories goes uncomfortable. But this is the ultimate solution for you to not worry about transforming your photos ever again.
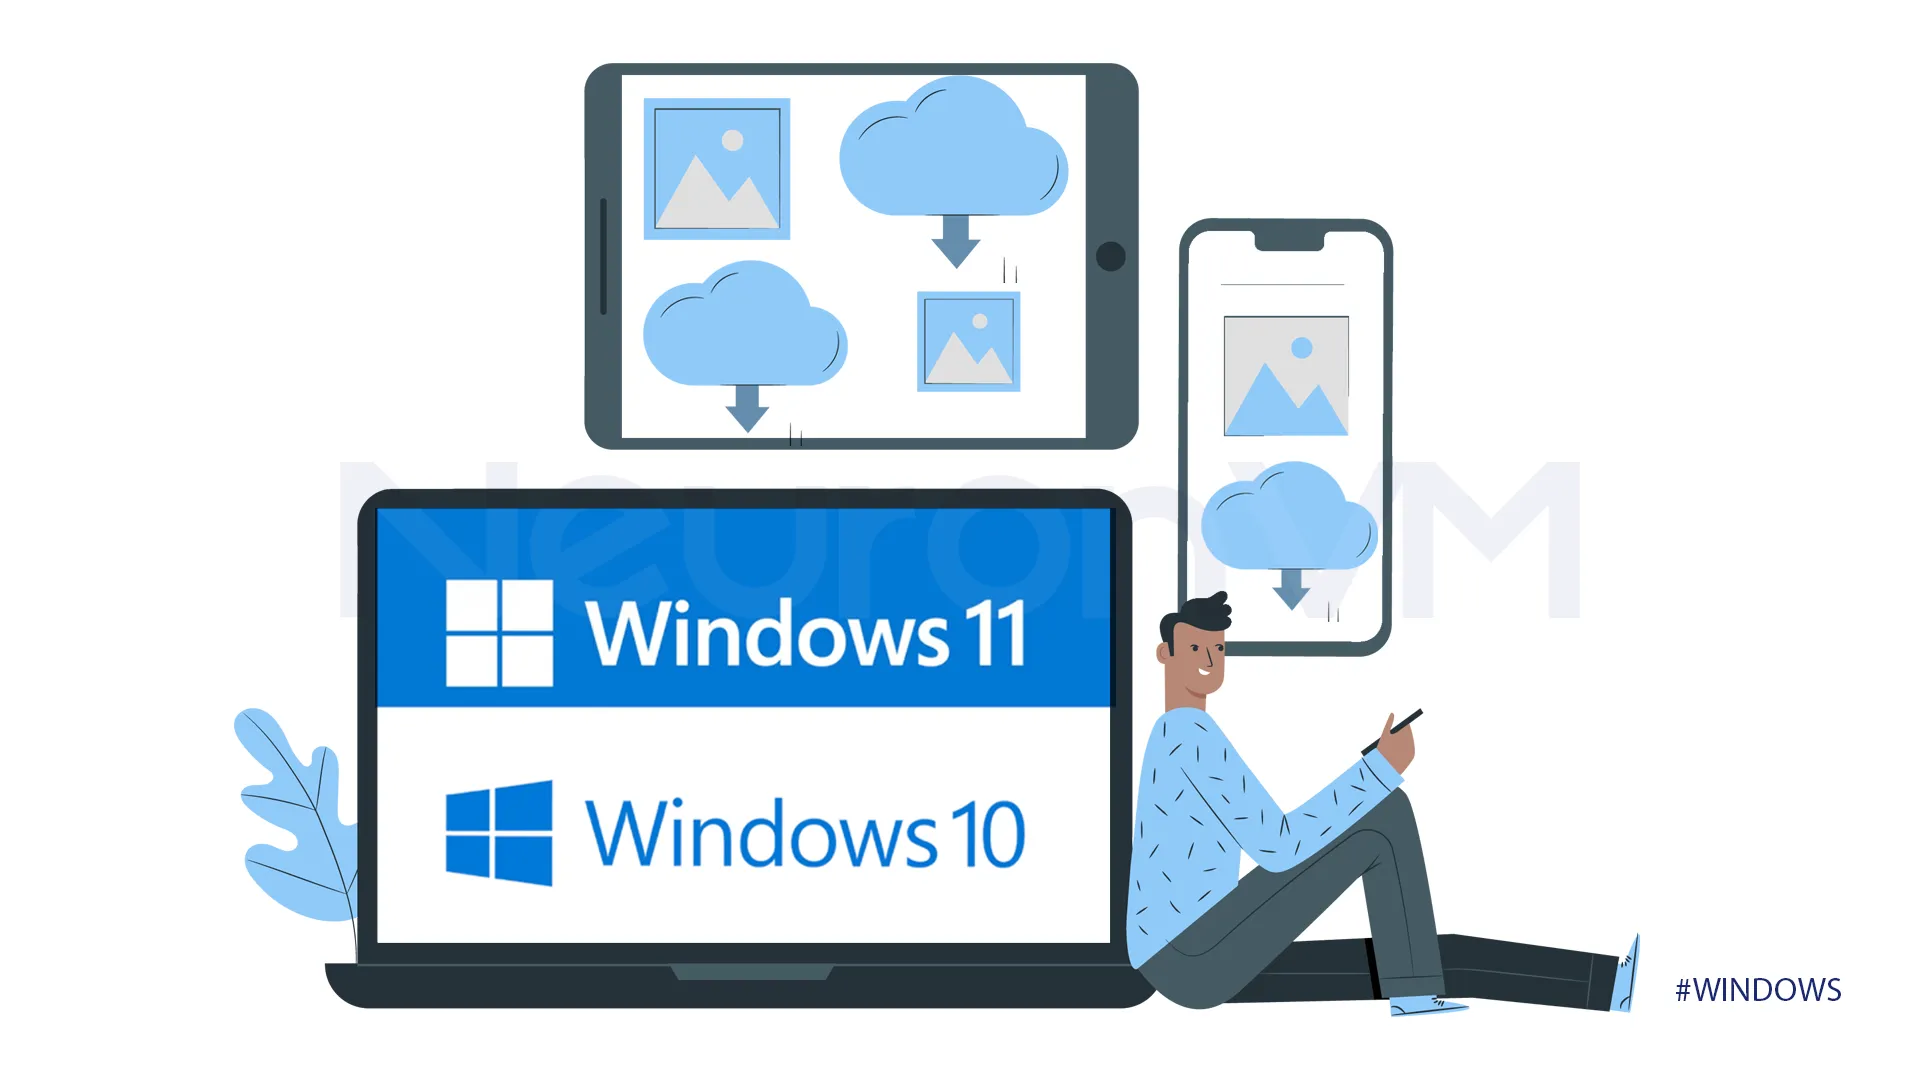 Any photo that is taken on a smartphone can be easily transformed into your device. If you are struggling with full storage problems or you want to keep your memories safe and have a backup of them, this guide will help you to achieve your goal.
Downloading smartphone photos to Windows 10, 11
Let’s get started on transforming our data through a USB cable to our computer in the easiest way possible.
Transforming your photos with a USB cable to Windows 10 & 11
“USB cable”
Use a USB cable to connect your phone to your computer, consider that the type of your table might be different based on your phone’s port. Also, ensure your USB cable is compatible with MTP or PTP.
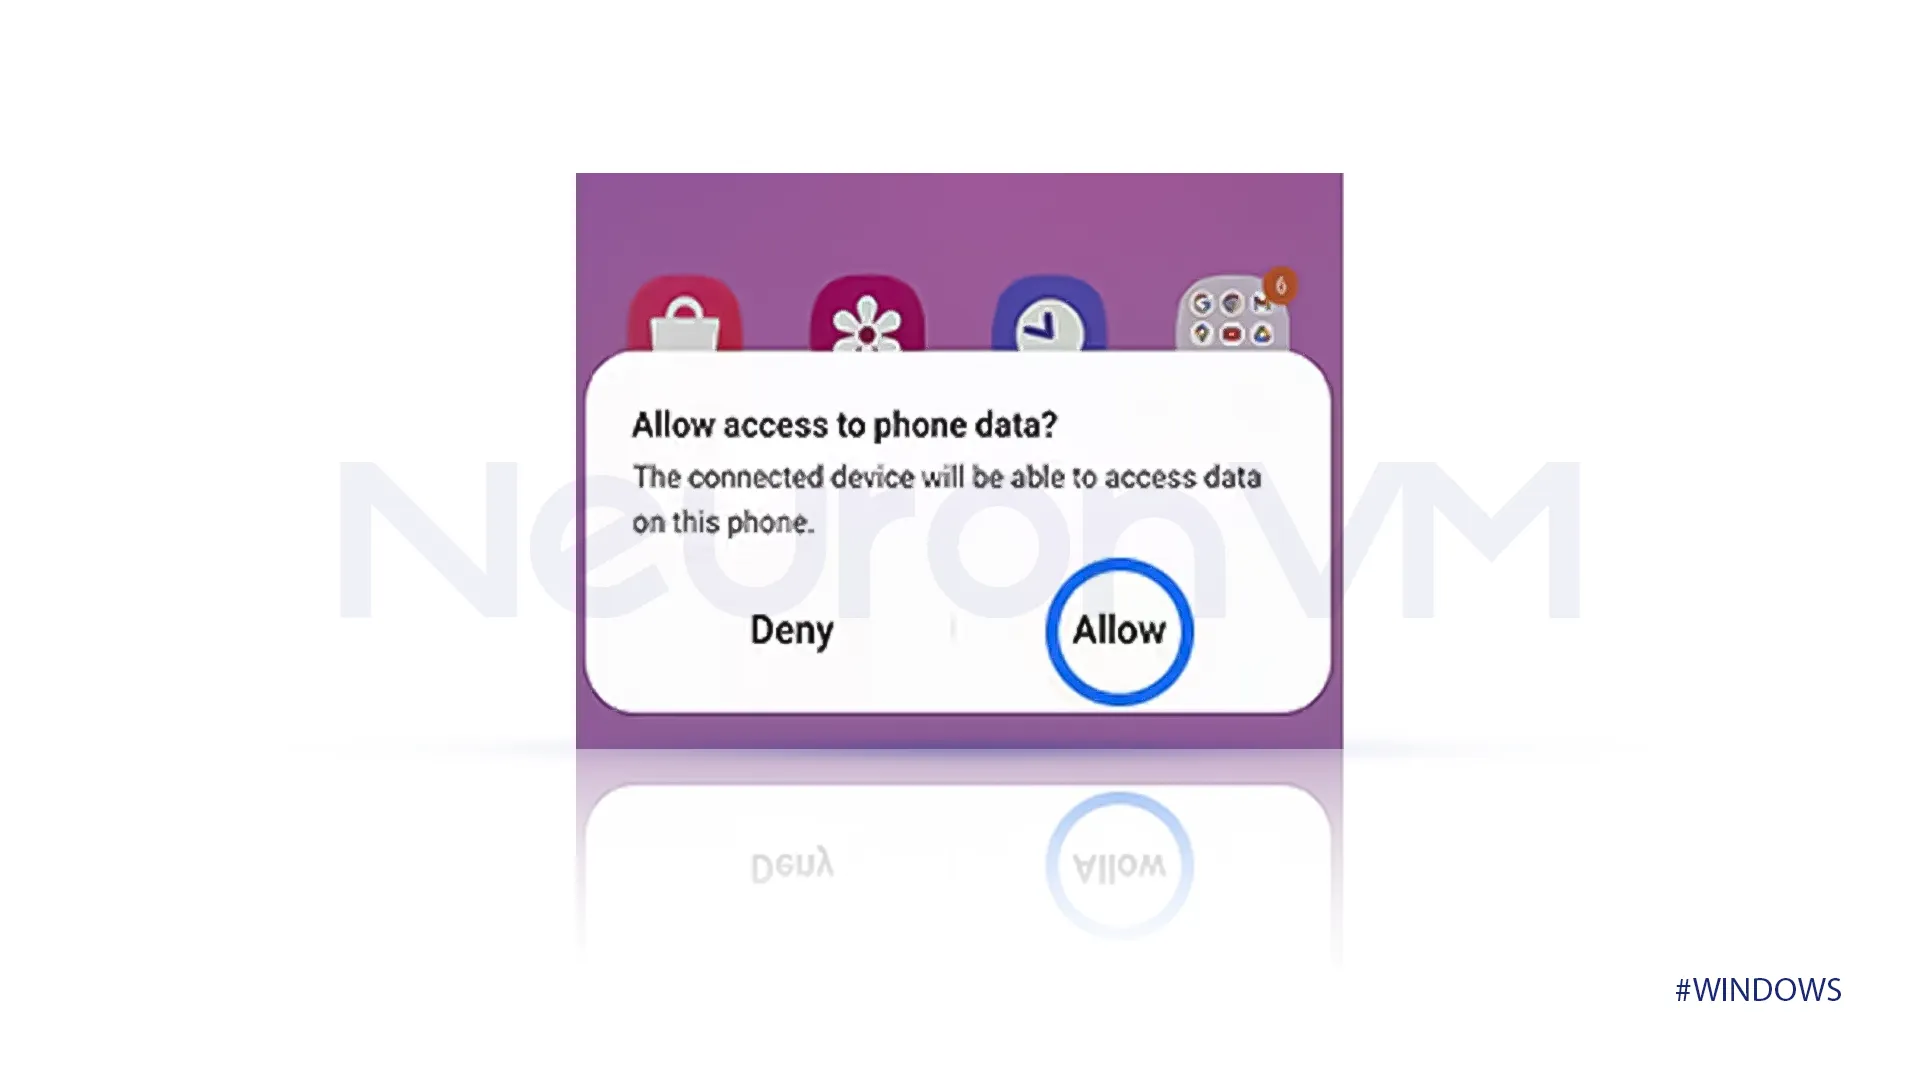
“Allow access”
After connecting your phone and computer with a cable, a message will pop up on your phone saying “Allow access to phone data?” give access to it.
If this message didn’t appear on your phone it is okay, some smartphones do not ask for permission to give access to your data.
“USB for file transfer”
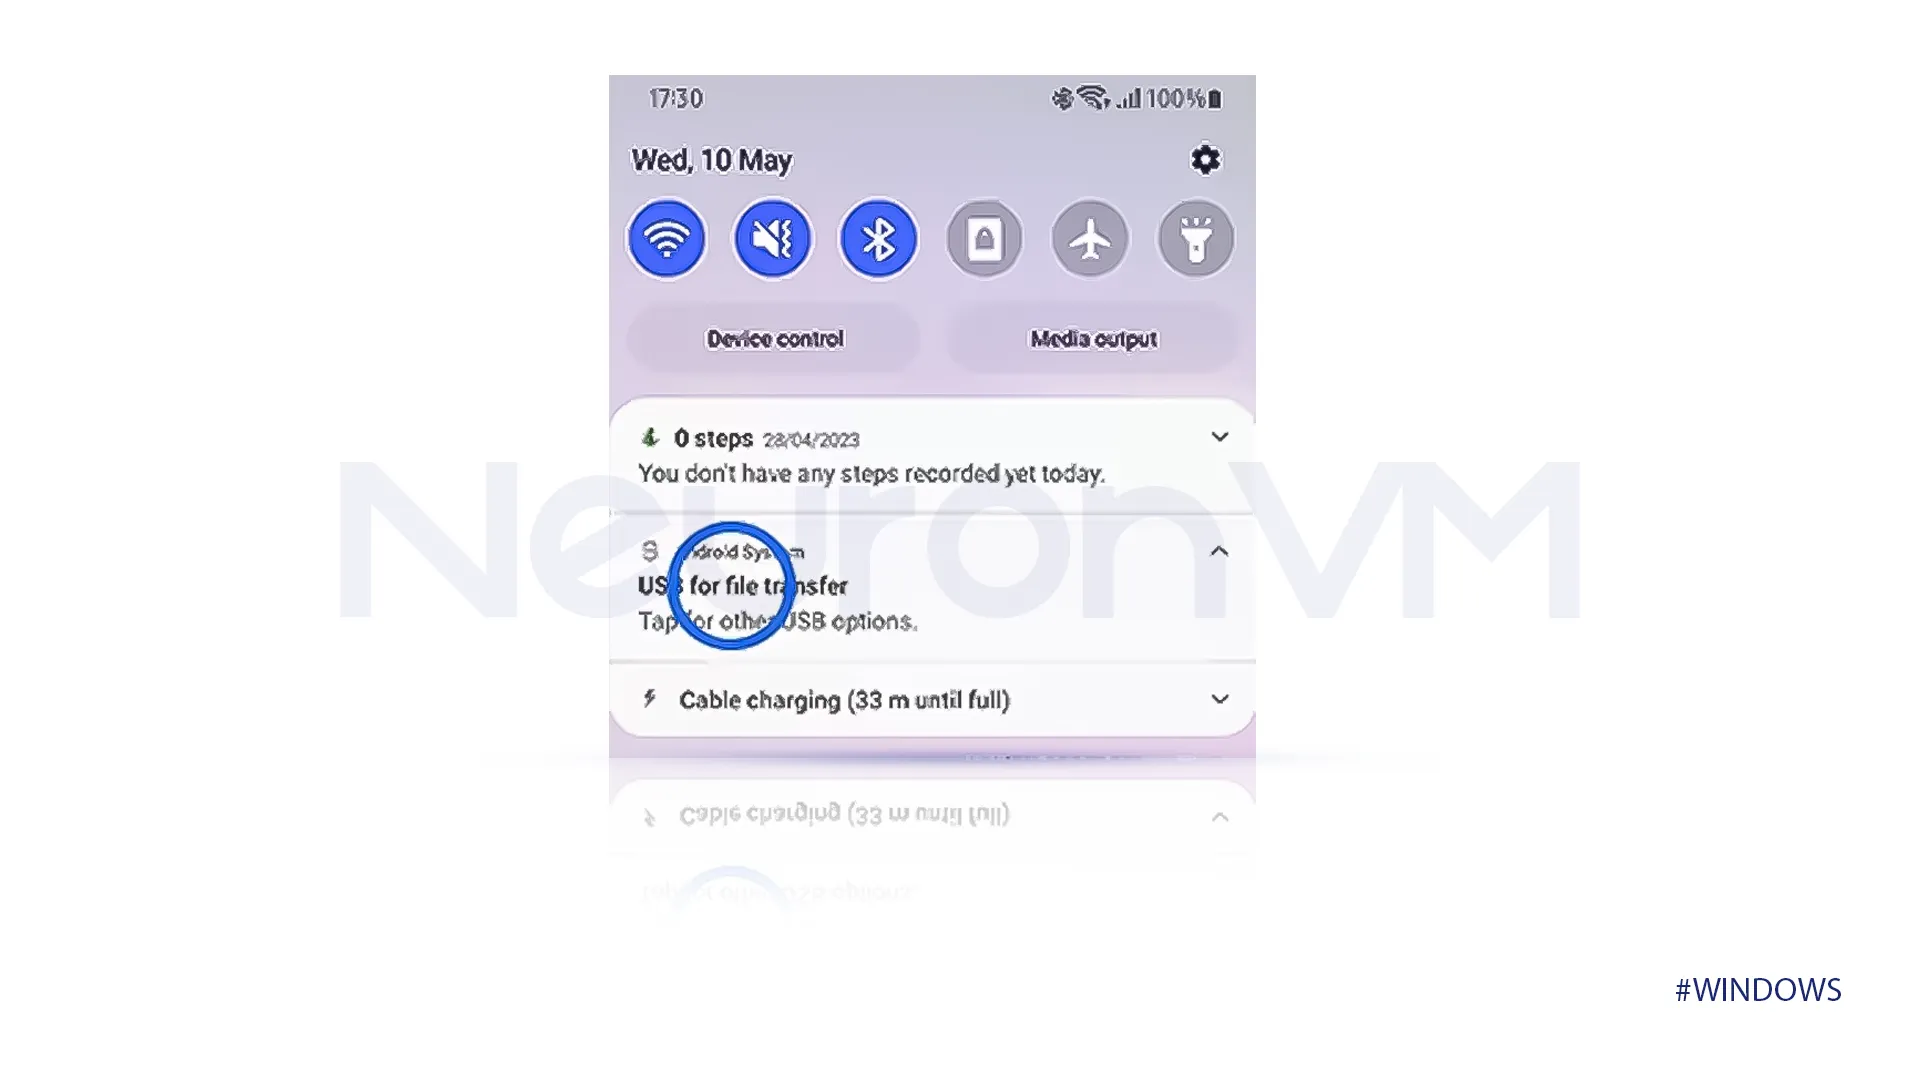
After giving access to phone data open the notification bar, and you will see a message that says “USB for file transfer,” tap on this notification after you do that you will see USB options.
“USB Settings”
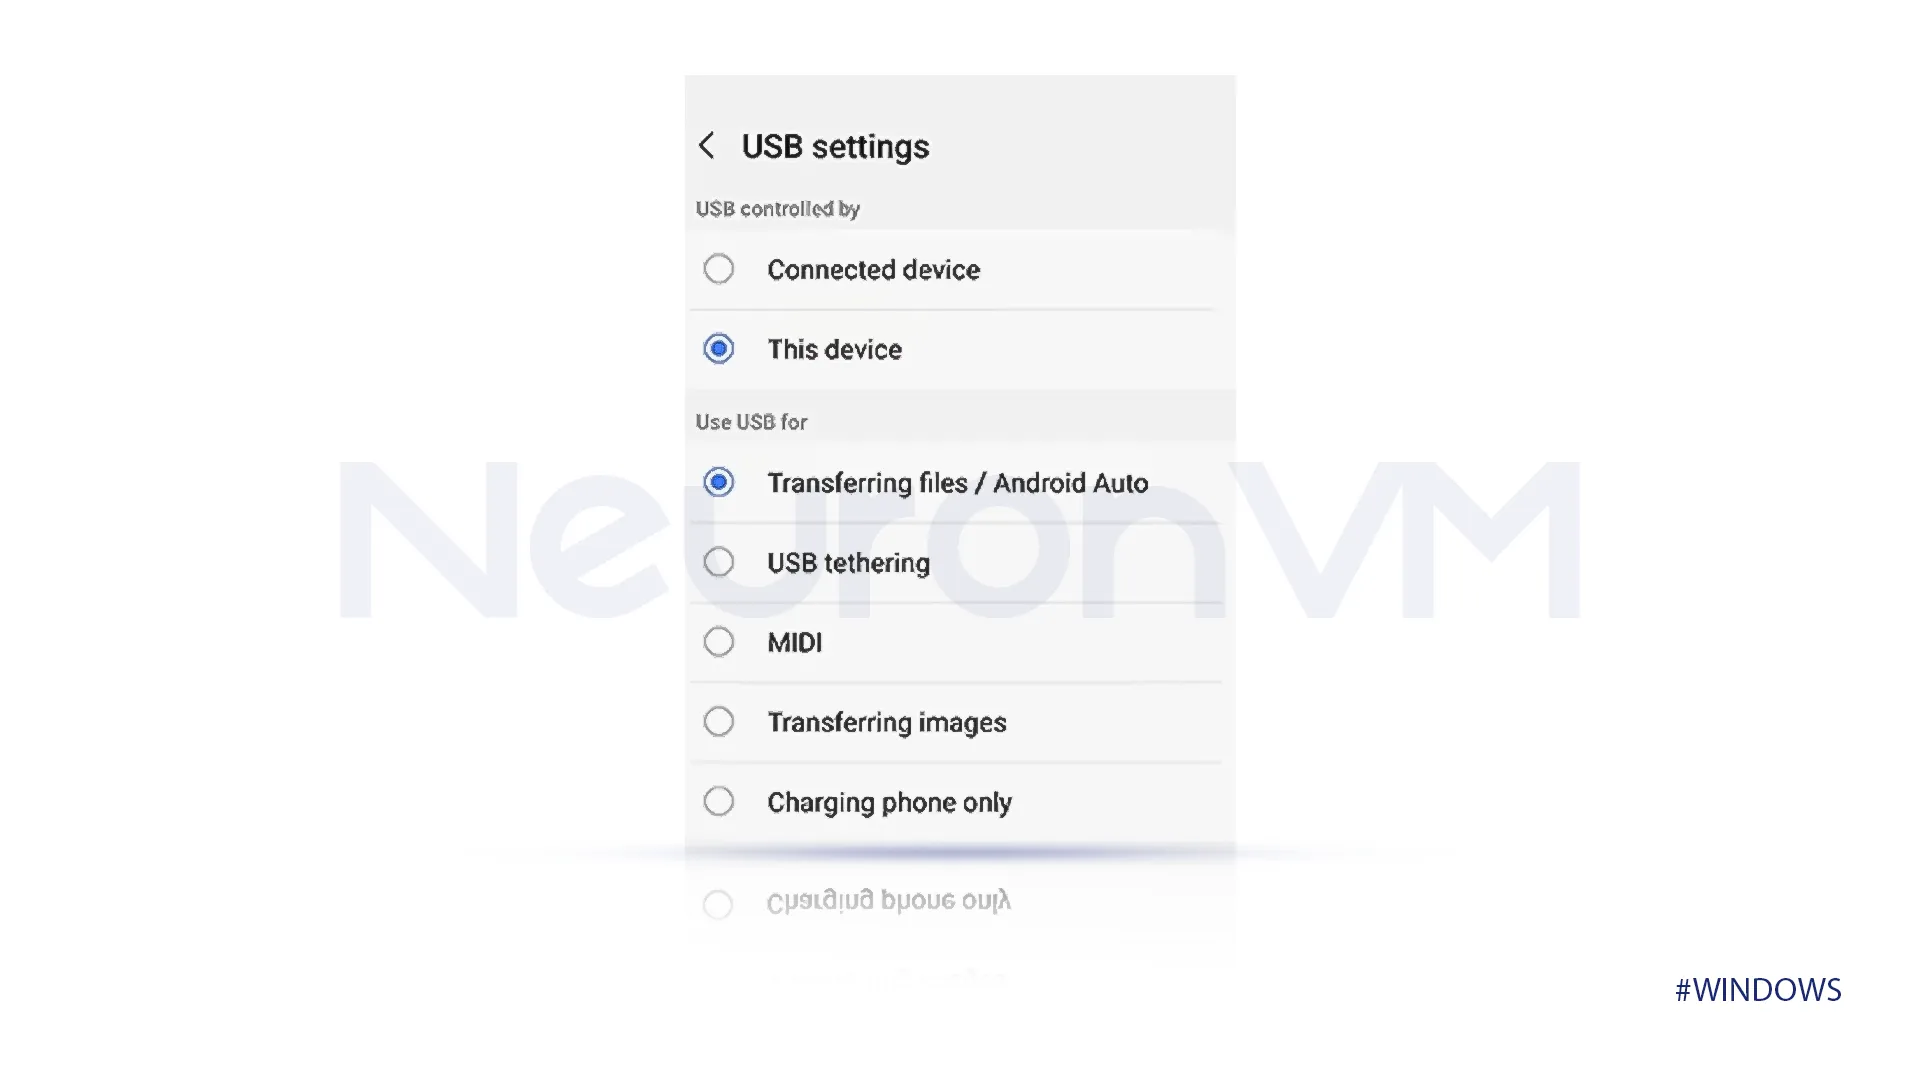
You will be navigated to the USB Setting after the previous step; in the USB-controlled section select “This device” and in the ‘Use USB for’ section tap on “Transferring files.”
“Device”
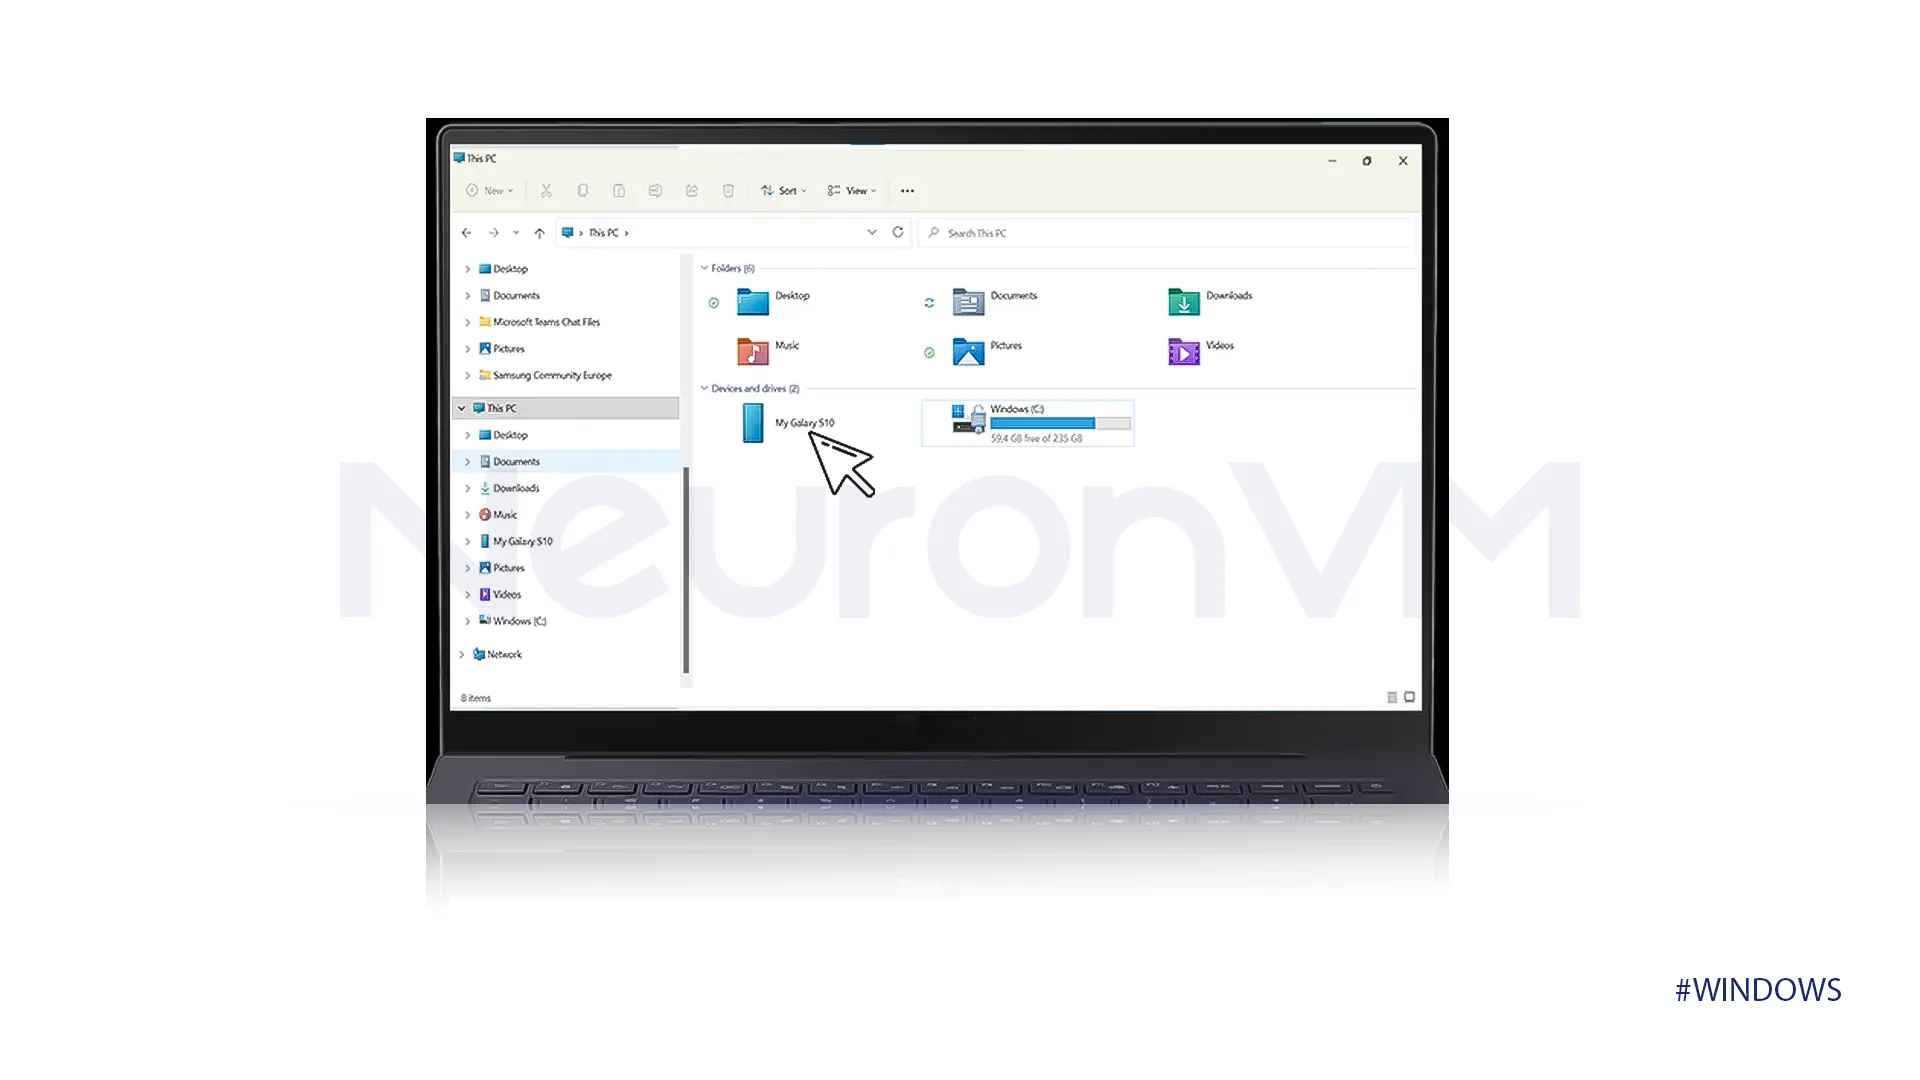
If you have connected your phone and your computer before it will pop up a notification but if not, you open your file explorer or find This PC folder directly.
Then click on your device’s name to see your data.
“Internal Storage”
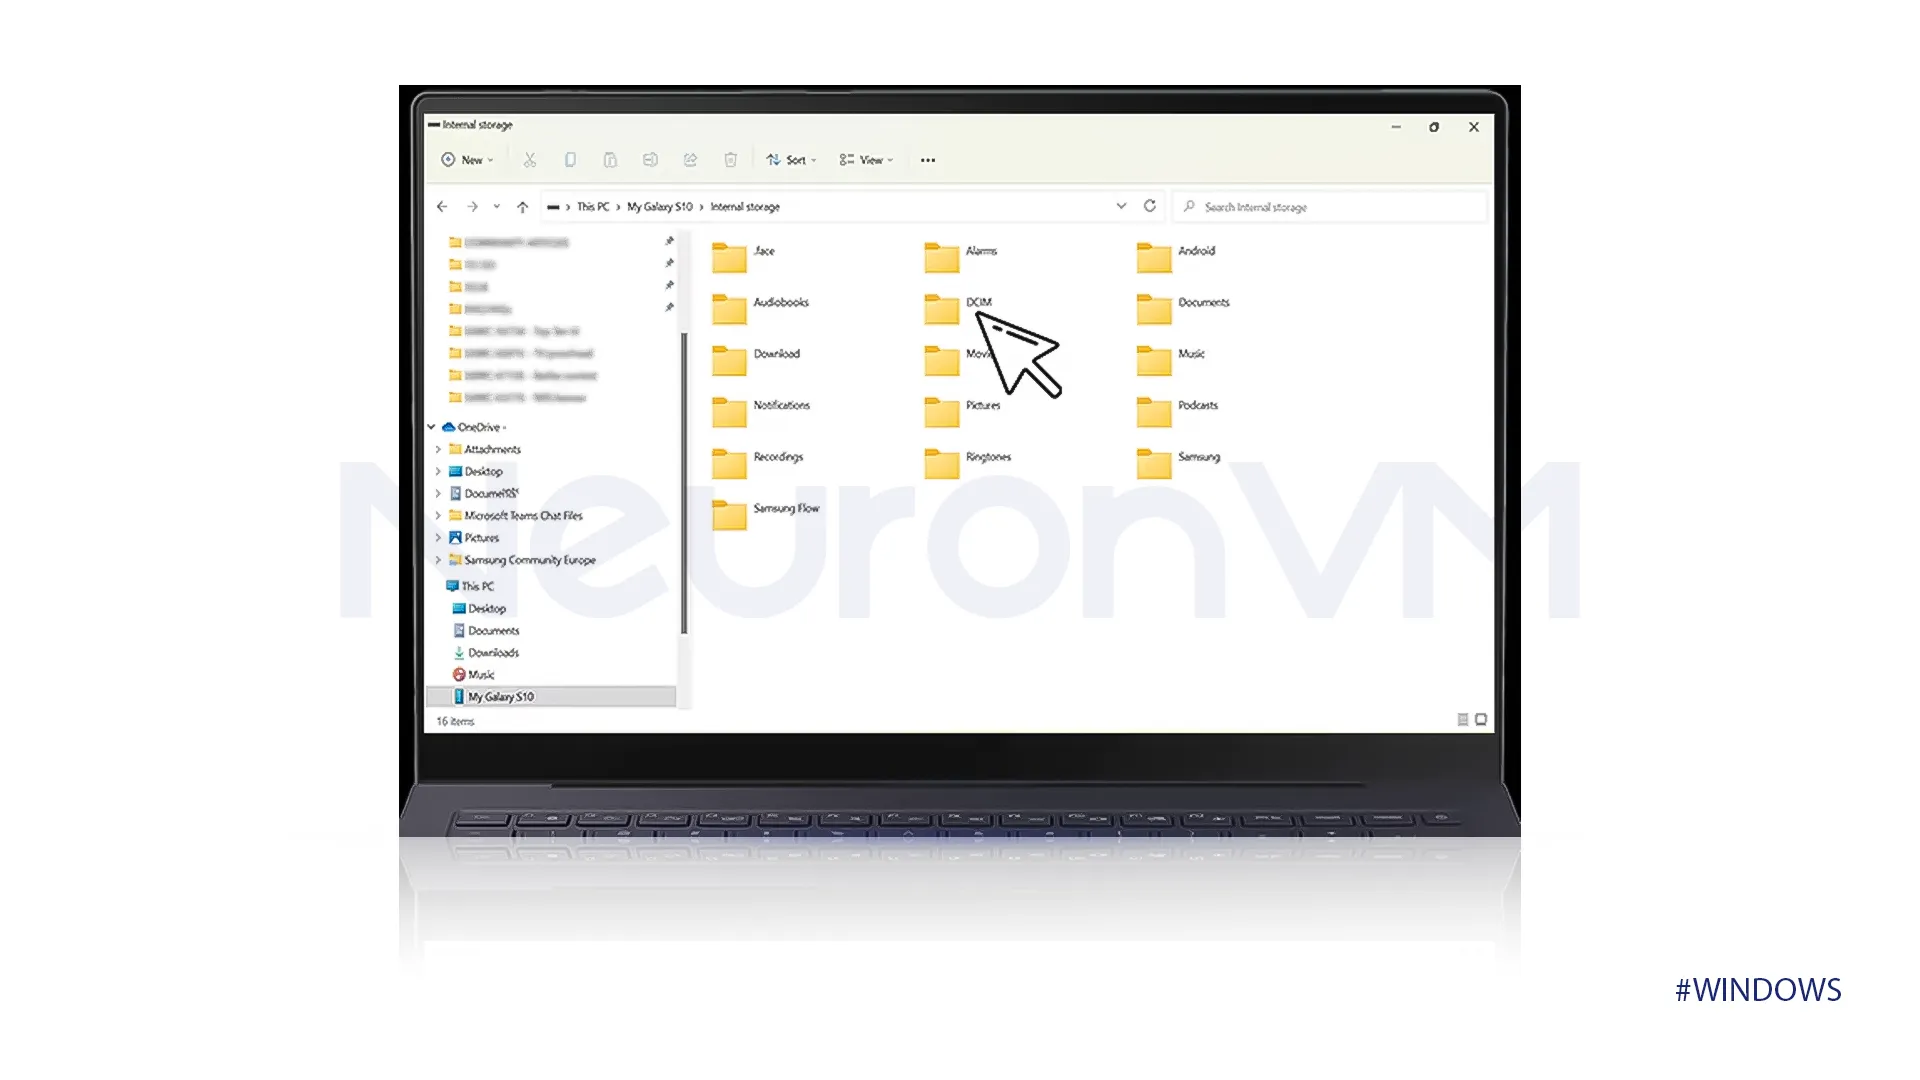
Open the folder Internal Storage to see a list of all the files that you have stored in your phone you will be able to have access to that, DCIM files hold your photos.
 “Photos”
Select and copy desired photos and videos from your smartphone, and paste it directly to your computer.
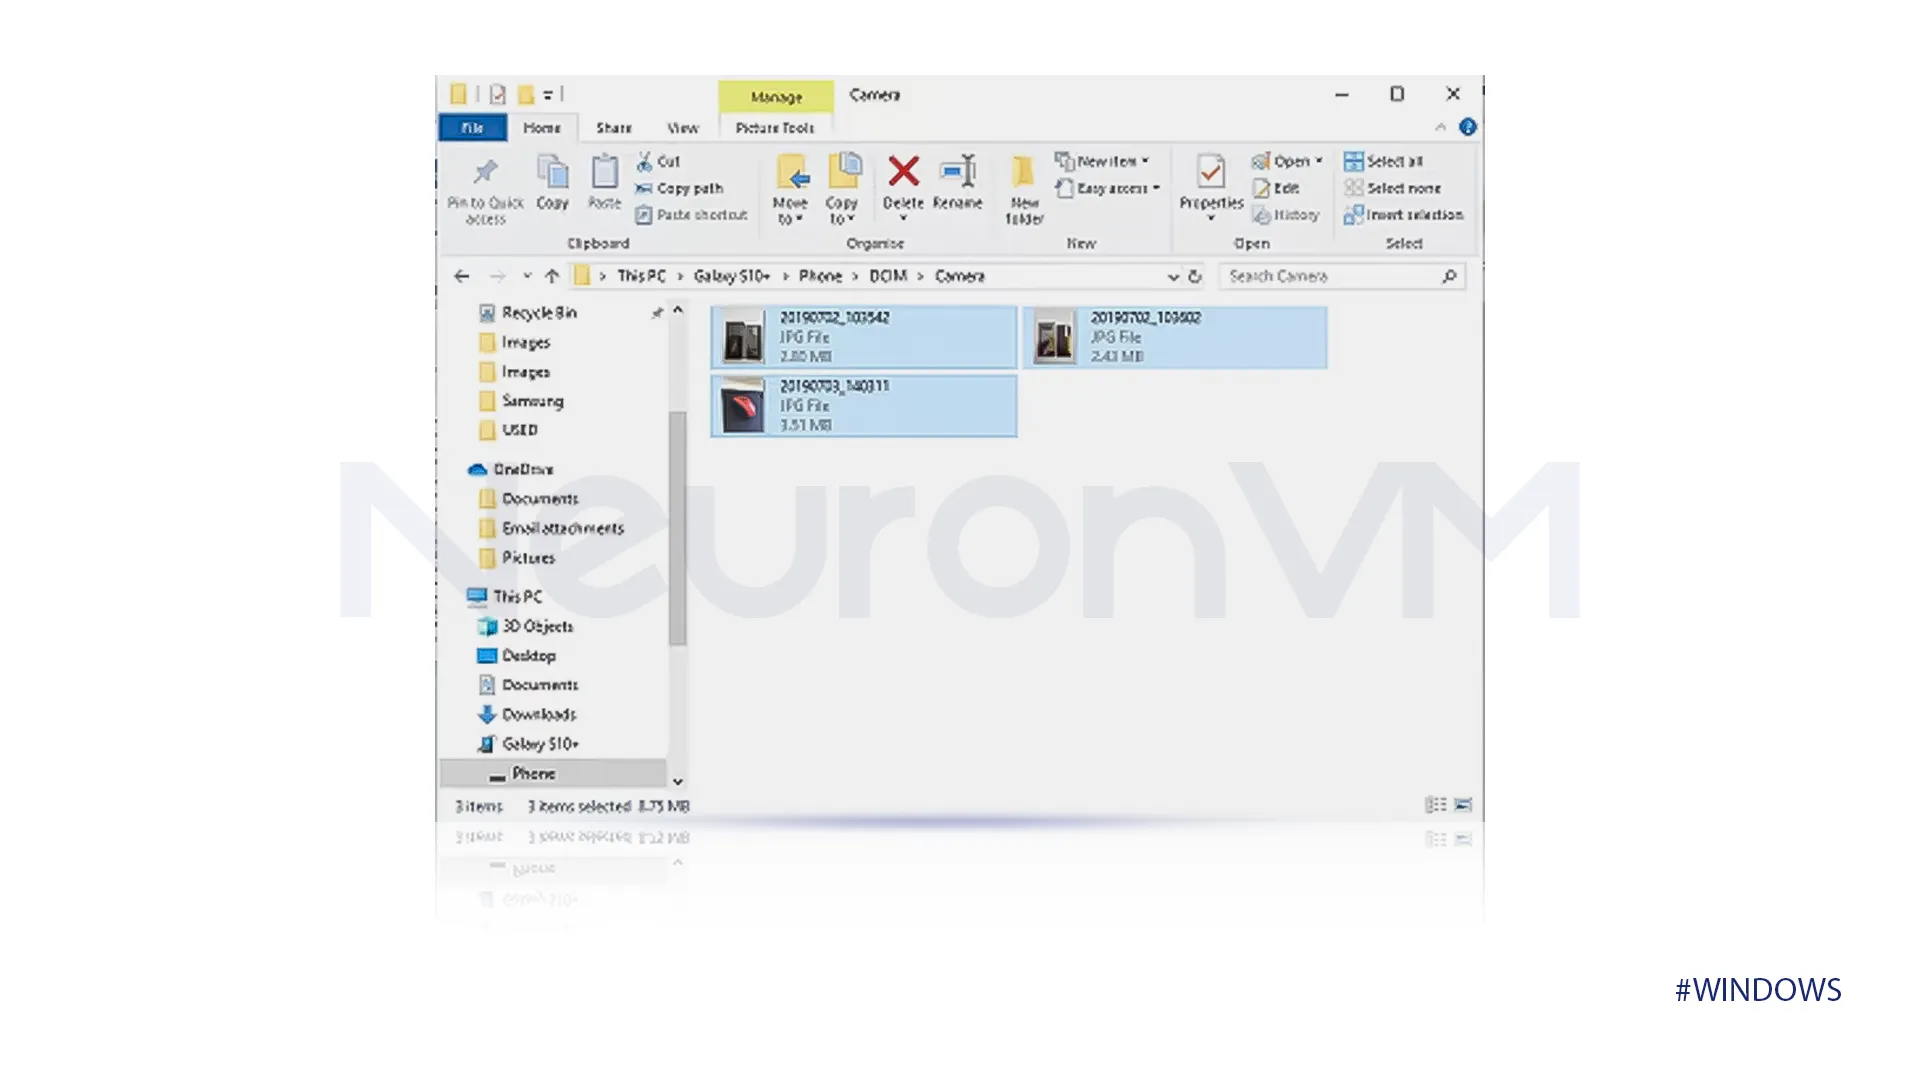
These were all the steps you needed to complete your wish to download smartphone photos to Windows 10 and 11.
Conclusion
Downloading your photos from your smartphone to Windows 10,11 does not have to be overwhelming to you after this guide. We provided an effortless guide to it with the USB method. There are some other methods for it too, you can check Microsoft’s website for other options.
And if you are a Windows user and interested in Windows tutorials, check out NeuronVM for more.
You might like it


