


In this article, we will teach you How to Take Screenshots On Windows 10, 8.1 And 7. A screenshot can be used to take a picture and save it in the system. Personal computers that have Windows 7, 8.1, and 10 installed on them, they have built-in tools to take screenshots and save them in the system. From the past until now, using screenshots is a quick way to communicate ideas and images.
In the following, we will introduce the important methods of taking screenshots from the desktop screen and explain how to use each one:
1- Take a screenshot using the Snipping Tool
2- Take a screenshot of the entire screen using keyboard shortcuts
Also, along with this educational article, we suggest you visit our Windows VPS services.
First, to use the tool, click the Windows Start button and then type Snipping Tool in the search box that appears and click on the Snipping Tool icon to run the program.
In Windows 8.1, go to the bottom right corner of the screen and click on Search, then type Snipping Tool in the search field that appears and select it.
In Windows 7, 8.1, and 10 operating systems, there is a built-in program for taking screenshots called the Snipping tool, which can capture all or part of your computer screen. Among the things we can do with the help of this tool are the following:
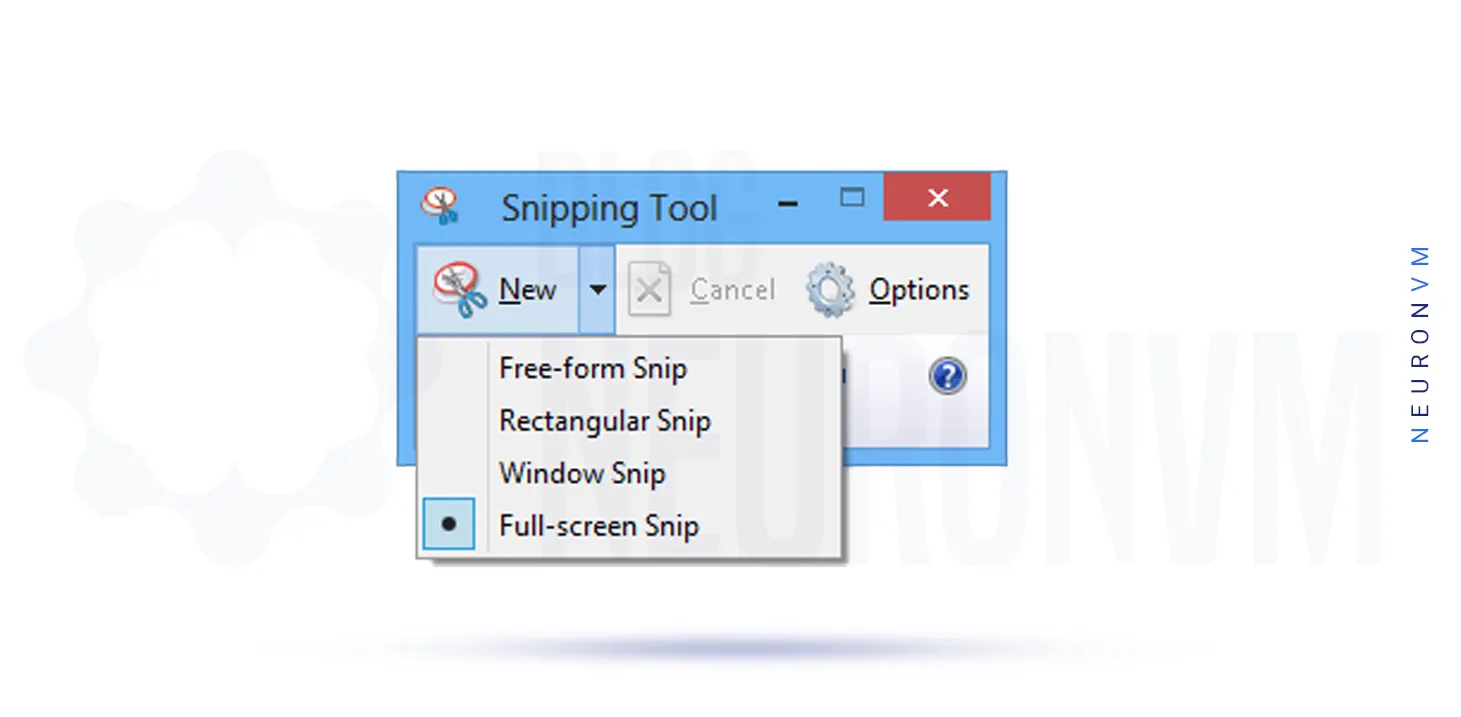
Full-screen Snip: This mode takes a picture of the entire screen and is also known as a Windows screenshot:
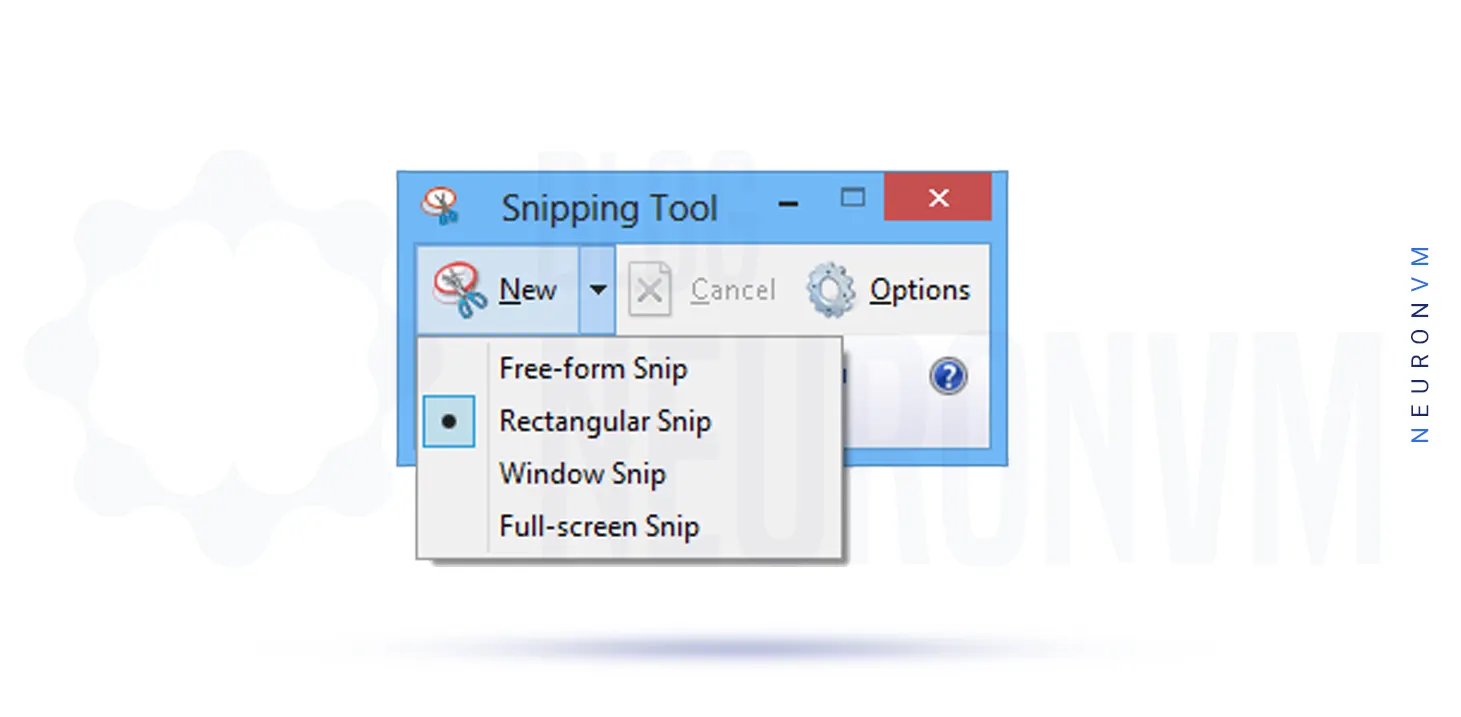
Rectangular Snip: This mode gives you a cursor that you have to drag around your screen to capture the rectangular area:
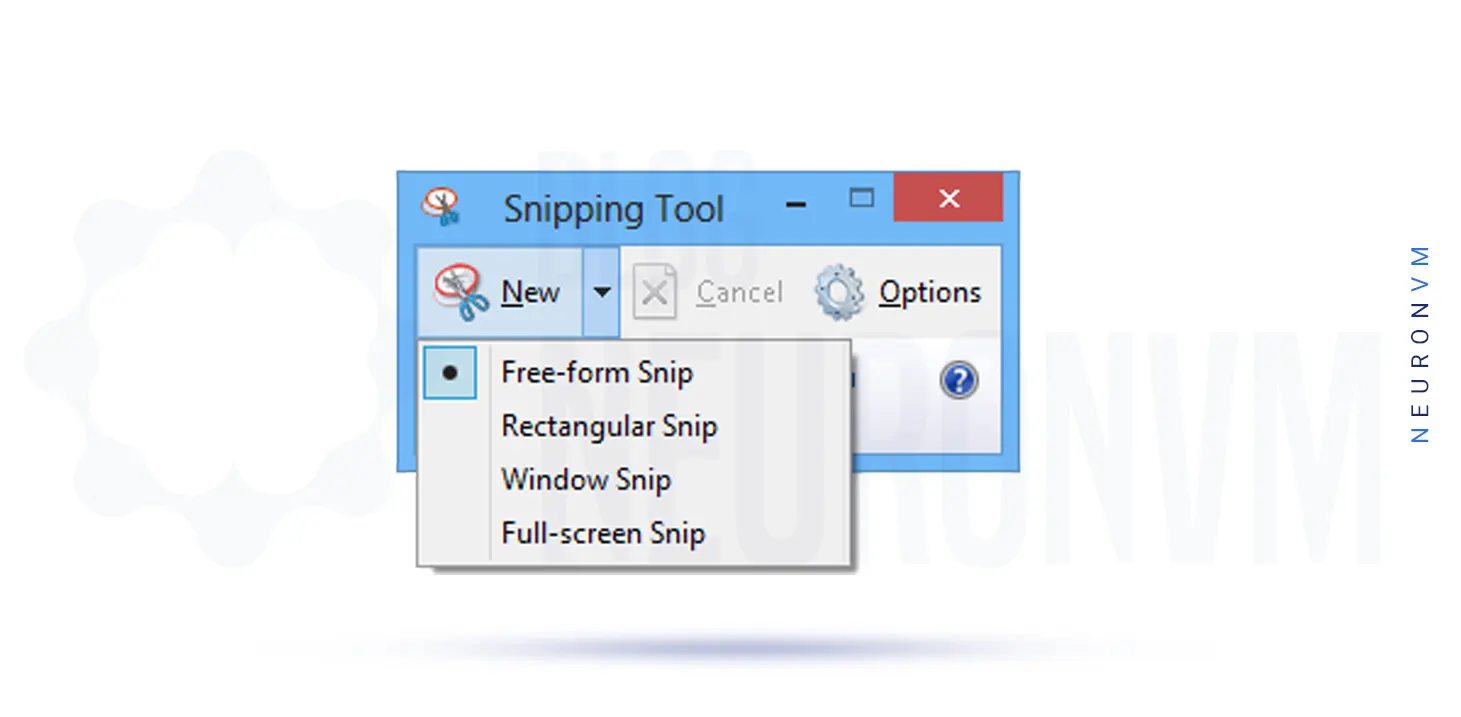
Free-form Snip: This mode allows you to draw a free-form shape around an object:
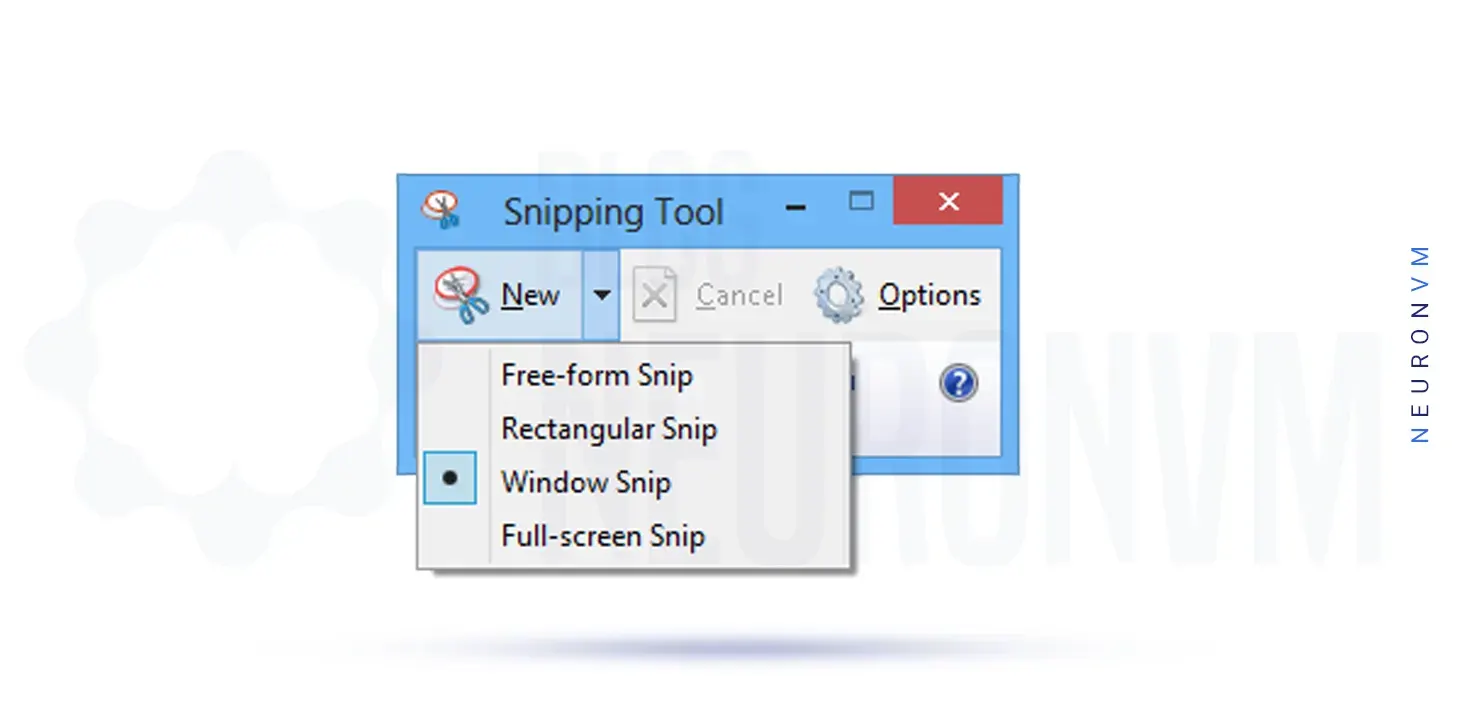
Window Snip: This tool allows you to select your preferred dialogue box or part of a window e.g the browser that you want to capture:
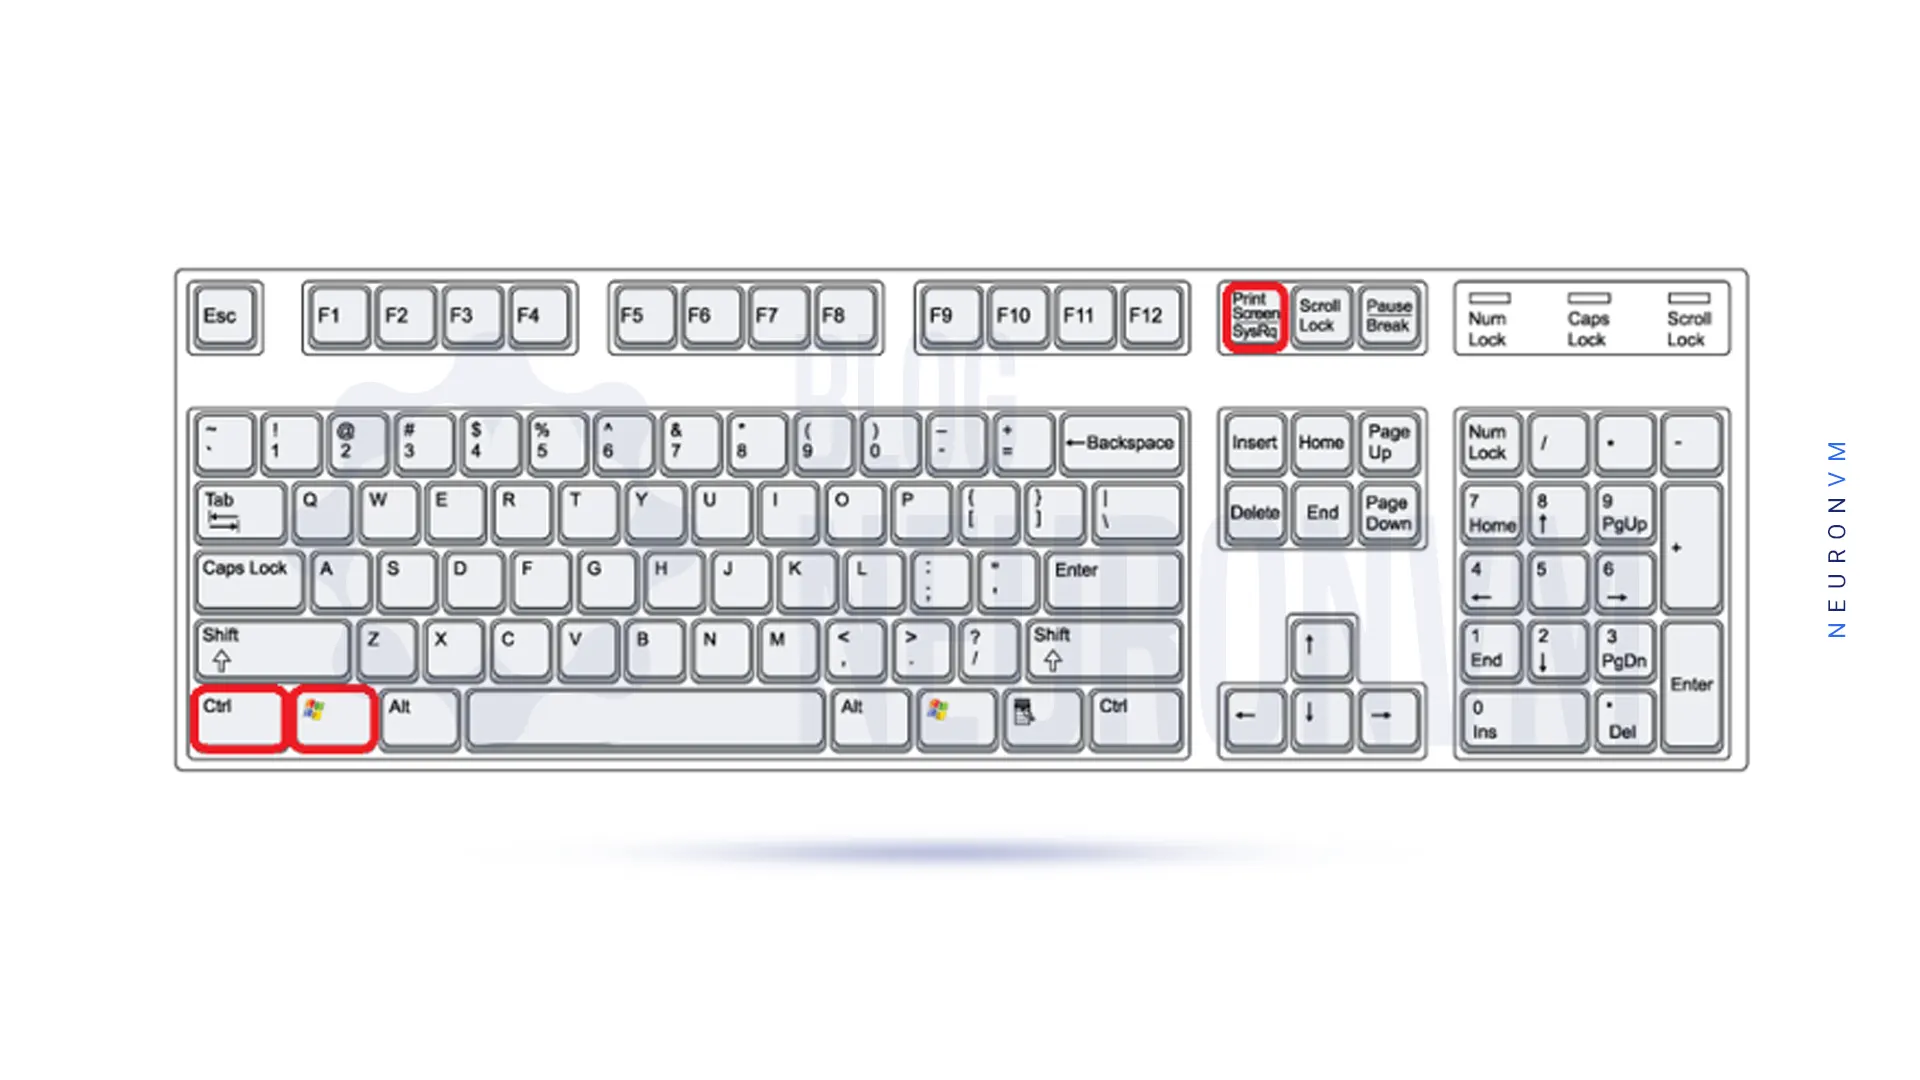
When using Windows 7, press the Esc key before opening the menu, then press the Ctrl+Prt Sc keys. This command takes the entire screen including the open menu. Now select the drop-down arrow next to snipping mode and click on the Window Snip option. The mouse pointer will appear with a hand icon, then point to the desired menu to take a screenshot.
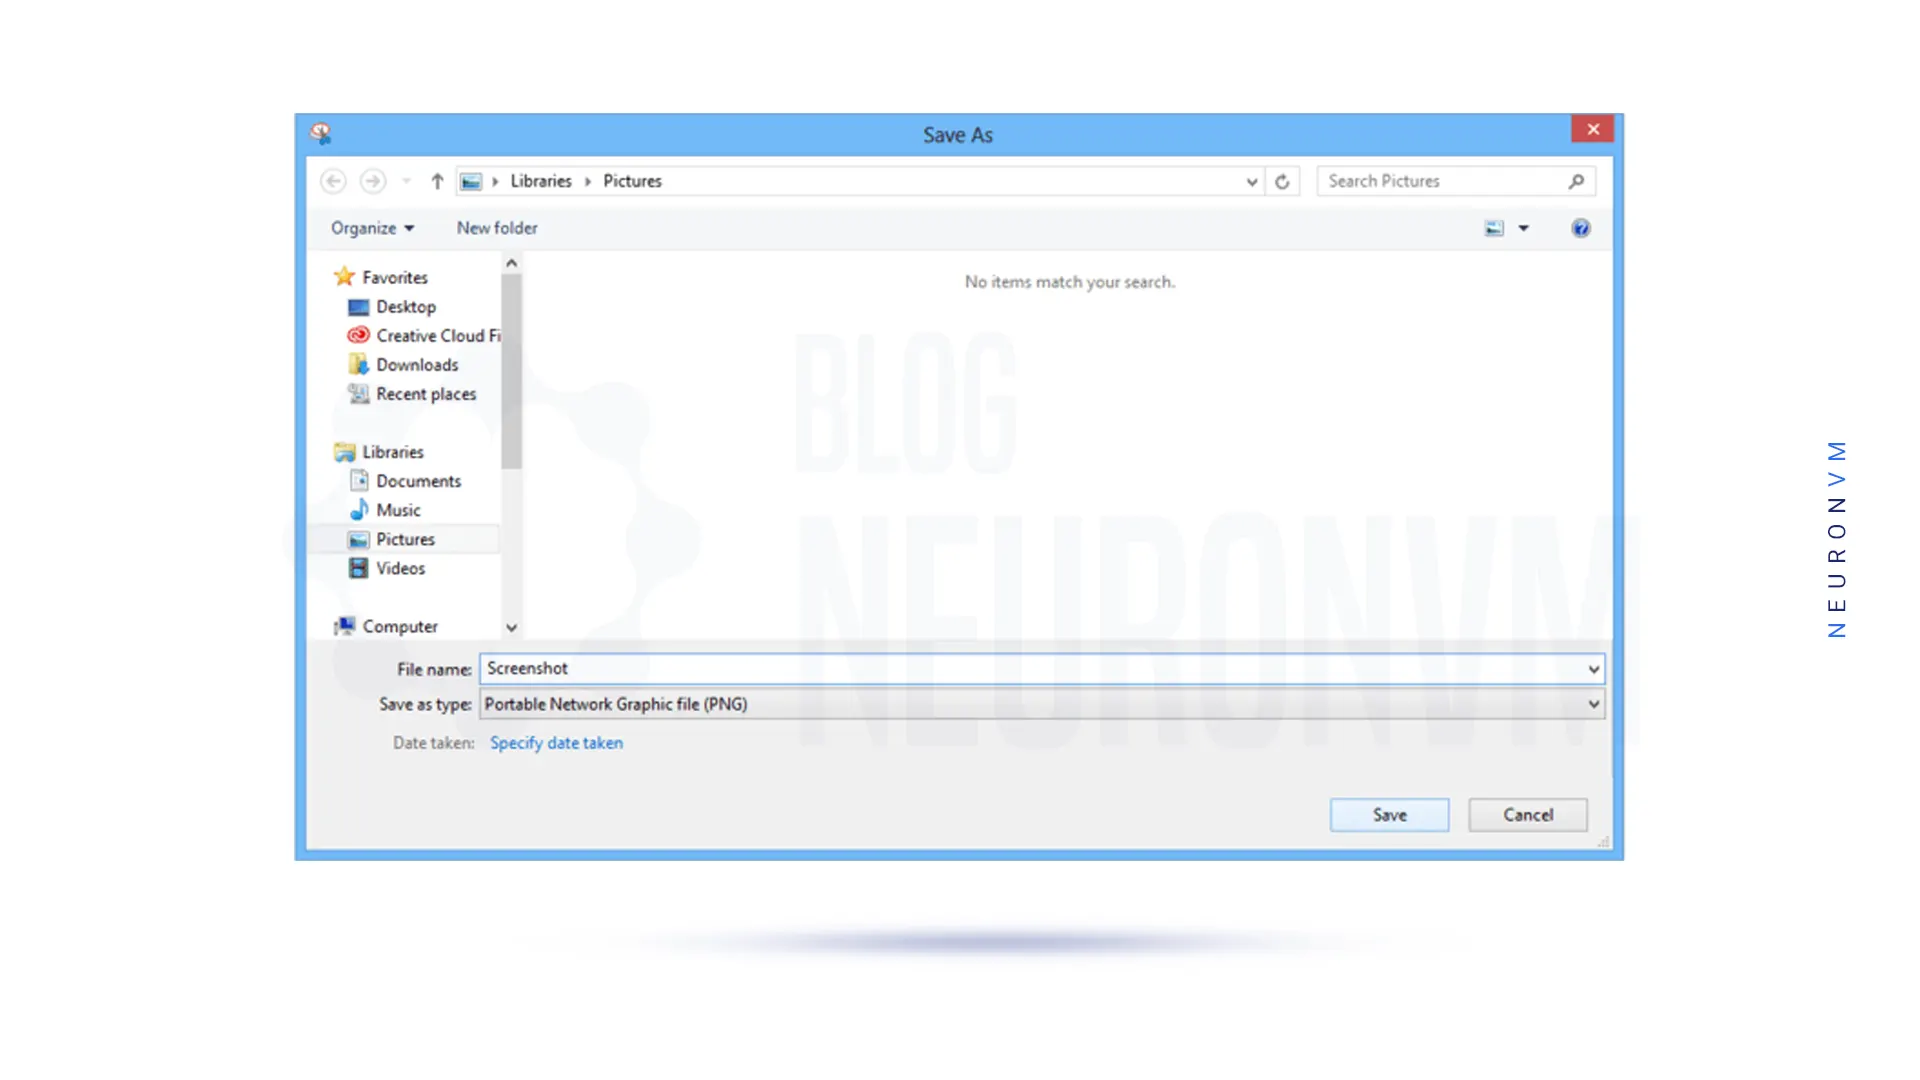
Now, at this stage, after taking the screen, press the save button, and then in the Save As dialog box, type the name of the desired file and select Save:
In this method, first on the keyboard, press the fn+PrintScreen (PrtSc) key to take a screenshot of your current page, which is automatically saving in the OneDrive images folder.
Also, if you want to paste it into a Microsoft Word document or a blank document in any editing program, press Ctrl+V to paste it into an image editor or into a blank Microsoft Word document:
Currently, Windows 10 devices can used to take a screenshot with the help of another combination.
Now for those with fn keyboards, press the Windows key+fn+PrtSc key to automatically save the screenshot to the Photos folder instead of putting it in an empty document:
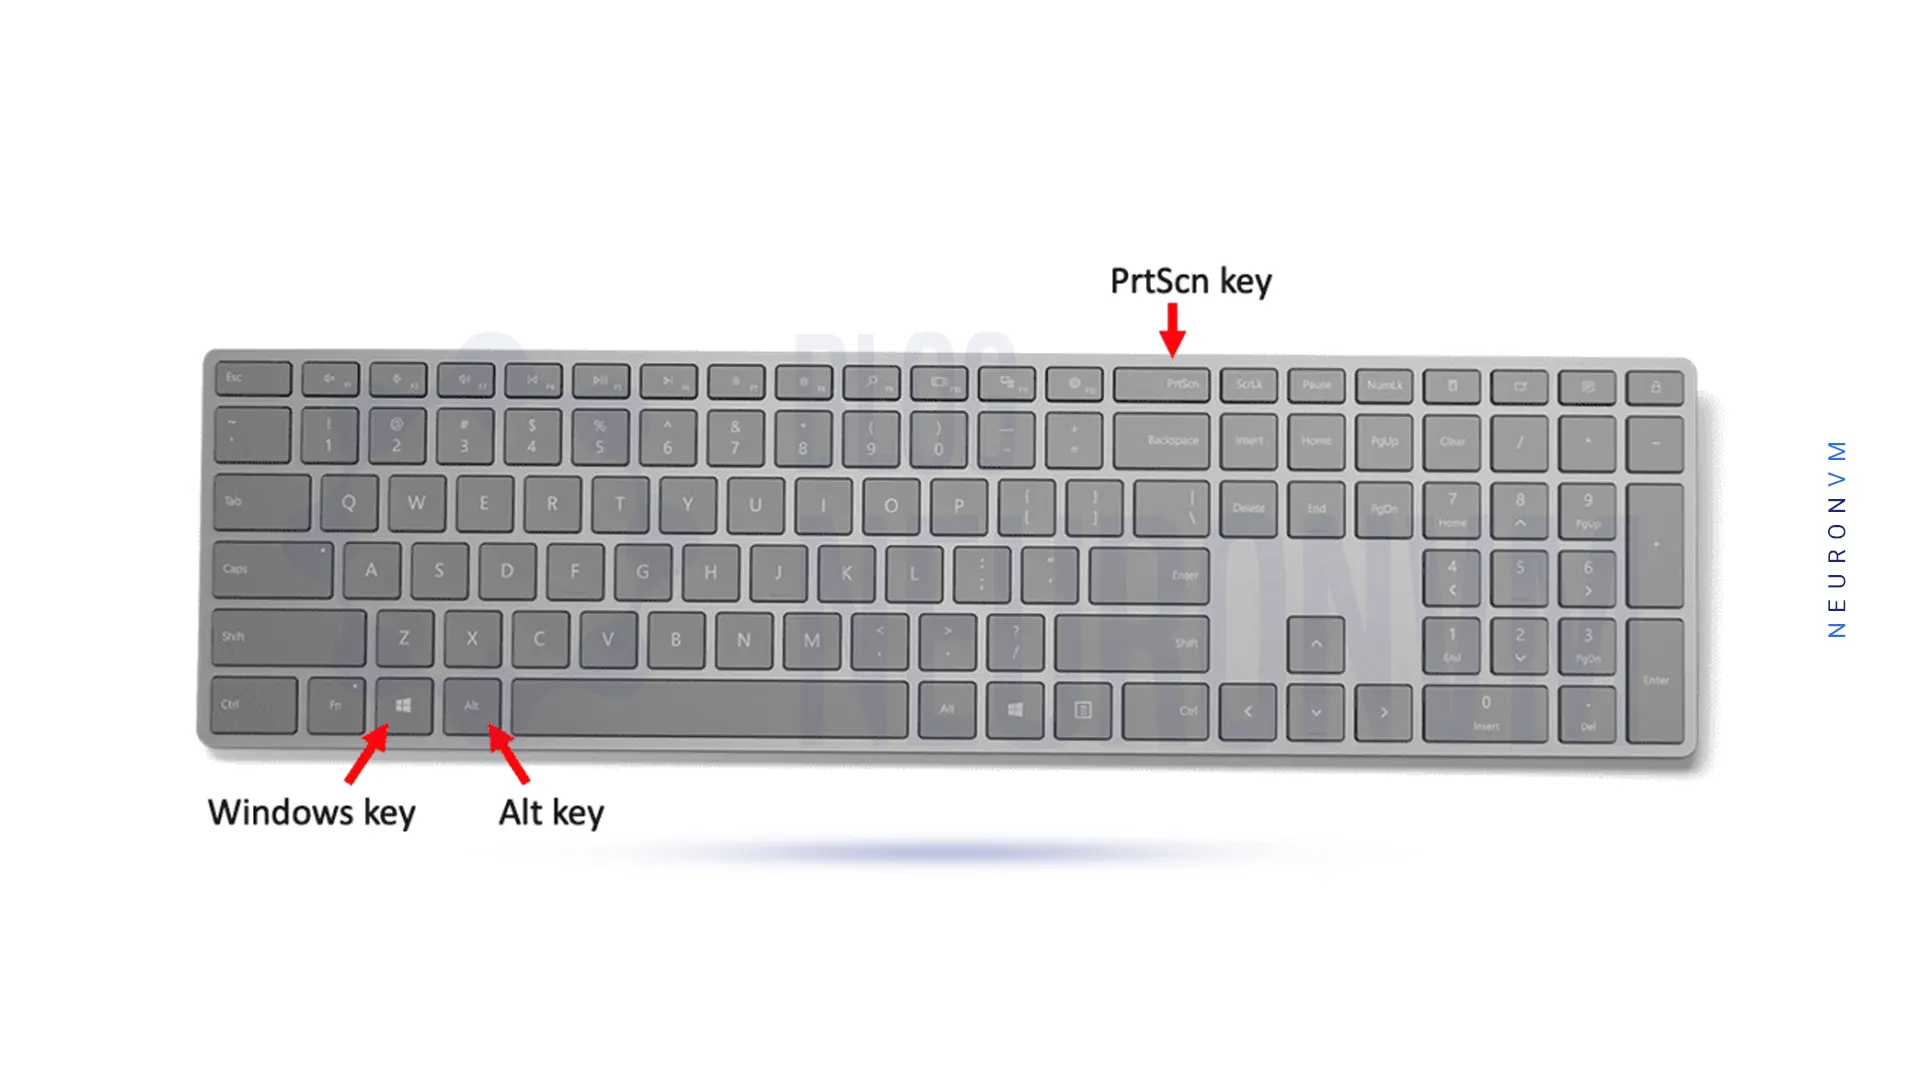
If you press the Windows key+fn+Prt Sc button, the screenshot will saved directly to the Pictures folder without placing it anywhere else, and Alt+Fn+PrtScn will also do the same and similarly save the screenshot to the OneDrive Pictures folder.
If Windows 10 is installed on the system with the help of OneDrive, you have an easy way to take and save screenshots in the cloud. By pressing fn+PrtScn, OneDrive will display a notification that the screenshot is saving in the following folder:
C:\Users\account_name\OneDrive\ Pictures\Screenshots
Taking a screenshot in Windows 10, 8.1, and 7 is a simple process that can done quickly and easily. Whether you need to save a message, a photo, or any other piece of information displayed on your screen, taking a screenshot is a convenient way to do so. By following the steps outlined in this guide, you can easily capture and save information displayed on your computer screen.
 Tags
Tags


Windows RDP 2012 is a feature of Windows Server 2012 that allows users to connect to remote desktops...


 Tags
Tags

One of the most familiar and practical VPN protocols is OpenVPN. It is famous for its security and e...
Tags


