


WAMP stands for Windows, Apache, MySQL, PHP, and Perl. As the name implies, it provides a platform for you to install and run all of the above services on the Windows operating system at once without the need for additional settings. At the same time, you have a simple user interface. Using WAMP to install, test, program, and run open-source web applications on the RDP or Windows operating system is recommended for PHP and Perl programmers who are unable to work with the Linux operating system itself. In this article, we want to teach you about Tutorial Setup Wamp on Windows Server 2019. If you intend to buy a VPS server, we suggest you test and use the Windows VPS server plans presented on our website.
Prerequisites
– Administrative privileges to install software
– Processor: 1.4 GHz 64-bit processor
– RAM: 2 GB or more
– Hard disk space: 20 GB or more
– Internet connectivity to download the Wamp server installer
– Ability to configure firewall settings to allow Wamp server traffic if needed
Before we start the steps to install Wamp on Windows Server 2019, you need to know that you must first install Visual C++.
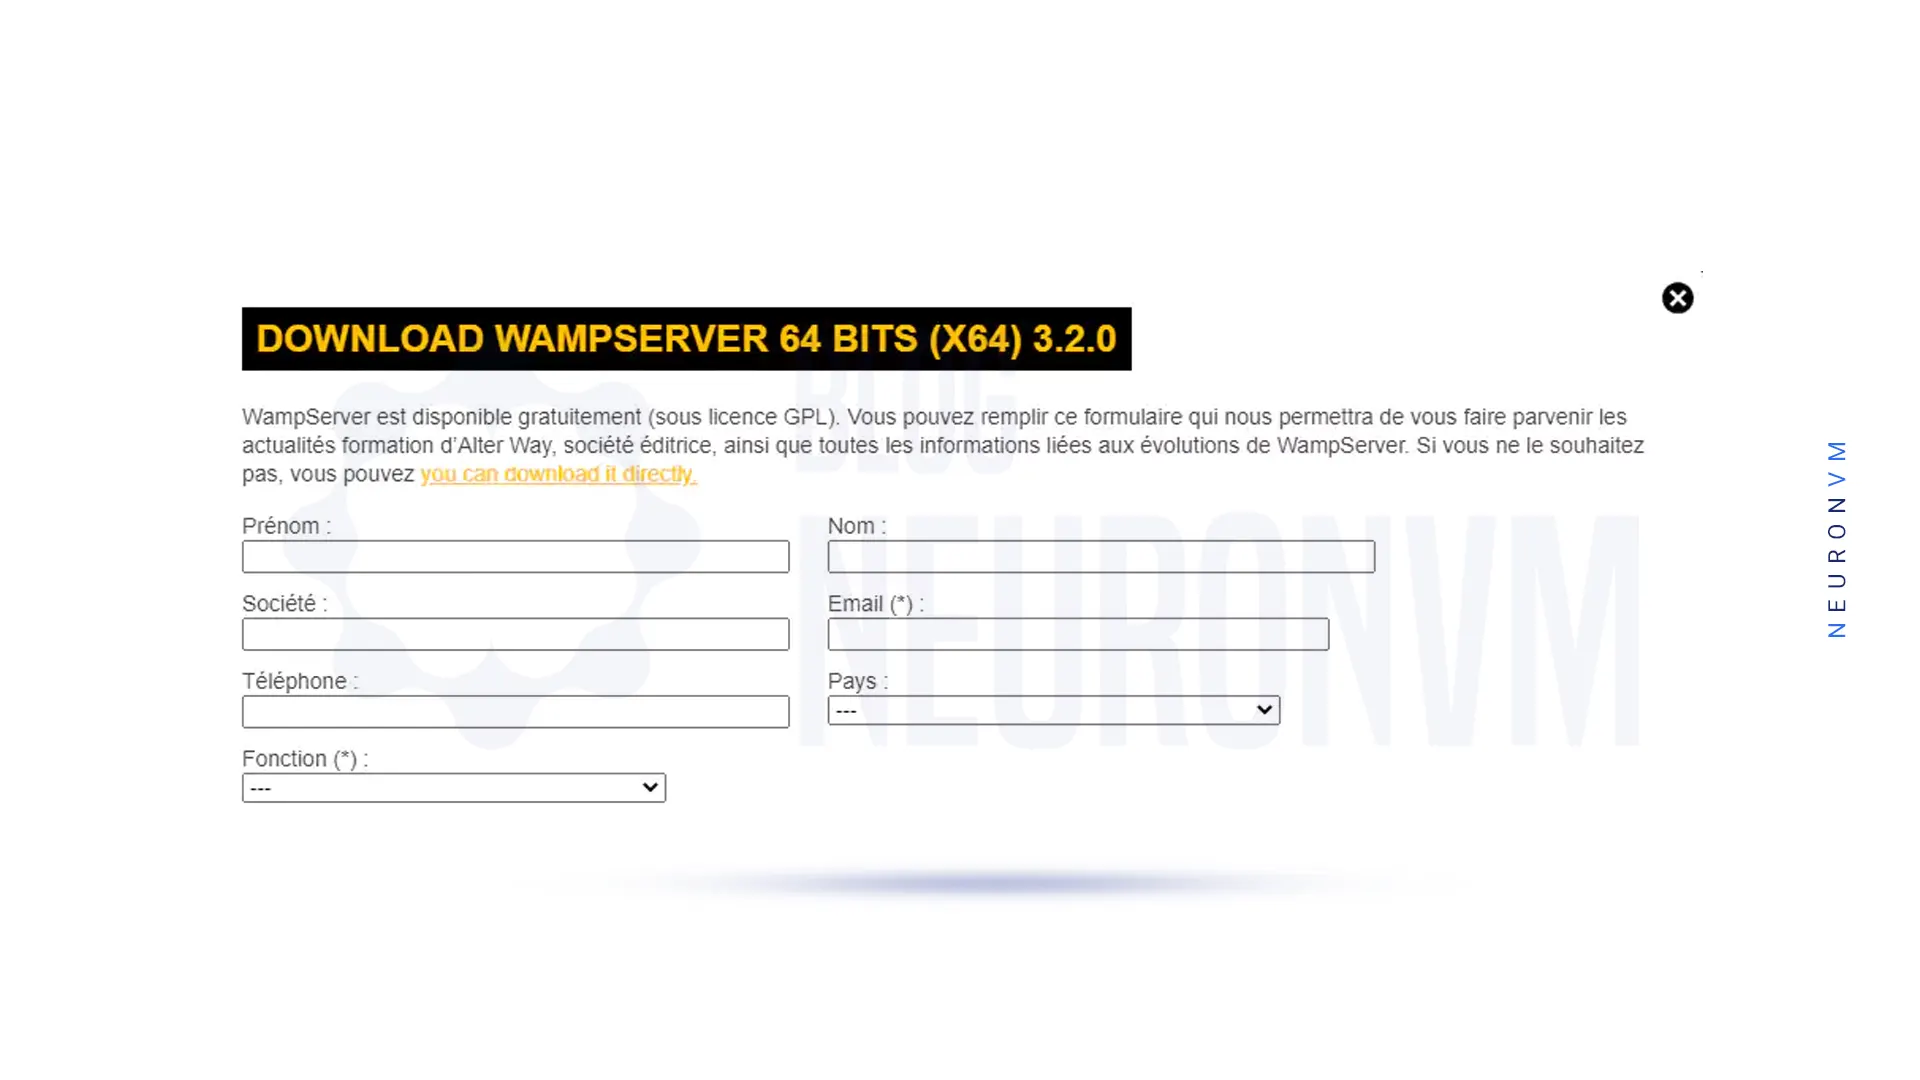
You must first visit the WAMP Server website. An important point to keep in mind before choosing a program is that this program is available in two versions, 32-bit, and 64-bit, and you must choose the correct version according to your system. Select the version you want from the downloads section and download it:

A window will appear in which you must click on “You can download it directly” as shown below:
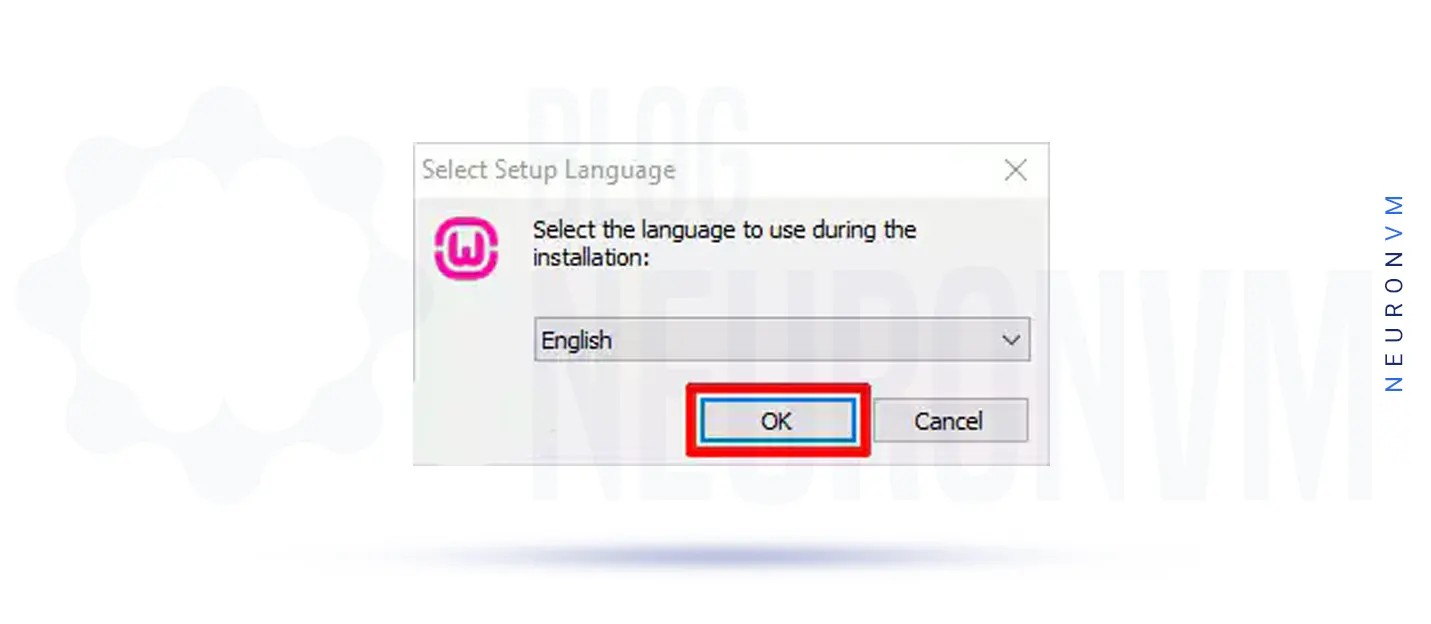
Double-click the downloaded file. Then select the language you want and click OK:
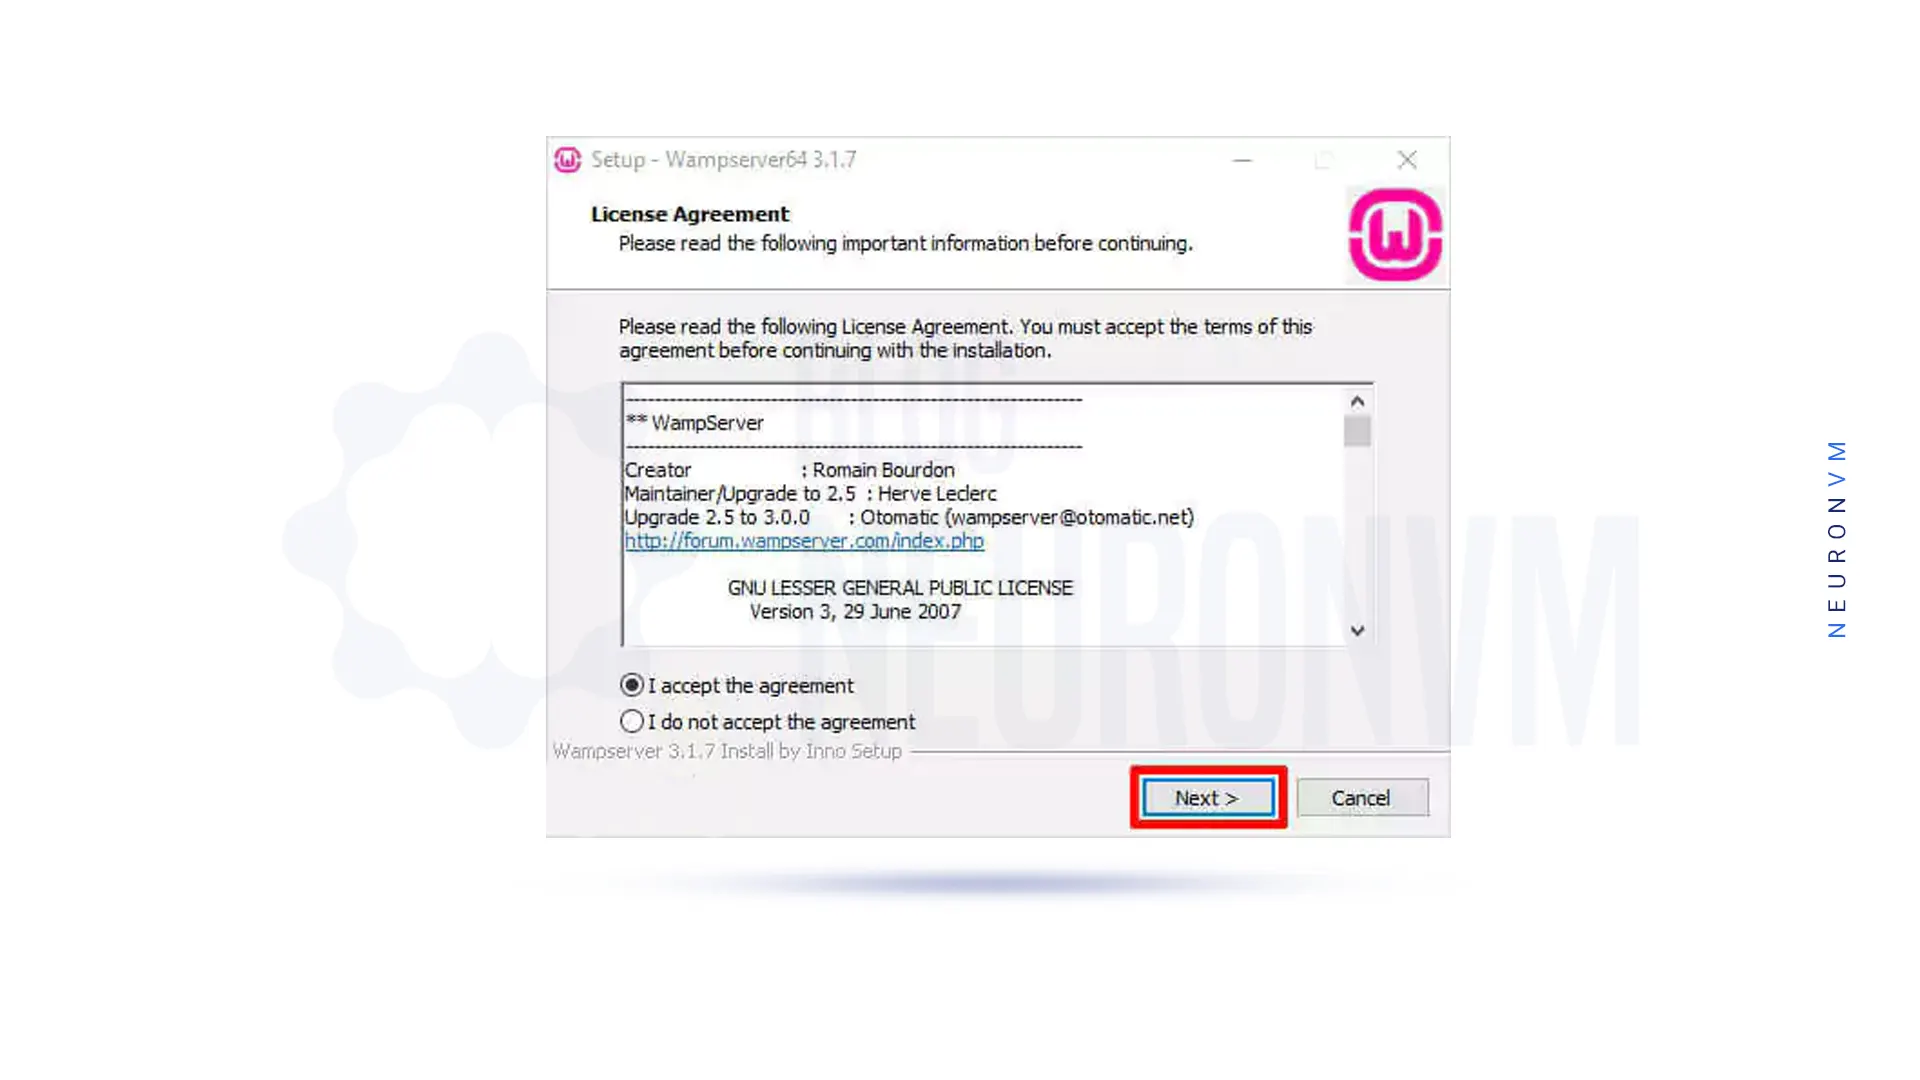
In the next step, which is to confirm the license agreement, you must check I accept the agreement and click Next:
Click Next again:

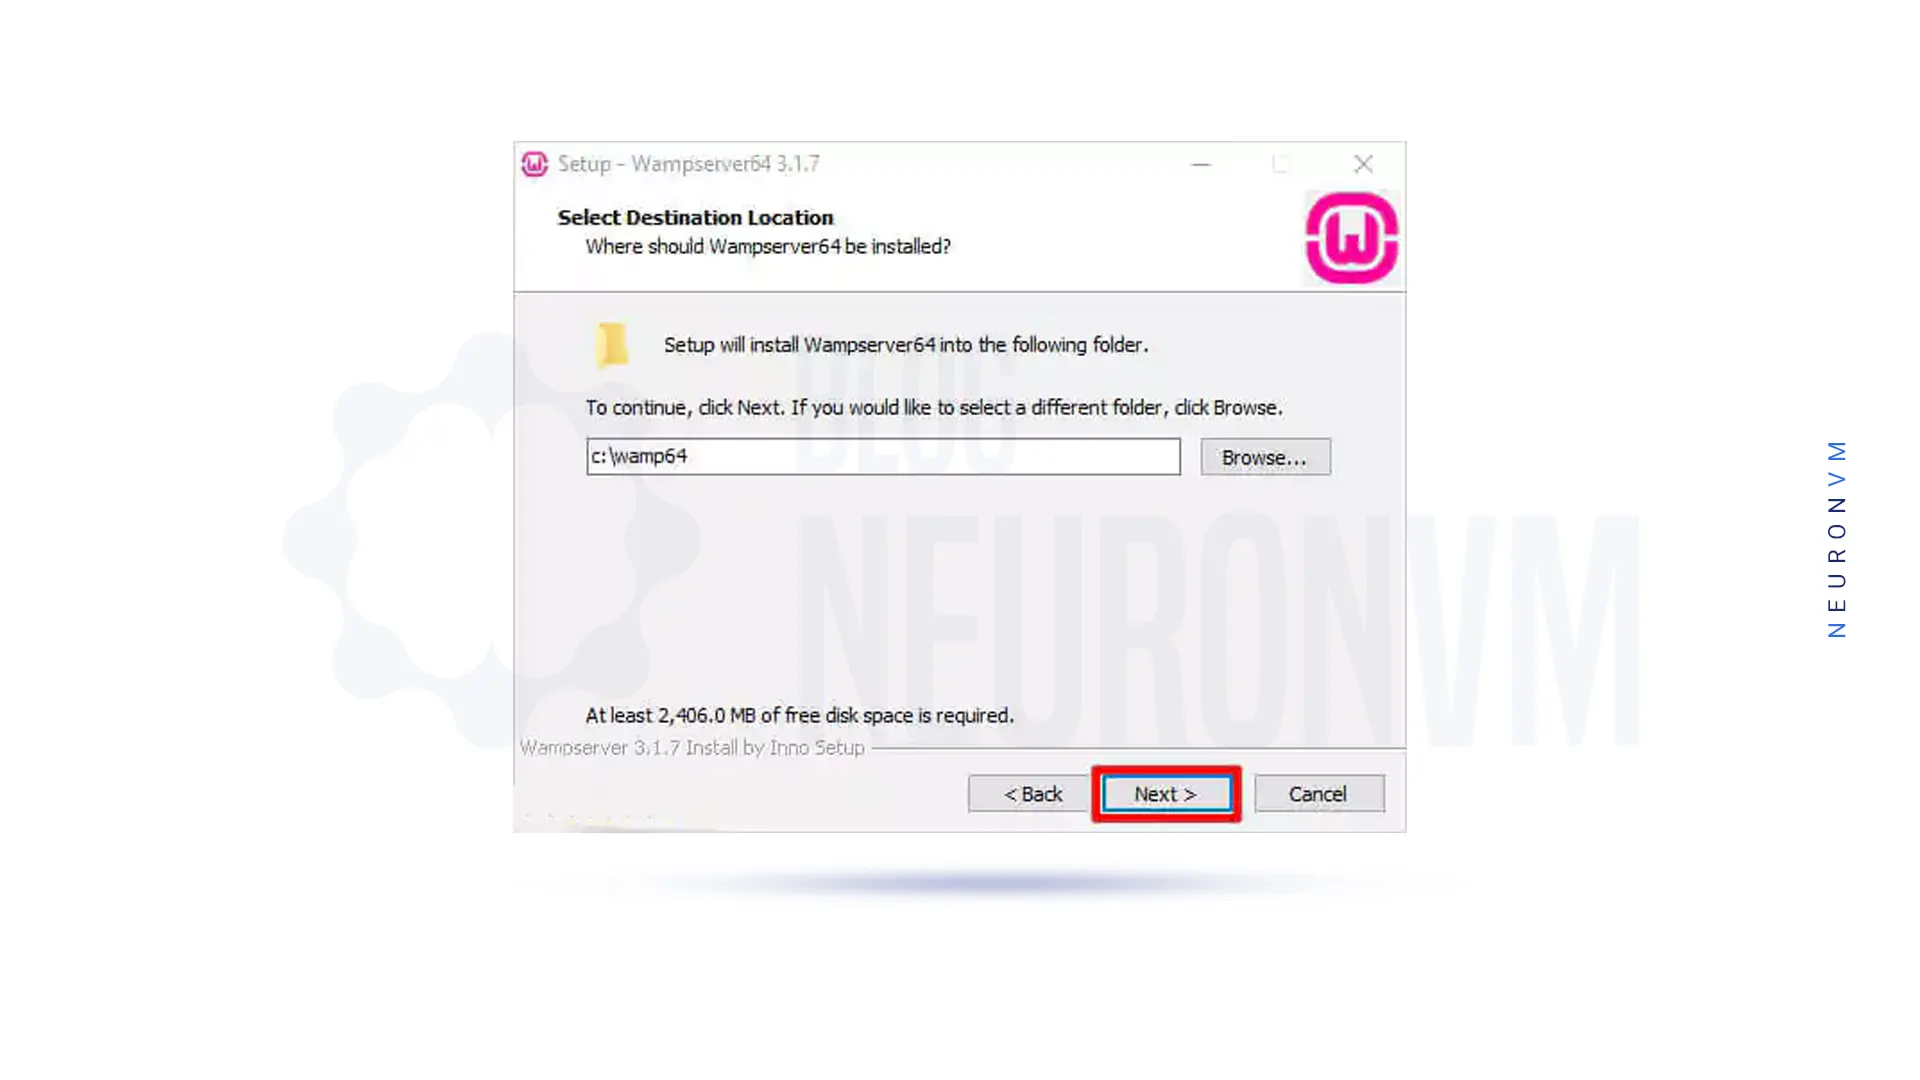
Specify the location where you want the wamp to be installing using Browse and click Next:
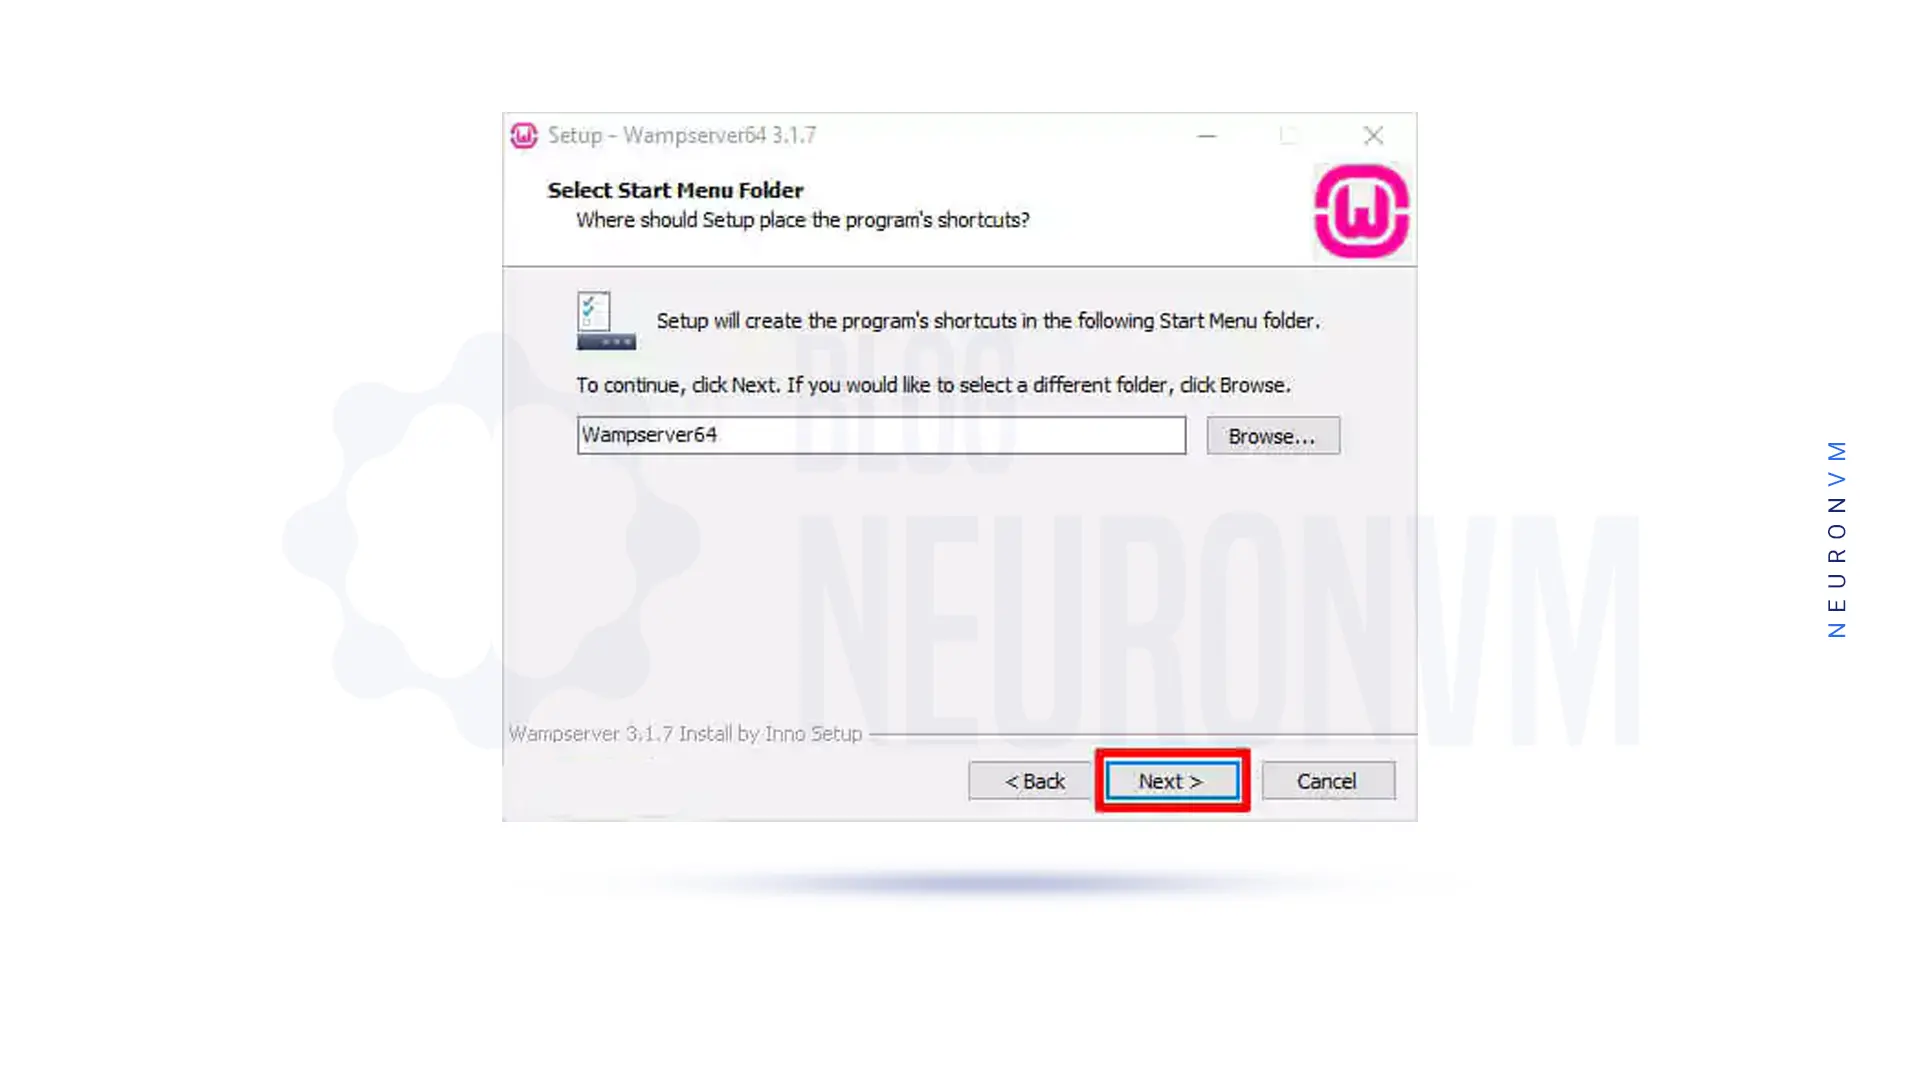
In the next step, you need to specify the folder of the Wamp start menu. Then click Next:
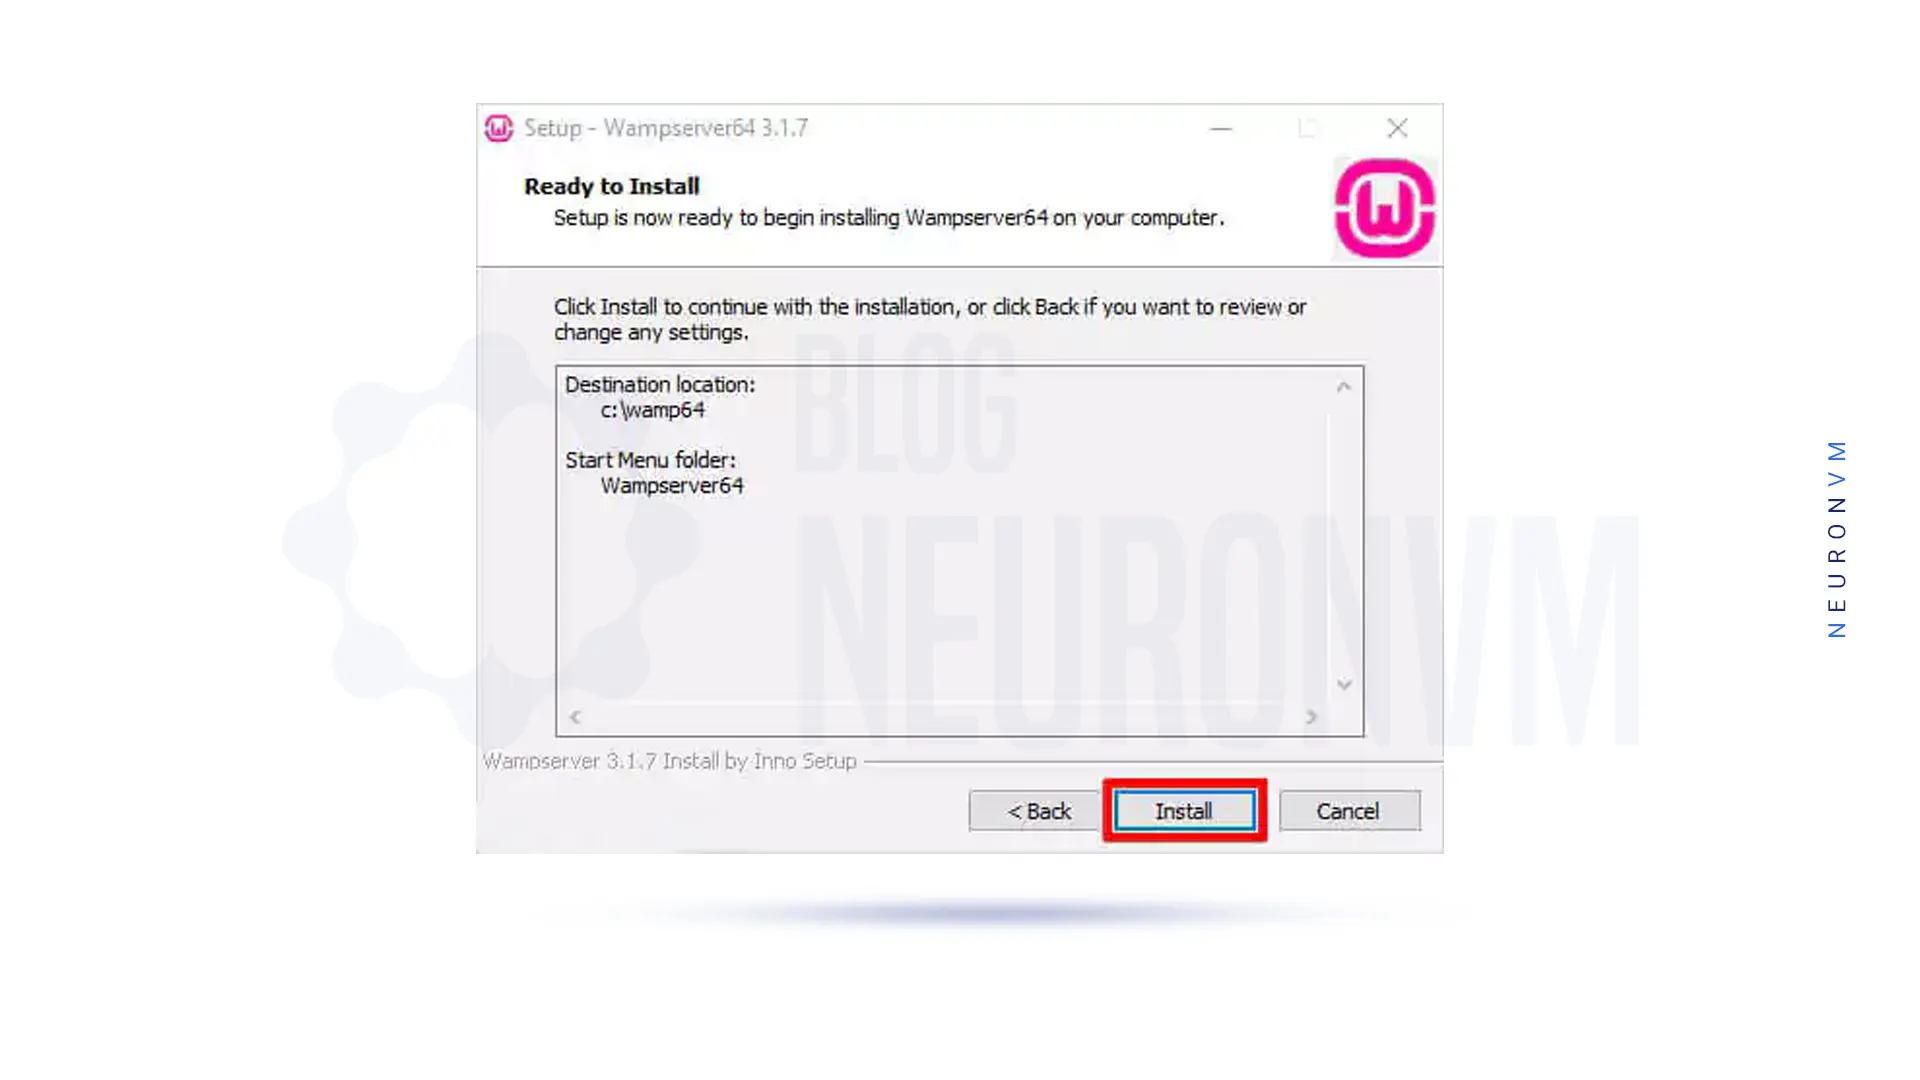
Everything is ready to install the wamp. Click Install to begin the installation:
After filling in the green bar, which means the installation is complete, a window similar to the one below will appear, in which you must click Next:

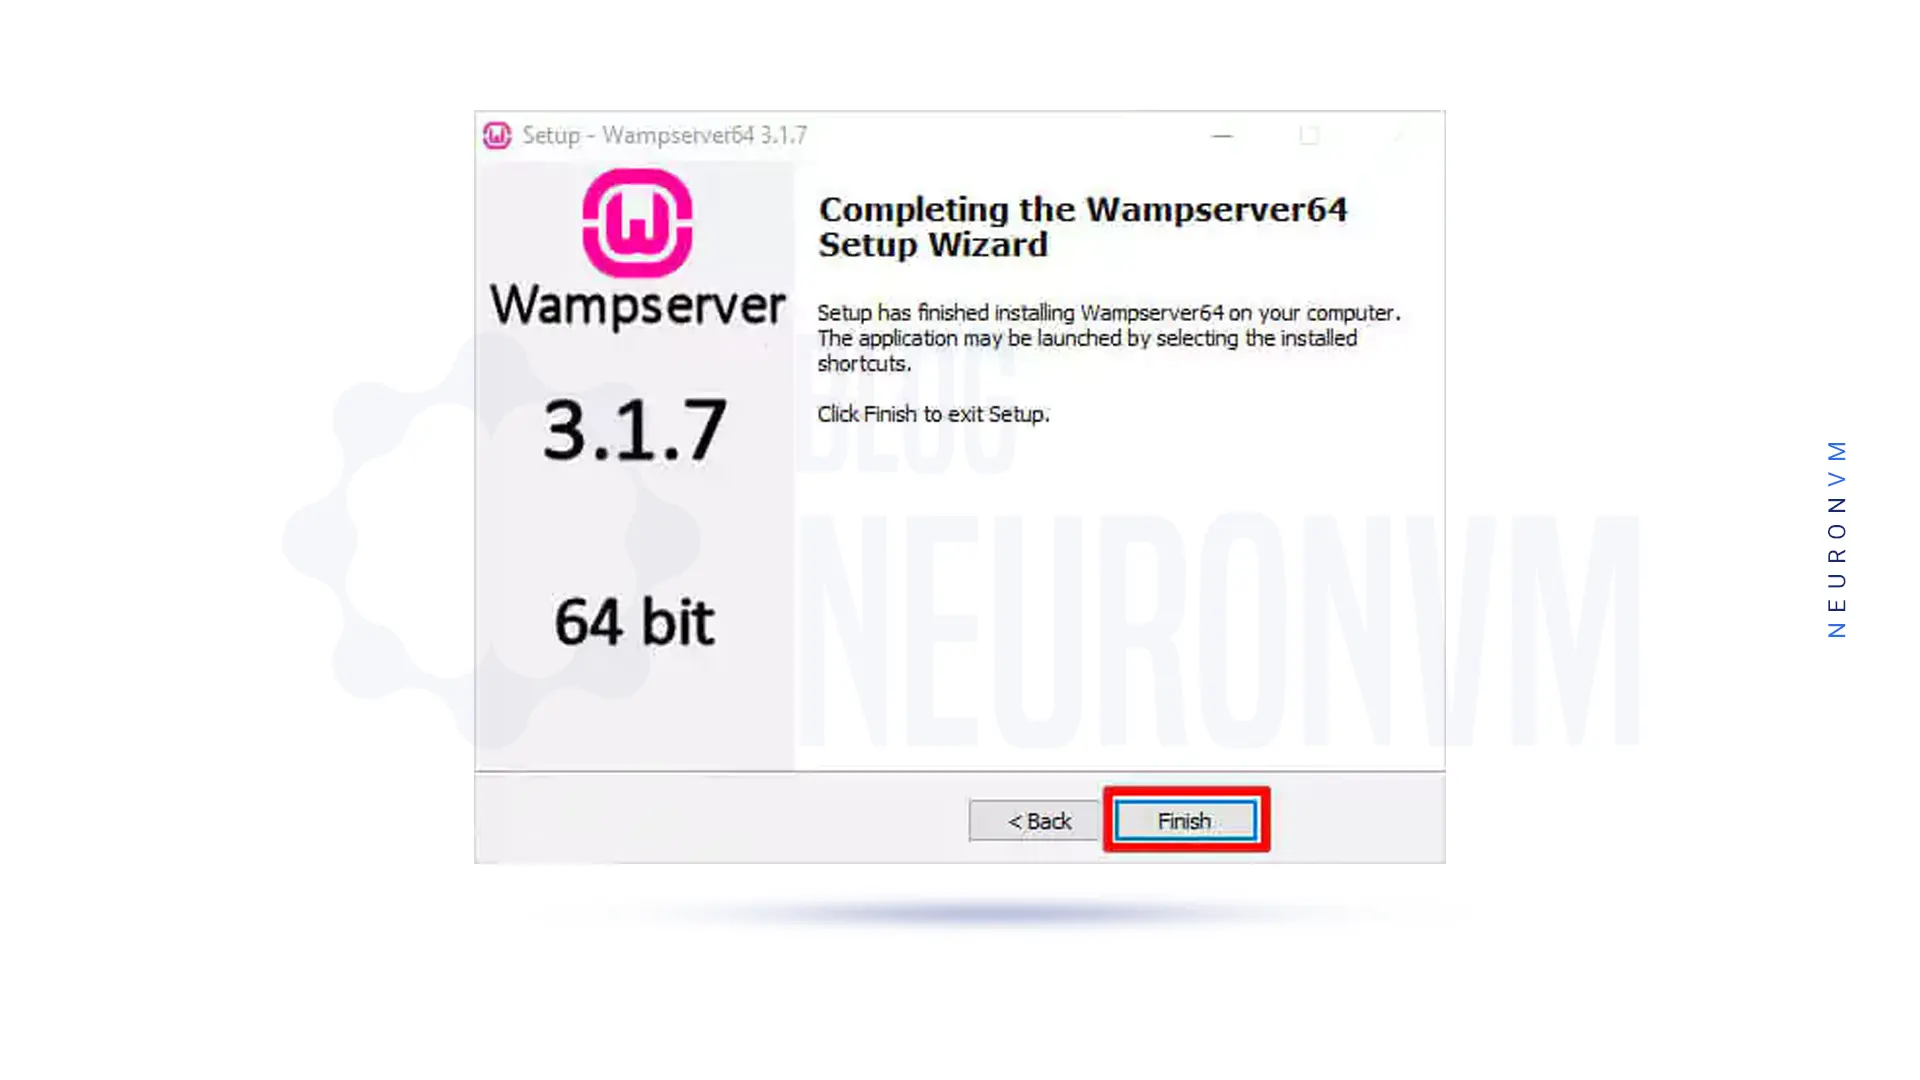
Finally, by clicking on Finish, the installation of Wamp on Windows Server 2019 will complete:
You can now open WampServer by double-clicking the Wamperver shortcut icon on your desktop. You can also launch it via the Start menu. After starting WamServer, you can see the green icon in the taskbar as you can see in the image. It will be red first, then yellow, and then green. When it turns green, it means that all services are running now.
Otherwise, if you have a problem with WampServer staying yellow or WampServer not turning green and wondering why WampServer is not working? The answer is that WampServer can not run services properly on the operating system and the program is not fully launching. Most of these issues can easily be resolved by installing the latest version of the program prerequisites mentioned above.

Now to make sure the program is working properly, you need to open the Notepad ++ editor and test a code in it. Save the application to a folder. Then open a browser and type the address of the path stored in the browser after the phrase localhost/PHP.
If the wamp is installed properly, you will see the result of the desired code. You can also use professional environments for your coding.
In today’s world, almost every known software has the ability to run and support the web. Since many programs cannot be run or supported in environments such as Windows, the Wamp program is the most useful tool for using localhost and programs in different languages in this environment. This article taught you how to install and setup Wamp on Windows Server 2019. You may encounter errors or problems while installing or using WAMP. In this case, you can read the article Troubleshooting WampServer Problems on Windows.
 Tags
Tags


Welcome to the world of remote desktop administration! In today's tutorial, we will dive into t...


 Tags
Tags

OpenSSH is a tool that allows you to securely connect to a remote server using the SSH protocol. Thi...
Tags


