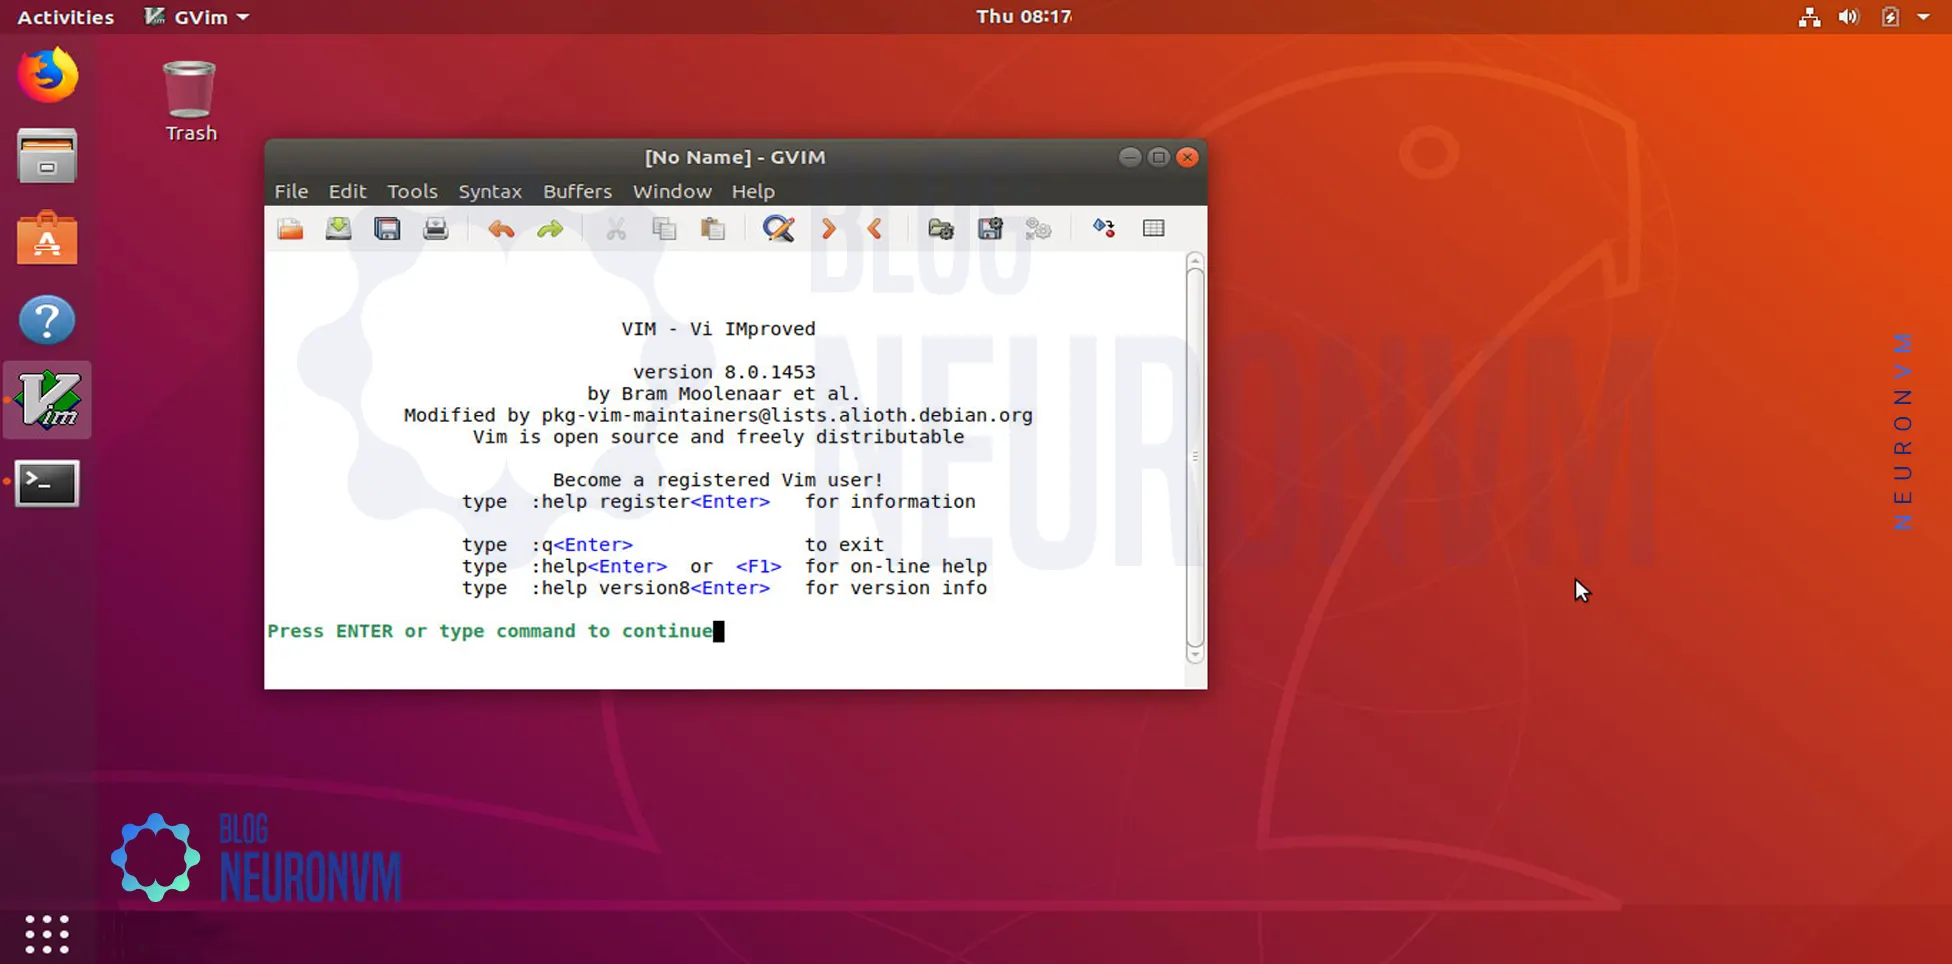


Vim is a text editor first introduced by Bram Moolenaar in 1991 for Amiga PCs. But then it moved to several operating systems. This software was first introduced as Vi IMitation, which was later renamed Vi IMproved. The reason for naming this software is that Vim was developed as a VIA editor developer. Molinar encourages users to donate to charity to support Ugandan children. Here, we want to teach you How to Install Vim Text Editor on Ubuntu 20.04 step by step.
Vim is one of the most popular old text editors for Linux and Linux VPS. This software is older than Linux itself. Vim has three modes:
1- Command mode: In this case, every button that is entered from the keyboard is interpreted as a command.
2- Insert mode: In this case, each button that is inserted in the character editor corresponds to that button.
3- Visual mode: In this mode, all visual tasks such as highlighting and selecting a part of the text can be done.
Vim can exchange messages with other processes in the background. This feature allows servers to work and restore the result to Vim.
Another feature of Vim is JSON support. JSON is capable of supporting all programming languages on the server. As a result, with this feature, you can easily write very complex plugins in any language and run them in separate processes.
Vim can do many things automatically. For example, typing three letters can delete five words, and is very useful for people who have used Vim for a long time, such as developers.
To install Vim Text Editor on Ubuntu, you can follow the steps below. It should be noted that, in this section, you will learn how to install Vim using both Git and PPA methods.

First, update your system by following the instructions below:
sudo apt update
sudo apt upgrade
Now, you can install Vim Text Editor from Git according to the following commands:
sudo apt install git
git clone https://github.com/vim/vim.git
cd vim
./configure
sudo apt install ncurses-dev
sudo yum install ncurses-devel
make
sudo make install
In the second method, you can install Vim using the PPA repository:
sudo add-apt-repository ppa:jonathonf/vim
sudo apt update
sudo apt install vim
Finally, you can verify the installation of Vim by executing the following command:
vim --version
After confirming the installation of Vim, you can now easily use Vim with the following commands:
vi file.c
vim file.c
sudo vim /etc/sysctl.conf
Vim is a popular and powerful text editor, but it can have its quirks and issues, especially for new users. Here are some common Vim issues on Ubuntu and their solutions:
1- Vim can be slow on certain systems
Solution:
Try disabling plugins in your ~/.vimrc temporarily to identify if a specific plugin is causing the slowness. You can also try using Neovim as it is designed to be faster and more extensible than Vim.
2- Vim does not highlight syntax by default
Solution:
You can enable syntax highlighting by running ‘syntax enable‘ within Vim or by adding syntax enable to your ~/.vimrc file.
3- Line numbers are not displayed
Solution:
Enable line numbers by running ‘set number’ within Vim or by adding the set number to your ~/.vimrc.
Vim is a powerful text editor for Ubuntu 20.04 that can greatly enhance productivity and efficiency, especially for programmers and developers. By following this guide, you have successfully installed Vim on your system and made basic customizations to suit your needs. With its vast range of features and customization options, Vim offers a seamless editing experience and can be further enhanced by exploring its plugins and advanced configurations. If you wish, you can read the Nano or Vim article.
How useful was this post?
Click on a star to rate it!
Average rating 5 / 5. Vote count: 1
No votes so far! Be the first to rate this post.
 Tags
Tags

Postfix is a popular open-source Mail Transfer Agent (MTA) that can be used to route and send an ema...


 Tags
Tags

OpenSSH is the premier connection tool for remote login with SSH protocol. If you follow us until th...


 Tags
Tags
What is your opinion about this Blog?


