


NetBeans is a popular software development platform, primarily for Java, that provides wizards and templates to help developers build applications quickly and easily. It includes modular components across a wide range of tools and has an IDE (Integrated Development Environment) that allows developers to create applications using the GUI. This article will teach you about Tutorial Install NetBeans on Windows Server 2016 step by step. We suggest you use the various Windows VPS server plans that are offered on our website with immediate delivery.
Prerequisites
– Java Development Kit (JDK)
– The minimum disk space requirement is around 10-15 GB.
– Minimum of 4 GB of RAM
After entering the Windows server environment, you must first open one of your favorite browsers.
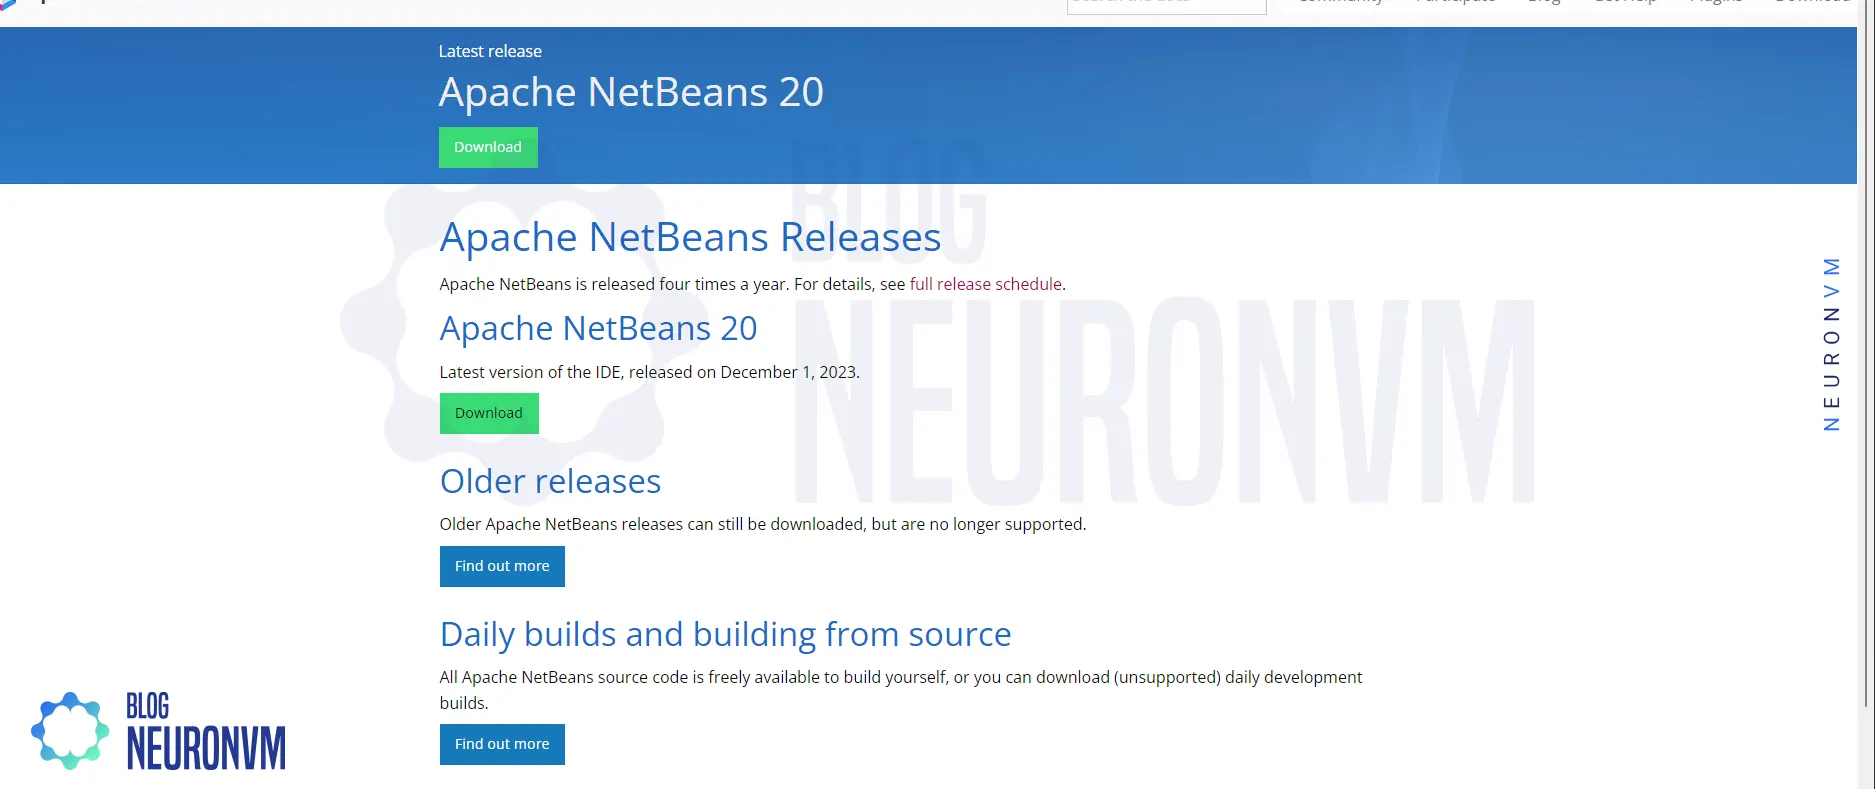
Then, you must download NetBeans.
Now click Download:
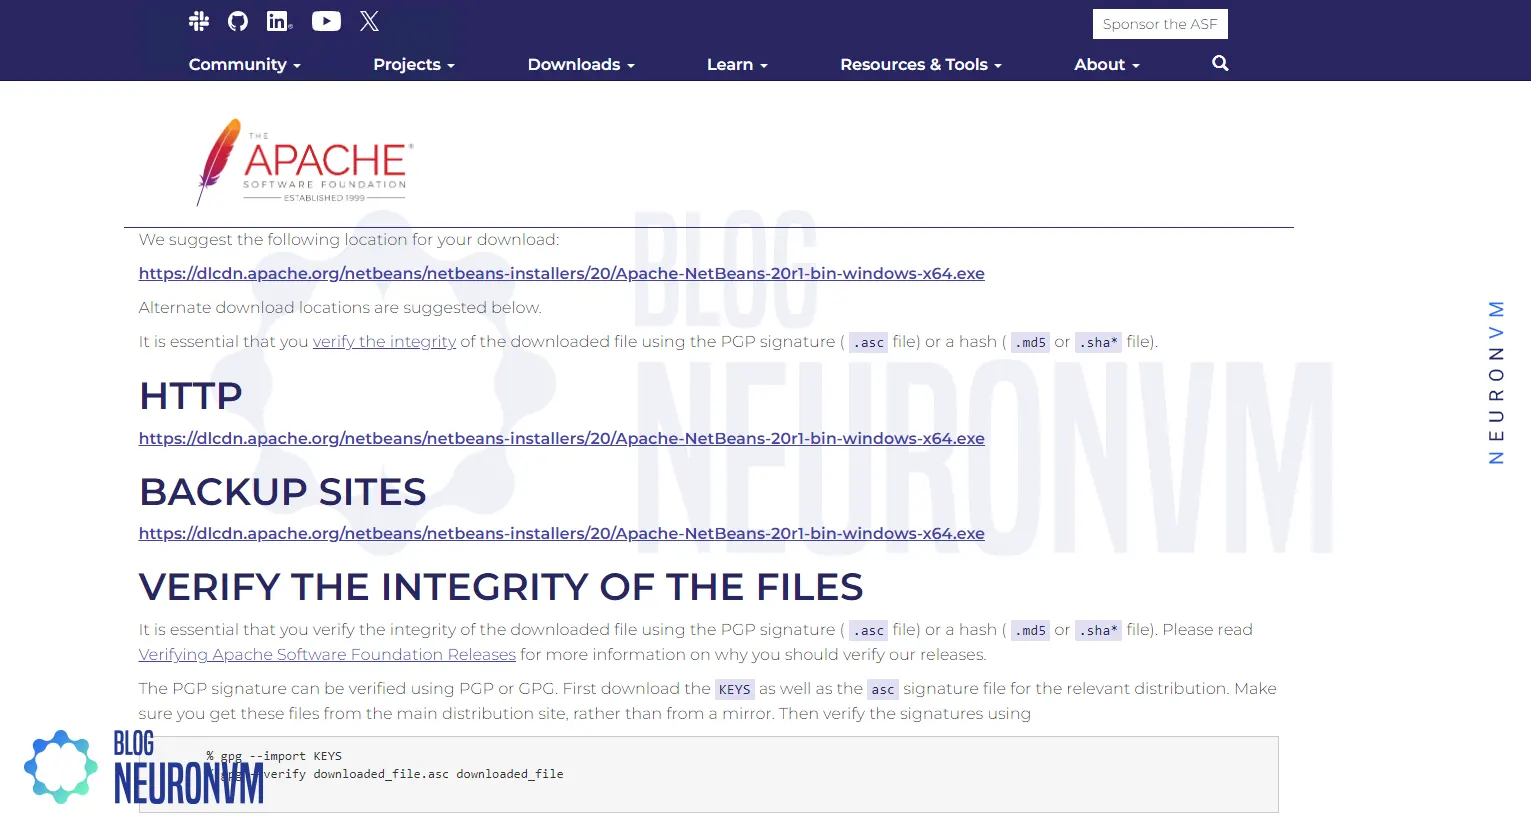
Then you should click on your desired option ie windows like the below image to download the Apache NetBeans:
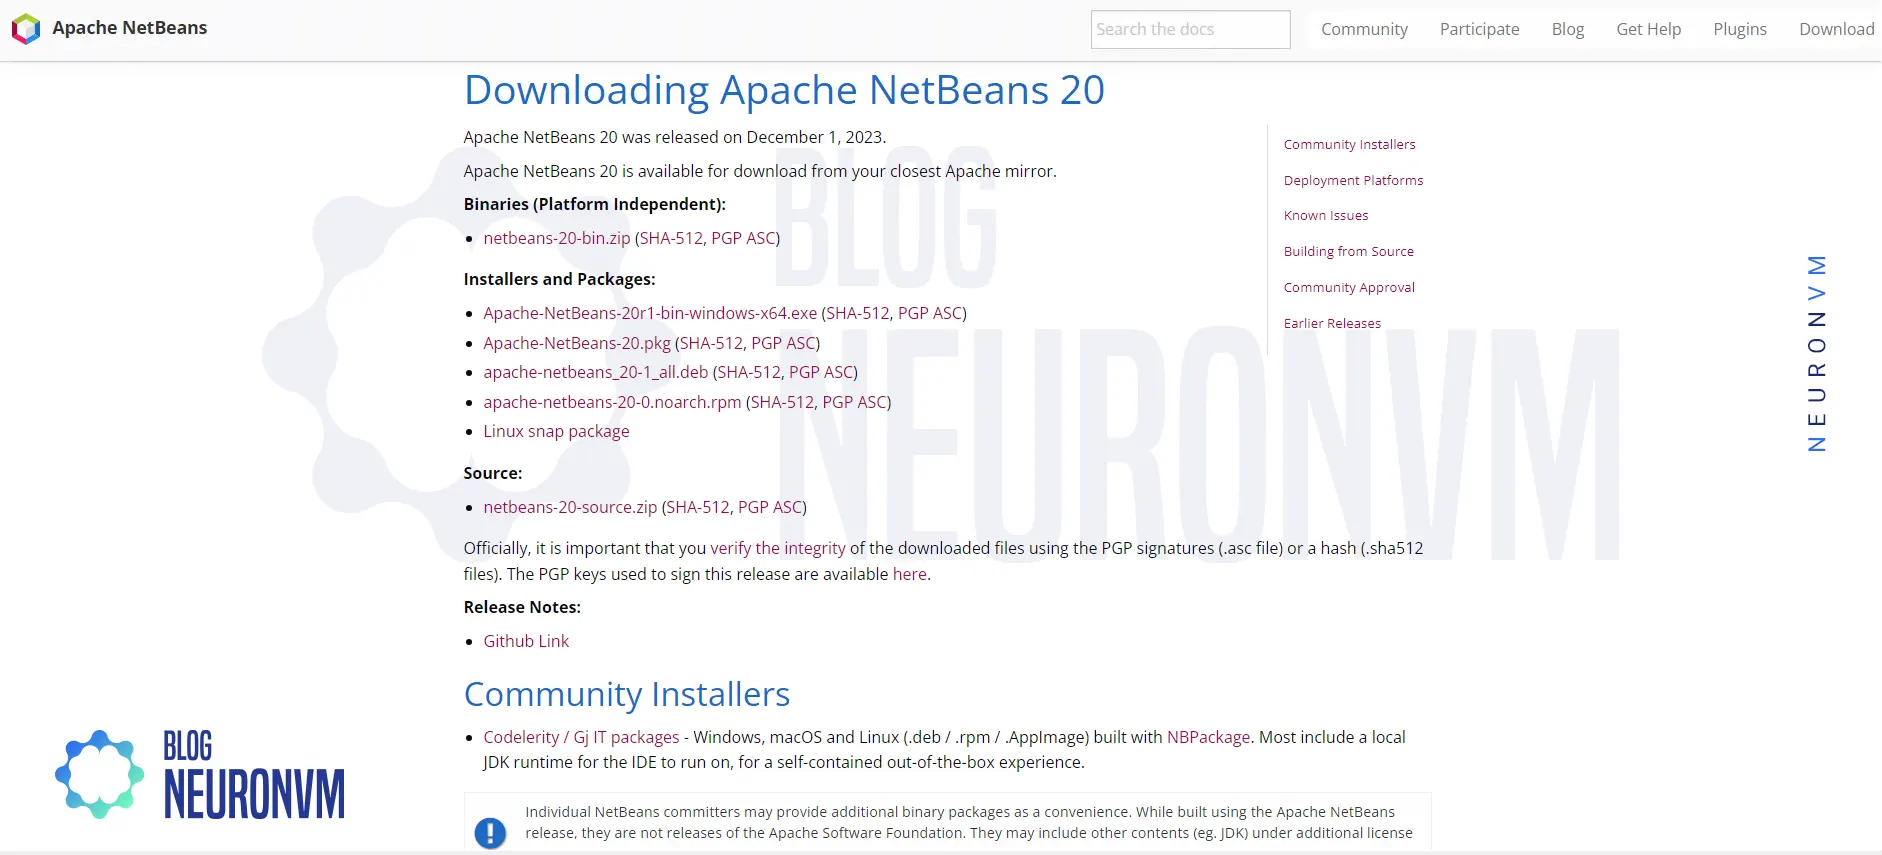
*
Once the download is complete, go to the place where you downloaded the file and double-click on it:
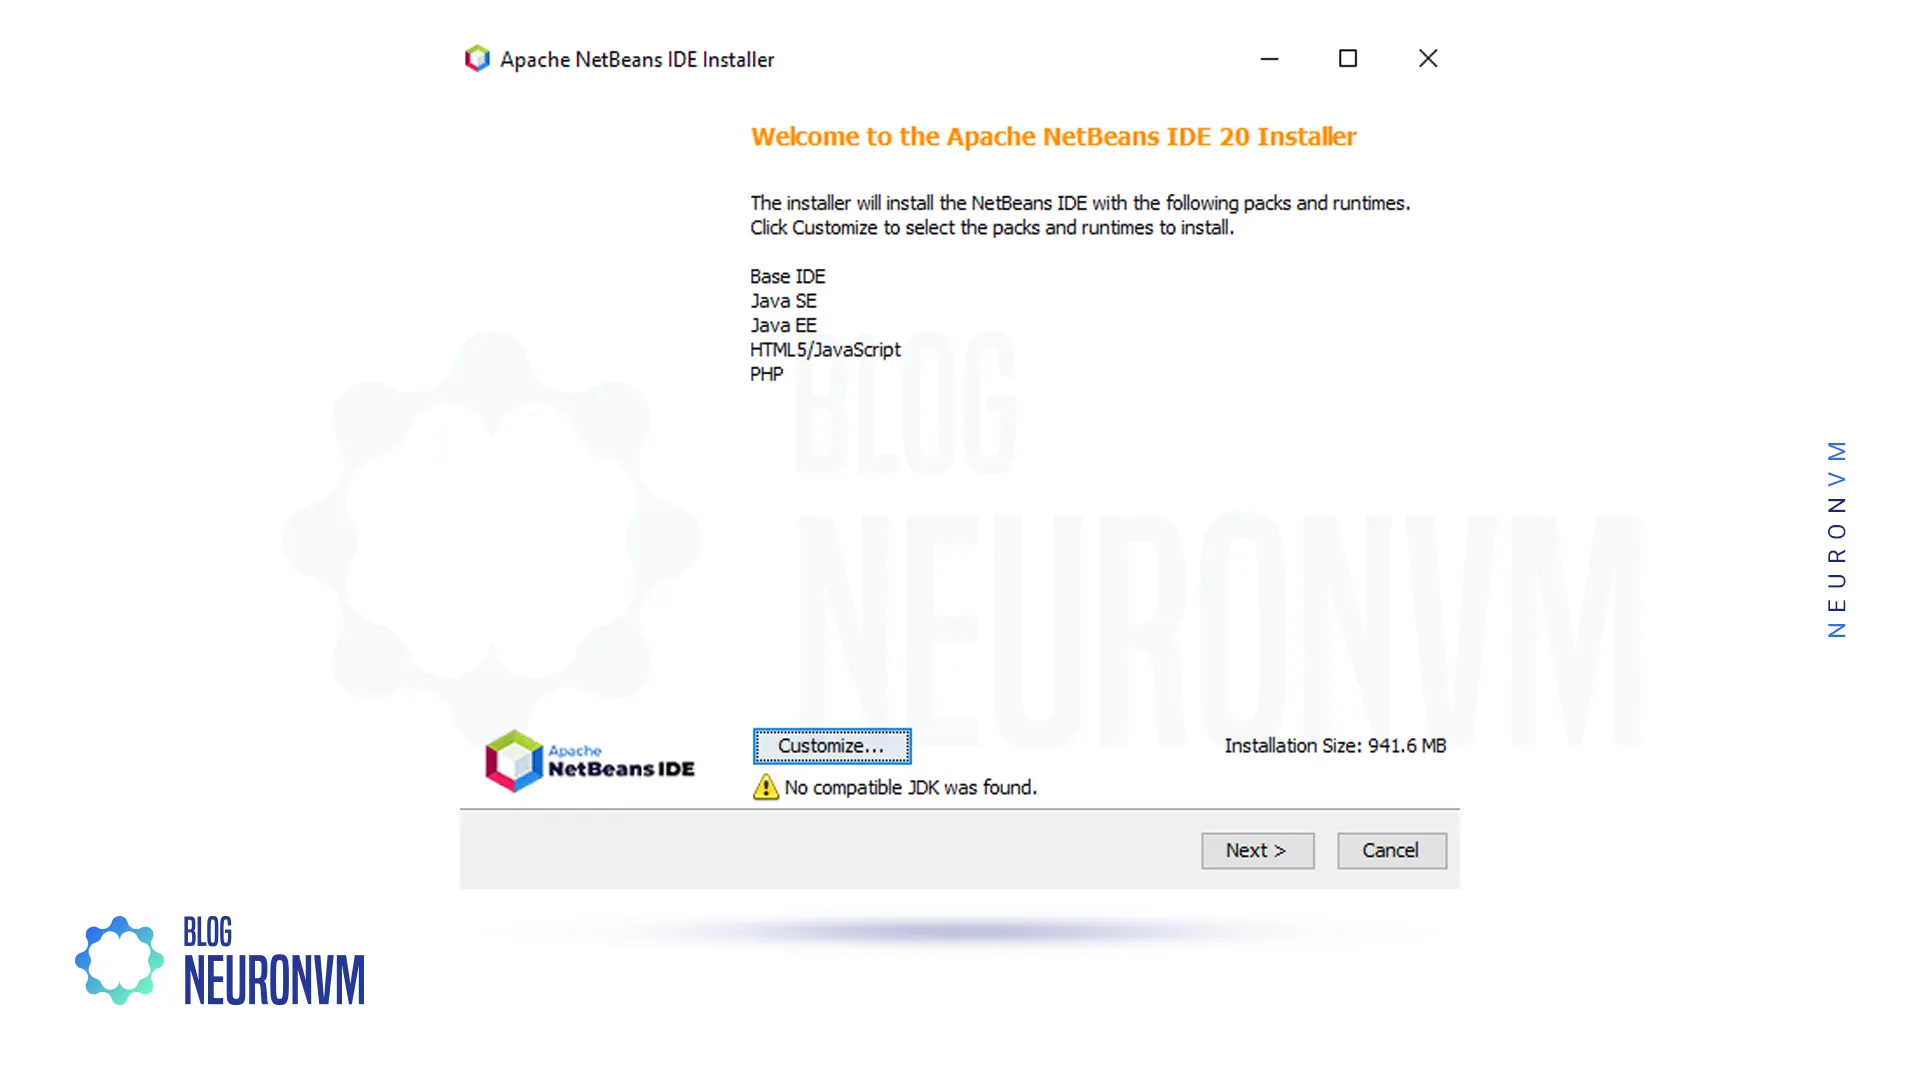
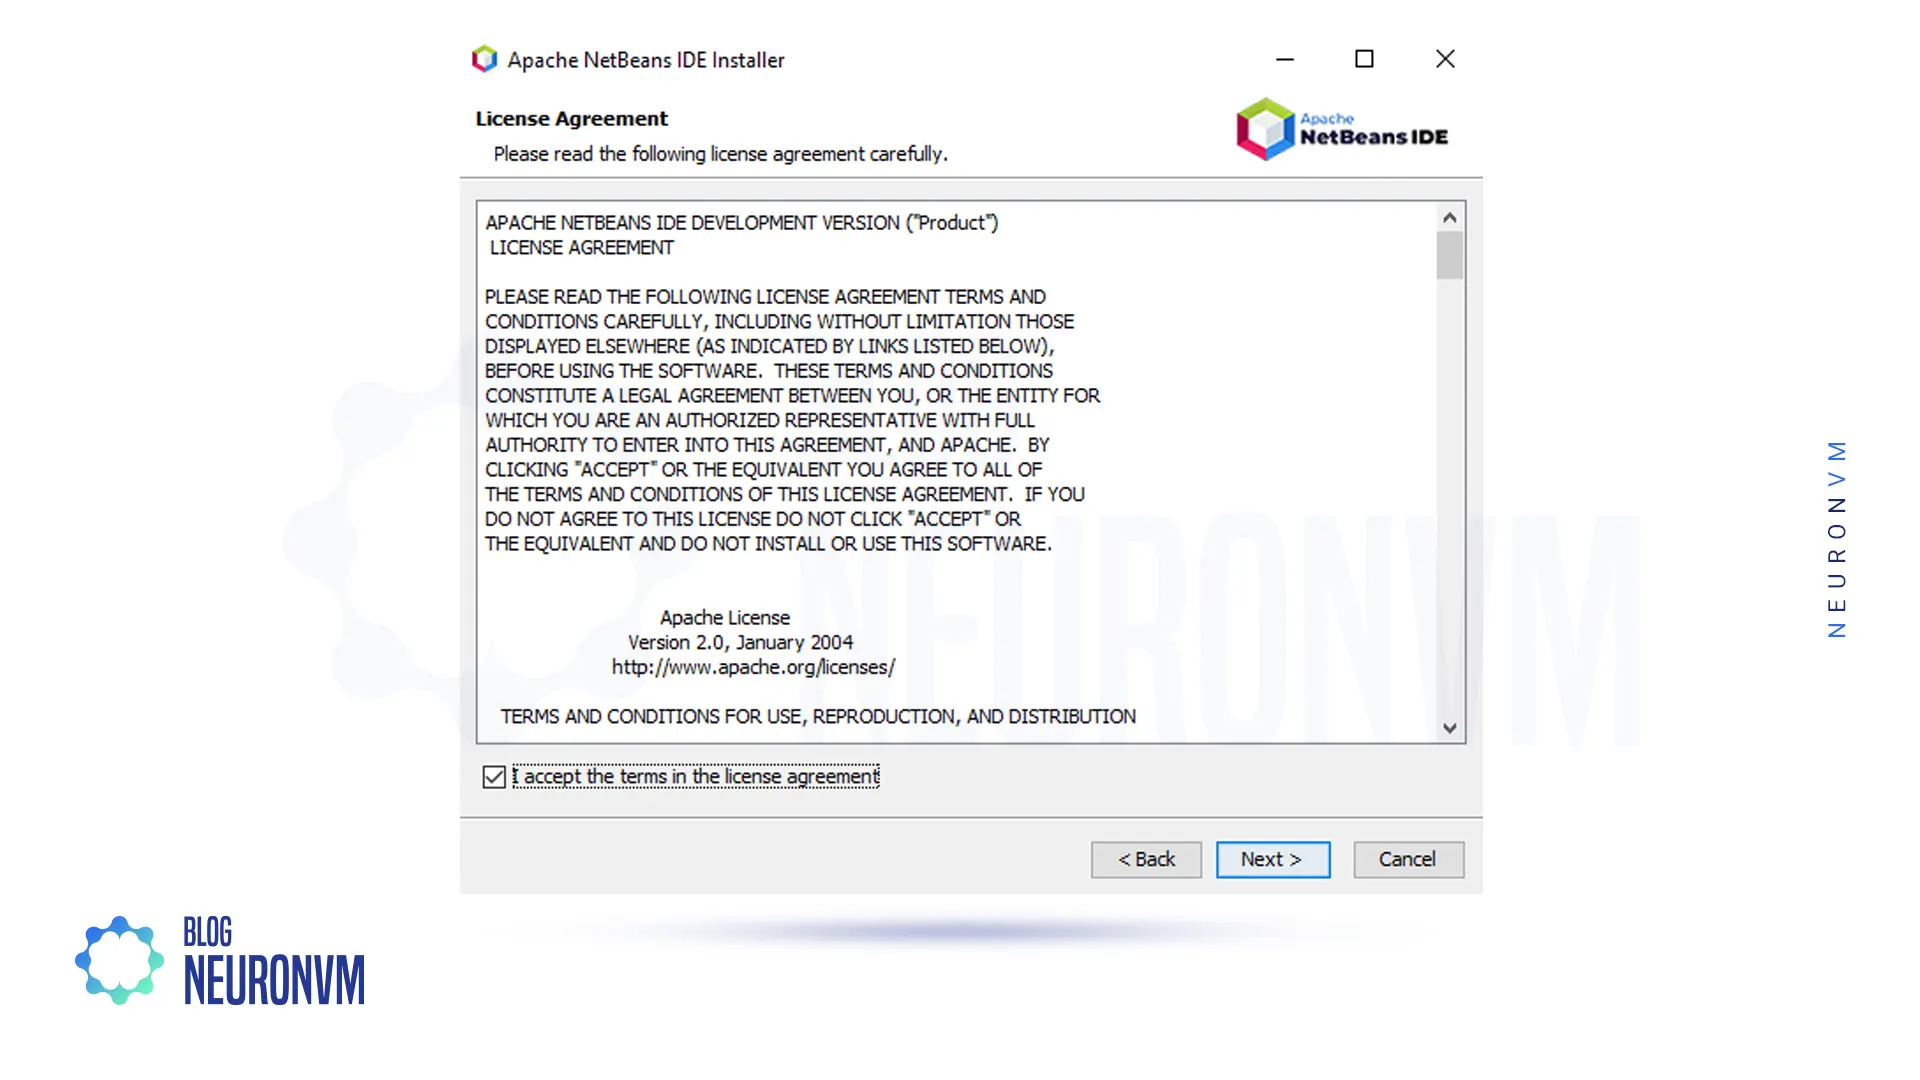
Mark the Accept License Agreement:
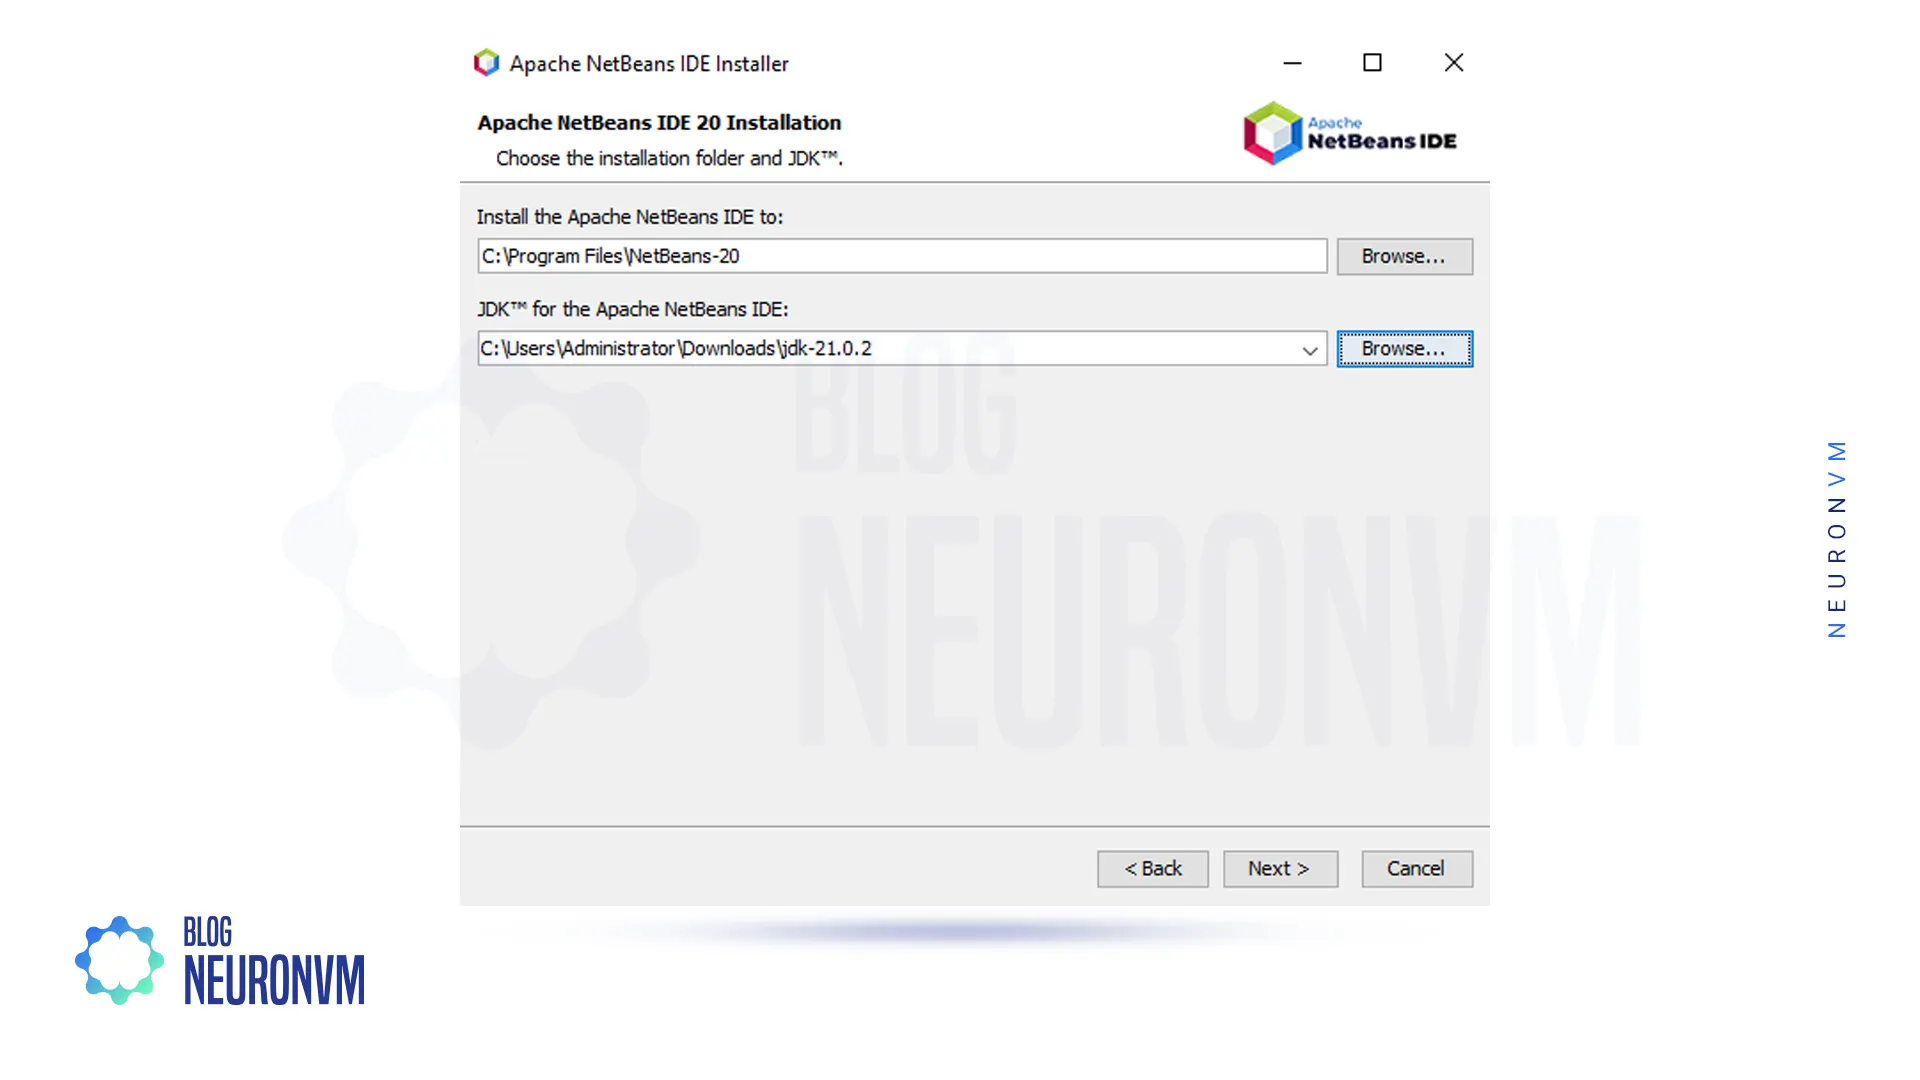
In this step, you have to click on the link JDK setup or setup NetBeans JDK, which is a Java development kit. Browse your downloaded JDK file and click Next:
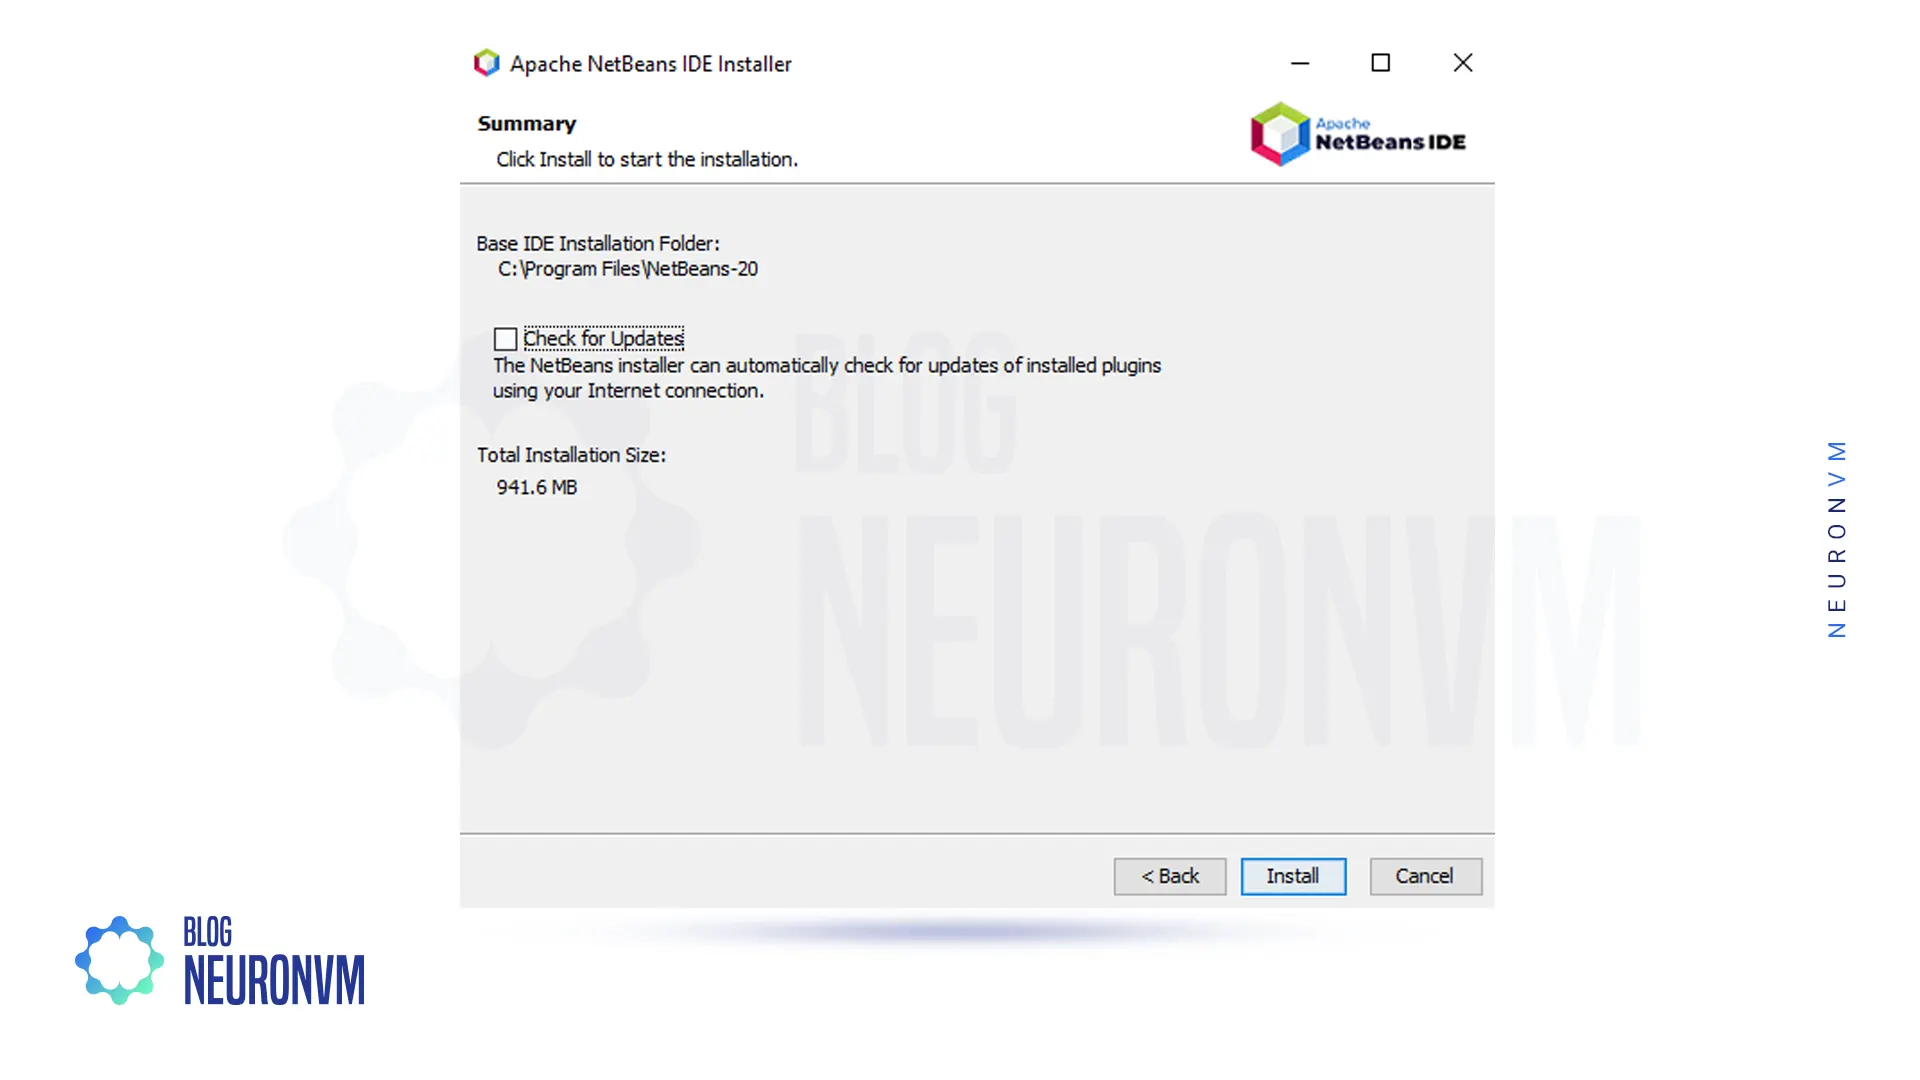
Finally, click on Install:
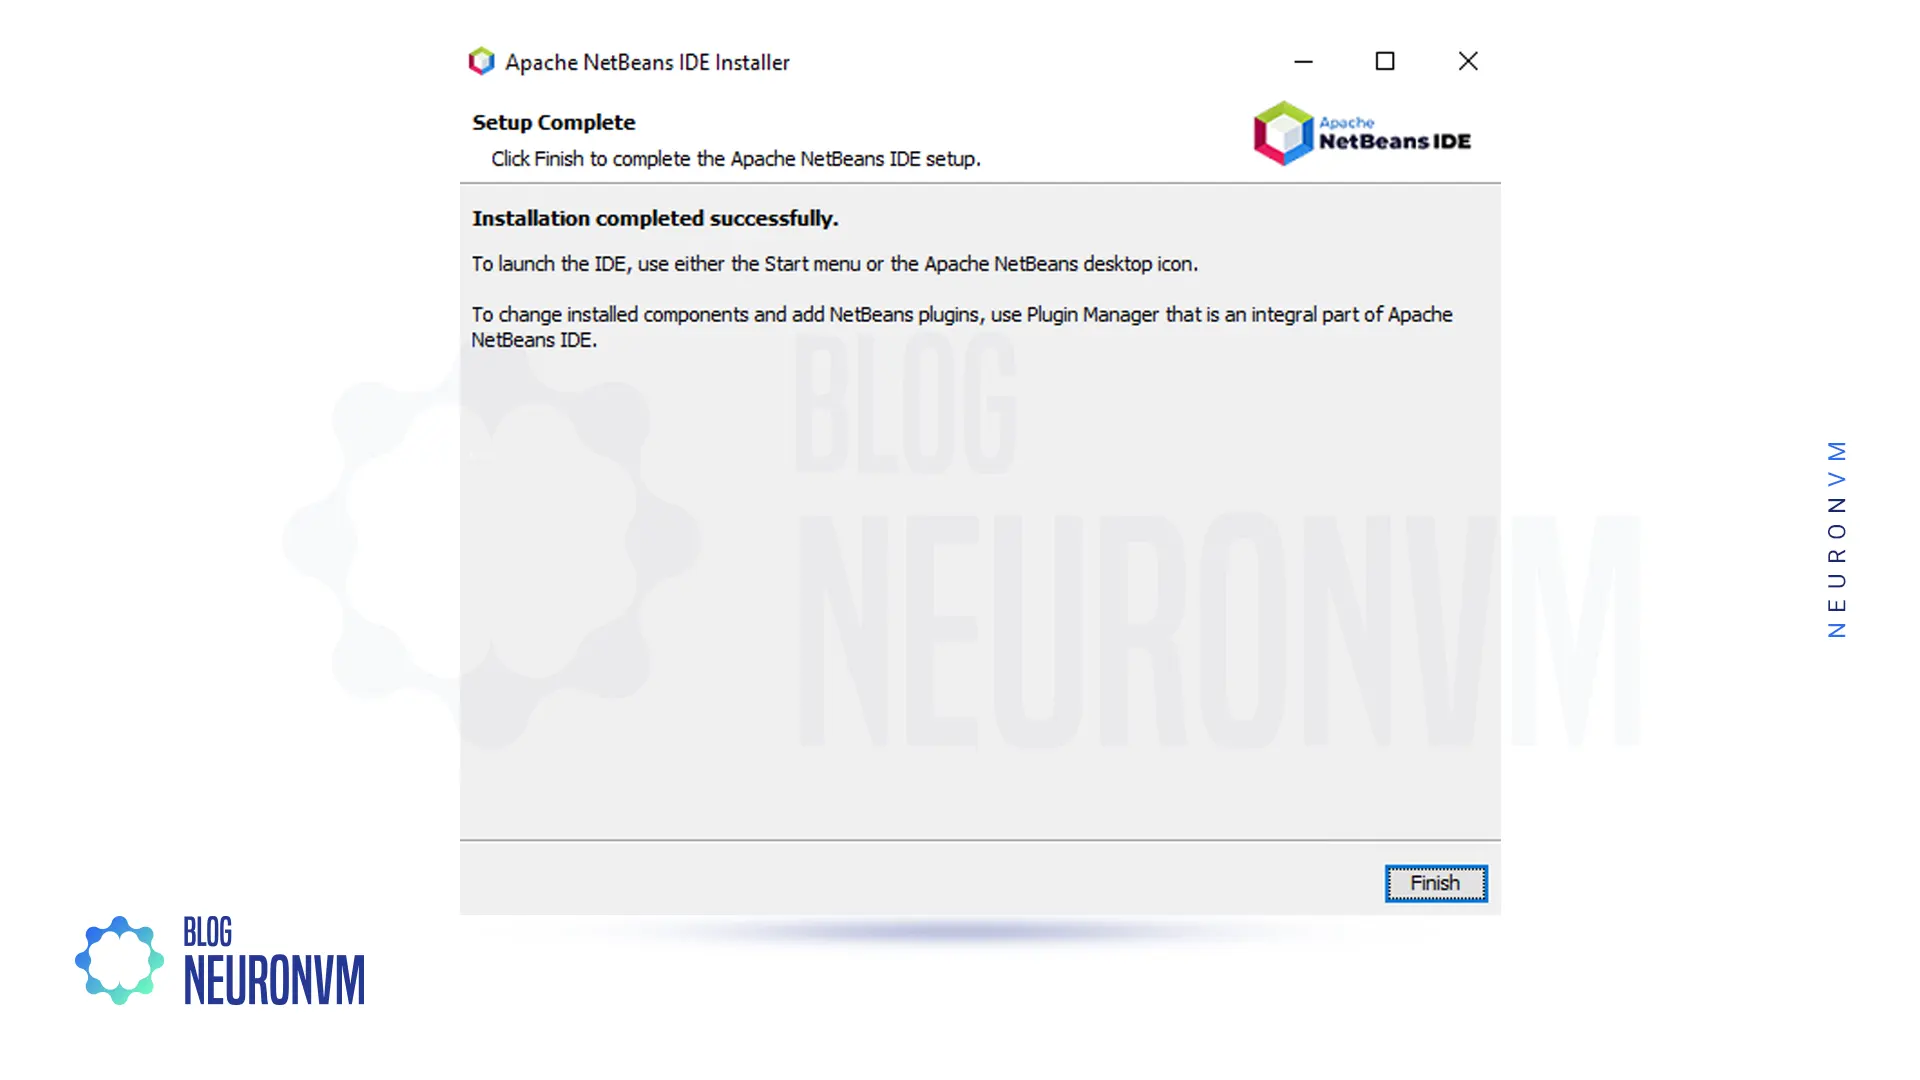
You have to wait a while for the NetBeans installation to finish:
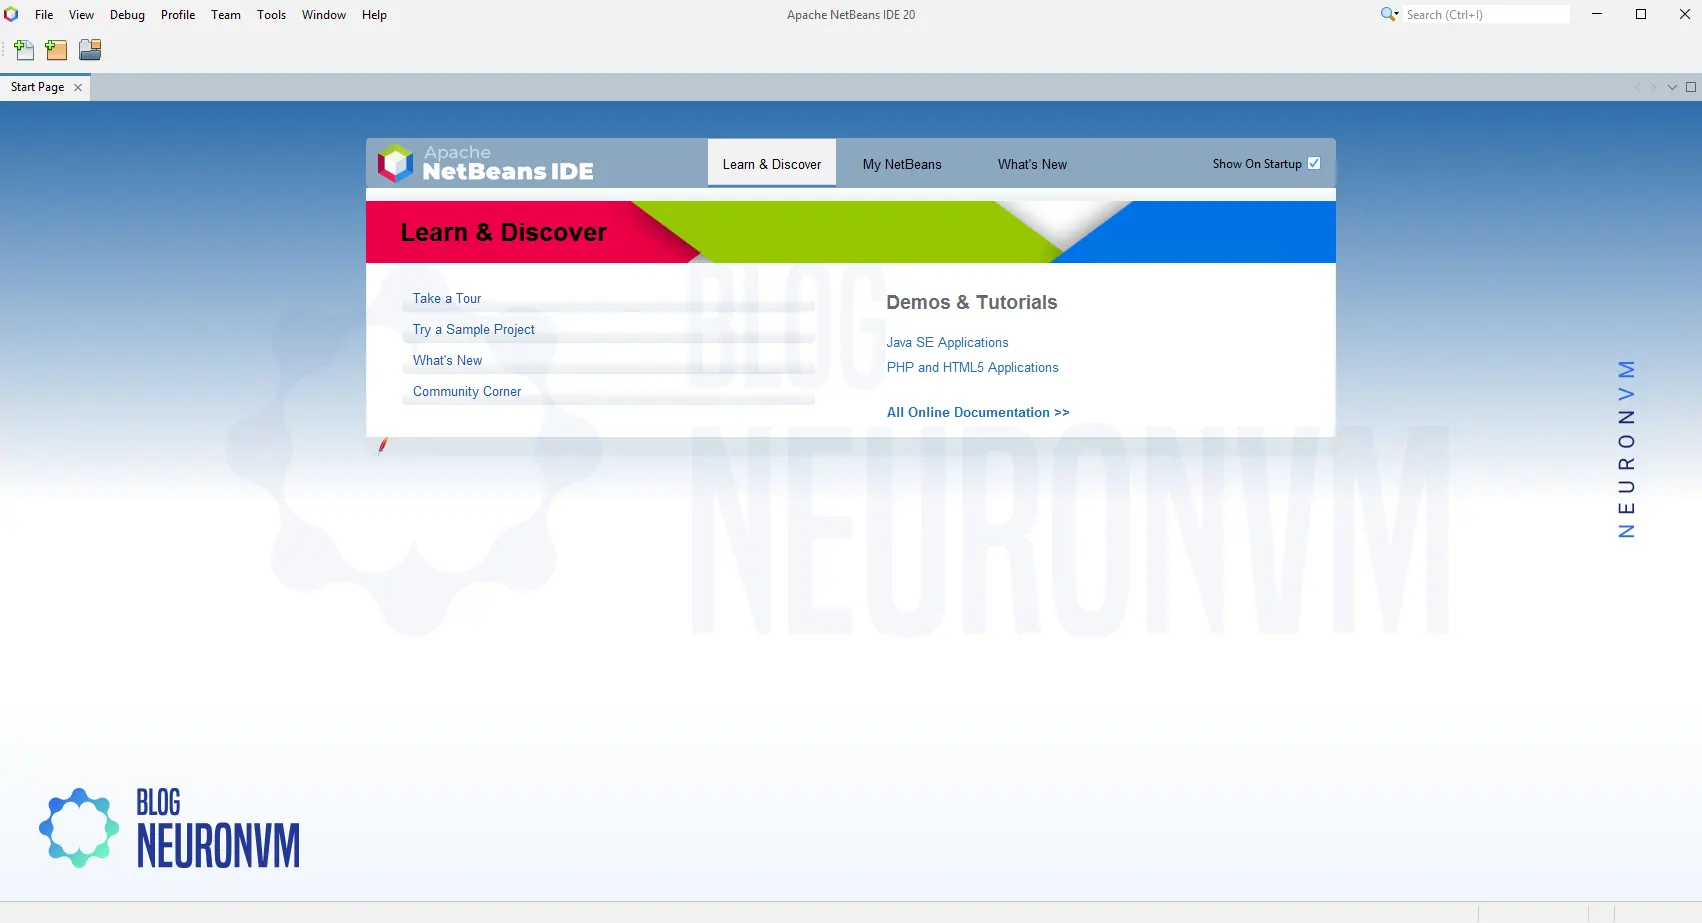
In the Start menu, type NetBeans. Then open it by double-clicking.
Now you have to click Run.
You can now use NetBeans.
By following this article, you can easily install NetBeans on your Windows Server 2016 machine. Remember to download the correct installer, configure the installation location, select desired bundles, and customize the settings if necessary. With NetBeans successfully installed, you can now begin developing your applications efficiently, leveraging the powerful features provided by this versatile IDE.
 Tags
Tags


You do not have to use an Android phone or even a tablet to run Android apps and games. Over the yea...


 Tags
Tags

In this tutorial, we will show you how to change the hostname on RDP (Remote Desktop Protocol) Serve...
Tags


