


Malwarebytes is an American anti-malware that has been around since 2008. The most important task of this tool is to detect and eliminate malware. Malwarebytes is security software that can ease users’ worries about the theft of their confidential information and strongly resist sending their information and providing system security. In this article, we want to teach you how to install Malwarebytes on Windows VPS. This software can destroy much malware that other software cannot detect.
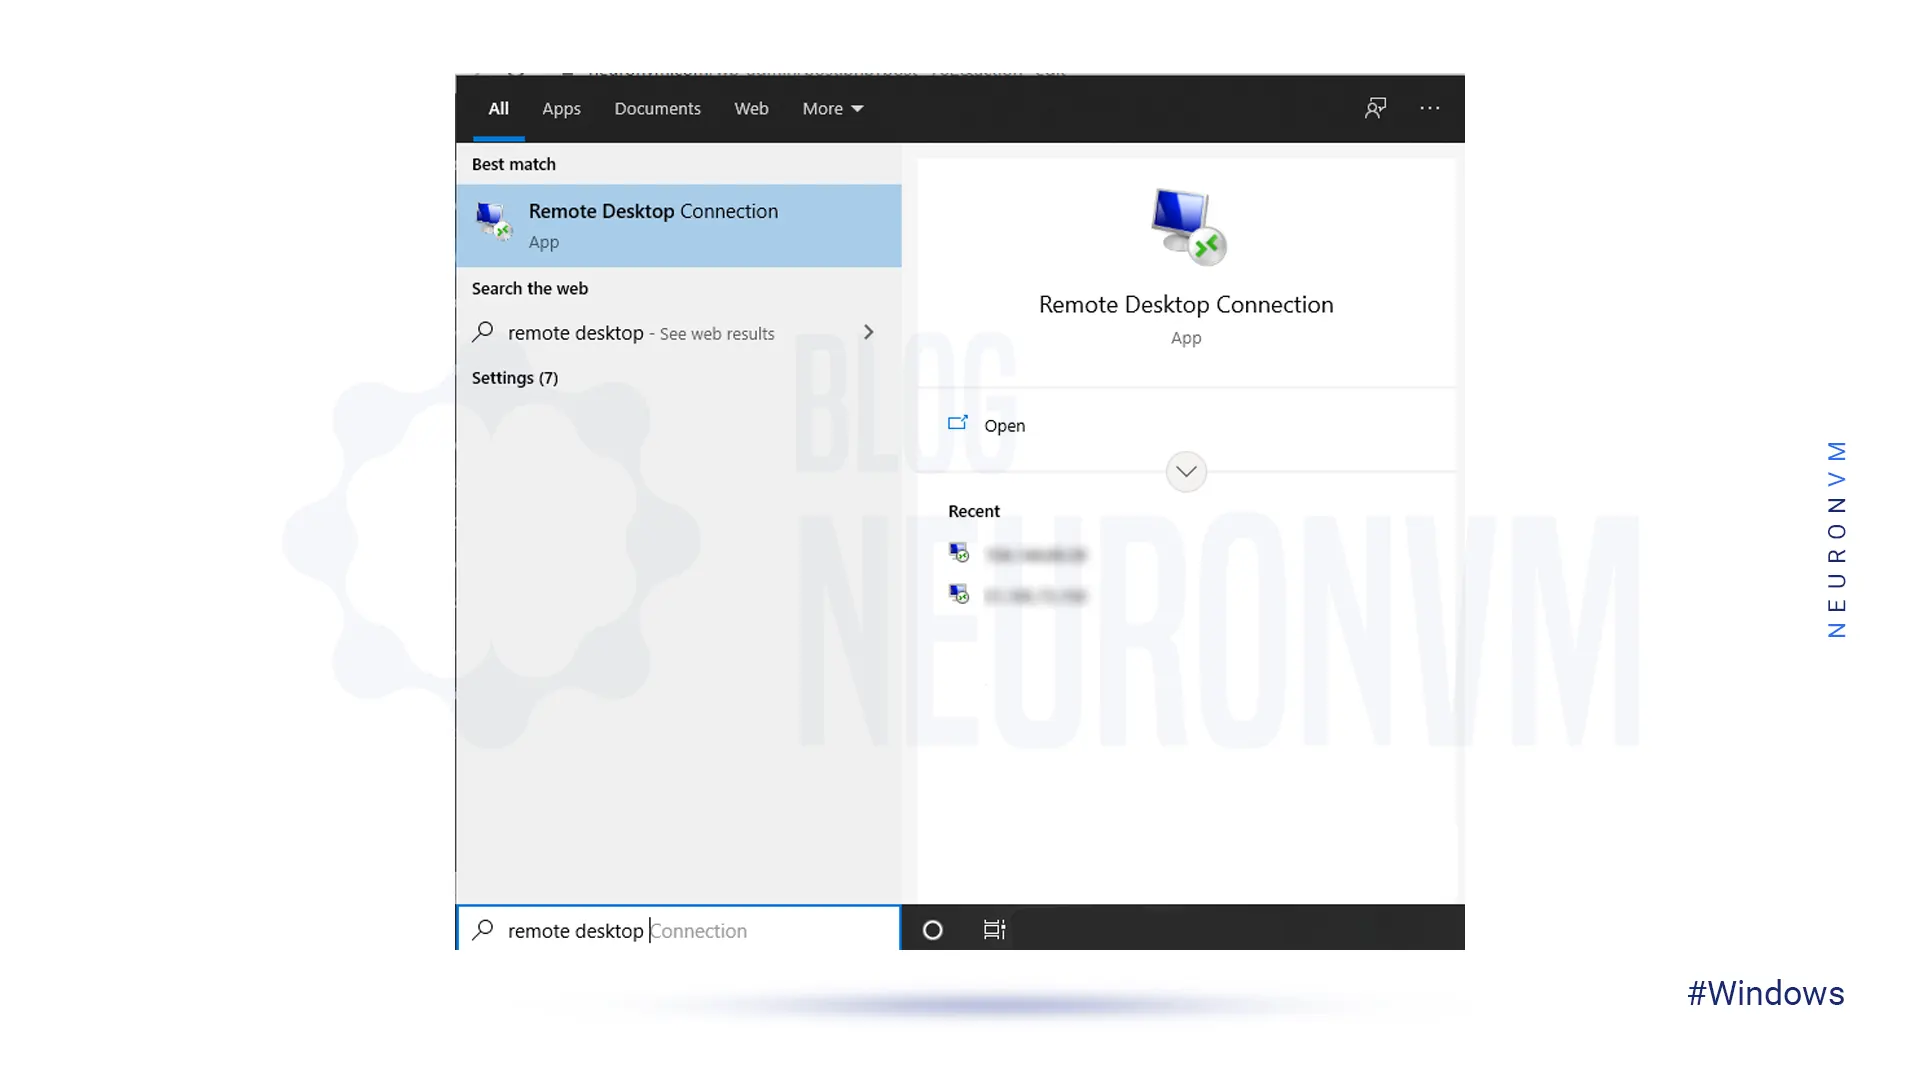
To install Malwarebytes on Windows VPS, you need to log in to your Windows VPS server in the first step. Search for Remote Desktop Connection from the Windows Start menu:
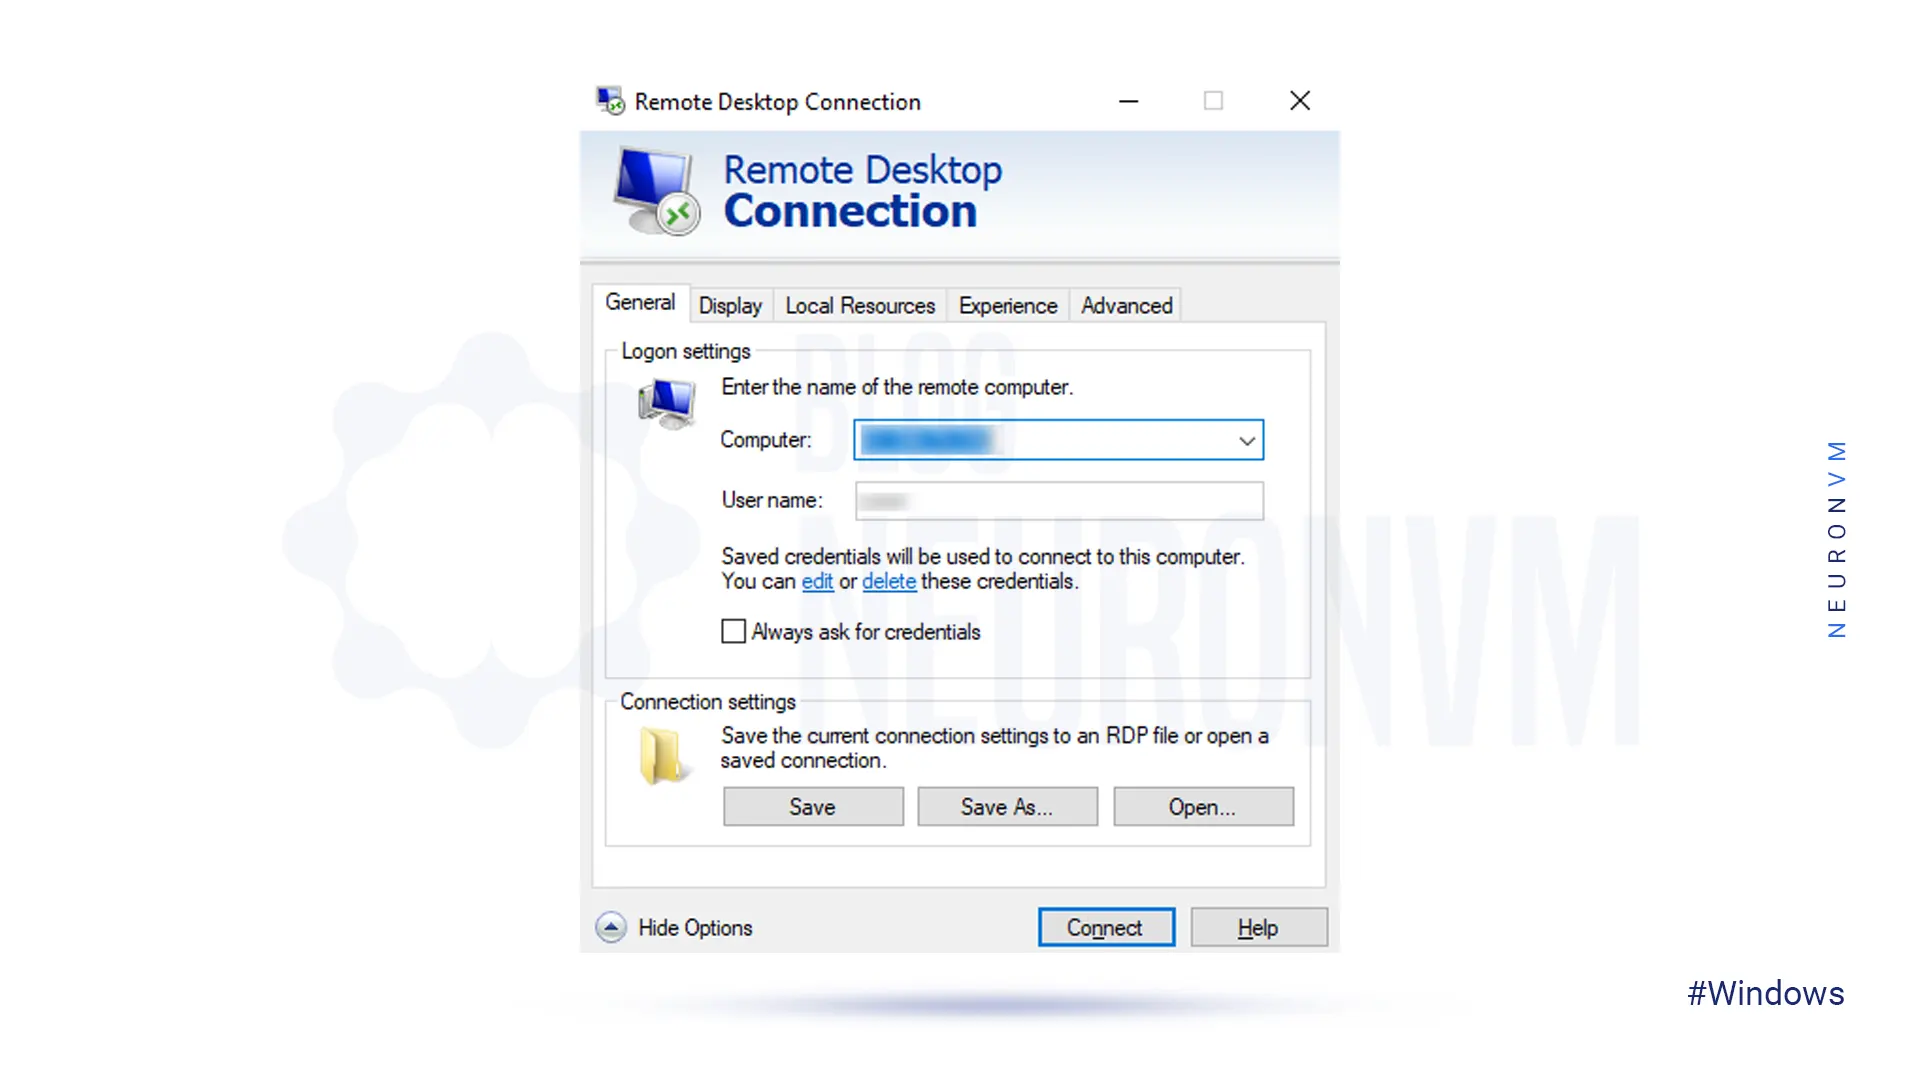
Then you have to enter your desired IP along with the password to log in to the server:
Double-click on one of your favorite browsers, after logging in to the Windows server.
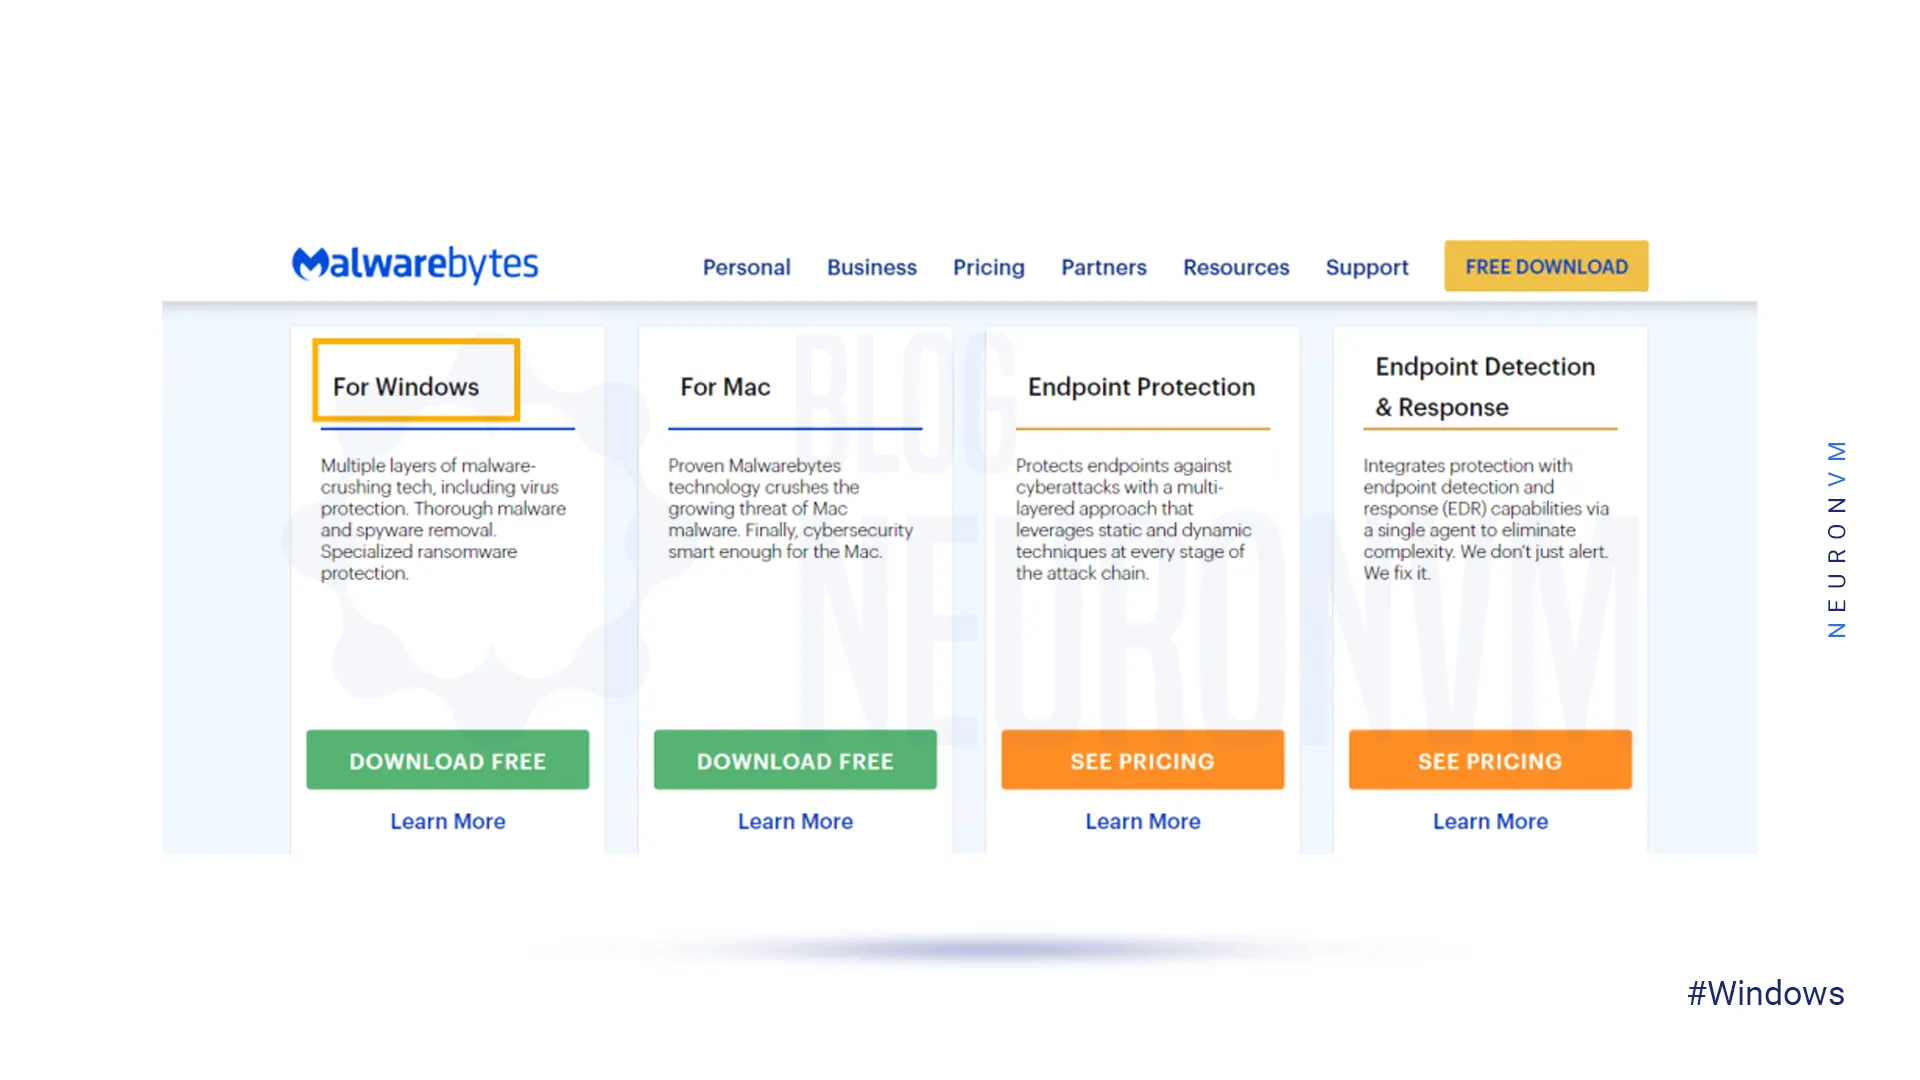
Now, you need to download Malwarebytes for Windows. Note that you are downloading the latest version.
On the page that opens, click DOWNLOAD FREE in the For Windows section. Doing so will start downloading Malwarebytes:
In this step, you need to open the Downloads folder and double-click on the MBSetUp.exe configuration file.
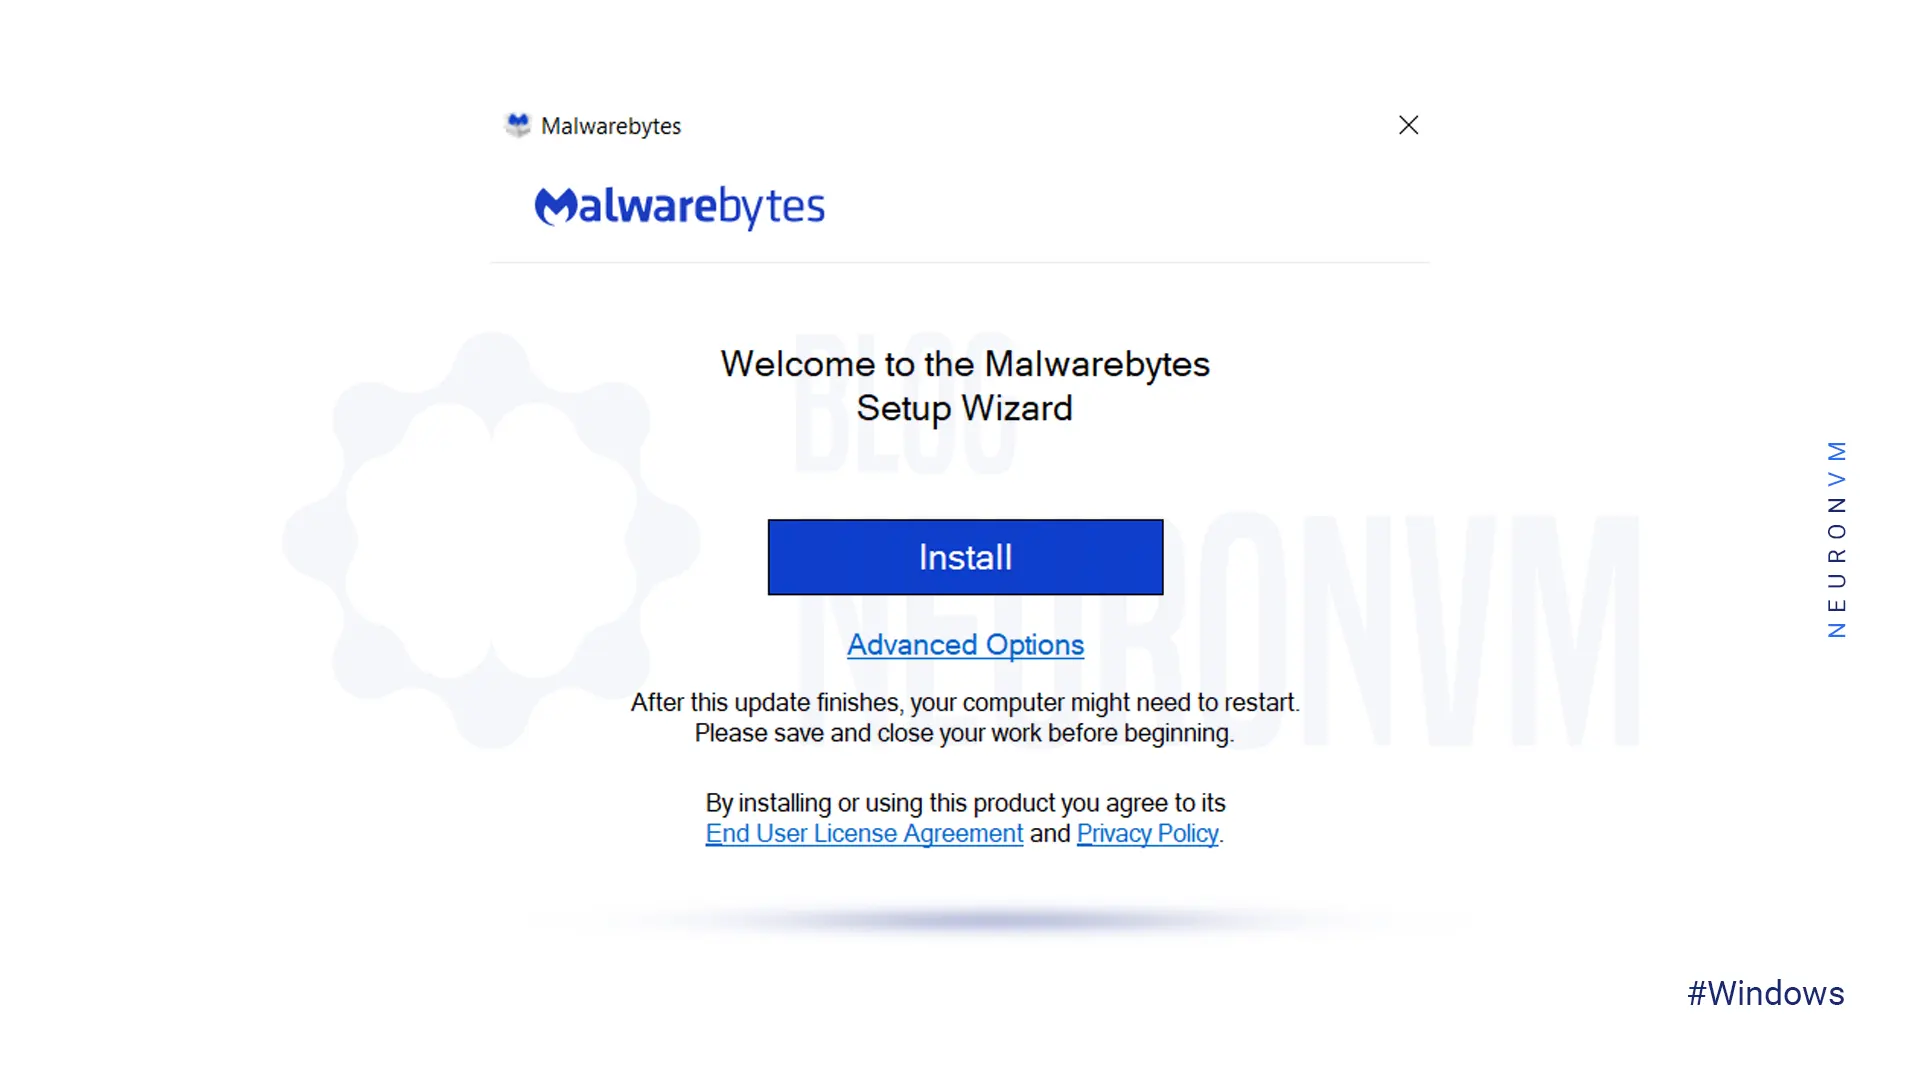
To install Malwarebytes after the User Account Control pop-up window opens, you must click Install:
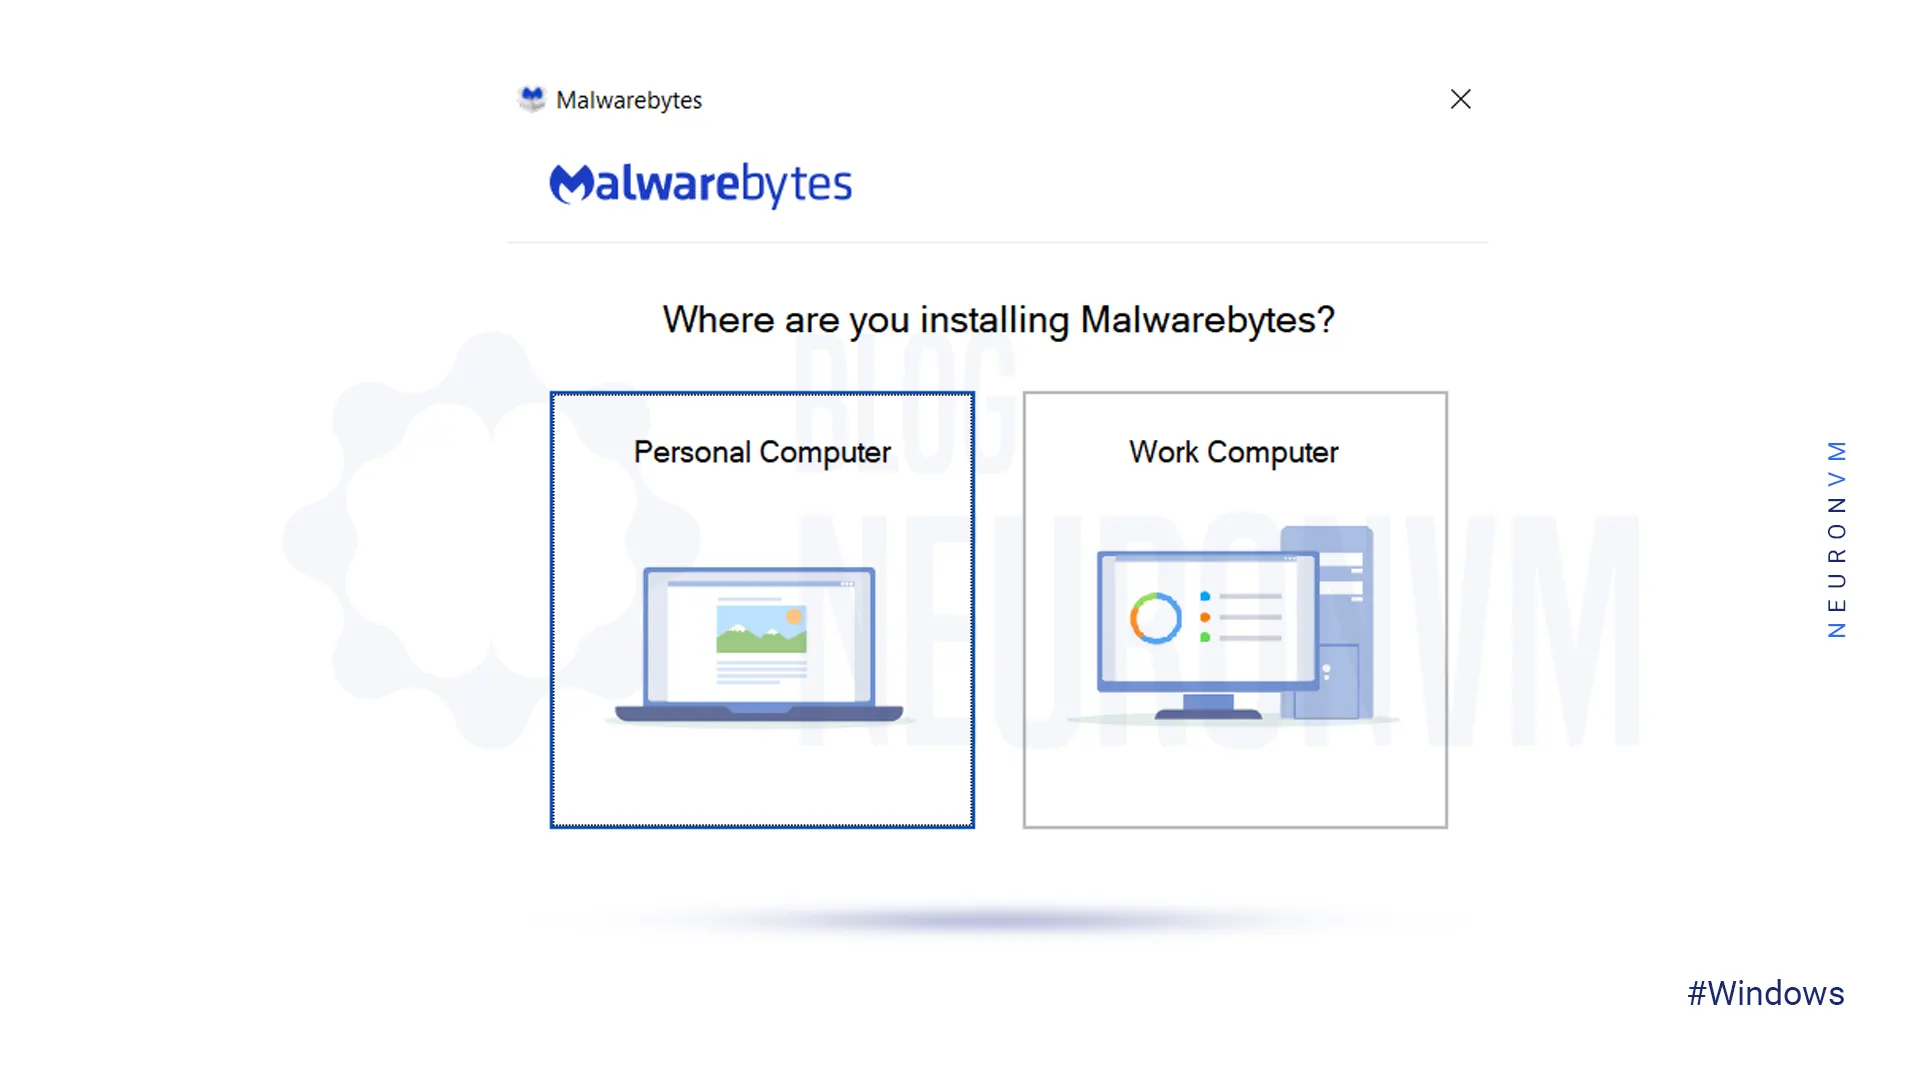
In the following window, you will be asked where you are installing Malwarebytes? If you are using your device in a non-business environment, you must select the Personal computer. But if you use your device in a business environment, you have to choose the Work computer:
In this step, you must agree to the User License Agreement and click on Agree and Install:
If you want to change the installation location, click Advanced Options.
Then you have to click on start. If you have selected Work computer in the previous step, the Malwarebytes dashboard for Business will be displayed.
In this step, you have to choose one of the three options “Buy now“, “Activate Subscription” or “Maybe later“:
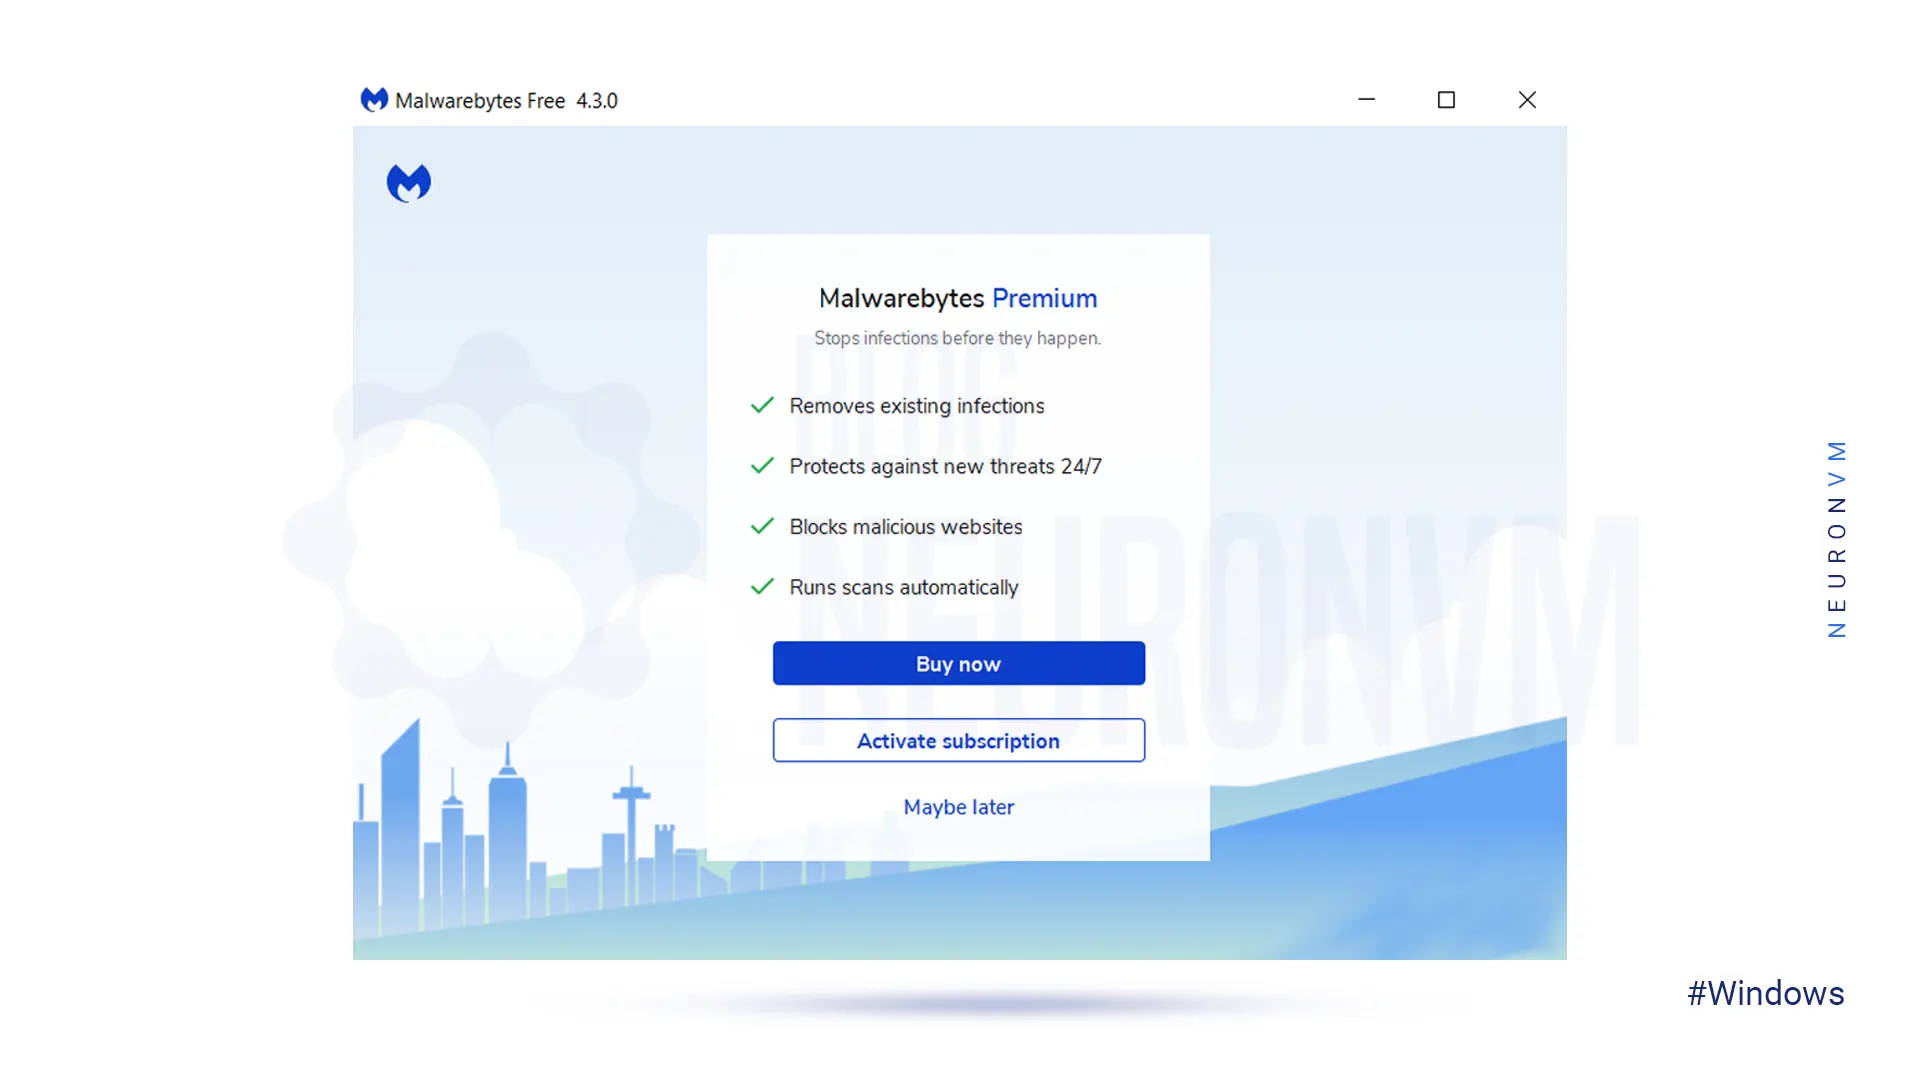
-Buy now: If you choose the Buy Now option, you must purchase a subscription with Malwarebytes Premium and unlock all protection features.
-Activate Subscription: If you select the option to Activate the subscription, you must log in or enter the license key. After purchasing a subscription from the Malwarebytes website and logging in to the Malwarebytes My Account profile, you will need to enter your email and password and click on Login.
If you have a license key, click Enter license key. On the page that opens, enter the license key and click on Activate License.
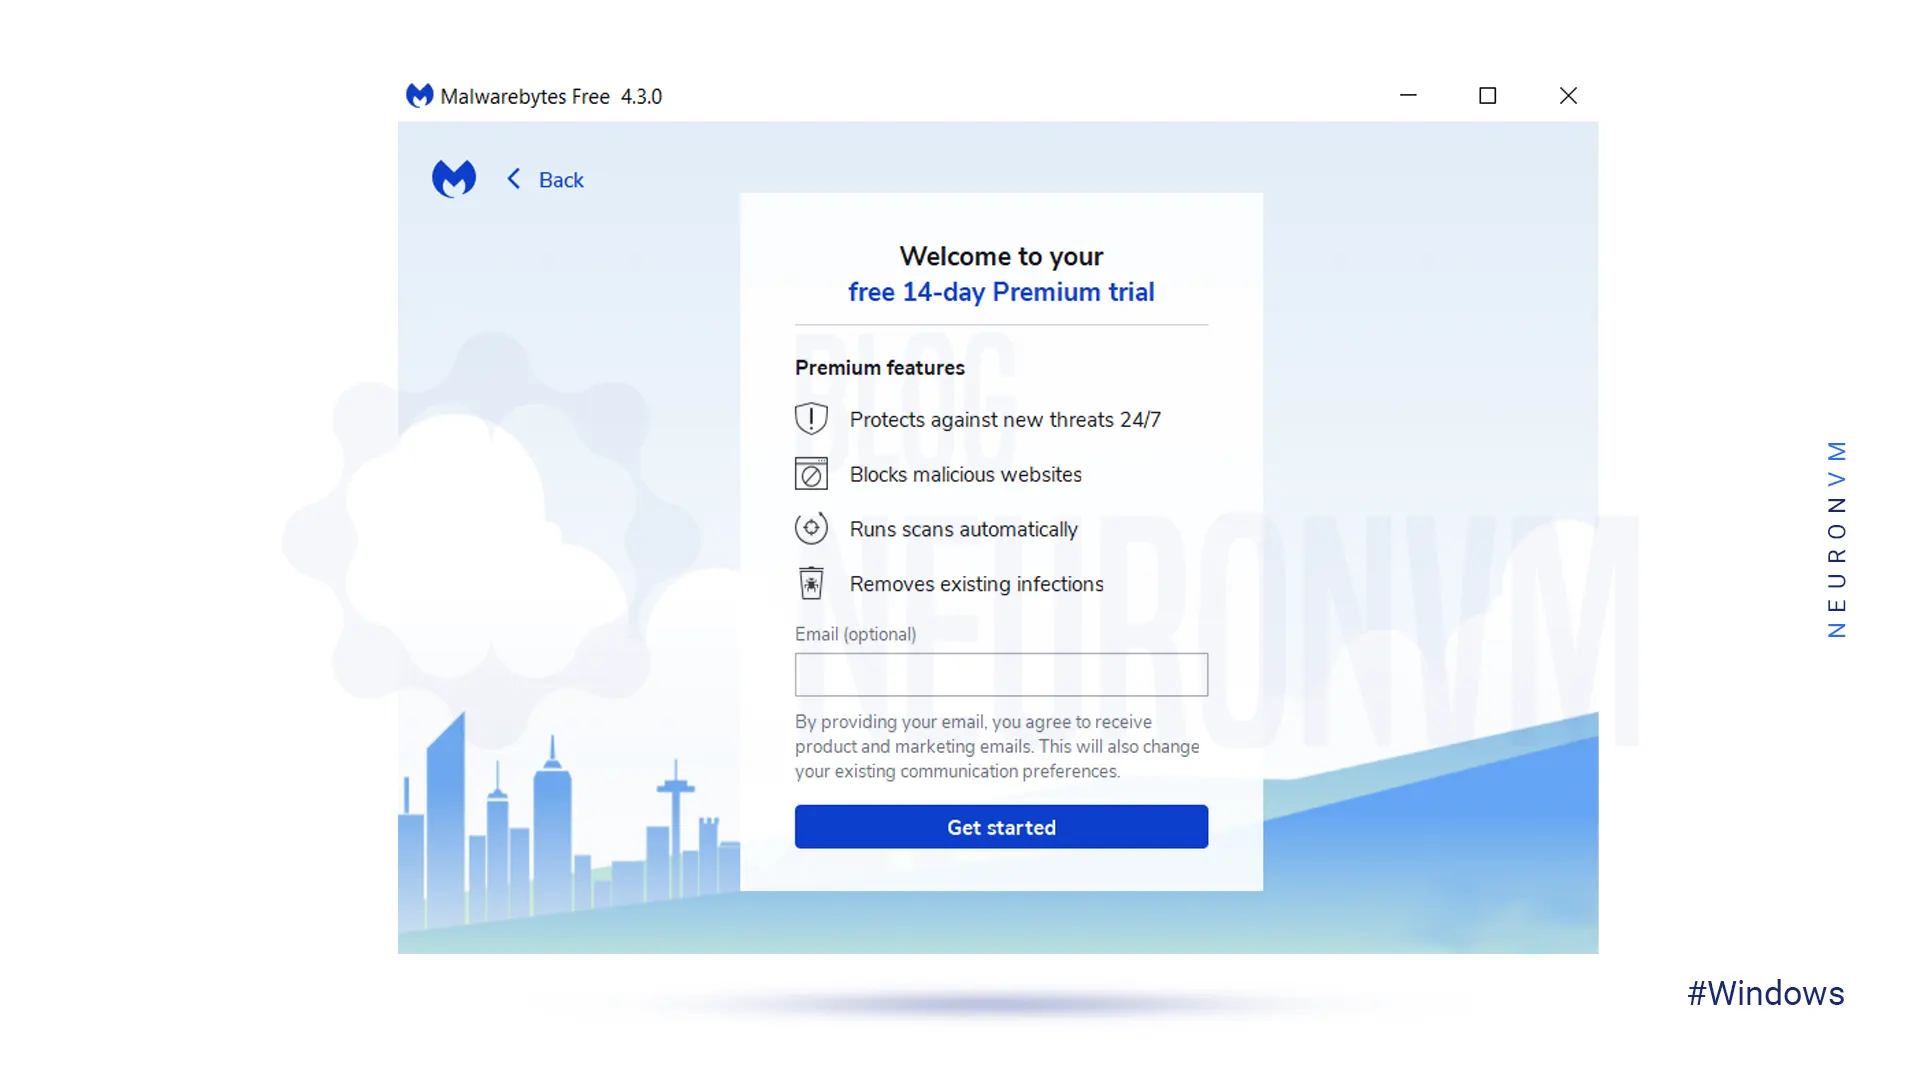
-Maybe later: If you select the option Maybe later, a 14-day trial version of Malwarebytes will be activated. Malwarebytes Free version will open if you have used your trial period on the device. Note that this version only removes existing infections and lacks preventive protection:
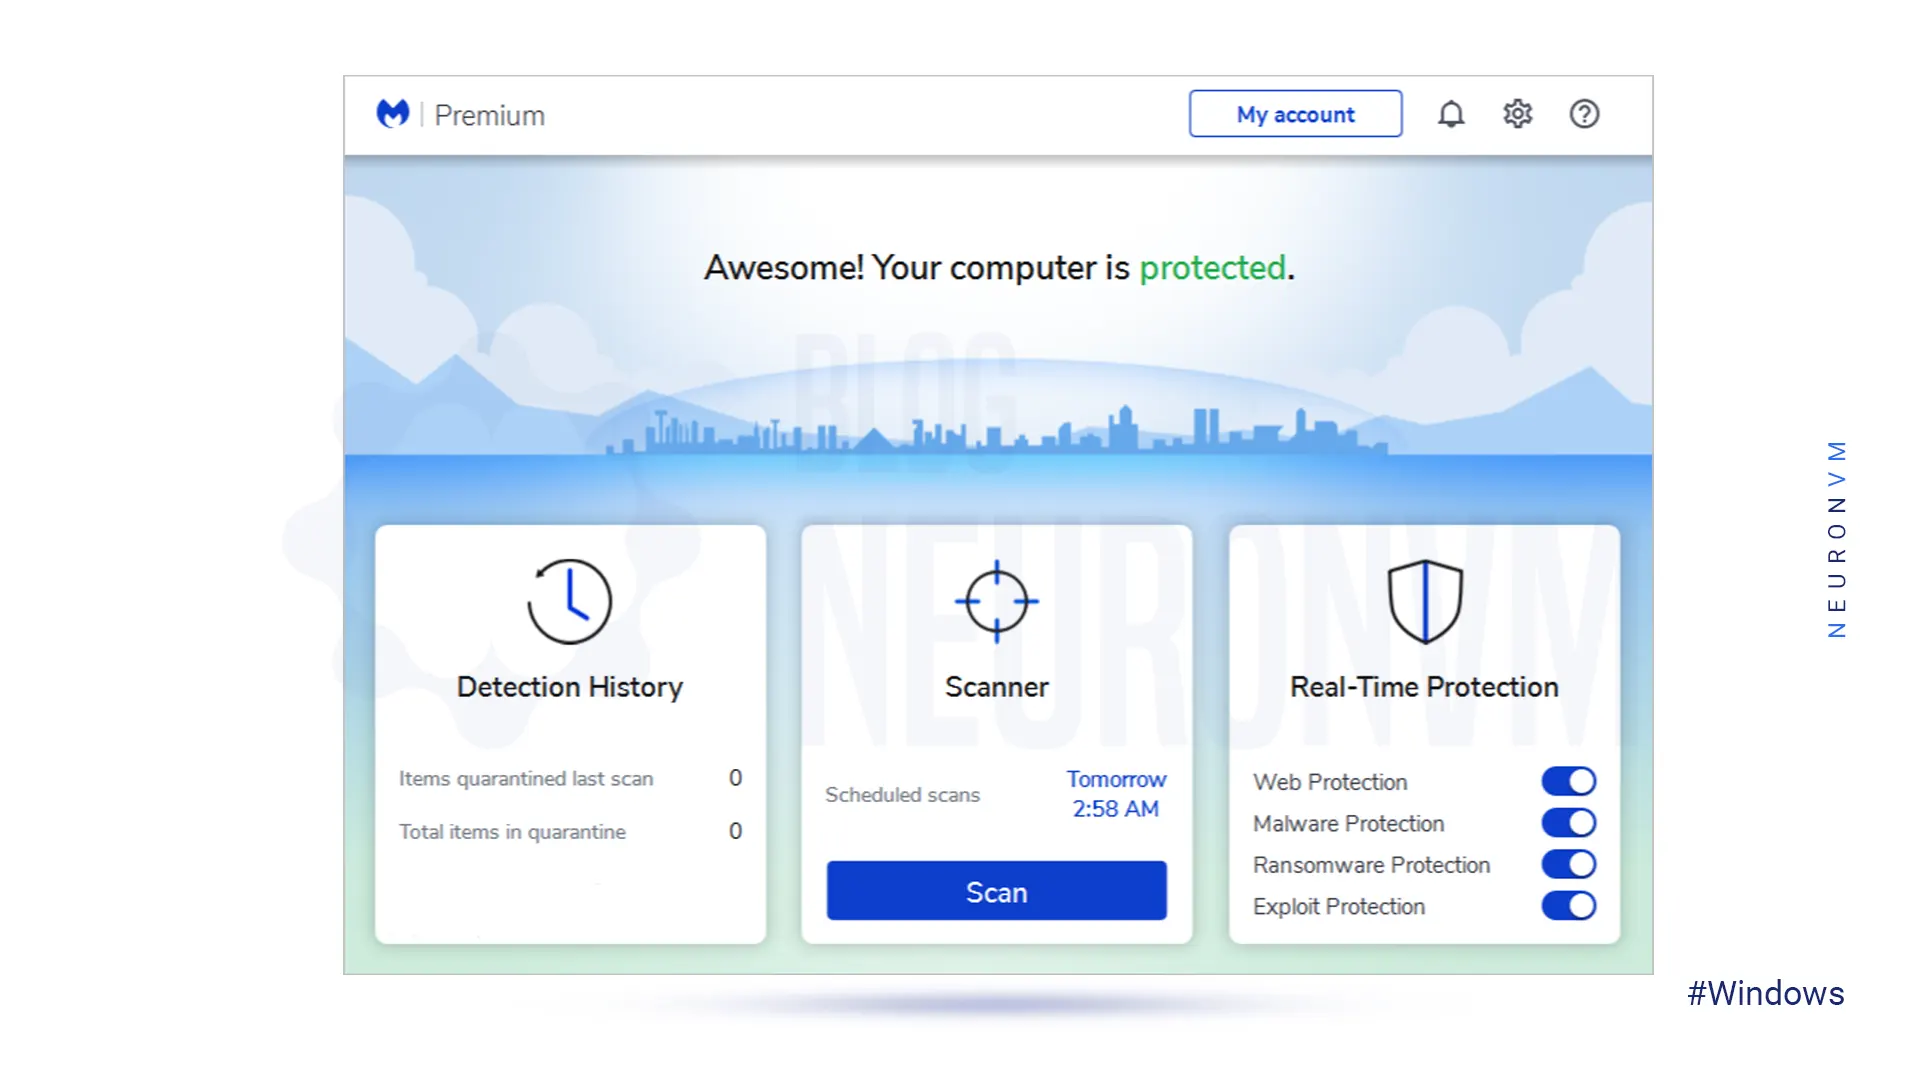
Eventually, Malwarebytes is successfully installed on your Windows VPS.
Now that we have successfully installed Malwarebytes on a Windows server, we now turn to how to use it. You can do this by searching and running Malwarebytes from the Start menu. Then in the window that opens, click on Scan. Doing so will start the scan:
Installing Malwarebytes on your Windows VPS is a simple and effective way to protect your server from malware and other cyber threats. By following the steps outlined in this guide, you can quickly and easily install Malwarebytes on your Windows VPS and ensure that your server remains secure and free from malicious software. Remember to regularly update Malwarebytes to keep your server protected against the latest threats. We suggest that you read the article How to Install and Configure Antivirus on Linux Dedicated Server if needed.
 Tags
Tags


This Tutorial is presented to teach you how to Install Vivaldi Browser on RDP or Windows Server 2016...


 Tags
Tags

If you work in the fields of data science and machine learning, you have heard the Anaconda distribu...
Tags


