


In this tutorial, we are going to show how you can install Java on Ubuntu 22.04 with A PPA repository so follow our instructions. We can describe Java as one of the most popular and oldest programming languages in the world, which is used for building different types of cross-platform applications. We have to mention that installing Java is not easy without a PPA repository because it is a licensed product and you can get it in the Ubuntu official repo. Java is distributed in three different editions: Standard Edition, Enterprise Edition, and Micro Edition. This tutorial is based on the standard edition of Java.
Prerequisites
Before you start to install Java on your Ubuntu Linux VPS, make sure you are logged in as the user with sudo privileges.
In the first step, to start the installation process you should run the command in the terminal window to add the PPA repository.
We have two repositories to which you can add any of these ( you can do it by ctrl+alt+t):
sudo add-apt-repository ppa:webupd8team/java
sudo add-apt-repository ppa:linuxuprising/java
After that, you should refresh the system and install Java 17 using the following command:
sudo apt-get update
sudo apt-get install oracle-java17-installer oracle-java17-set-default
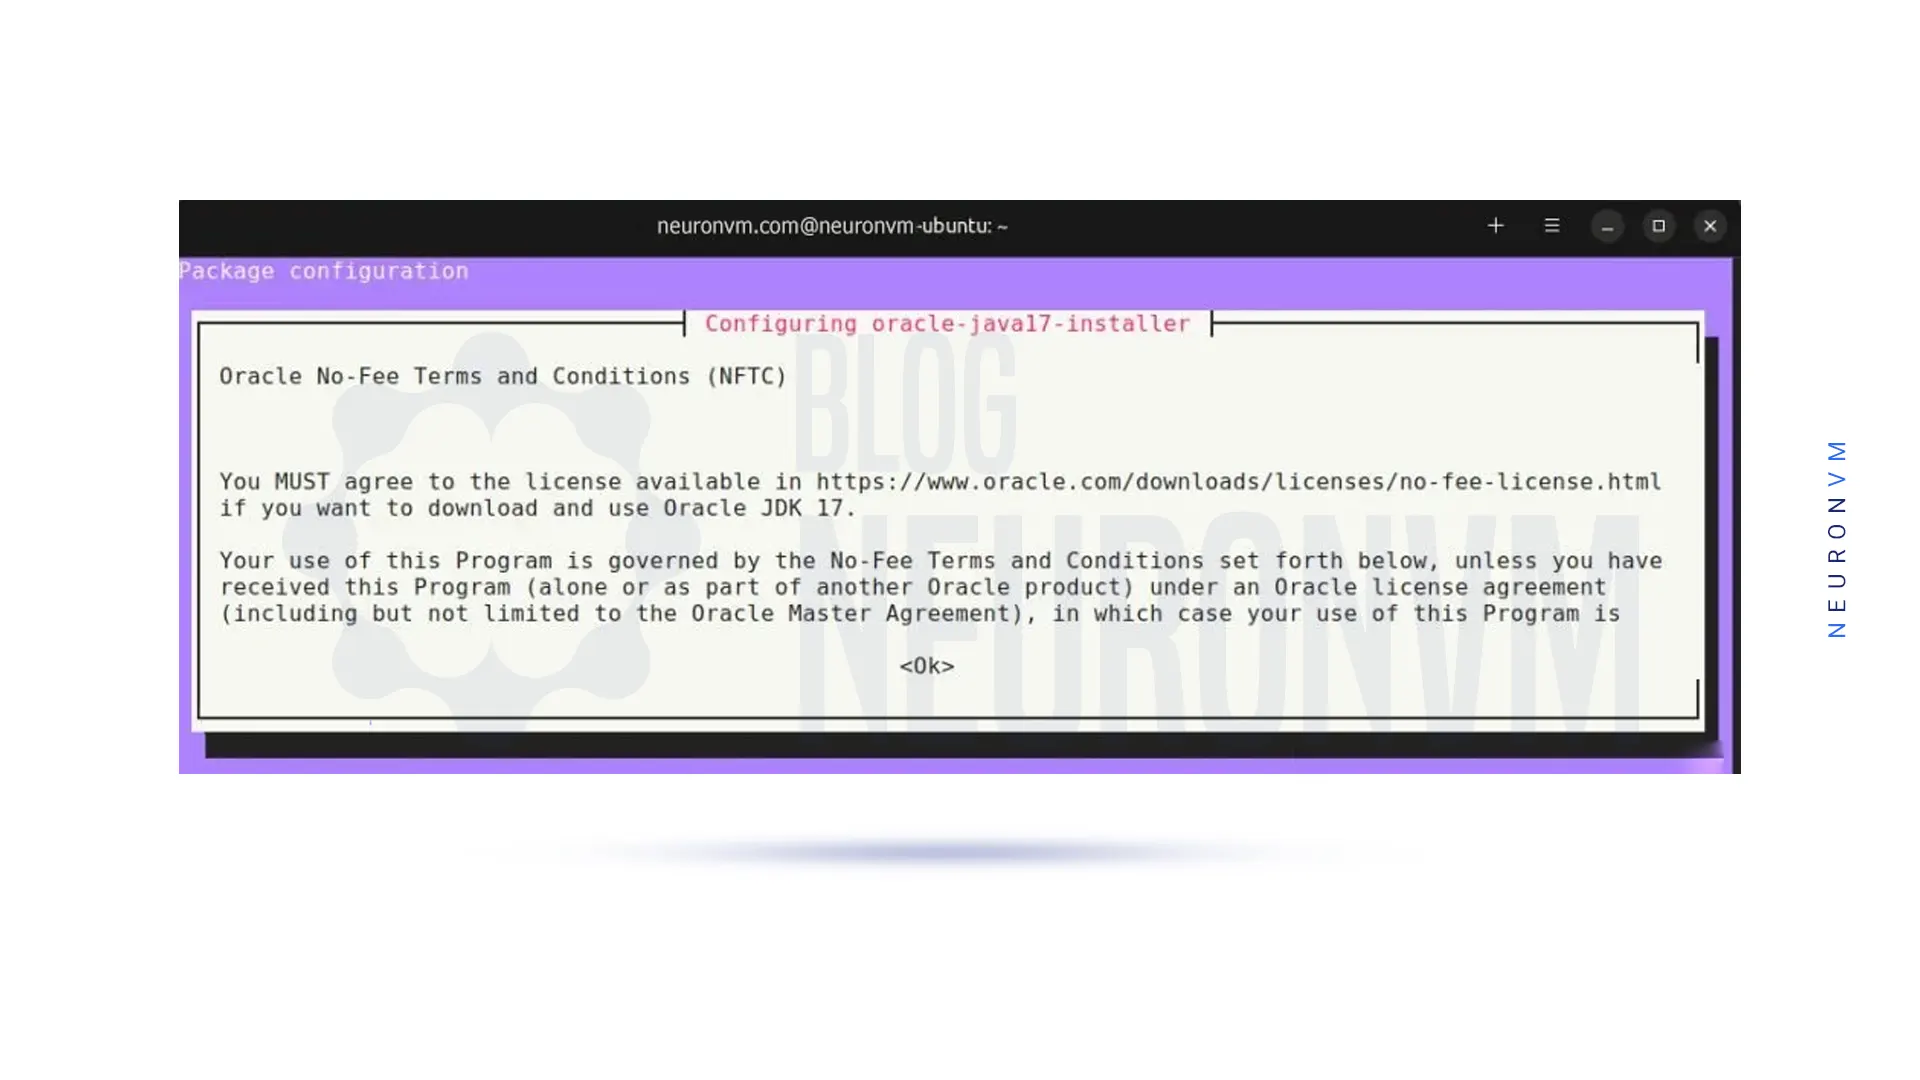
By using this command you will directly download and install the latest Java 17 from the Oracle website. let the installation process complete.
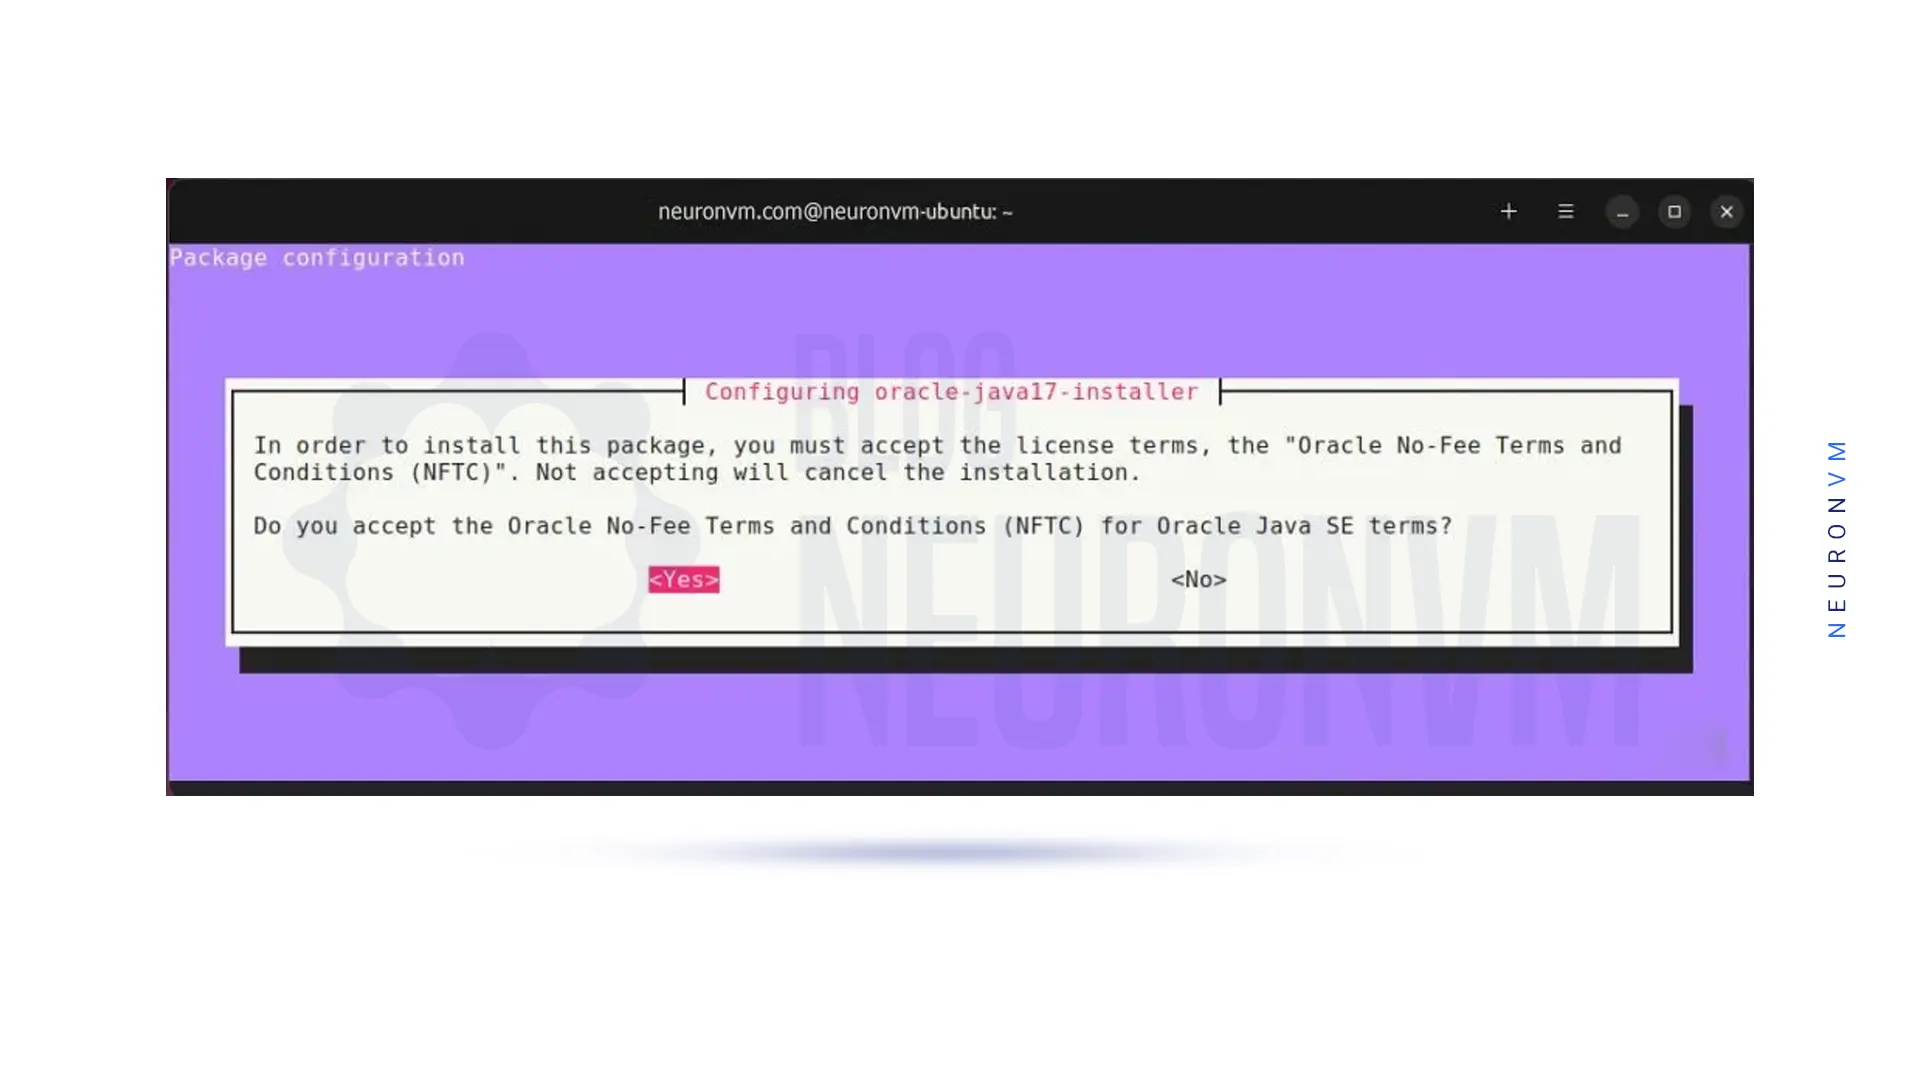
Note: For a successful installation you should accept specific usage terms of Oracle:
when you complete the Install Java On Ubuntu part, you can use the command below to check the Java version:
java --version
In the prompt, you should Java 17. By the way, if you want to check out the Java executable path you can do it by using this command:
which java
That’s it. Now you can easily work with your Java program or project to develop your works.
One thing you can do is to set the Java home environment variable of your Java selection by updating the path to the Java version.
We showed you before how to find the version of your Java programming. But there is another way to obtain the version, so follow the command below to find out:
readlink -f /usr/bin/java | sed "s:jre/bin/java::"
The next step is to update the /etc/environment file to load the environment variables:
echo "JAVA_HOME=/usr/lib/jvm/java-17-openjdk-amd64/bin/java" >> /etc/environment
source /etc/environment
Now you should run the command below to confirm the java home environment variable setting:
HO in $go_home
/sir/lib/javam/java-17-openjadic-amd64/bin/java
well done! that is all you can do to install Java 17 on Ubuntu Server.
Here we are going to show how you can uninstall the PPA repository if you like. so let’s apply this command:
sudo add-apt-repository --remove ppa:linuxuprising/java
If you want to uninstall Java programming and its related dependencies, then run the following command:
sudo apt purge --autoremove -y openjdk-17-jdk
Note: this guide also applies to Ubuntu 20.04 and Linux Mint 20.
Java is really important as many applications are developed and published in Java environment. As you see the process of installing Java on Ubuntu is very simple. In this tutorial we tried to show how you can install Java on Ubuntu 22.04 with a PPA repository, and also you learned how to remove PPA or Java from your system. In the end we hope you enjoy reading this article and make use of it.
 Tags
Tags


Have you ever heard anything about the Wireguard VPN system? This system is a free VPN that helps yo...


We live in a data-driven world and these data should be organized and easily accessible information....
 Tags
Tags


