


CentOS is a popular Linux distribution known for its stability, security, and reliability. Installing CentOS on a dedicated server is a straightforward process that can be done easily with a few simple steps. In this tutorial, we are going to discuss how to install CentOS on a Dedicated Server. One of the best servers that we can offer you to install CentOS is the USA Dedicated Server. See NeuronVM plans.
Go to the CentOS official page.
Then choose the Minimal ISO tab and go on: (The process is the same for all three tabs)
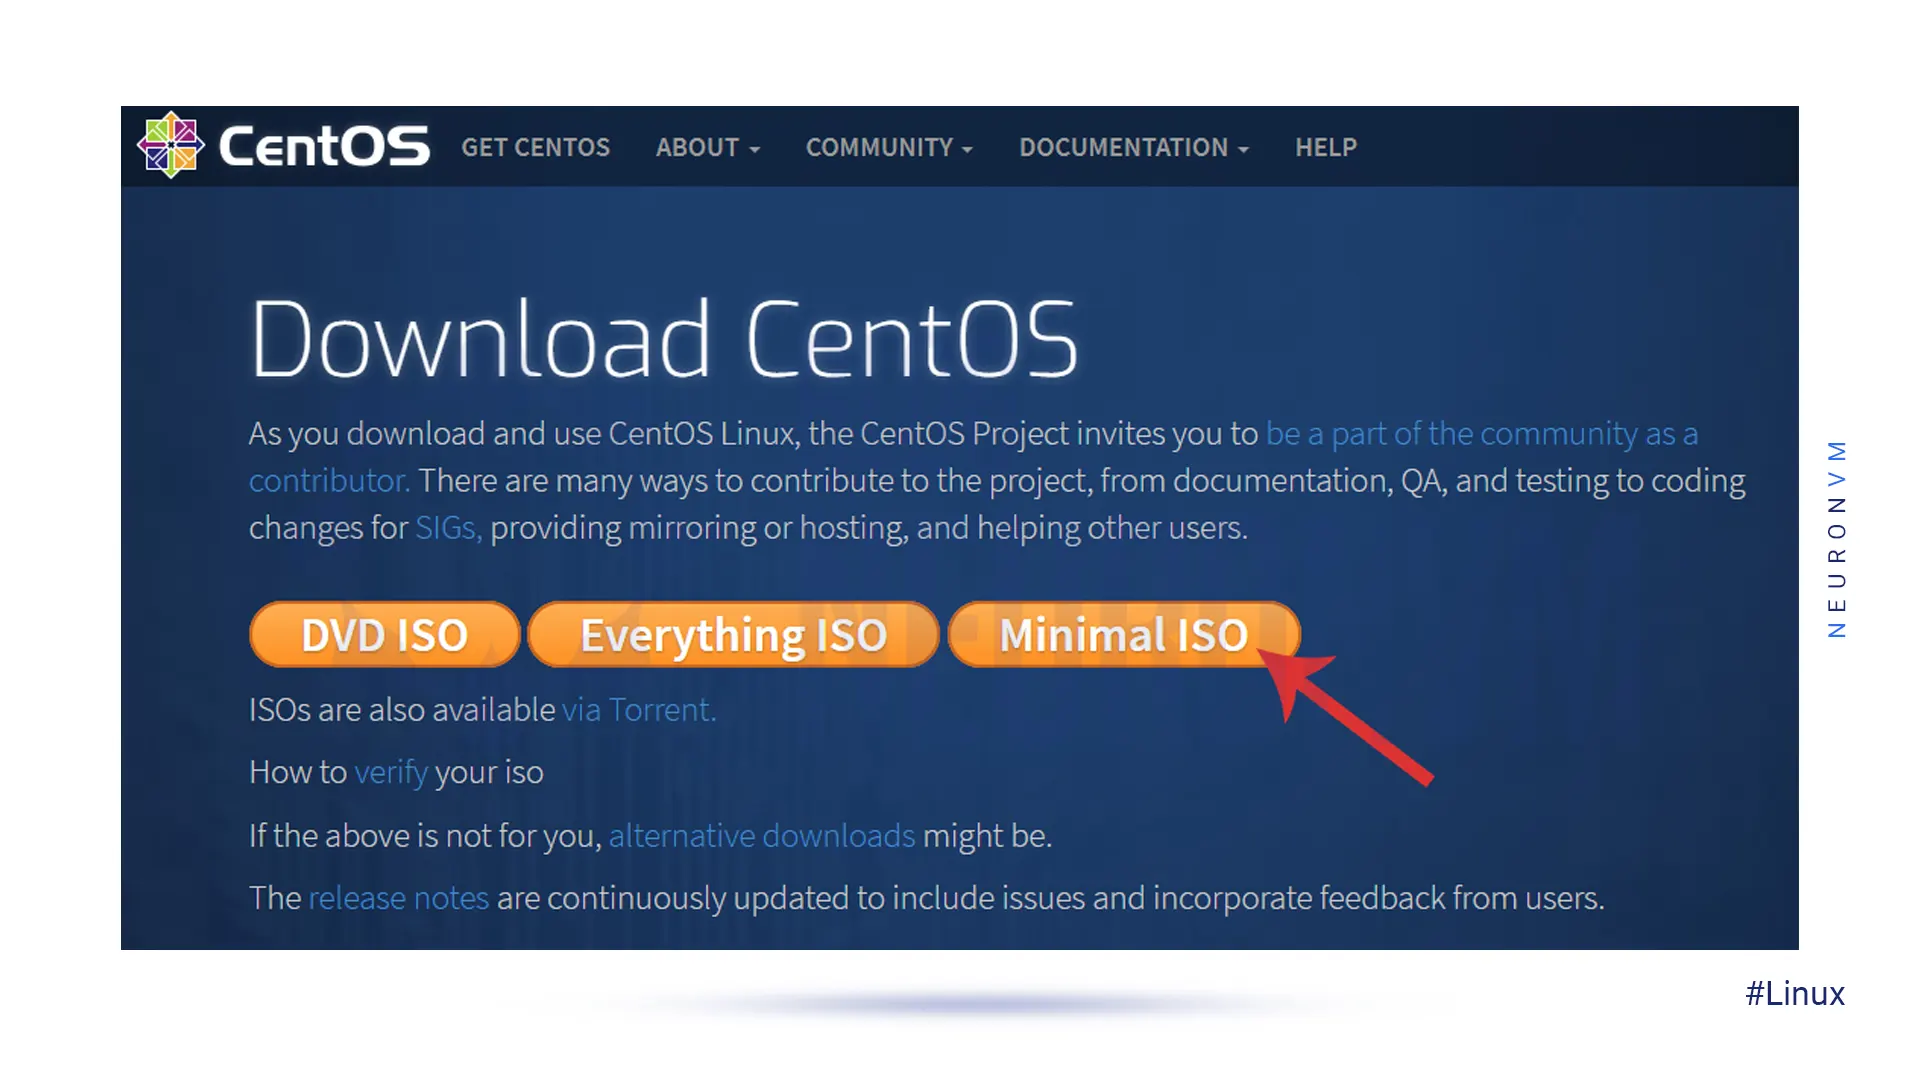
Click on the mirror list and select the suitable location and country then choose the version of distribution you want and get the desired iso file. Afterward, wait a few minutes to complete the downloading process.
It’s time to create a bootable USB and burn it on a DVD or load it on a VM. You can use several applications for that, but we recommended Etcher here:
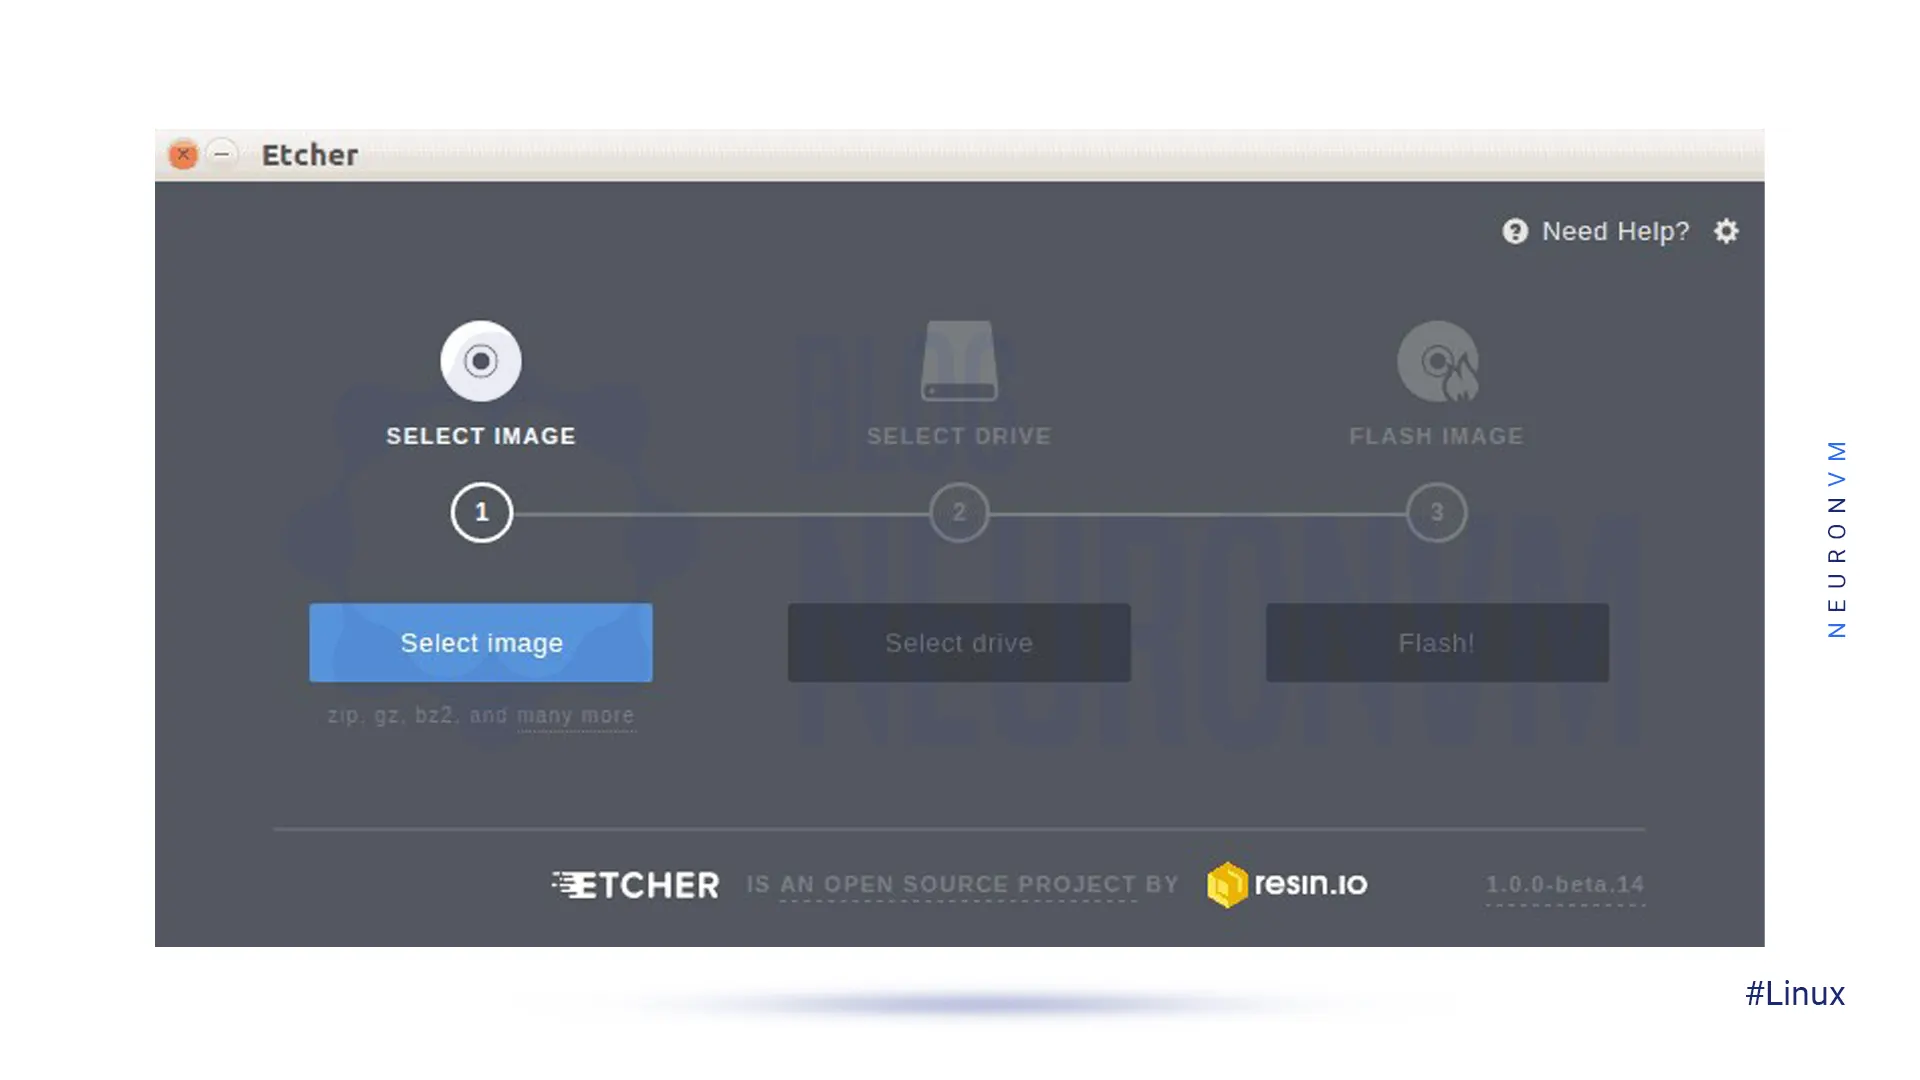
In this section, the first step is to select the CentOS iso image and then insert the USB flash.
Then, find the USB you want and choose it in the Select Drive step. the final action is to click Flash.
Now let’s review the installation steps together to use this operating system on your dedicated server.
Note: notice that for this process you will need at least 10 GB of free space on your disk space and the desired version of CentOS.
After booting the CentOS iso file, you can start the installation process by selecting Install CentOS which will start the installer graphic interface.
If you want to use a USB drive, click the install to hard drive icon on your desktop and enter the installation wizard:

At this part, select the installation language you would prefer to use. As you see the default language is English. Then click on Continue to confirm:

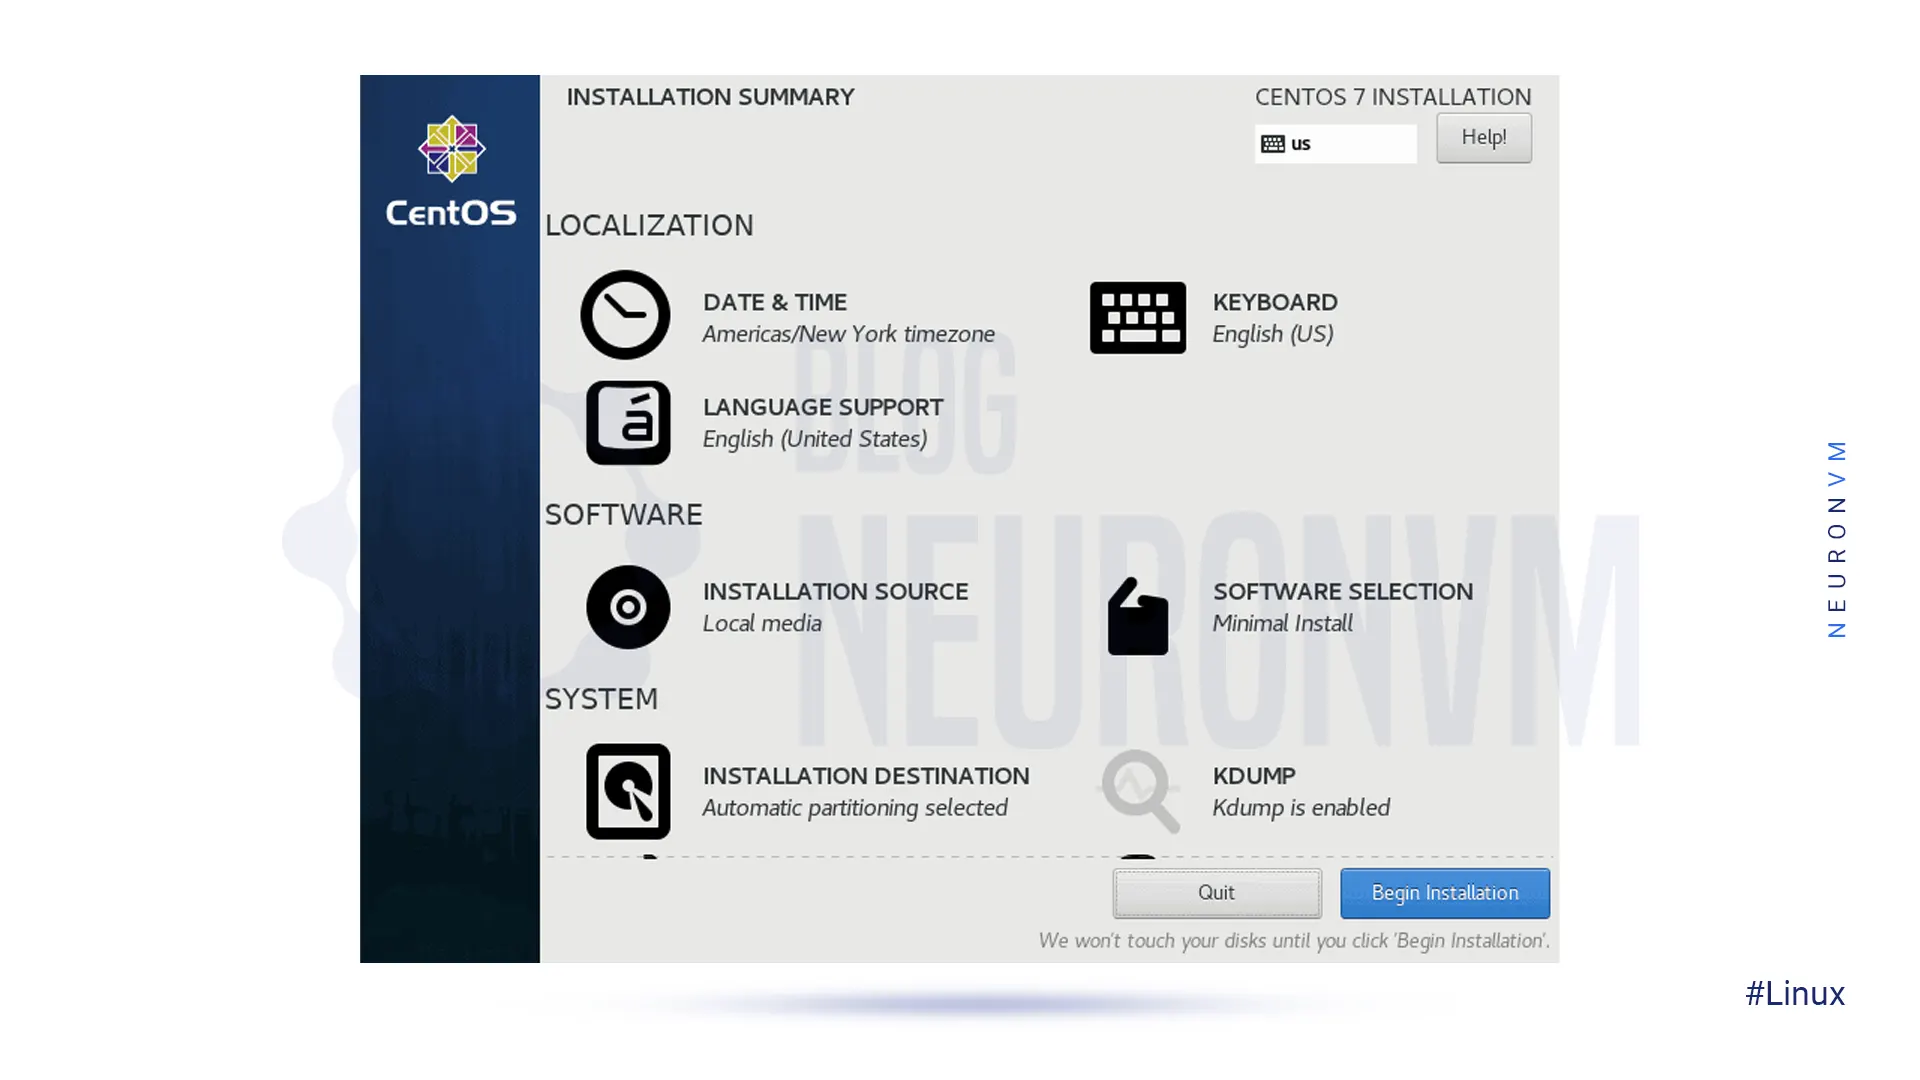
On this window, you can do some other configurations. Before installation, all marked items must be configured.
Note that the system setting shown here may vary depending on the situation:
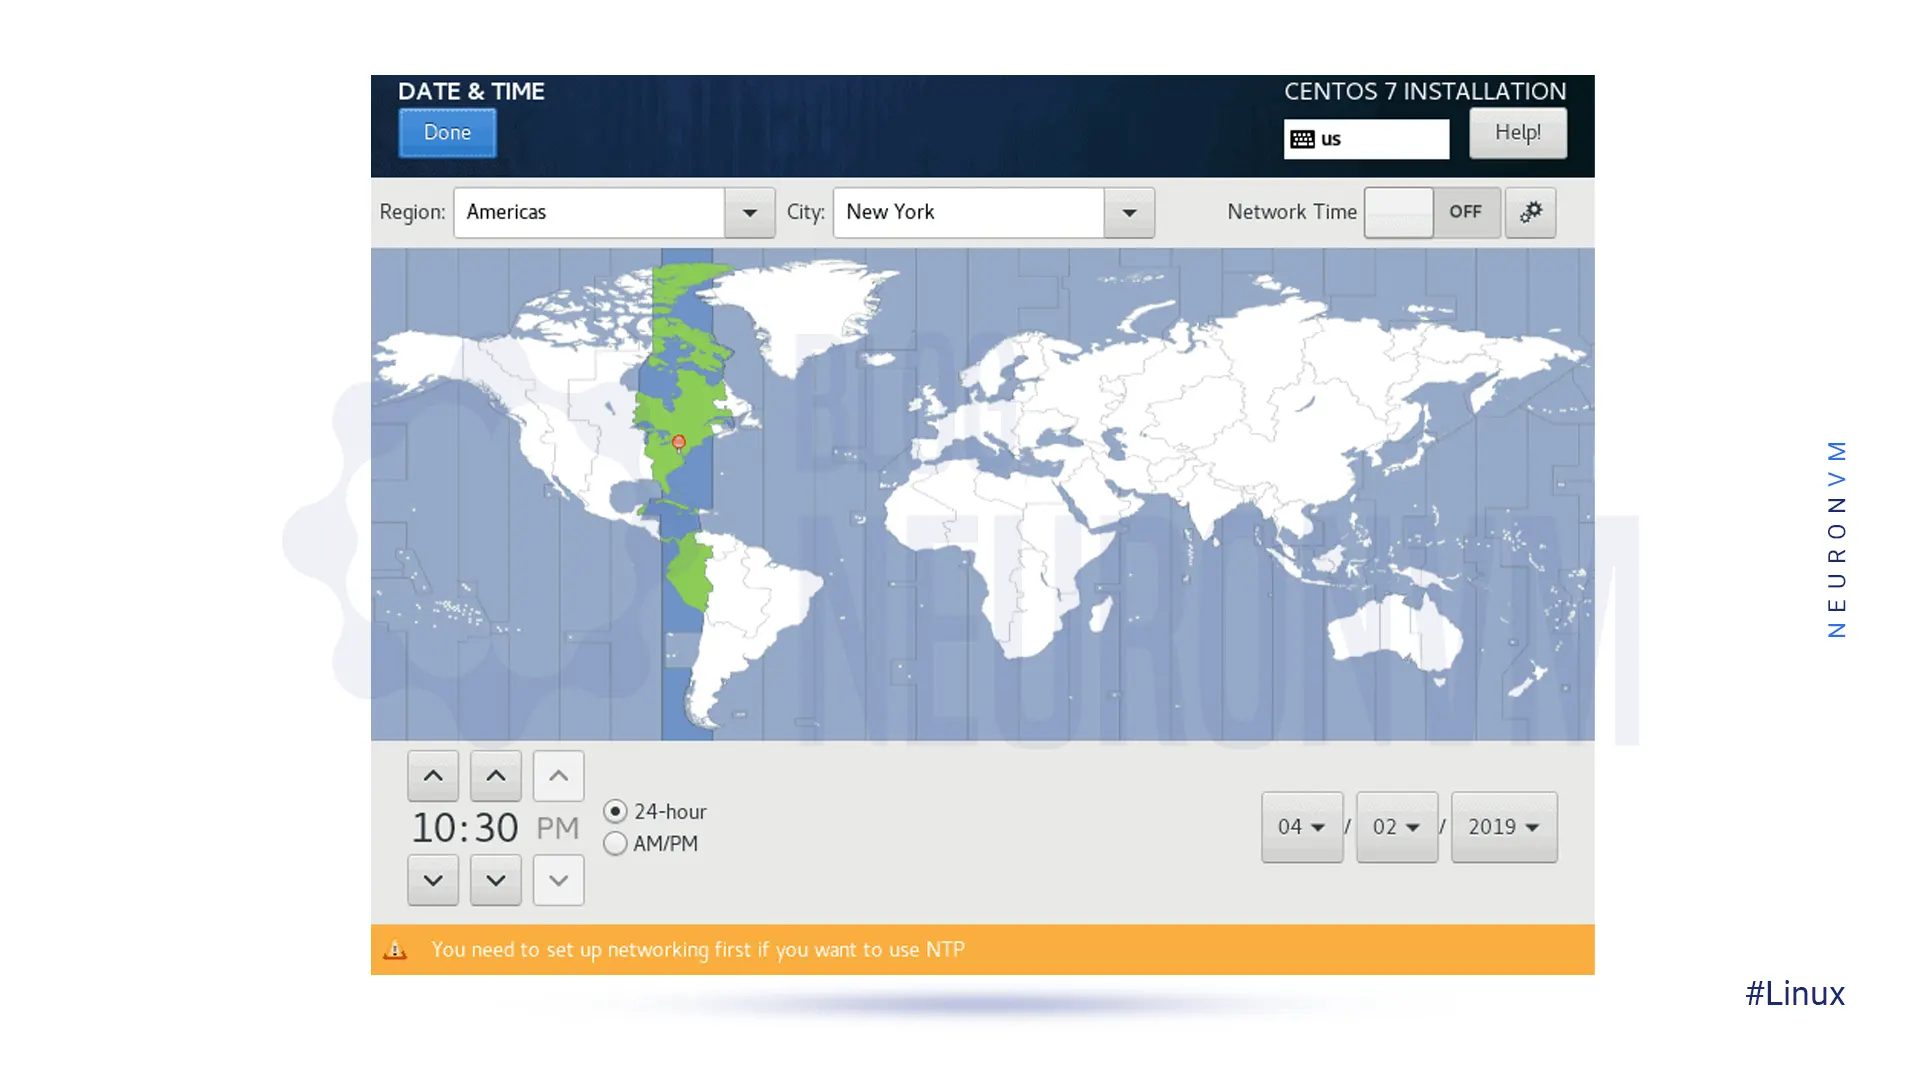
Now to select the time and date, click on the related icon (Time & Date) in the Localization section.
Then as you can see, select a time zone in the resulting map and click Done to apply changes:
Click the keyboard option under Localization. As you see the default language is English. Click + to add more layouts. In other words, you can drag a layout to the top of the list to set it as default.
Now click on Option to create a combination key to switch between layouts and click Done.
In the Language Support section, we have a default language from the beginning, but you can add other languages here and press Done to confirm:

The next option is Software Selection. In this section, there is a list of preset options called Base Environment.
Note that this part depends on your needs:
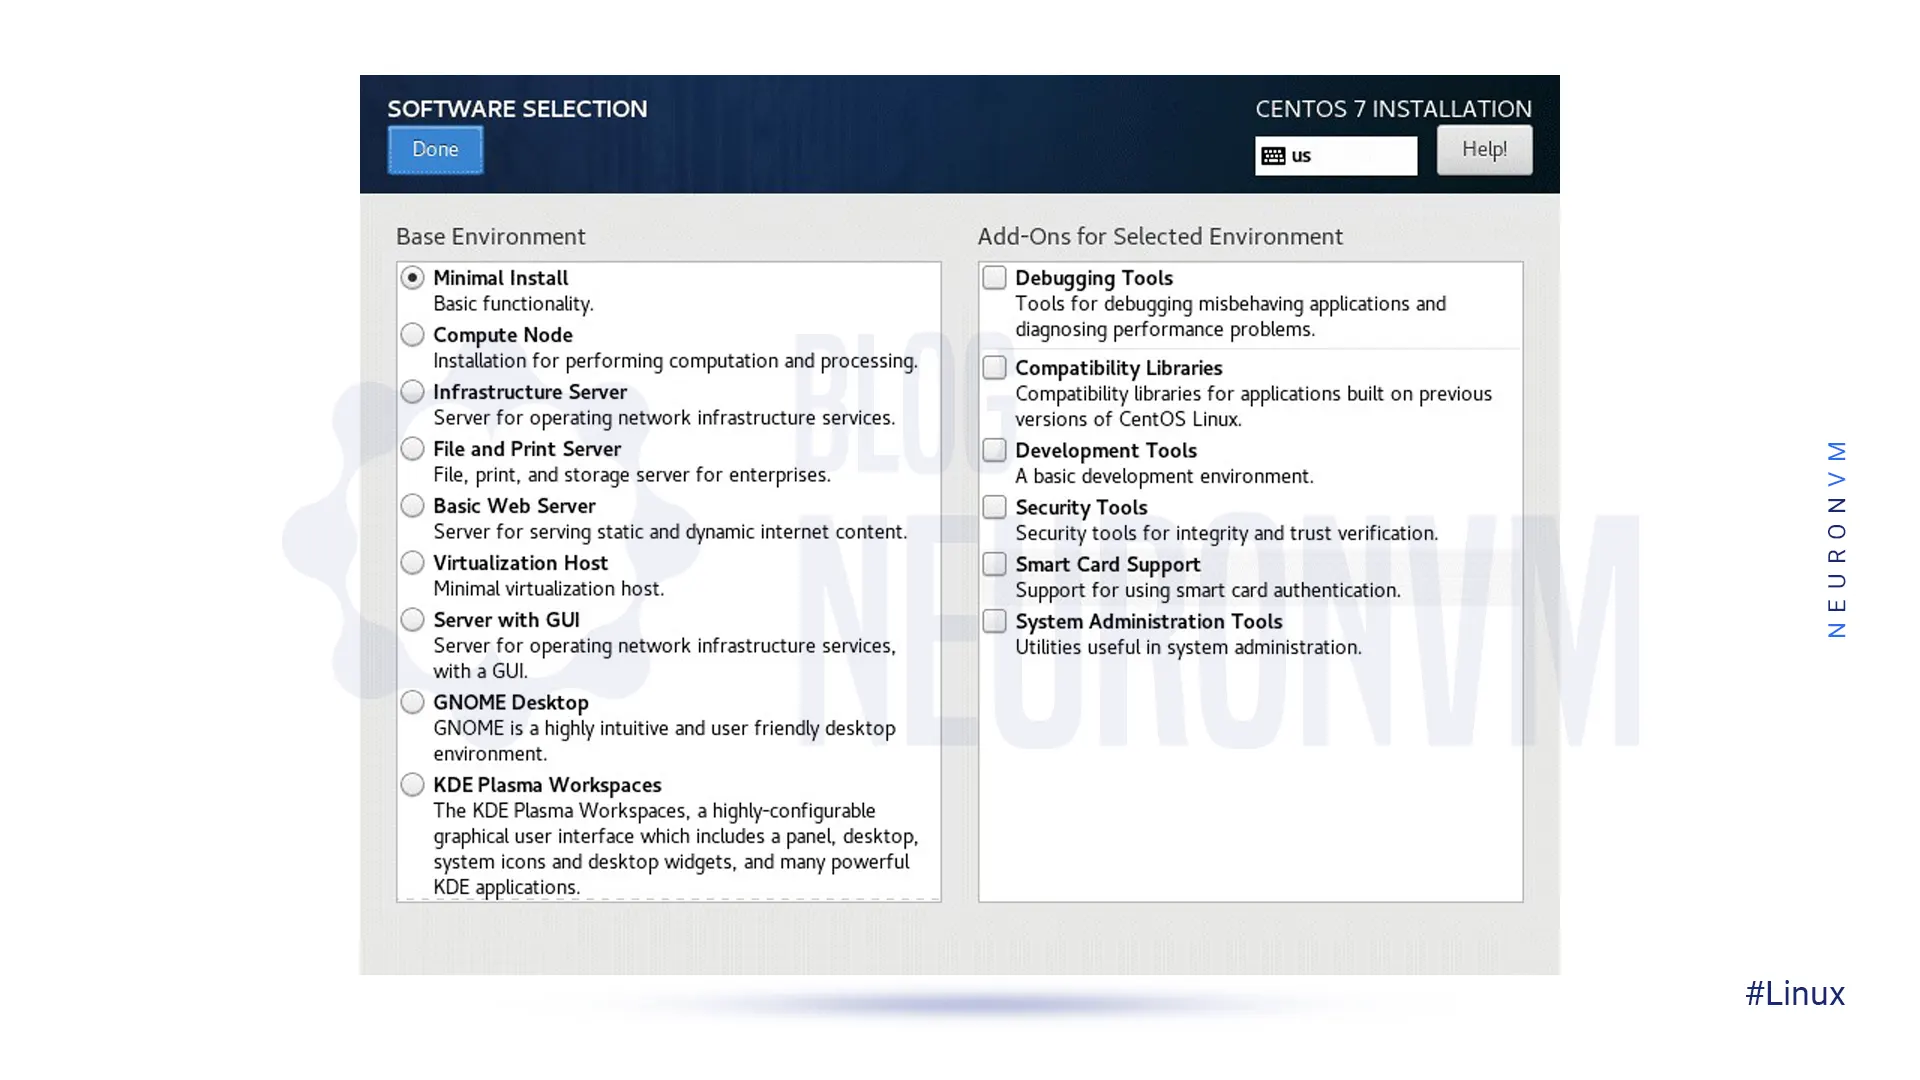
There are three options:
1- Minimal Install: It is very flexible requires few resources and also is excellent for production environment servers.
2- Predefined Server Options: If you completely trust your server and don’t need to customize it, you can choose one of the predefined servers.
3- Gnome desktop and KDE Plasma Workspace: These workspaces contain a complete graphical user interface.
At last, click Done to finish.
Click the Installation Destination option and check the storage space or Local Standard Disks to install CentOS on the selected disk. The next step is partitioning, which is divided into two types:
1. Automatic Partitioning: By selecting this option, you can ensure that the selected destination is automatically partitioned with Swap, Root, and Home partitions and automatically creates an LVM volume in the XFS file system.
If you don’t have free space, you can restore the disk and order the system to delete files. At the end, click Done.
2. Manuel Partitioning: Mark the box I will configure partitioning and press Done.
If you want to use other file systems and partitioning layouts (like btrfs), then this will launch a configuration pop-up so that you can partition manually.
This one is optional and just for the time you need it.
This section will be enabled by default. So you must uncheck the KDUMP option in the System section to disable the carnal crash mechanism and then click Done.
Go to this part in the setting section. In the Hostname field, type your domain name.
In this example the hostname is my_server.neuronvm.com:
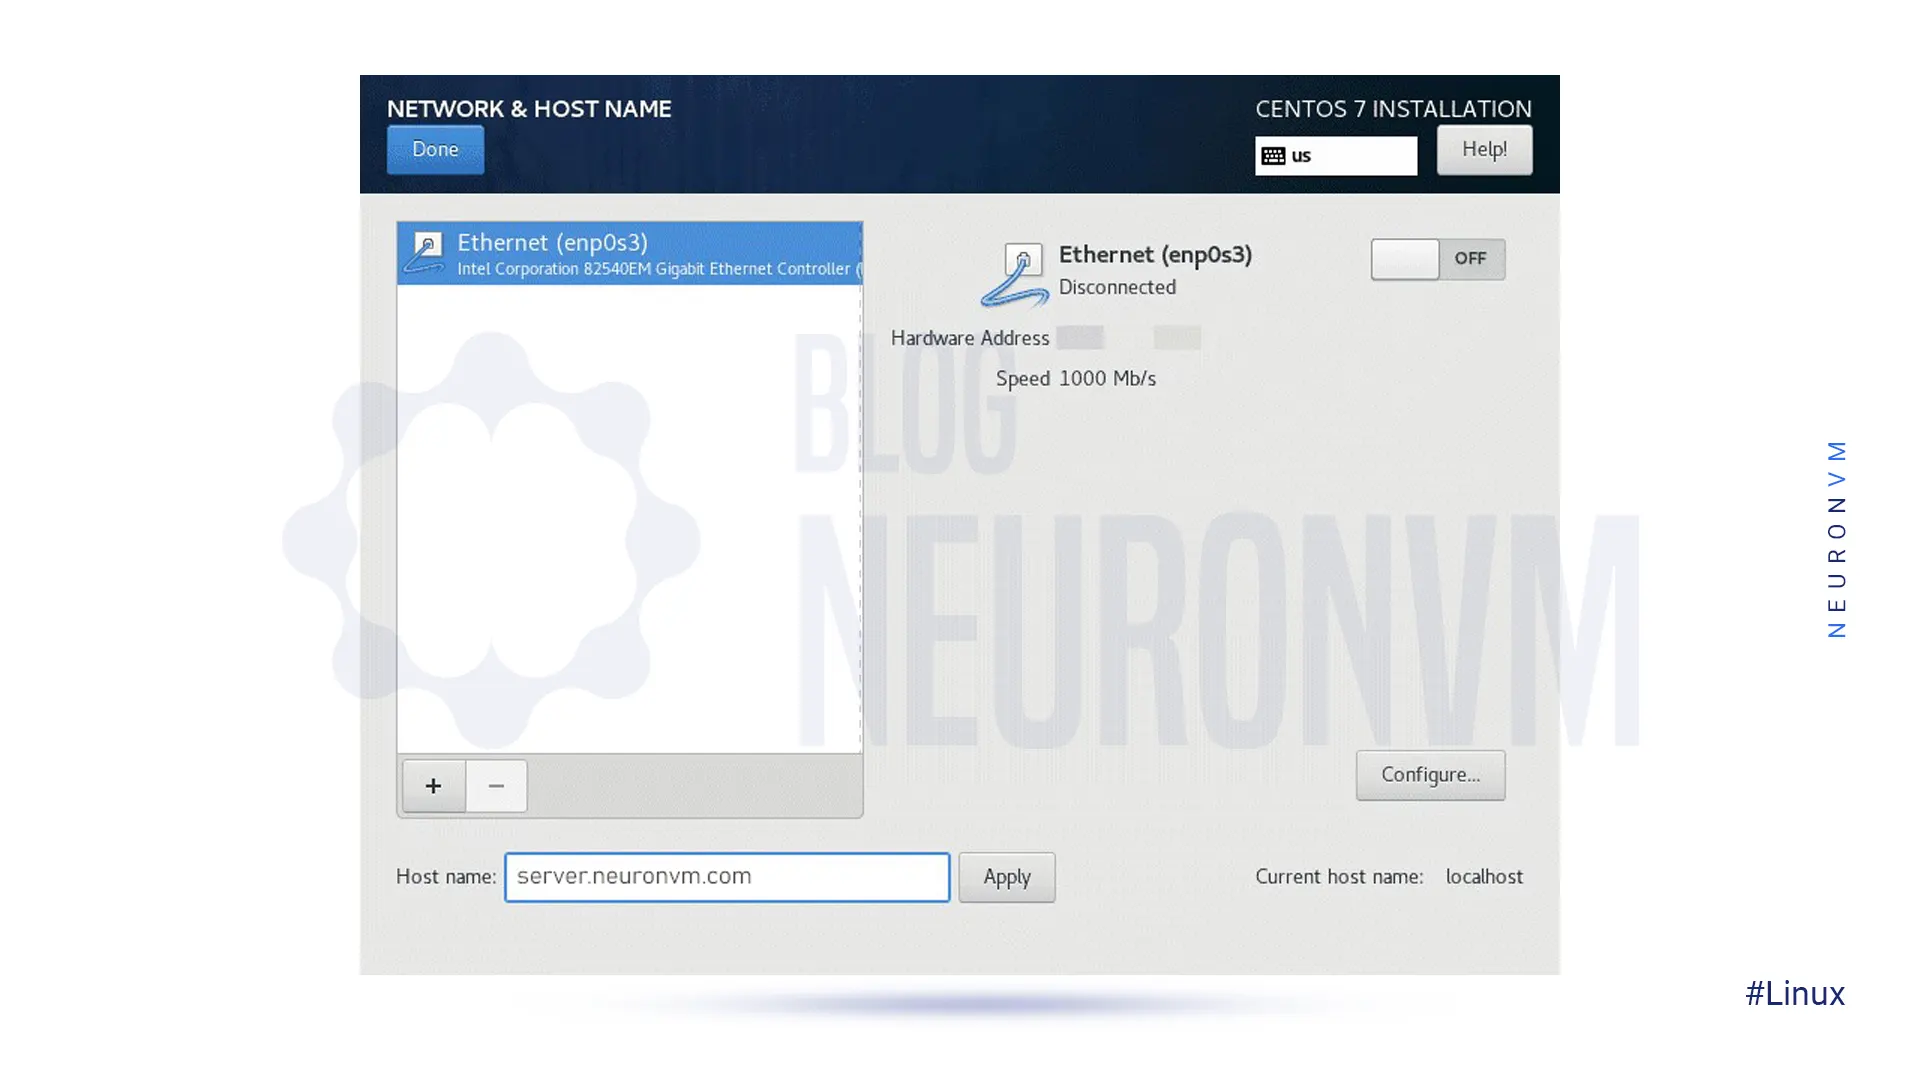
Now, hit the Configure button and configure IPv4 or IPv6 for the dedicated server.
Then you should enter your static IP addresses for authentication on the network:
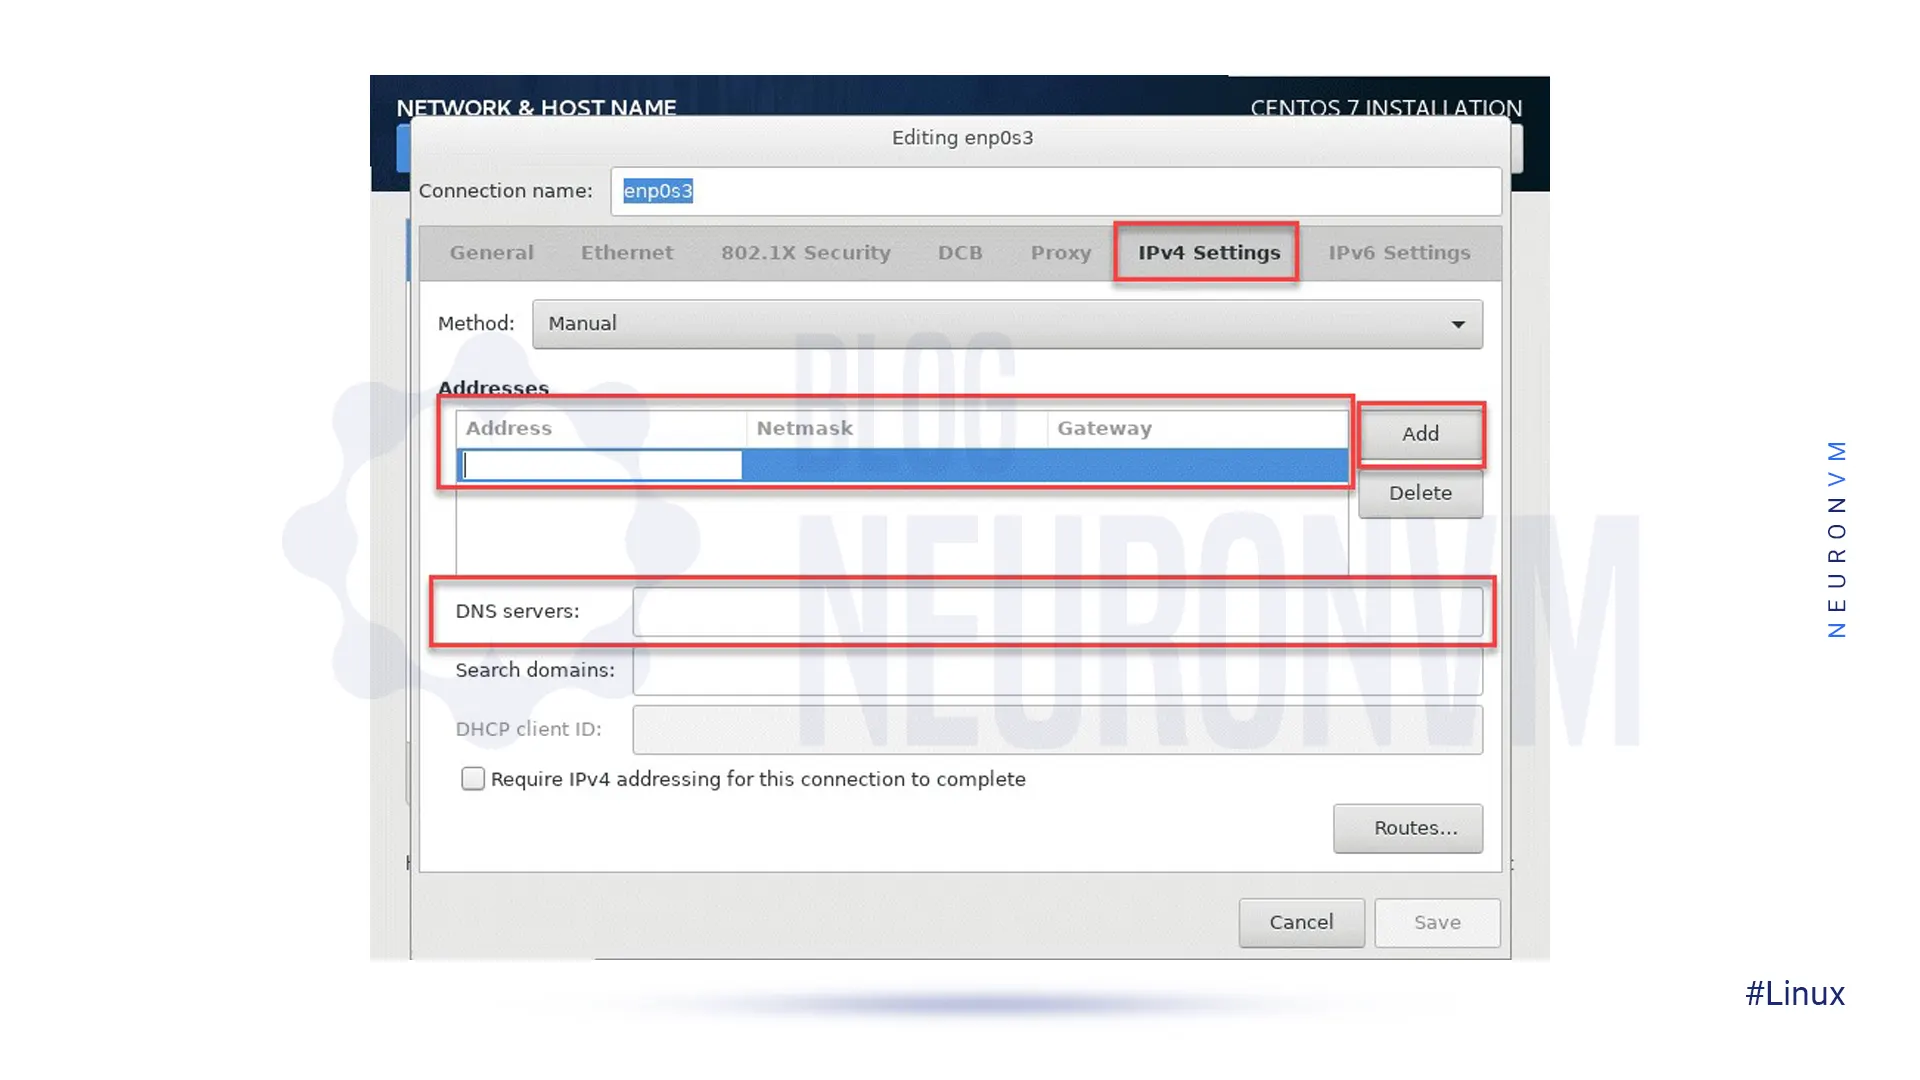
Here are the steps to add the IP address:
First, select the Manuel option from the Method menu. Then, click Add to add your IP address.
Your next step is to insert the information for your network domain. This information is the IP Address, Netmask Address, Gateway Address, and DNS server Address.
At last, click next to Confirm changes.
All Ethernet connections are disabled by default. So click on/off option to activate them.
When you finish this step, in the Security Policies option on the settings section, choose a profile, press Select Profile, and press Done.
After you have set everything well, click the Begin Installation Option to install CentOS on a Dedicated server:
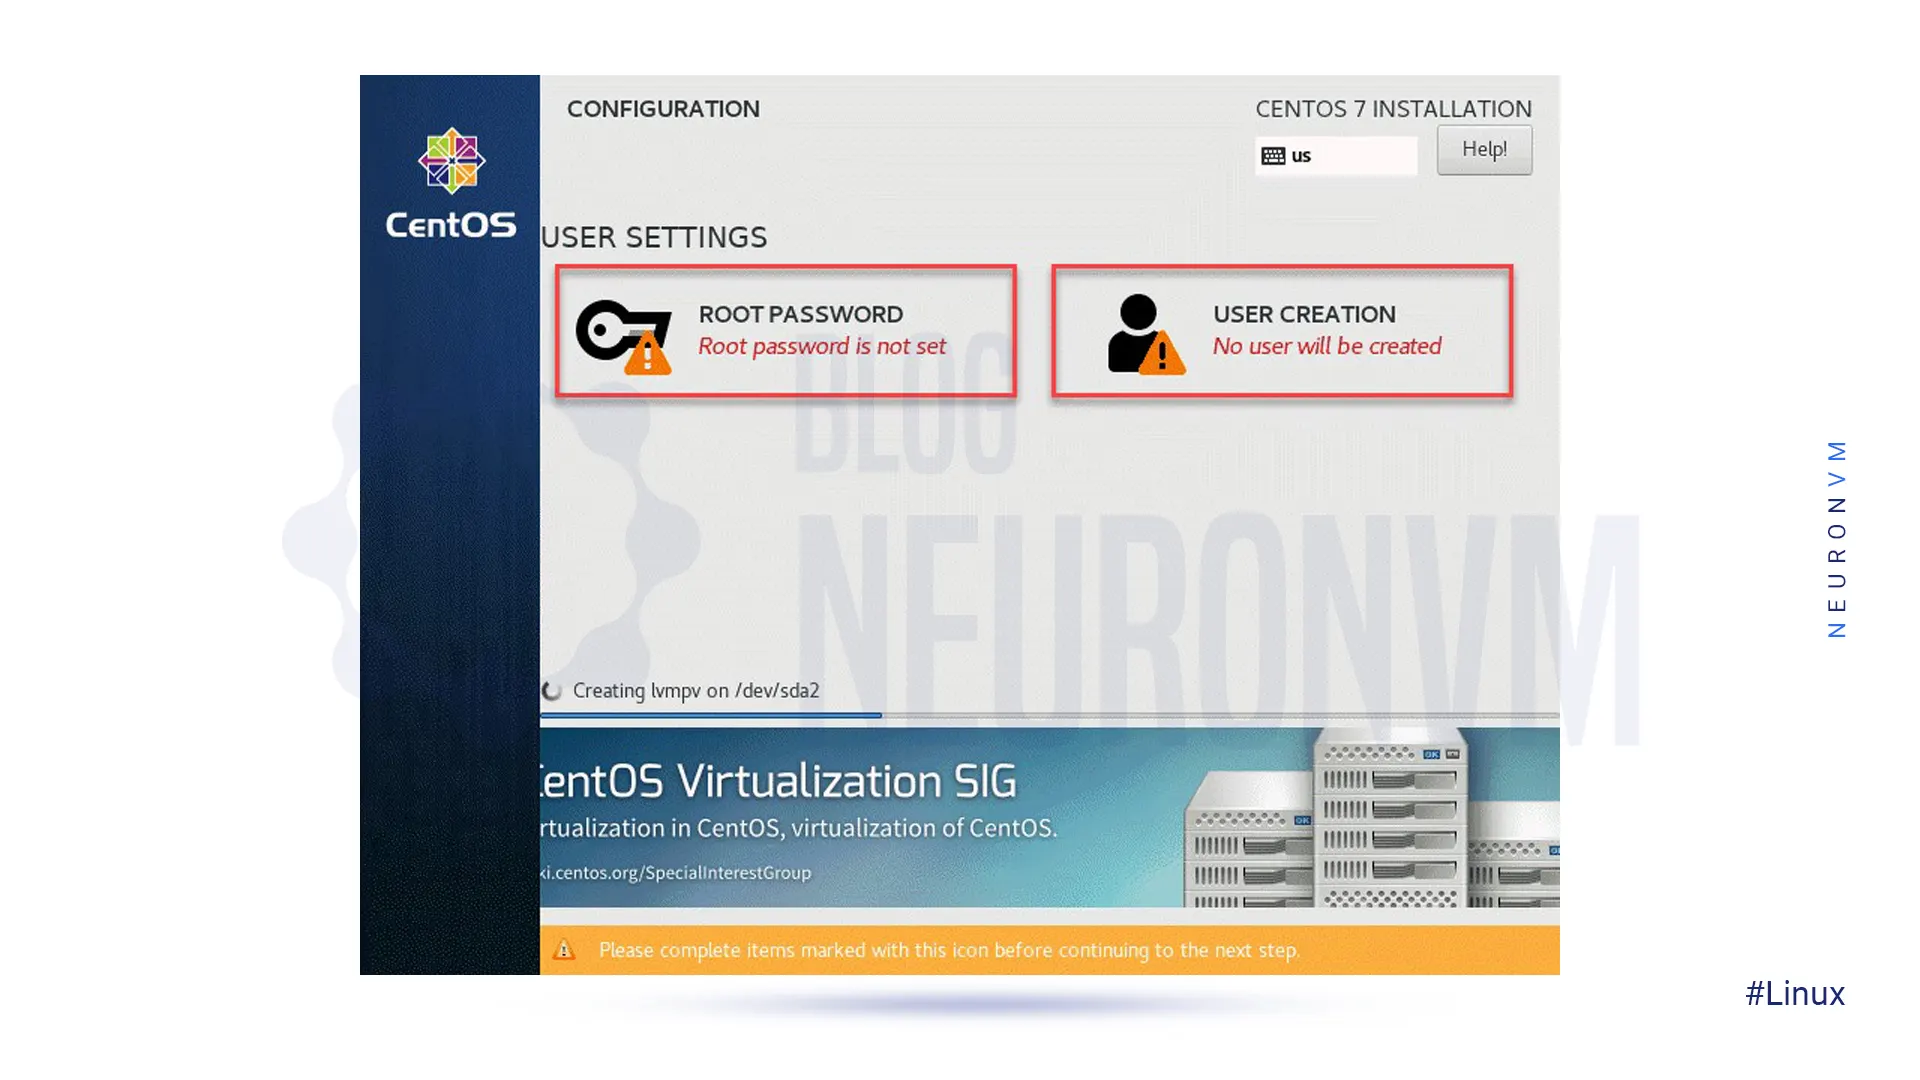
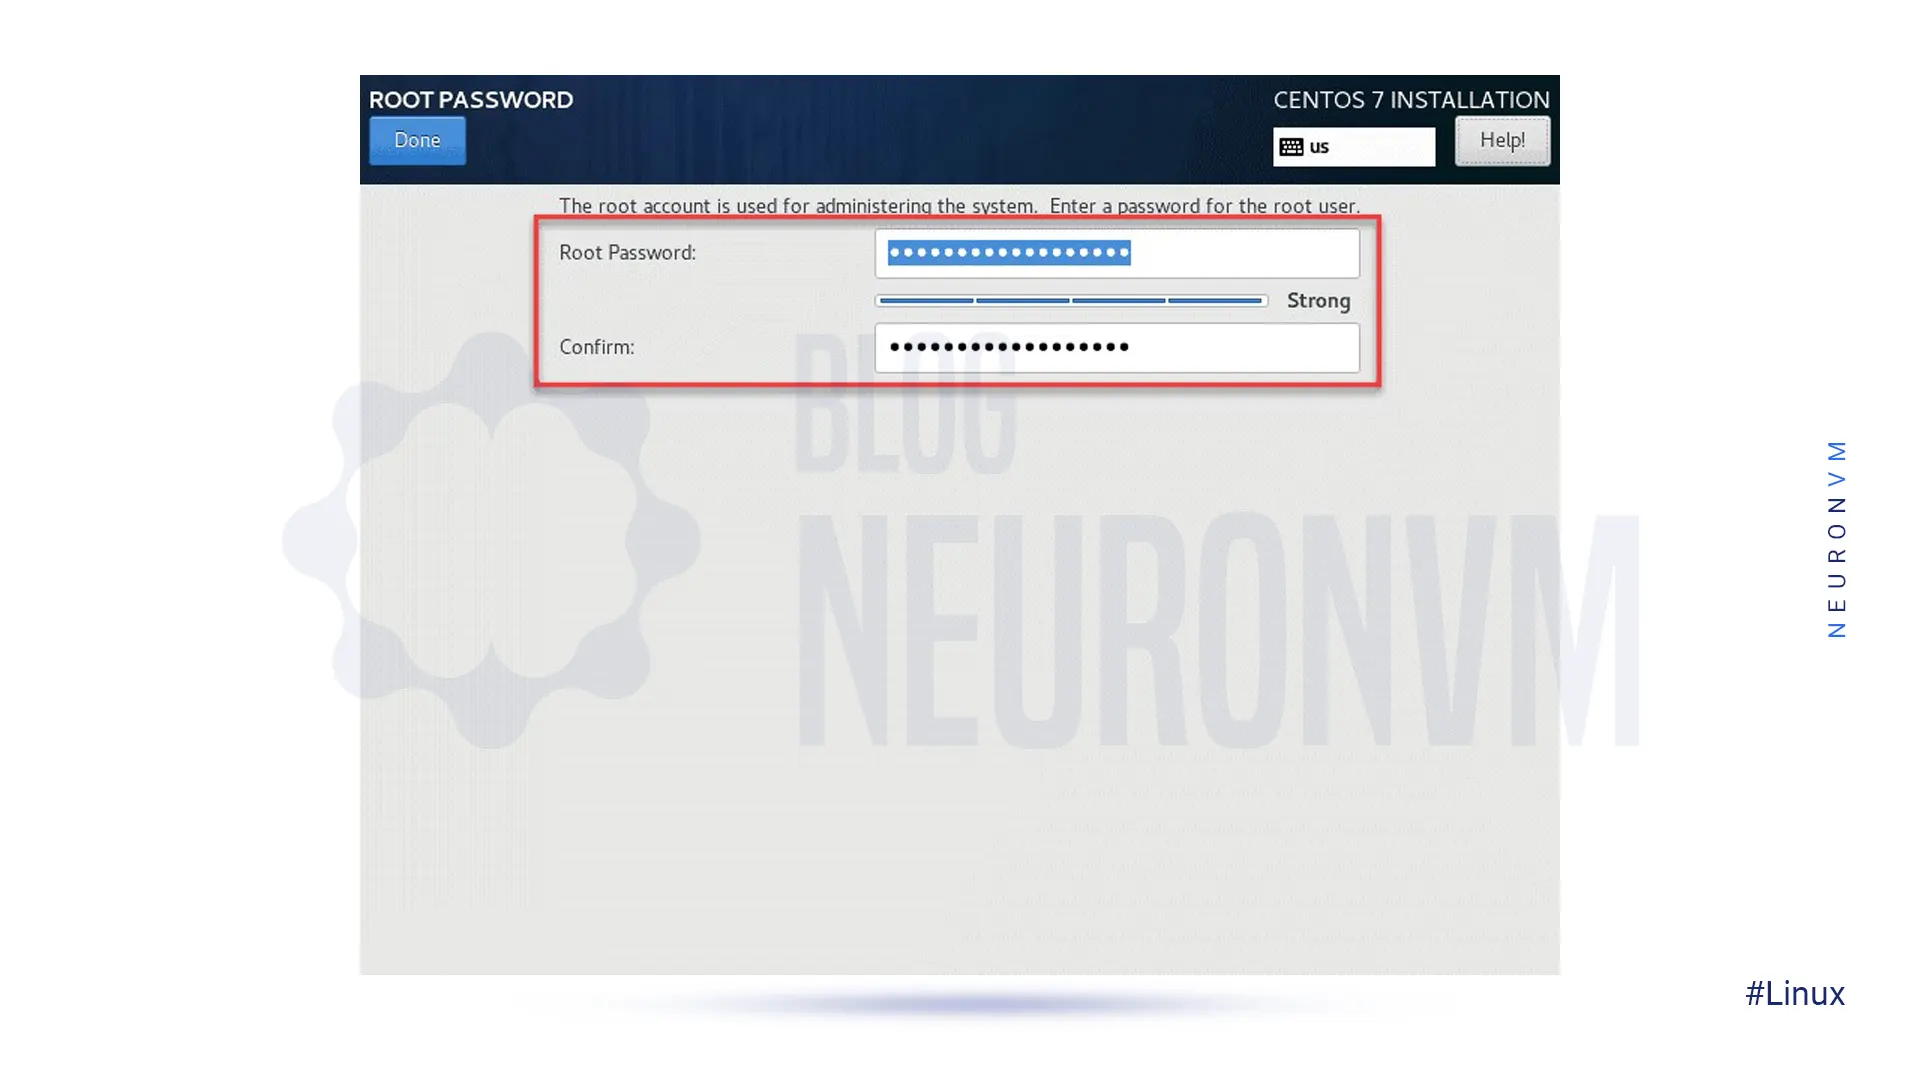
Now it’s time to define a password by selecting Root Password.
So, set a root password and repeat to confirm it. This password should consist of at least 12 characters including upper and lower case letters, numbers, and special characters.
Then click Add:
In this section, select the User Creation option.
Now set full username and password to create a new account:
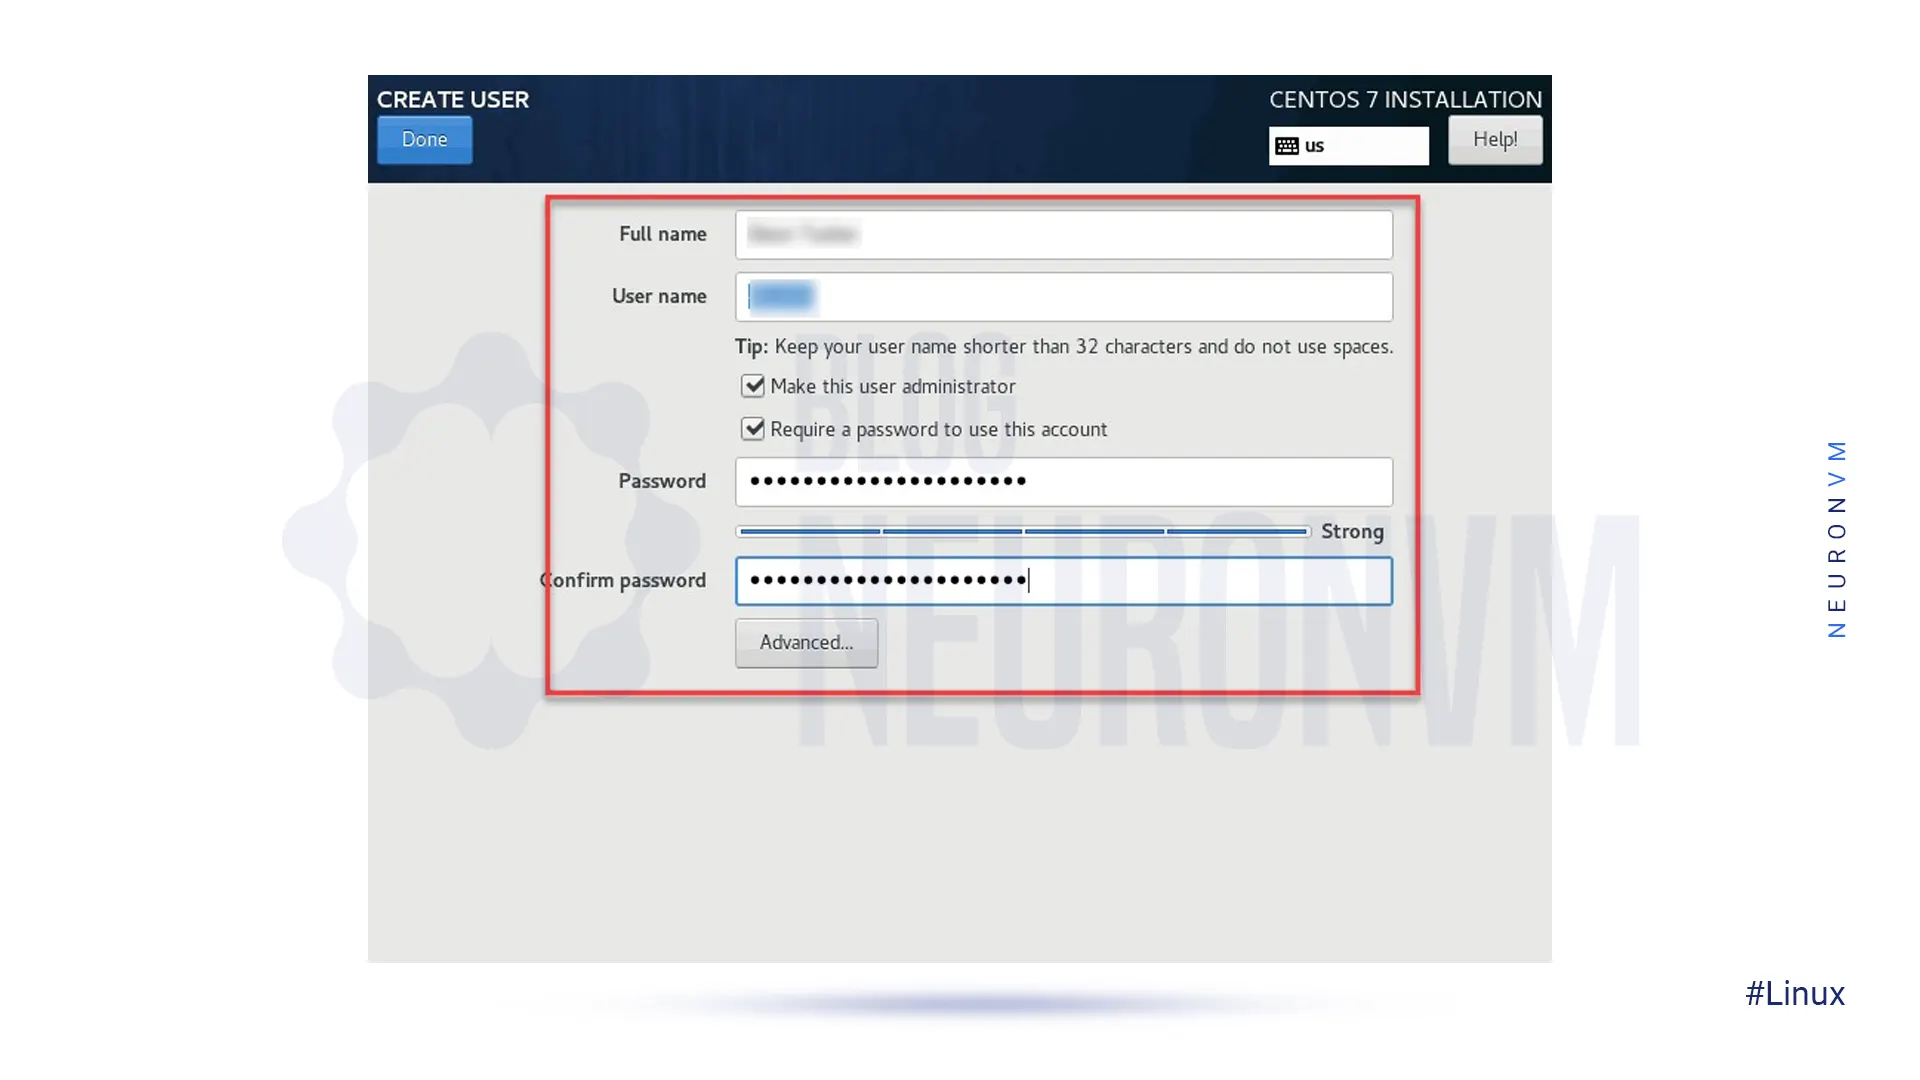
We recommend you mark Make this user administrator and Require a password to use this account. This will give the user root privileges.
After you fill in all of the fields and define a password press Done and wait for the installation to complete:
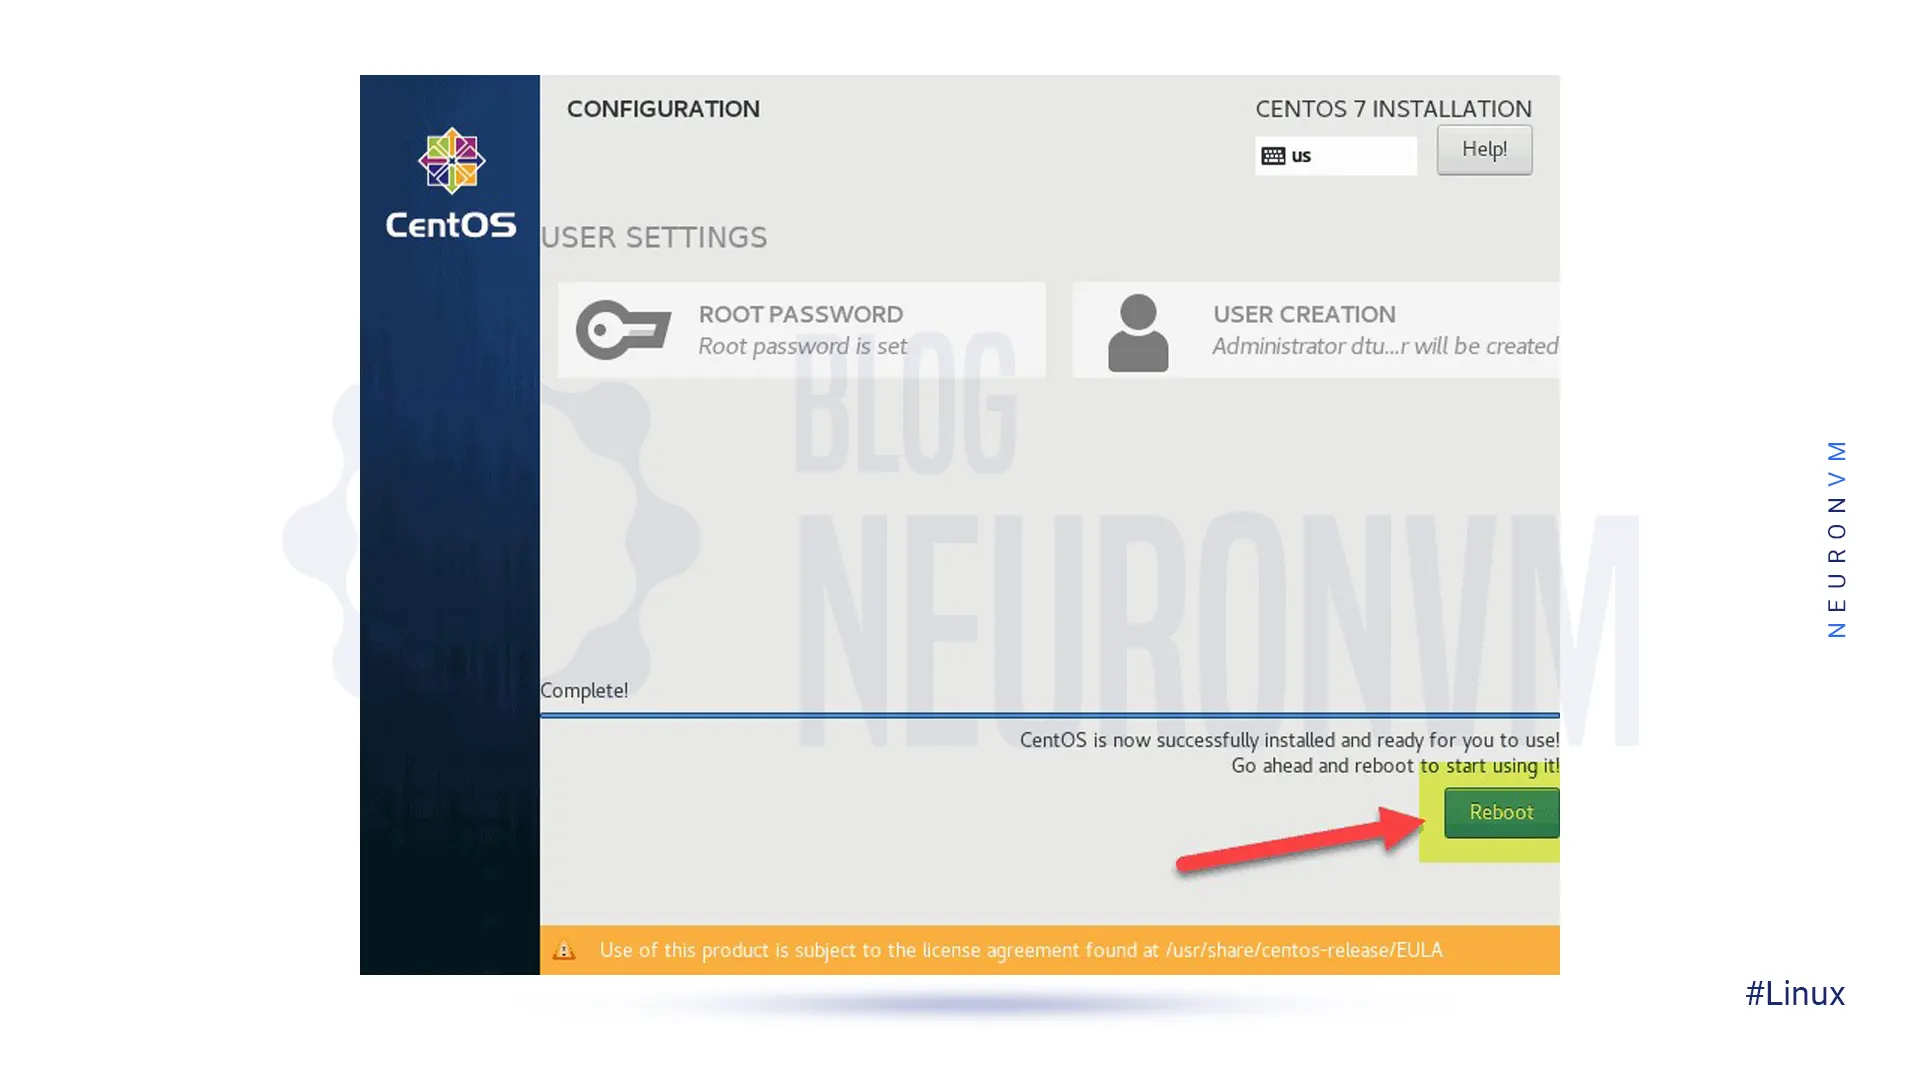
As the final action, Press Reboot to reboot the system and log in to the server.
 Tags
Tags


In the digital world, proxy servers act as an intermediate connection between users and the internet...


 Tags
Tags

In this blog post, we will explore the concept of SELinux and guide you step-by-step on how to disab...
Tags


