


If we want to recommend a suitable distribution for beginners, Linux Mint is definitely one of the best. This distribution is based on the Ubuntu operating system and is very stable. You can use this distribution as the main system for testing on a virtual machine. After reading this article step by step, you will learn how to Install Linux Mint on VirtualBox.
The first step here is to install a VirtaulBox on your system. If you use Windows, go to the official download page to download the exe file and install it from the page. But if your operating system is Linux, use the commands below to install it on your system.
If your system is Ubuntu or based on Ubuntu, use the following command:
sudo apt install VirtualBox
If your system is Arch Linux, use the following command:
sudo pacman -S VirtualBox
And on the Fedora workstation:
sudo dnf install VirtualBox
As you have installed the software, it’s time to create a virtual machine.
The Virtualizor may not be enabled by default on your system, in which case you need to enable it yourself. Of course, most systems have activated it. But if you encounter a problem at this stage, Follow the steps below:
Now, you need to reboot your system. You should also check the boot menu to make sure that virtualization is enabled.
Tip: You can also access the boot menu through the F2, F10, and F12 and delete keys, as you see the manufacturer information on the screen.
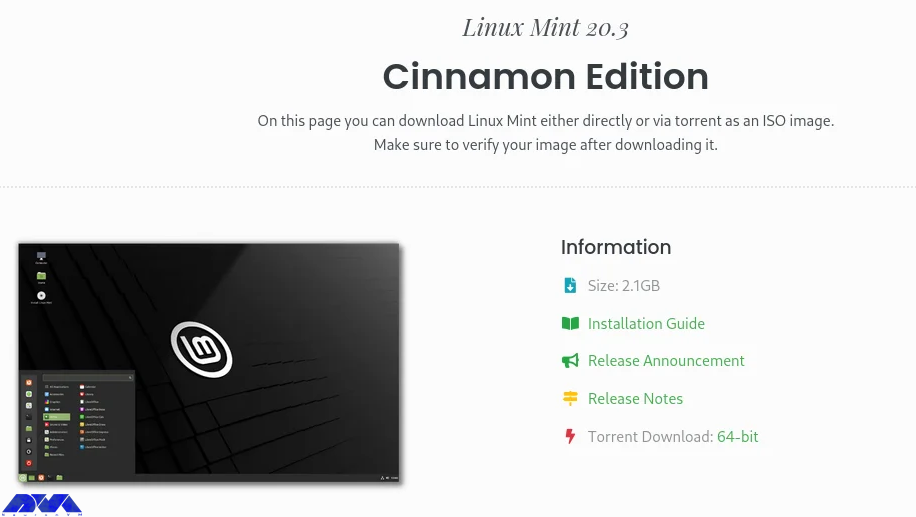
Then, it’s time to download Linux Mint ISO from the official page.
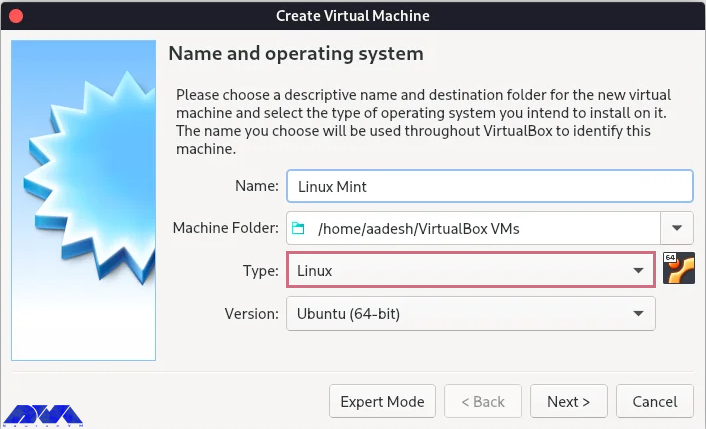
After the downloading process, open your application and click on the new button. Here you should fill in the details of the given parts on the virtual machine (Linux Mint) and go to the next part:
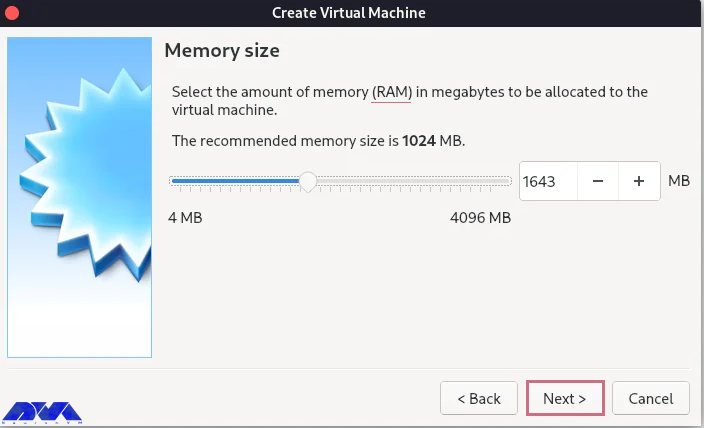
Determine how much memory to use on your virtual machine and click the next button: (we recommend allocating 50% or less)
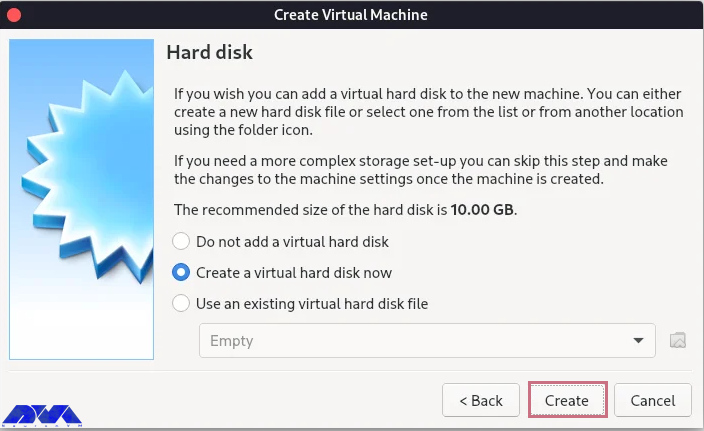
Now, you will see the hard disk setting. do not change the default setting and select create:
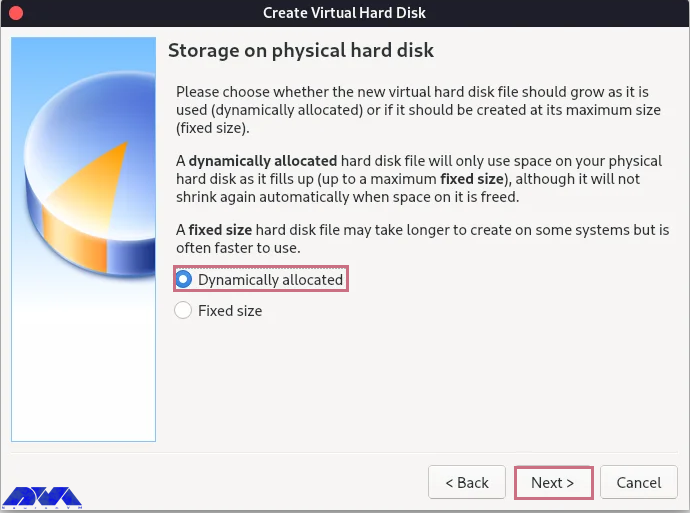
You will go to the next menu. Again don’t change the default option. Then in the next section, stay on the Dynamically allocated option and click the next button:
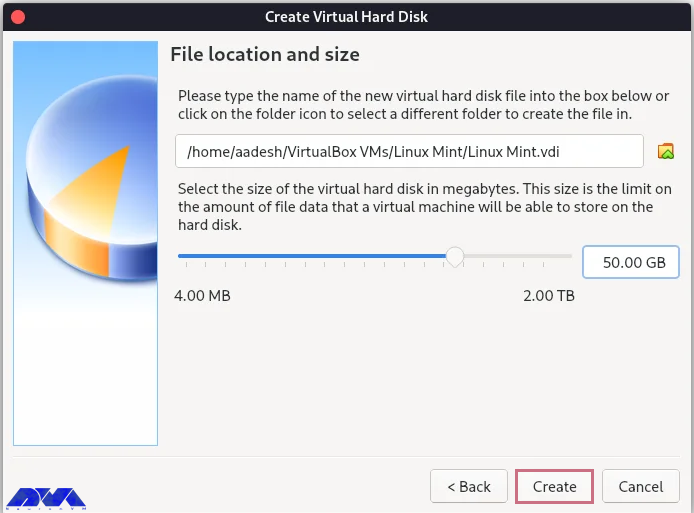
In this section, you must select the size of the disk you need. If it is only for testing a new distribution, 30 GB will be enough. But if you intend to install software, 30 to 100 GB is recommended. After selecting the value, click the Create option:
Your machine is created, but you still have some work to do. Press the setting button to configure more options.
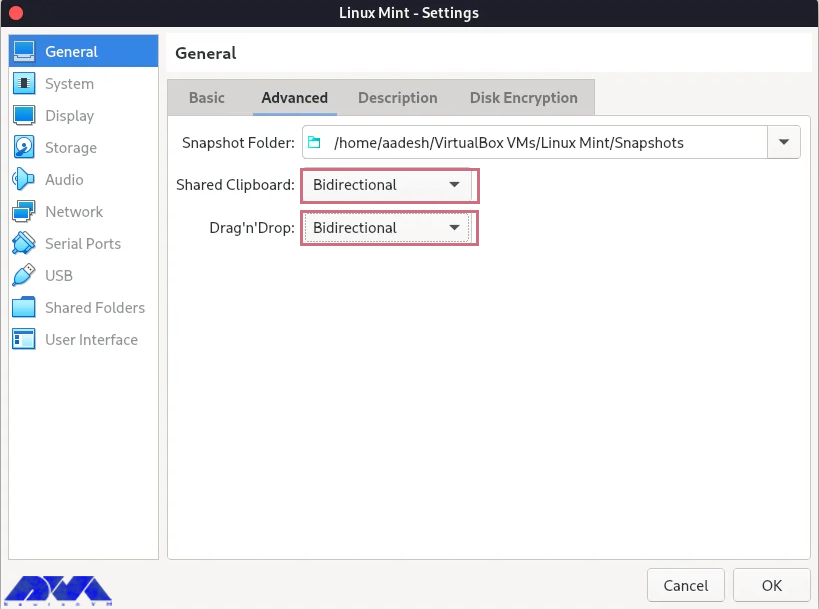
Here you will see the dialog menu. Go to the General -> Advanced part and choose Bidirectional for both, shared clipboard, and drag and drop.
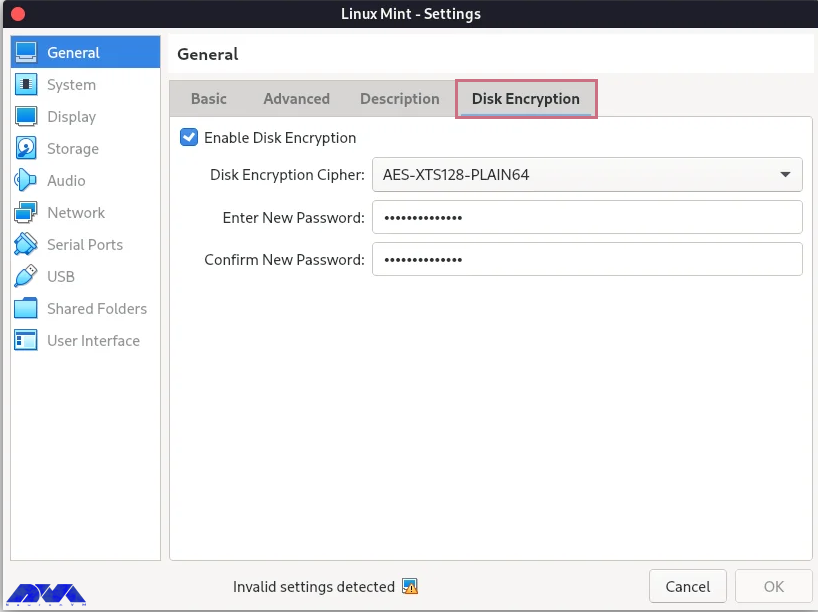
You can enable disk encryption, but it is optional:
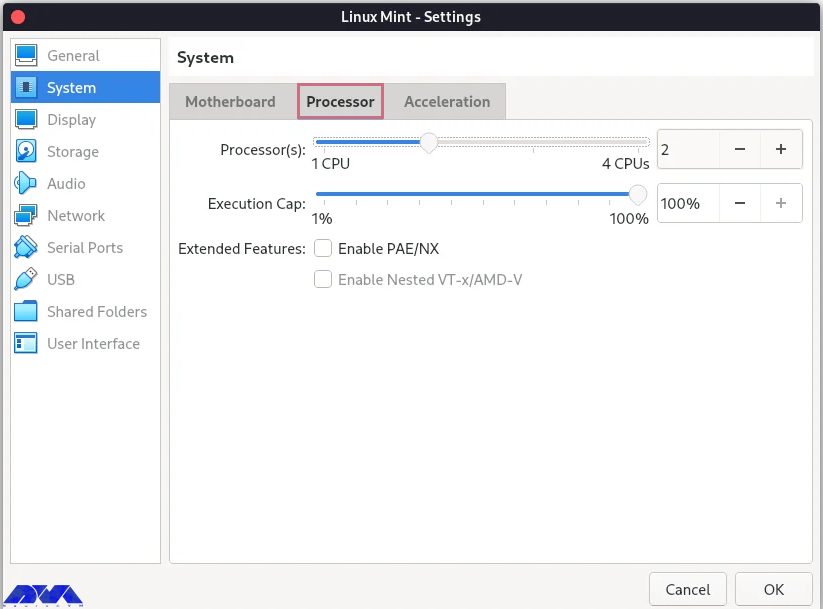
You need to allocate at least 2 GB RAM and 2 CPU cores to the virtual machine:
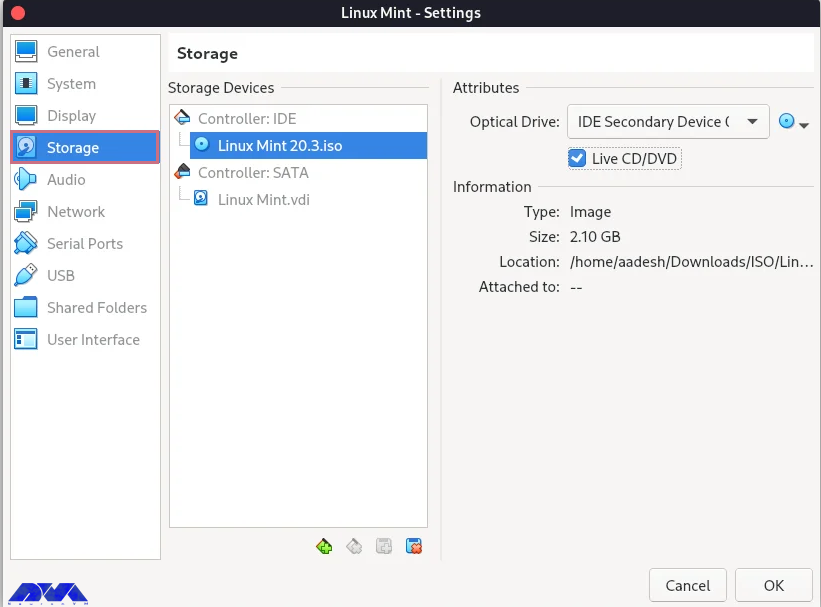
This part is important. Go through this direction:
Storage -> empty -> Live CD/DVD checkbox -> CD icon
Then navigate to the download folder, select the Linux mint ISO, and press OK.
Now you have your virtual machine, and you can install the Linux Mint operating system on it. So follow the instructions below:
_ You can see the start button on top. Click on it to open the related window and make it full-screen.
_ You will see two options: open-source and proprietary drivers. Then select open-source and press the enter key.
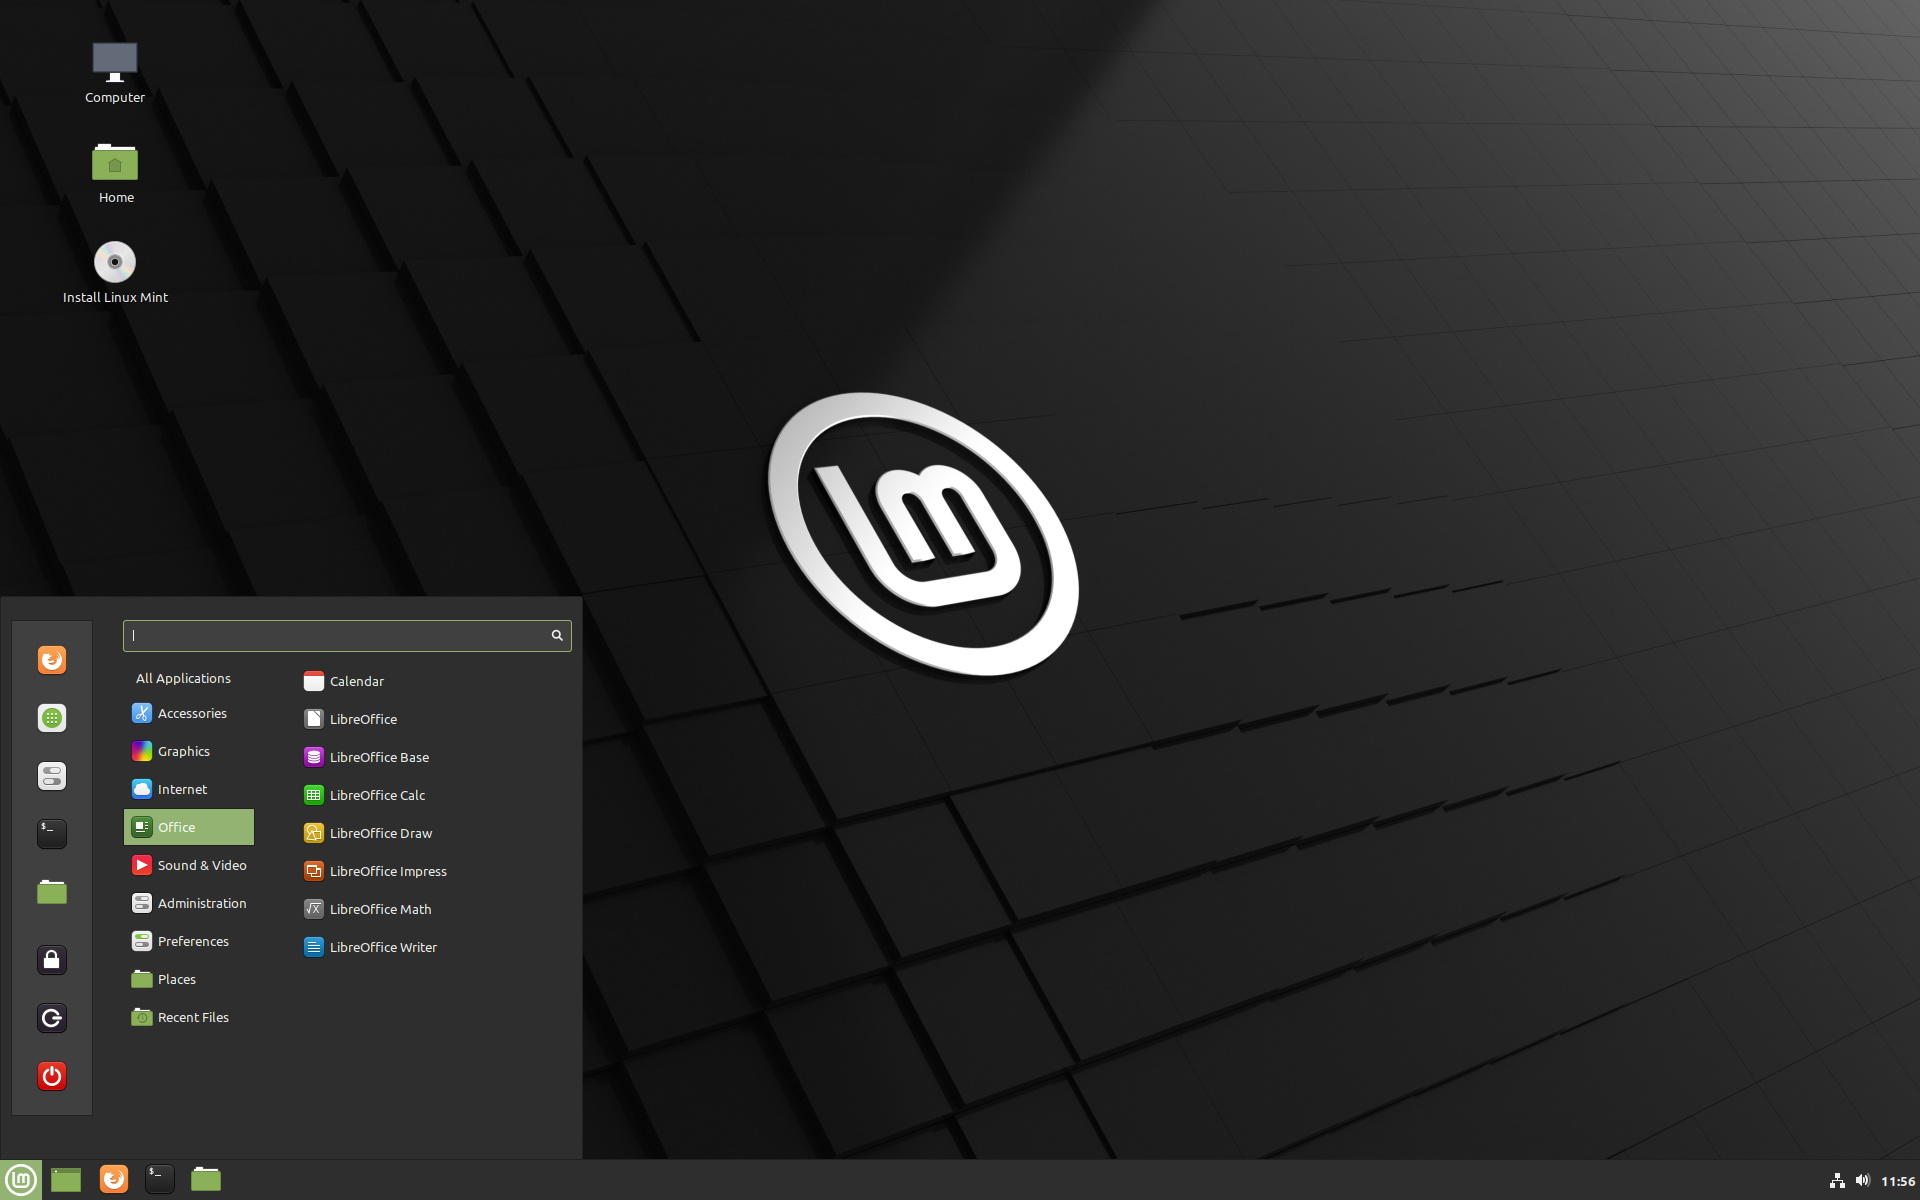
_ As the Linux Mint Live CD booted up, start the installer and do the installation steps like selecting your language, allocating the disk space, choosing your locale and time zone, adding your hostname and password etc.
_ At the final step, as the installation ends, restart your virtual machine:
You should separate the installation media from the Setting -> Storage part. Then to set the resolution of the VM, adjust it to the custom with the help of xrandr command:
xrandr -s
In this tutorial, we tried to show how you can install Linux Mint on VirtualBox. This distribution is one of the best operating systems for beginners. You can follow the steps and images here to have a successful installation process. If you have any ideas or questions, just leave a comment.
VirtualBox uses the computer’s physical RAM for virtual RAM.
Yes, it is safe to use on every platform.
 Tags
Tags


Are you ready to take your website or online business to the next level? If so, it might be time to ...


 Tags
Tags
In this tutorial, we are going to teach you How to Install DirectAdmin on Dedicated Server. The web ...
Tags


