


Fathom Analytics is a free, open-source web analytics program that focuses on simplicity and privacy. These are written in Go and sent as a binary, simplifying installation. In addition to installing and configuring Fathom, install Nginx to act as a reverse proxy for Fathom. Also, enable secure HTTPS connections using Certbot to download and configure SSL certificates from Let’s Encrypt Certificate Authority. In this tutorial, we will learn How to Install Fathom Analytics on Ubuntu 22.04.
Prerequisites:
1) A Linux VPS with Ubuntu 22.04 operating system, enabled with UFW firewall and a non-root user configured with sudo privileges
2) Domain name that refers to your server’s public IP address. For example: admin.com
Fathom Analytics is an open-source platform. This analytics software monitors the behavior of website users without collecting their personal information and provides you with a comprehensive analysis of the content and visitors of the site. It should noted that Fathom does this by respecting the privacy of its users and without selling or sharing this information. This is while you can easily use this platform for your websites and at any technical level.
Like Google Analytics, which is enabled simply by inserting a block of JavaScript code at the bottom of the file, this tool has a very simple function.
Of course, keep in mind that to use this MIT-licensed open-source tool, you must first make sure the Go language is installed on your server.
To install Fathom software, first download the latest version, then extract the executable file to the /usr/local/bin folder. Enter the following command in the directory. List /tmp is suitable:
cd /tmp
First, go to GitHub for the latest version of Fathom software, then find the file with a name like fathom_1.2.1_linux_amd64.tar.gz, the version may be different. Copy the link, then use the curl command to download the file from the link you copied:
curl -L -O https://github.com/usefathom/fathom/releases/download/v1.2.1/fathom_1.2.1_linux_amd64.tar.gz
You must have a fathom_1.2.1_linux_amd64.tar.gz file in the /tmp folder. Use the tar command to extract the fathom file and move it to /usr/local/bin:
sudo tar -C /usr/local/bin/ -xzf fathom*.tar.gz fathom
The sudo command is important because /usr/local/bin is a protected directory, you need superuser privileges to write to it. Use sudo and chmod to update fathom binary permissions:
sudo chmod +x /usr/local/bin/fathom
This method causes the fathom to be executed. To check it, run the following command:
fathom --version
This command displays the Fathom version and additional details. You have successfully downloaded and installed the Fathom binary. Now configure and run Fathom for the first time.
Before configuring Fathom, you must create a new Fathom user on your system. The new account will be used to run the Fathom server to help isolate and secure the service. Now create a new user named fathom with the adduser command:
sudo adduser --system --group --home /opt/fathom fathom
This method creates a special user — system, meaning that it does not have a password and cannot login like a normal user. It also creates a fathom group using the –group flag and a home directory in /opt/fathom. Go to the main Fathom user list now:
cd /opt/fathom
Now run some commands that should be executed as a fathom user. To do this, open the bash shell as a fathom user using sudo:
sudo -u fathom bash
Your request changes like fathom@host: ~ $. When you exit this shell, every command you execute will be executed as a fathom user.
Now setup the configuration file for Fathom. One of the things you need in this configuration file is the random string that Fathom uses for signature and encryption purposes. Now use the OpenSSL command to generate a random string:
openssl rand --base64 32
Output
iKo/rYHFa2hDINjgCcIeeCe9pNglQreQrzrs+qK5tYg=
Copy the string, then the env file. Open a new one to configure:
nano /opt/fathom/.env
This will open a new blank file in the nano text editor. Use the editor you want. Put the following in the file and make sure the random string is updated to the string you created earlier:
FATHOM_SERVER_ADDR="127.0.0.1:8080"
FATHOM_DATABASE_DRIVER="sqlite3"
FATHOM_DATABASE_NAME="fathom.db"
FATHOM_SECRET="your_random_string_here"
This configuration first specifies that the server must listen to port 8080 localhost (127.0.0.1), then use the SQLite database file called fathom.db.
Save and close the file, then press CTRL+O on the nano then ENTER to save, and press CTRL+X to exit. Now, you can add the first user to the Fathom instance:
fathom user add --email="your_email" --password="your_password"
Since this is your first time running Fathom with a database configuration, you should notice some basic database migrations:
Output
INFO[0000] Fathom version 1.2.1, commit 8f7c6d2e45ebb28651208e2a7320e29948ecdb2c, built at 2018-11-30T09:21:37Z
INFO[0000] Configuration file: /opt/fathom/.env
INFO[0000] Connected to sqlite3 database: /opt/fathom/fathom.db
INFO[0000] Applied 26 database migrations!
INFO[0000] Created user [email protected]
The fathom.db database file has now been created and the user added it. Setup the Fathom server for testing now:
fathom server
Output
INFO[0000] Fathom version 1.2.1, commit 8f7c6d2e45ebb28651208e2a7320e29948ecdb2c, built at 2018-11-30T09:21:37Z
INFO[0000] Configuration file: /opt/fathom/.env
INFO[0000] Connected to sqlite3 database: /opt/fathom/fathom.db
In the second terminal connected to the server, use the Fathom sample home page using curl:
curl localhost:8080
Output
<!DOCTYPE html>
<html class="no-js" lang="en">
<head>
<title>Fathom - simple website analytics</title>
<link href="assets/css/styles.css?t=1543569696966" rel="stylesheet">
. . .
You should see a few lines of HTML code printed on the screen. This method indicates that the server is active and responds to localhost requests. Return to the first terminal, then press CTRL+C to exit the Fathom server process.
Now that you have finished executing the commands as a fathom user, exit the session:
exit
Fathom is now fully configuring. Next, set Fathom to run as a Systemd service.
To run the Fathom service when you are not logged in to the server, set it up as a service with Systemd. Systemd is a service manager that manages stopping and restarting services on Ubuntu and many other Linux distributions.
The fathom.service file you create contains the configuration details that Systemd needs to run the server properly. Open the new file now:
sudo nano /etc/systemd/system/fathom.service
Add the following commands to the file:
[Unit]
Description=Fathom Analytics server
Requires=network.target
After=network.target
[Service]
Type=simple
User=fathom
Group=fathom
Restart=always
RestartSec=3
WorkingDirectory=/opt/fathom
ExecStart=/usr/local/bin/fathom server
[Install]
WantedBy=multi-user.target
This file specifies when the service should be launched (After = network.target, that is, after the network is booted), which should be run by the user and the fathom group, which Systemd should always try to run if it exits. Restart (Restart = always), the /opt/fathom folder should run and what command should use to run the server (ExecStart = /usr/local/bin/fathom server).
Save and close the file, then reload the Systemd configuration:
sudo systemctl daemon-reload
Enable service:
sudo systemctl enable fathom.service
Enabling the service means that Systemd launches it automatically at system startup. You must also manually configure the service only once:
sudo systemctl start fathom
Note in the previous command that you can skip the .service section. Finally, check that the service is running:
sudo systemctl status fathom
Output
● fathom.service - Fathom Analytics server
Loaded: loaded (/etc/systemd/system/fathom.service; enabled; vendor preset: enabled)
Active: active (running) since Wed 2021-11-03 15:32:45 UTC; 13s ago
Main PID: 3748 (fathom)
Tasks: 5 (limit: 1136)
Memory: 10.3M
CGroup: /system.slice/fathom.service
└─3748 /usr/local/bin/fathom server

Nov 03 15:32:45 ubuntu-fathom systemd[1]: Started Fathom Analytics server.
Nov 03 15:32:46 ubuntu-fathom fathom[3748]: time="2021-11-03T15:32:46Z" level=info msg="Fathom version 1.2.1, commit 8f>
Nov 03 15:32:46 ubuntu-fathom fathom[3748]: time="2021-11-03T15:32:46Z" level=info msg="Configuration file: /opt/fathom>
Nov 03 15:32:46 ubuntu-fathom fathom[3748]: time="2021-11-03T15:32:46Z" level=info msg="Connected to sqlite3 database: >
This service is restarting and running on the 8080 Localhost port. Then launch Nginx as a reverse proxy to expose the Fathom service to the outside world.
Web servers like Nginx vs. your application server can improve performance by making caching, compression, and static file service a more efficient process. Install Nginx and configure it to redirect proxy requests to Fathom, meaning that it takes care to send user requests to Fathom and back again.
First, read your package list, then install Nginx using apt:
sudo apt update
sudo apt install nginx
Allow public traffic on ports 80 and 443 (HTTP and HTTPS) using the UFW “Nginx Full” program:
sudo ufw allow "Nginx Full"
Output:
Rule added
Rule added (v6)
Then, create a new Nginx configuration file in the /etc/nginx/sites-available folder. Here’s the name fathom.conf, but you can use another name:
sudo nano /etc/nginx/sites-available/fathom.conf
Put the following in the new configuration file, make sure you replace your_domain_here with the domain configured to point to your Fathom server. For example, fathom.example.com:
server {
listen 80;
listen [::]: 80;
server_name your_domain_here;
access_log /var/log/nginx/fathom.access.log;
error_log /var/log/nginx/fathom.error.log;
location / {
proxy_pass http: // localhost: 8080;
proxy_set_header X-Real-IP $ remote_addr;
proxy_set_header X-Forwarded-For $ remote_addr;
proxy_set_header Host $ host;
}
}
Configuration is currently HTTP only. Let Certbot configure SSL in the next step.
Continues to configure login locations, then sends traffic to the Fathom server at http://localhost:8080, and adds some important proxy submission headers along the way.
Save and close the file, then enable the configuration by linking it to /etc/nginx/sites-enabled/:
sudo ln -s /etc/nginx/sites-available/fathom.conf /etc/nginx/sites-enabled/
Use the following command to check the syntax of the configuration file:
sudo nginx -t
Output:
nginx: the configuration file /etc/nginx/nginx.conf syntax is ok
nginx: configuration file /etc/nginx/nginx.conf test is successful
Download the nginx service to select the new configuration:
sudo systemctl reload nginx
The Fathom site should now be accessible via plain HTTP. Download http://your_domain_here. It will be as follows:

Now that you have your site up and running via HTTP, you need to secure the connection with Certbot and Let’s Encrypt certificates.
Adding SSL encryption to Fathom takes just two commands with Certbot and Free Let’s Encrypt.
First, install Certbot and its Nginx plugin:
sudo apt install certbot python3-certbot-nginx
Then, run the certbot in –nginx mode and specify the domain that you used in the Nginx server_name configuration:
sudo certbot --nginx -d your_domain_here
You will asked to agree to Let’s Encrypt Terms of Service and enter your email address. You will then ask if you want to direct all HTTP traffic to HTTPS. Let’s Encrypt will then confirm your request and Certbot will download your certificate:
Output:
Congratulations! You have successfully enabled https://Fathom.example.com
You should test your configuration at:
https://www.ssllabs.com/ssltest/analyze.html?d=Fathom.example.com
- - - - - - - - - - - - - - - - - - - - - - - - - - - - - - - - - - - - - - - -
IMPORTANT NOTES:
- Congratulations! Your certificate and chain have been saved at:
/etc/letsencrypt/live/Fathom.example.com/fullchain.pem
Your key file has been saved at:
/etc/letsencrypt/live/Fathom.example.com/privkey.pem
Your cert will expire on 2021-12-06. To obtain a new or tweaked
version of this certificate in the future, simply run certbot again
with the "certonly" option. To non-interactively renew *all* of
your certificates, run "certbot renew"
- Your account credentials have been saved in your Certbot
configuration directory at /etc/letsencrypt. You should make a
secure backup of this folder now. This configuration directory will
also contain certificates and private keys obtained by Certbot so
making regular backups of this folder is ideal.
- If you like Certbot, please consider supporting our work by:
Donating to ISRG / Let's Encrypt: https://letsencrypt.org/donate
Donating to EFF: https://eff.org/donate-le
Certbot automatically reloads Nginx to receive new configurations and certifications. Reload the site and it should automatically switch you to HTTPS if you select the redirect option. Your site is now secure and you can log in with the user information you set up.
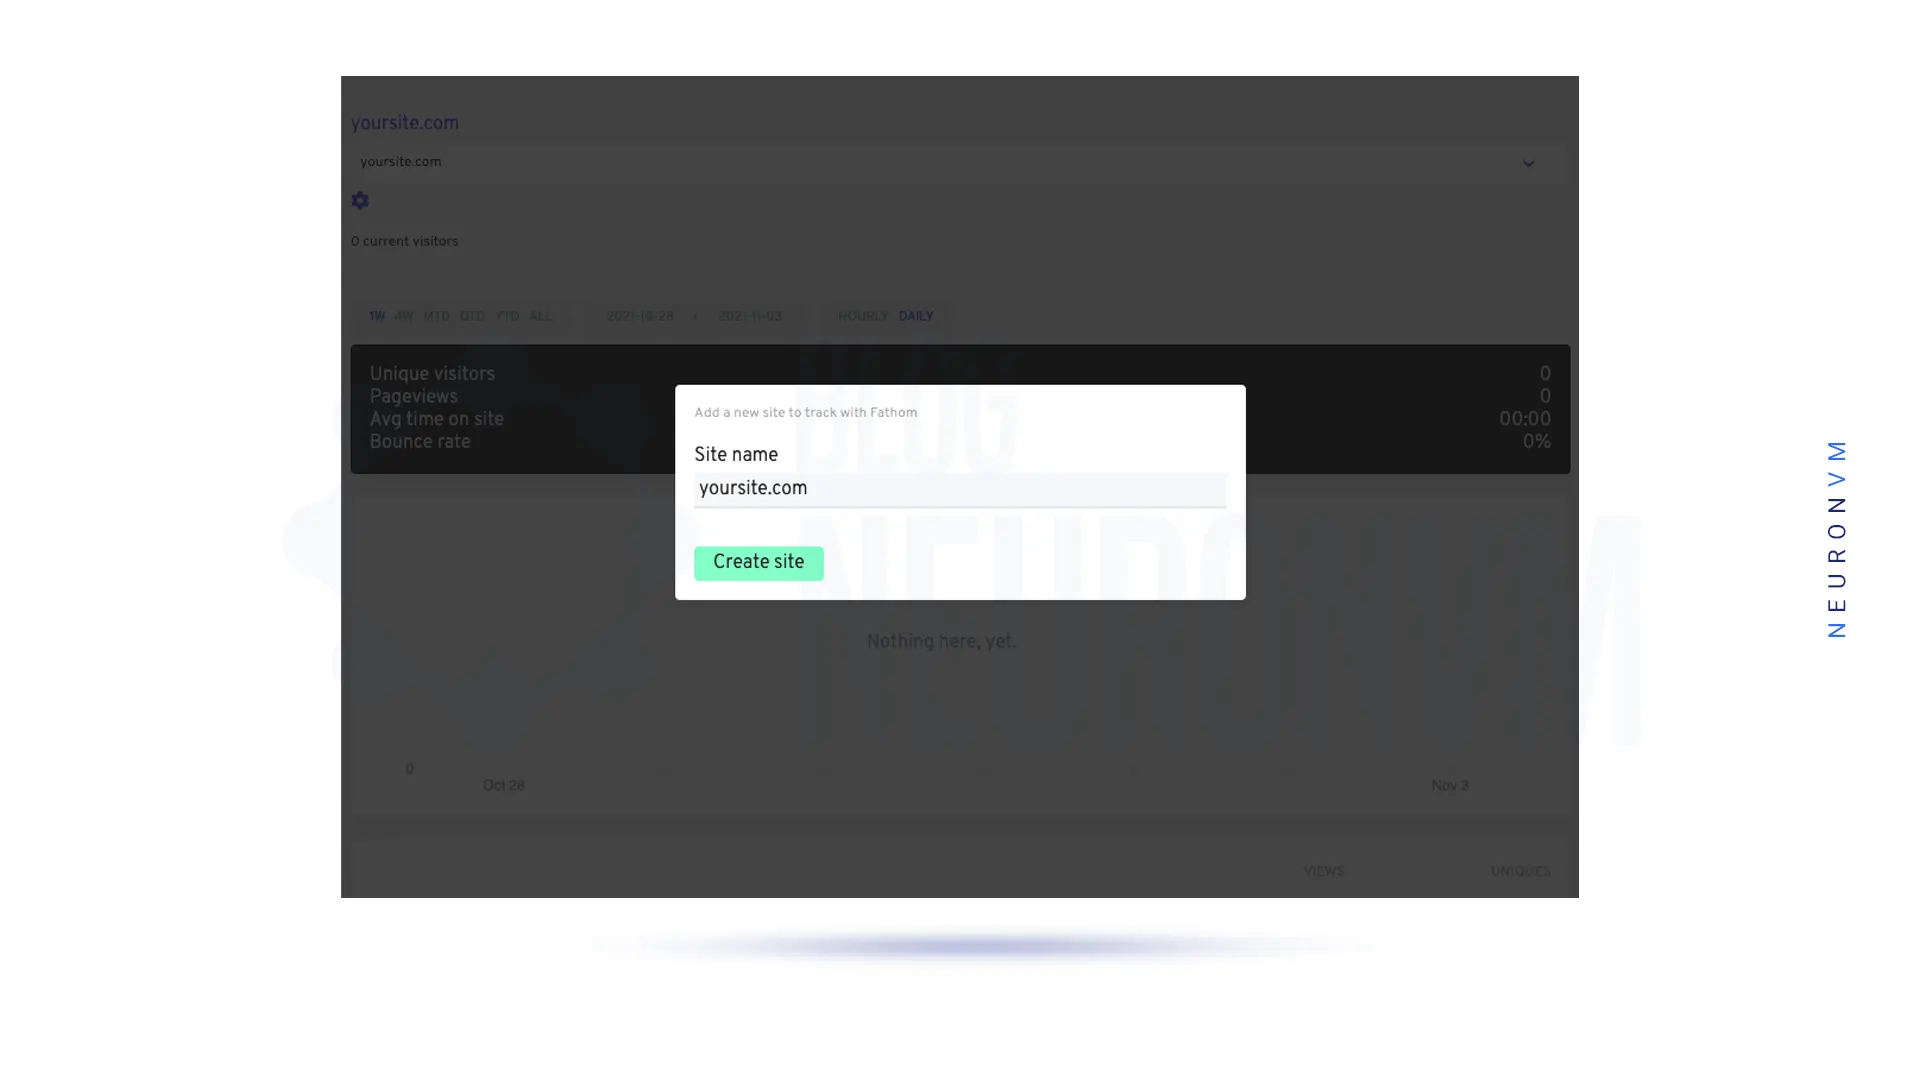
Once you have successfully logged in, you will see a message to launch your first website with Fathom:

After completing this step, you will see the dashboard of the site you just launched:
You have successfully installed and secured your Fathom analytics software.
In this guide, we have walked you through the process of setting up and installing Fathom Analytics on an Ubuntu 22.04 server. By following the steps outlined in this guide, you should now have a fully functional Fathom Analytics instance running on your server. Fathom Analytics provides a privacy-focused alternative to traditional analytics tools, allowing you to track website traffic without compromising the privacy of your users.
 Tags
Tags


Postfix is a popular open-source Mail Transfer Agent (MTA) that can be used to route and send an ema...


 Tags
Tags

Memory object storage systems such as Memcached can optimize the performance of the backup database ...
Tags


