


In this tutorial, we will show you how to download WAMPServer on Windows 10, and those who have no idea about this server can get a full understanding of how to install and use it on their devices. People who are willing to run an Apache web server with PHP and MySQL on Windows 10, can use the popular WAMPServer. On the other hand, as you know, Apache, PHP, and MySQL are designed to run on a Linux environment and are not natively available for Windows. So we have to use other third-party applications like the WAMPServer. Similarly, MAC users can use MAMP. Also, on Linux OS with a few commands you can install a WAMPServer to develop PHP-based applications. If you intend to buy a Windows VPS, we suggest you use the plans provided on our website, which are provided with immediate delivery.
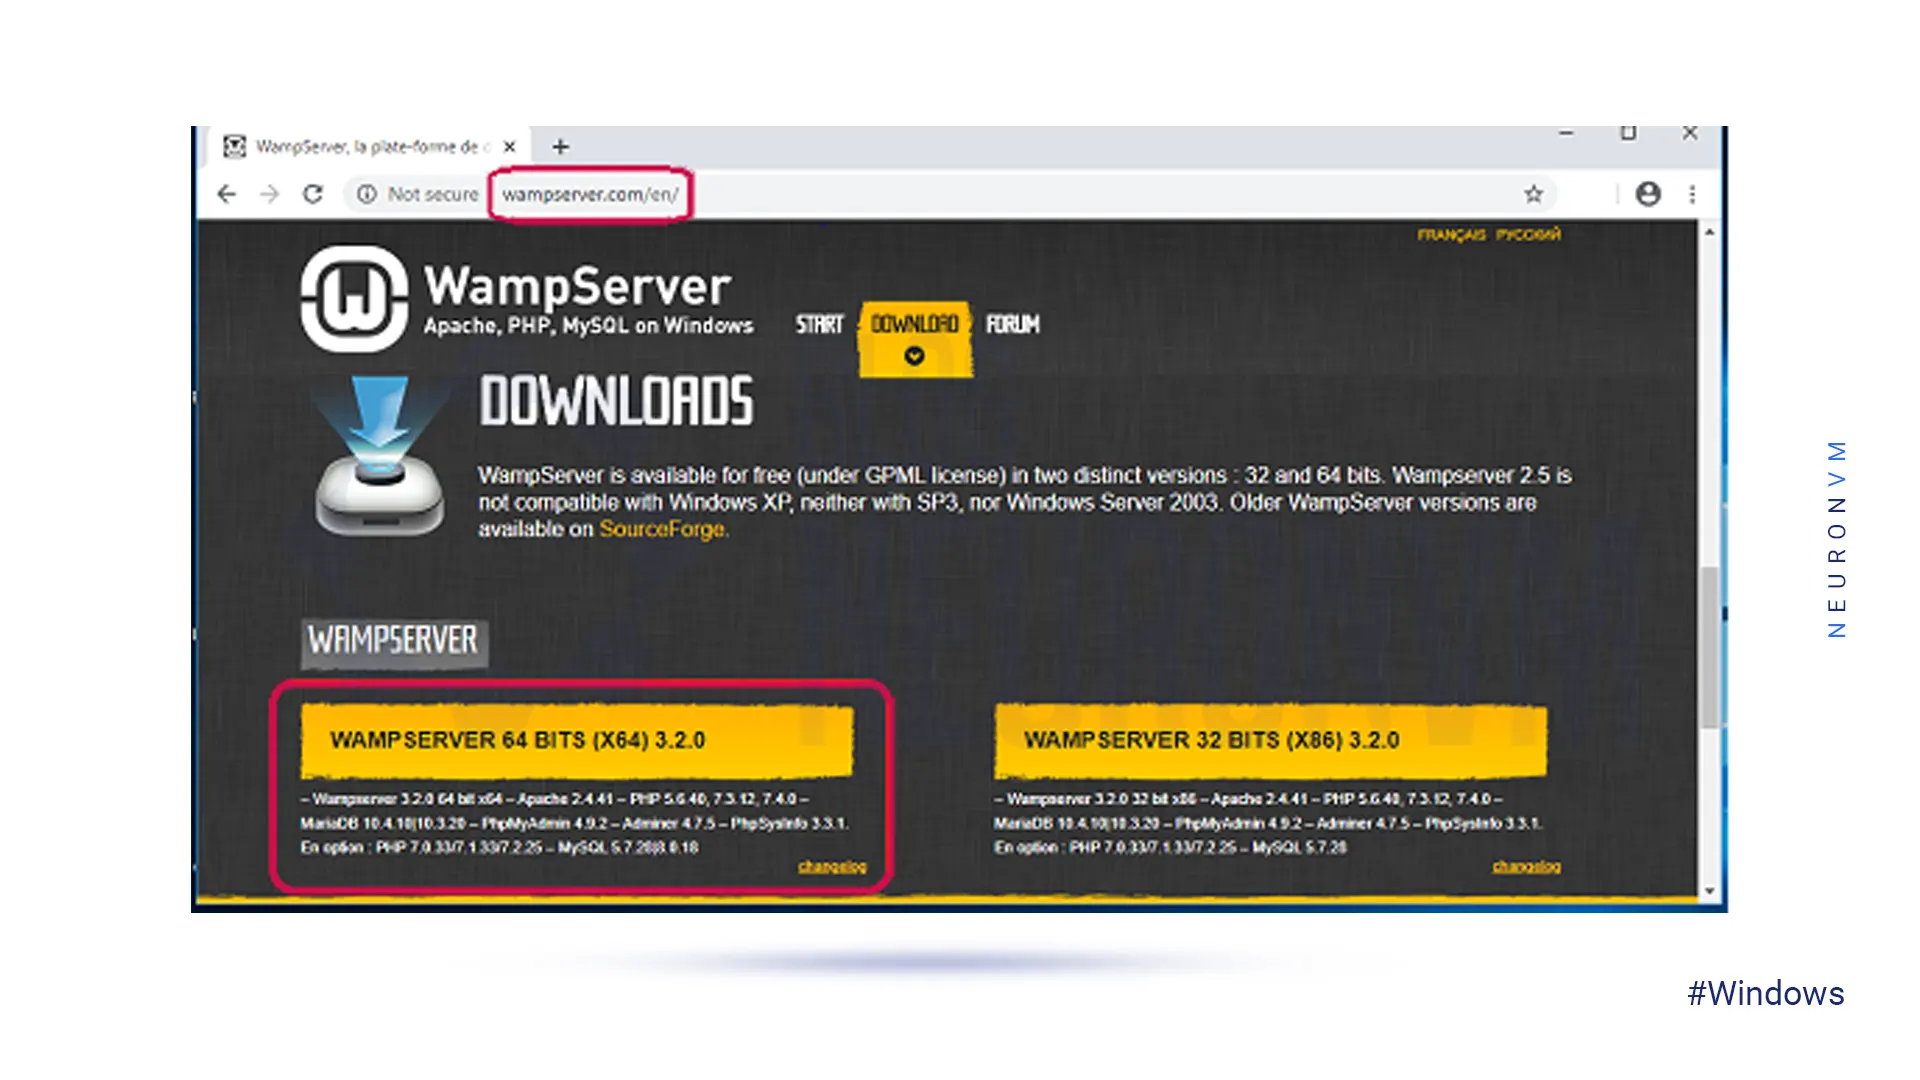
As the first step, you should download WAMPServer on Windows 10 from the official WAMPServer Website. You can choose 32bit or 64bit based on your Windows 10 version. You can check it on the properties section of your PC.
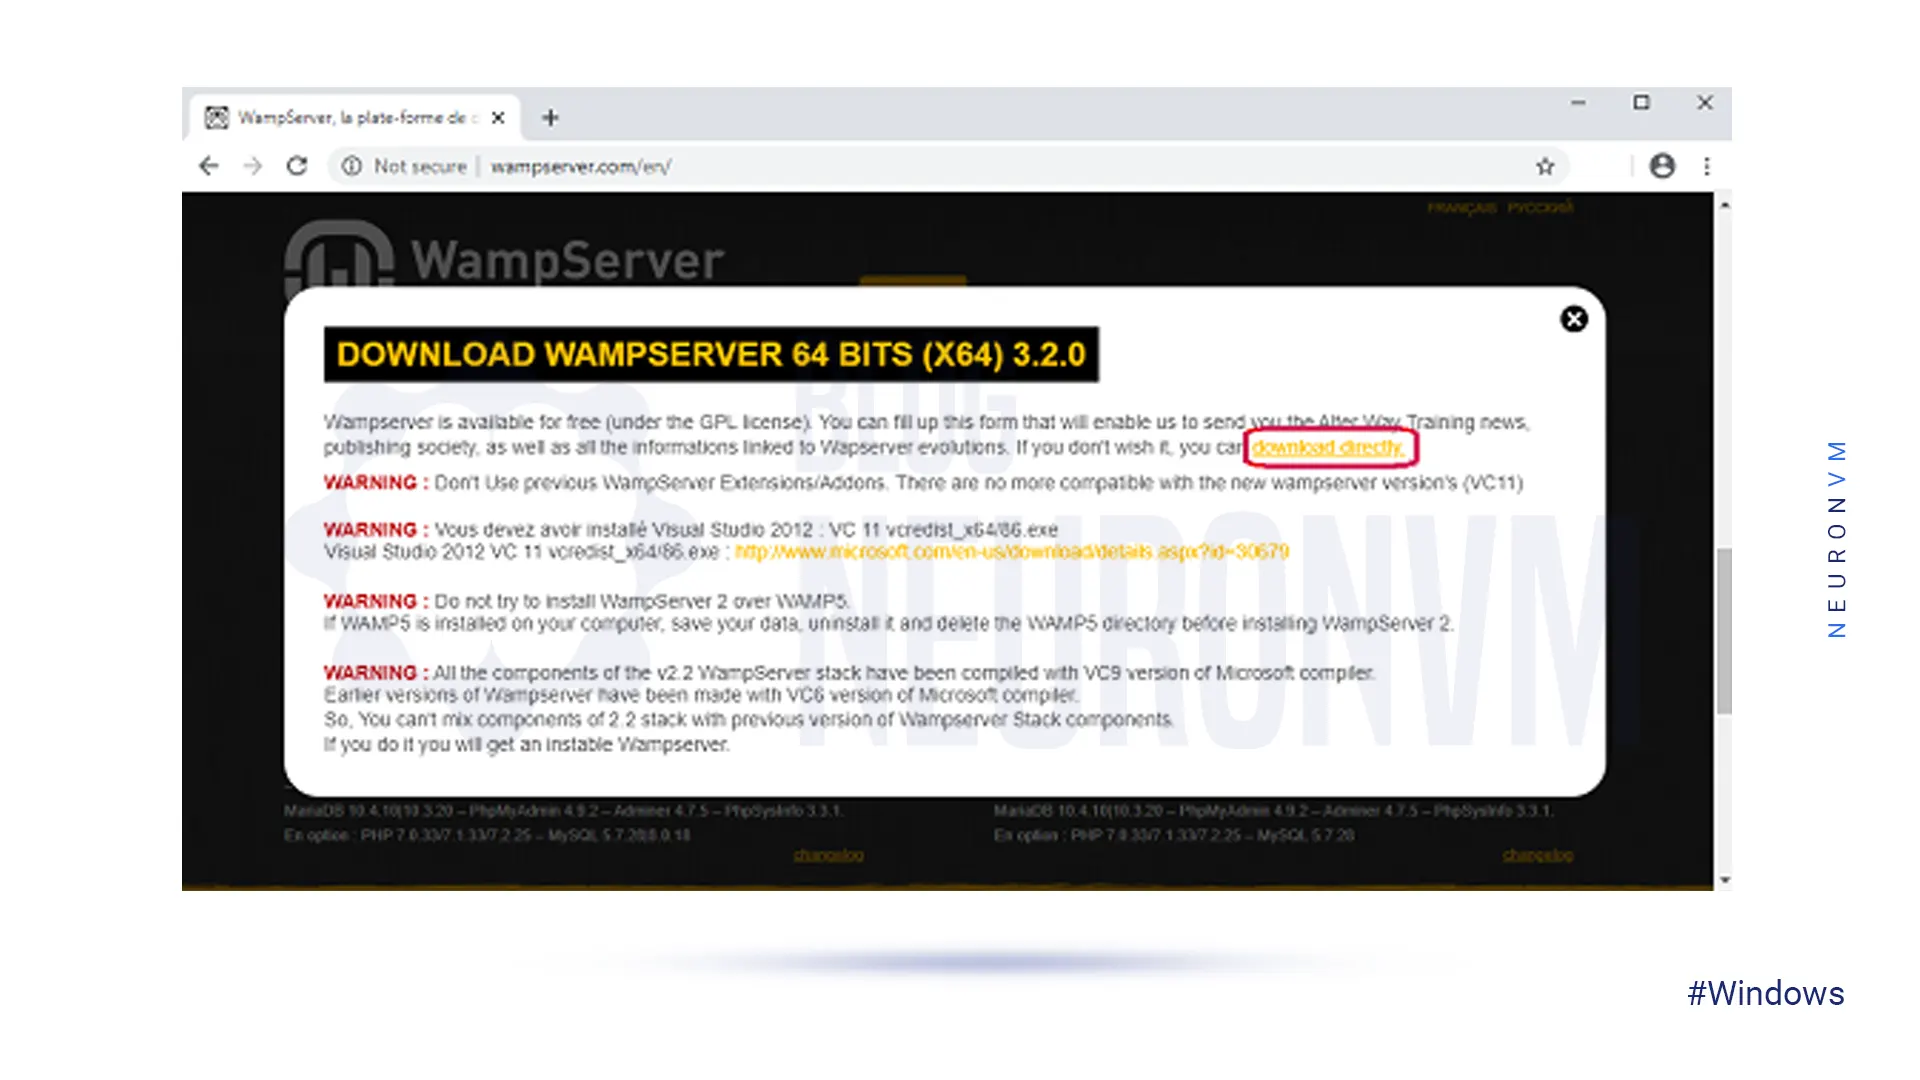
Now click on the Download button to start downloading and you will have the server:
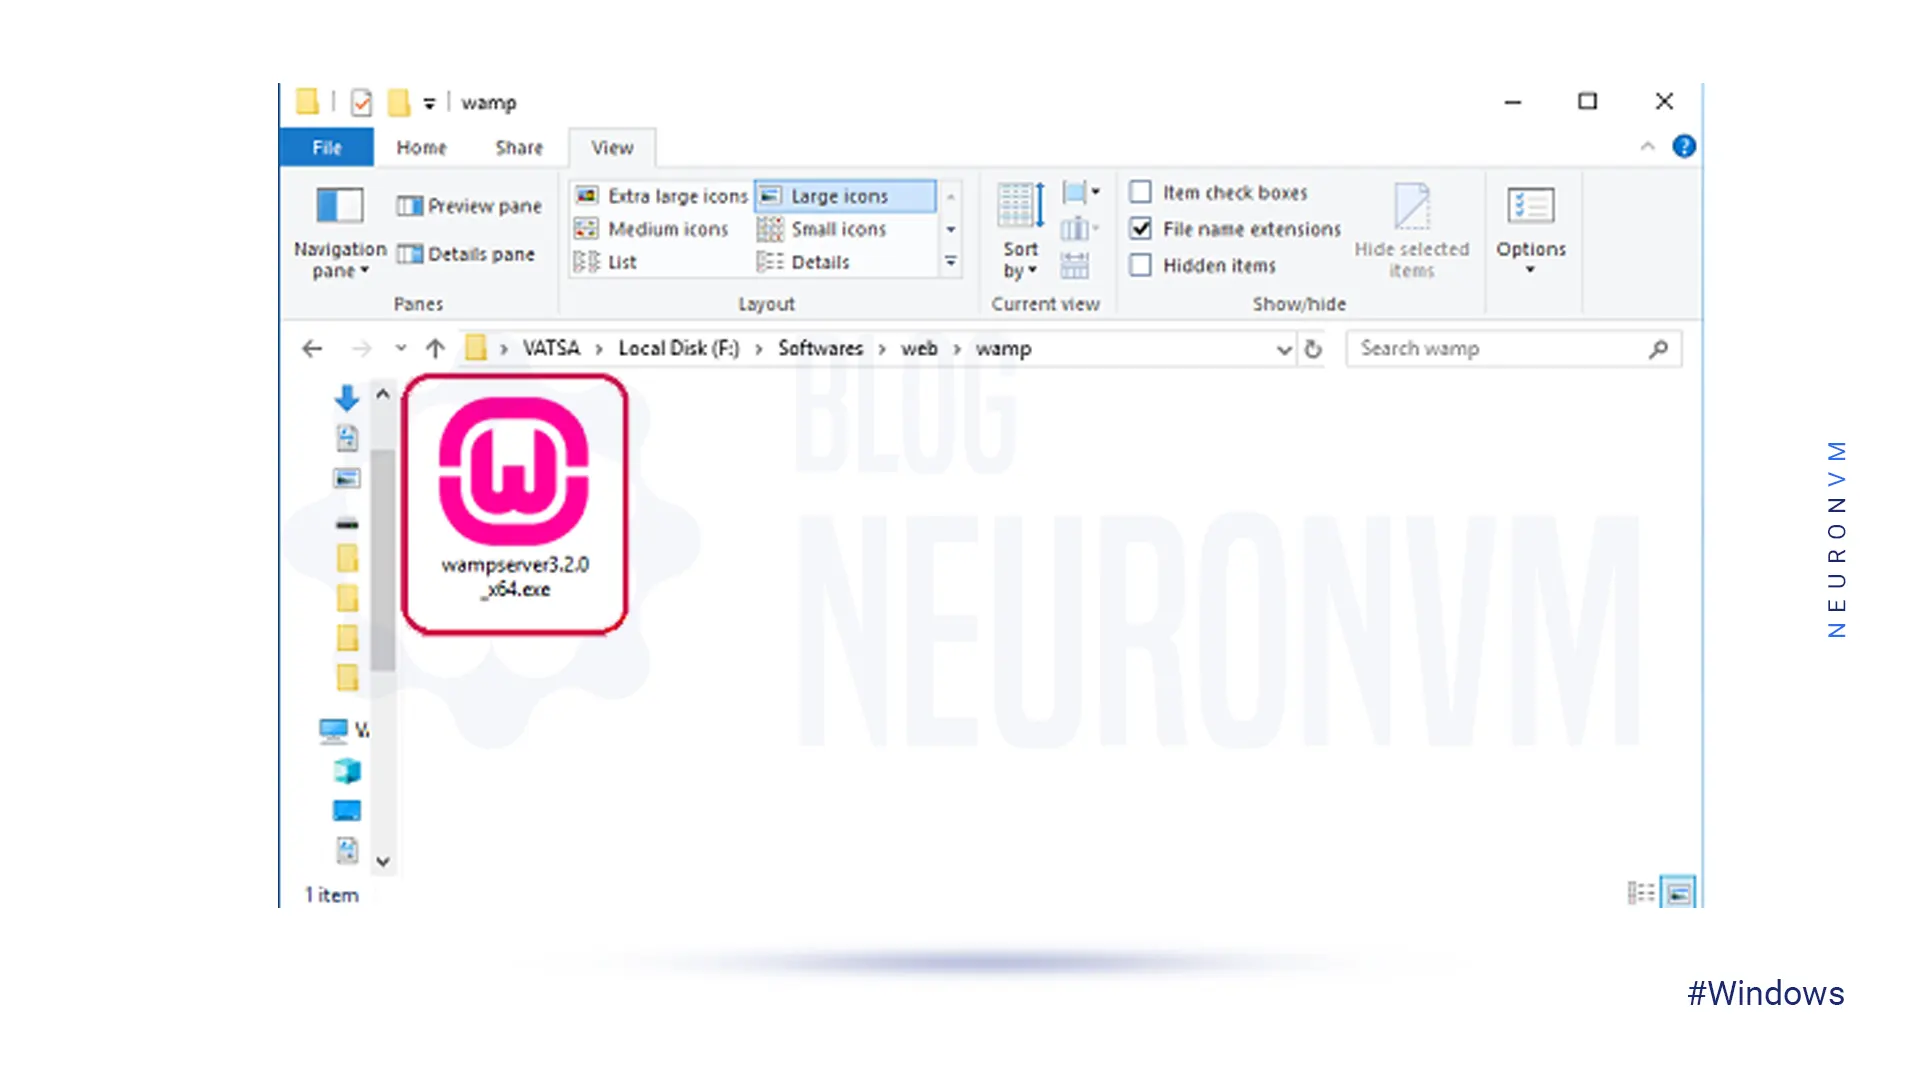
The next step is to install the server. Find the related file on your system. Then, double-click the file to launch the WAMP installer:
————–
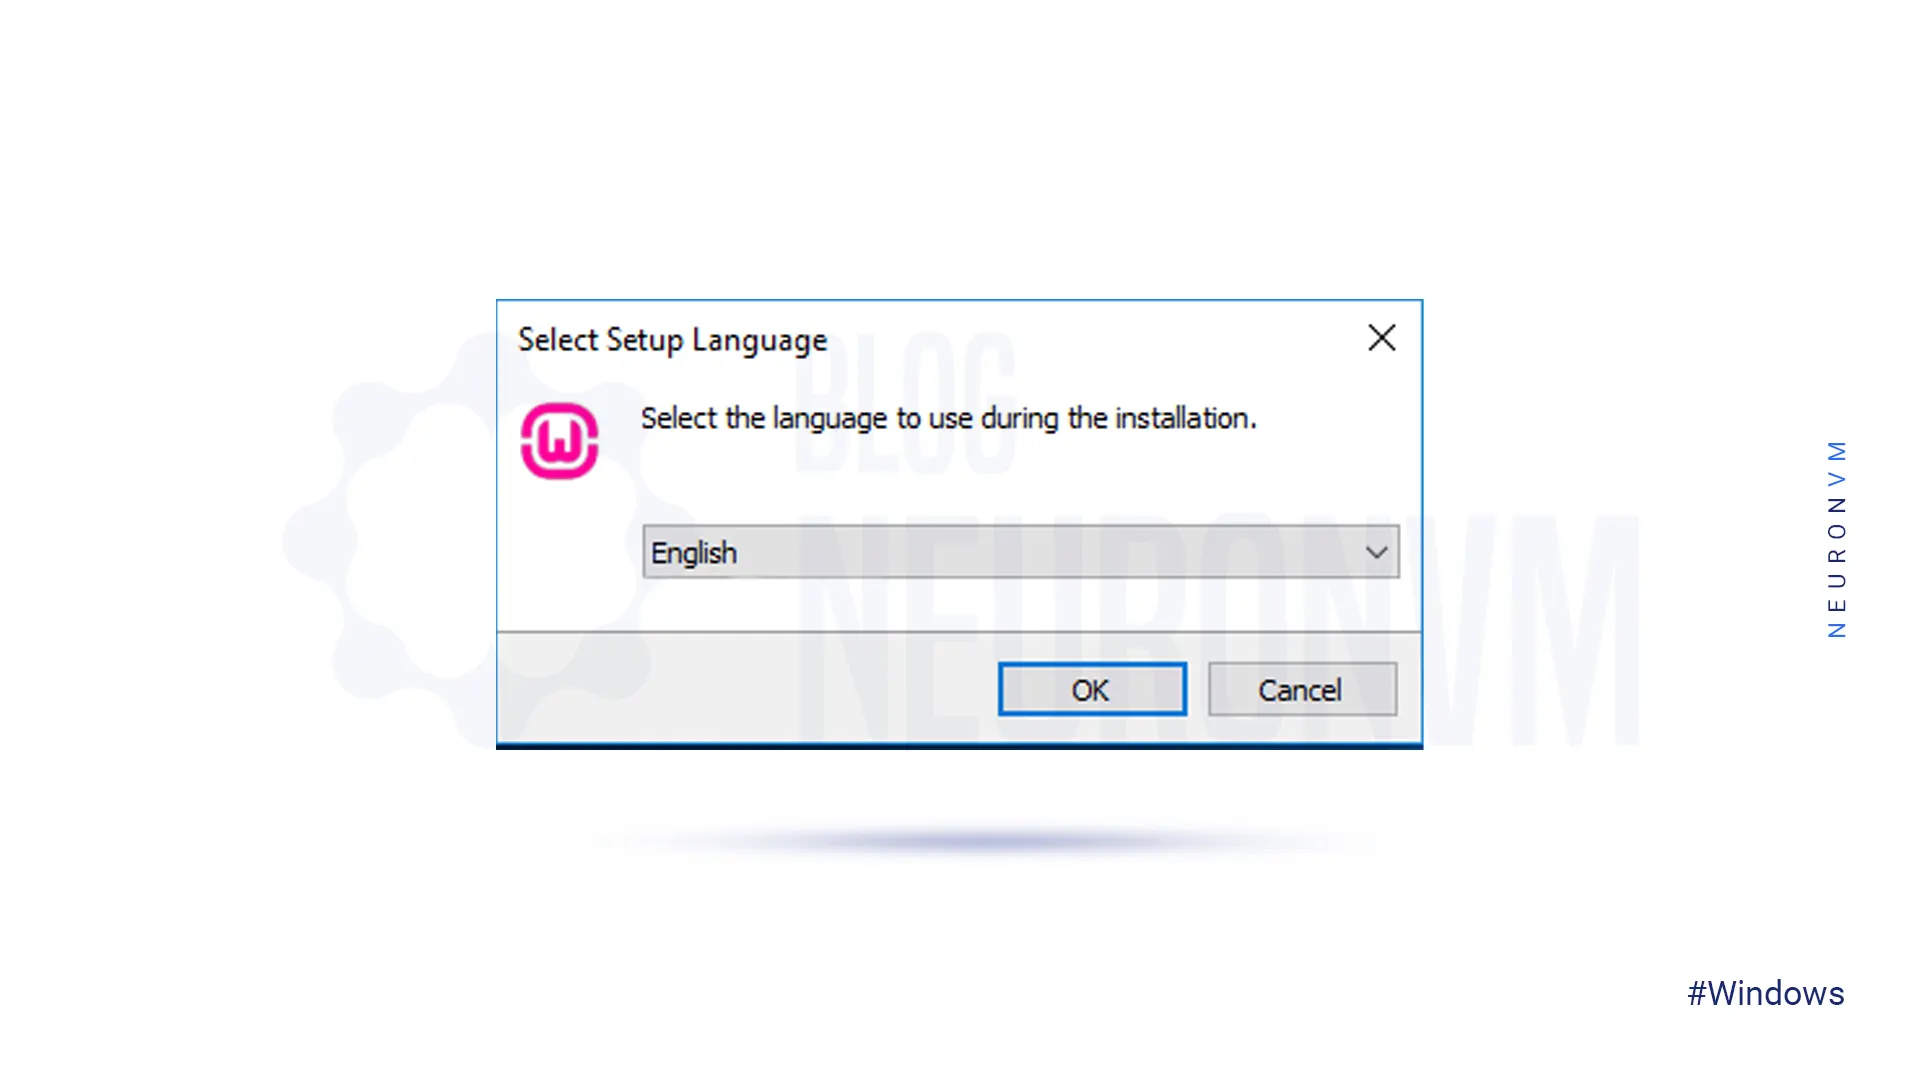
In this section, you should select a setup Language and choose your preferred language:
On this window, choose the option ”I accept the agreement” and then click Next.
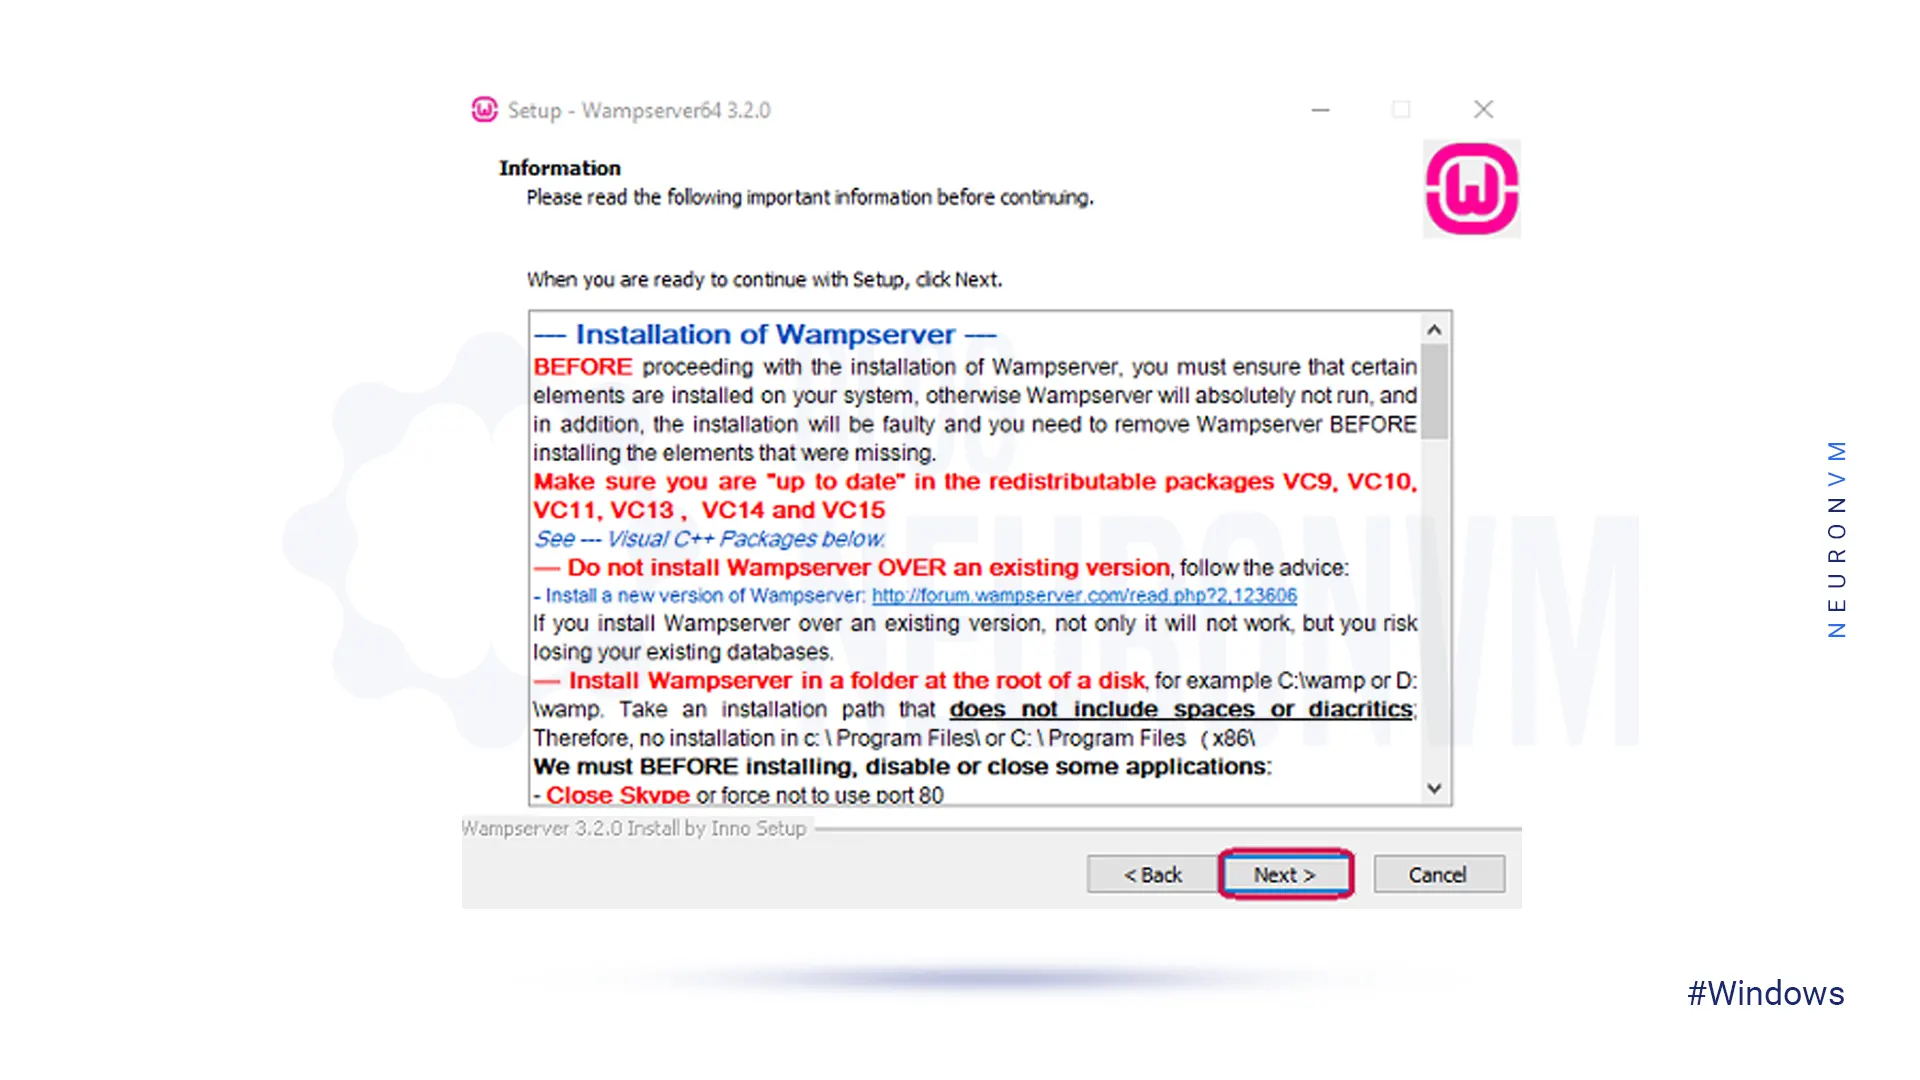
Note: On information setup be sure that the required components are installed on your system to run the WAMPServer correctly:

————–
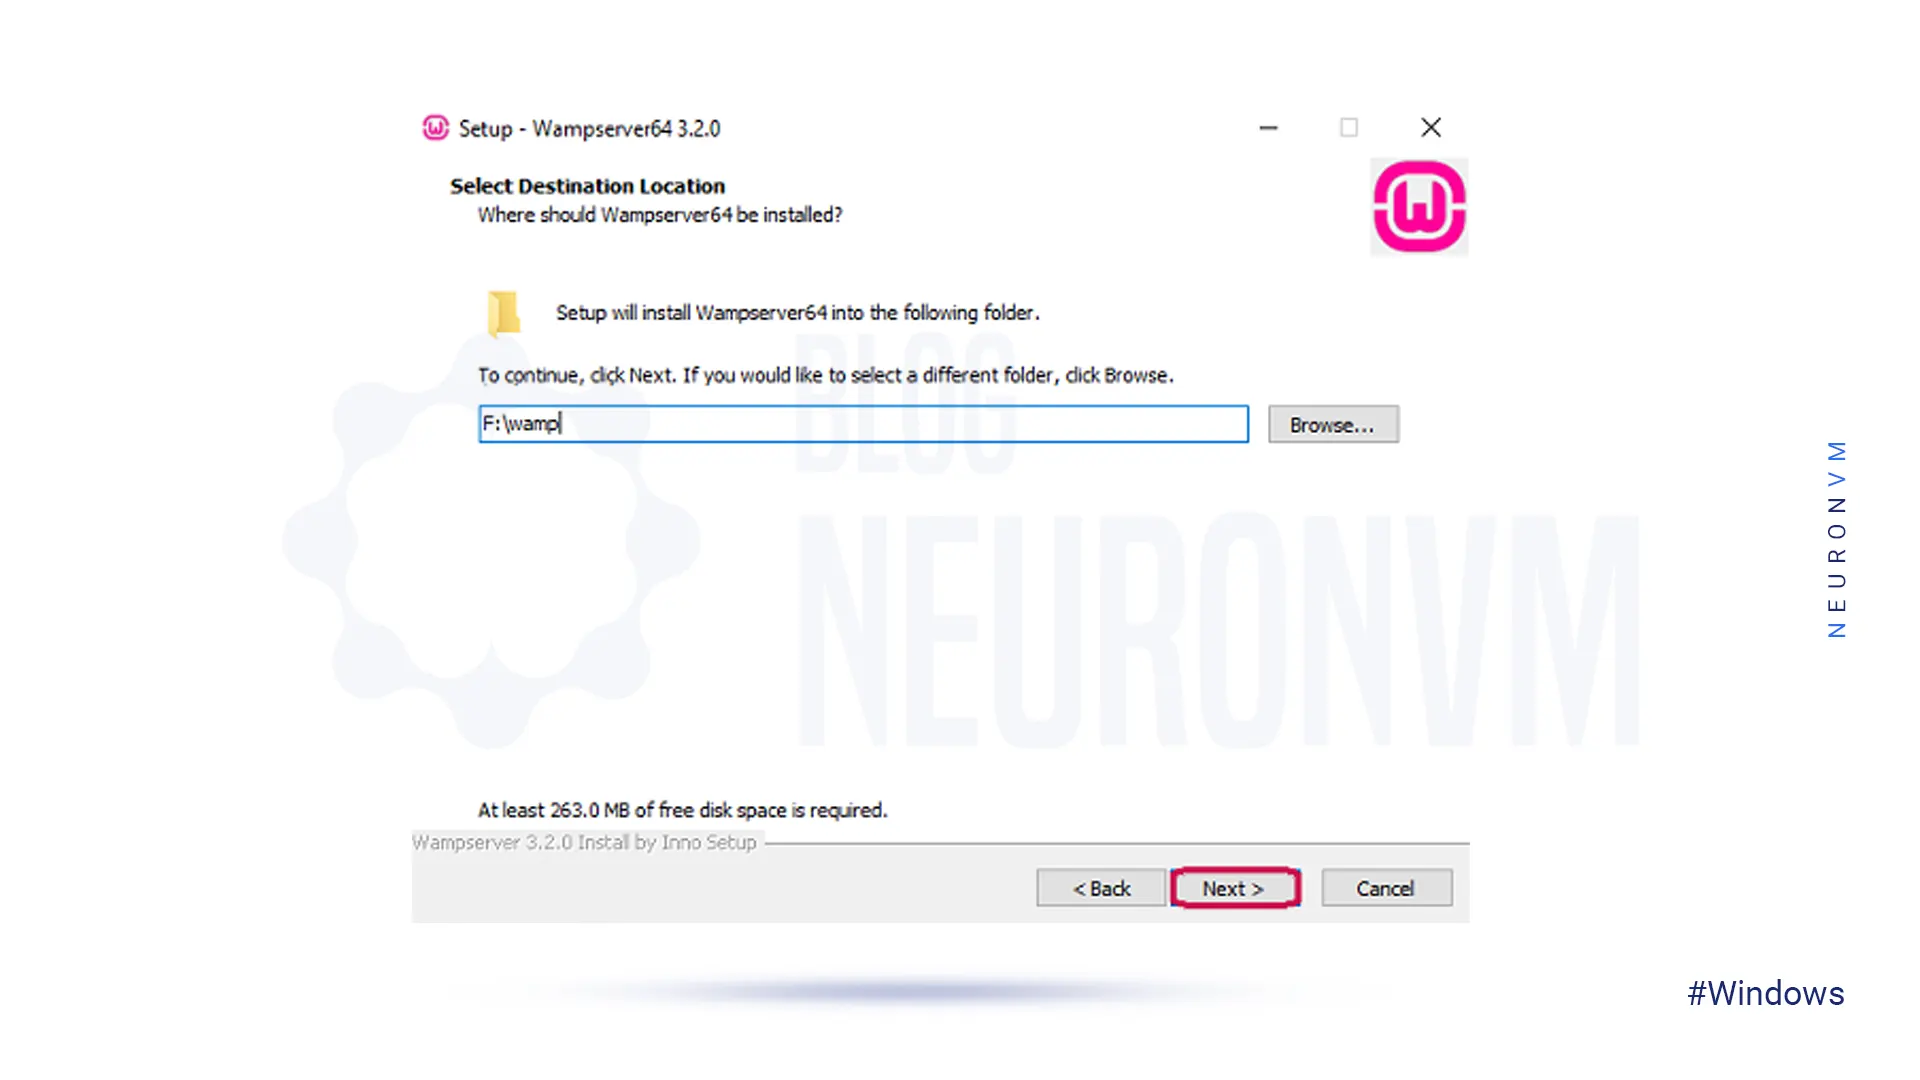
On this window, you should choose a destination folder for your file and click on the Next button:
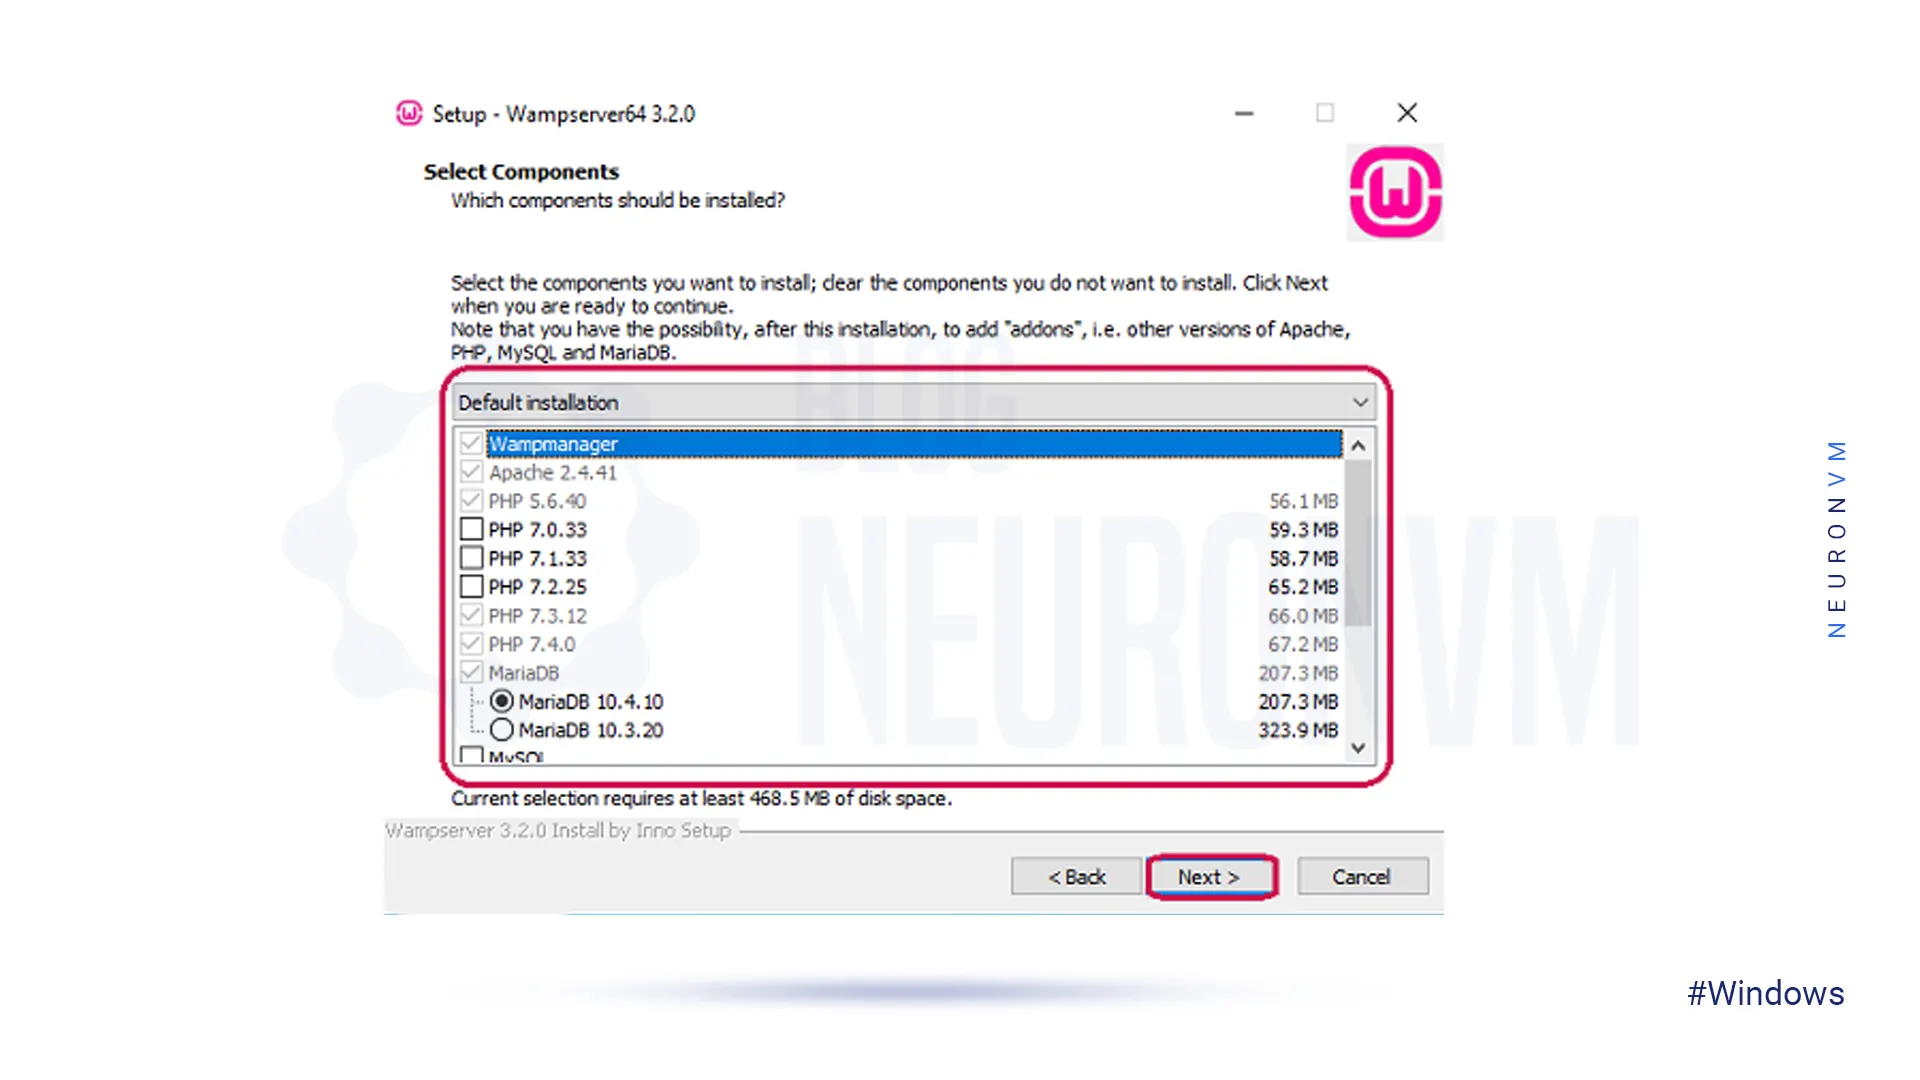
It’s time to select the components that you need in your WAMPServer so, mark your preferred ones and click Next:
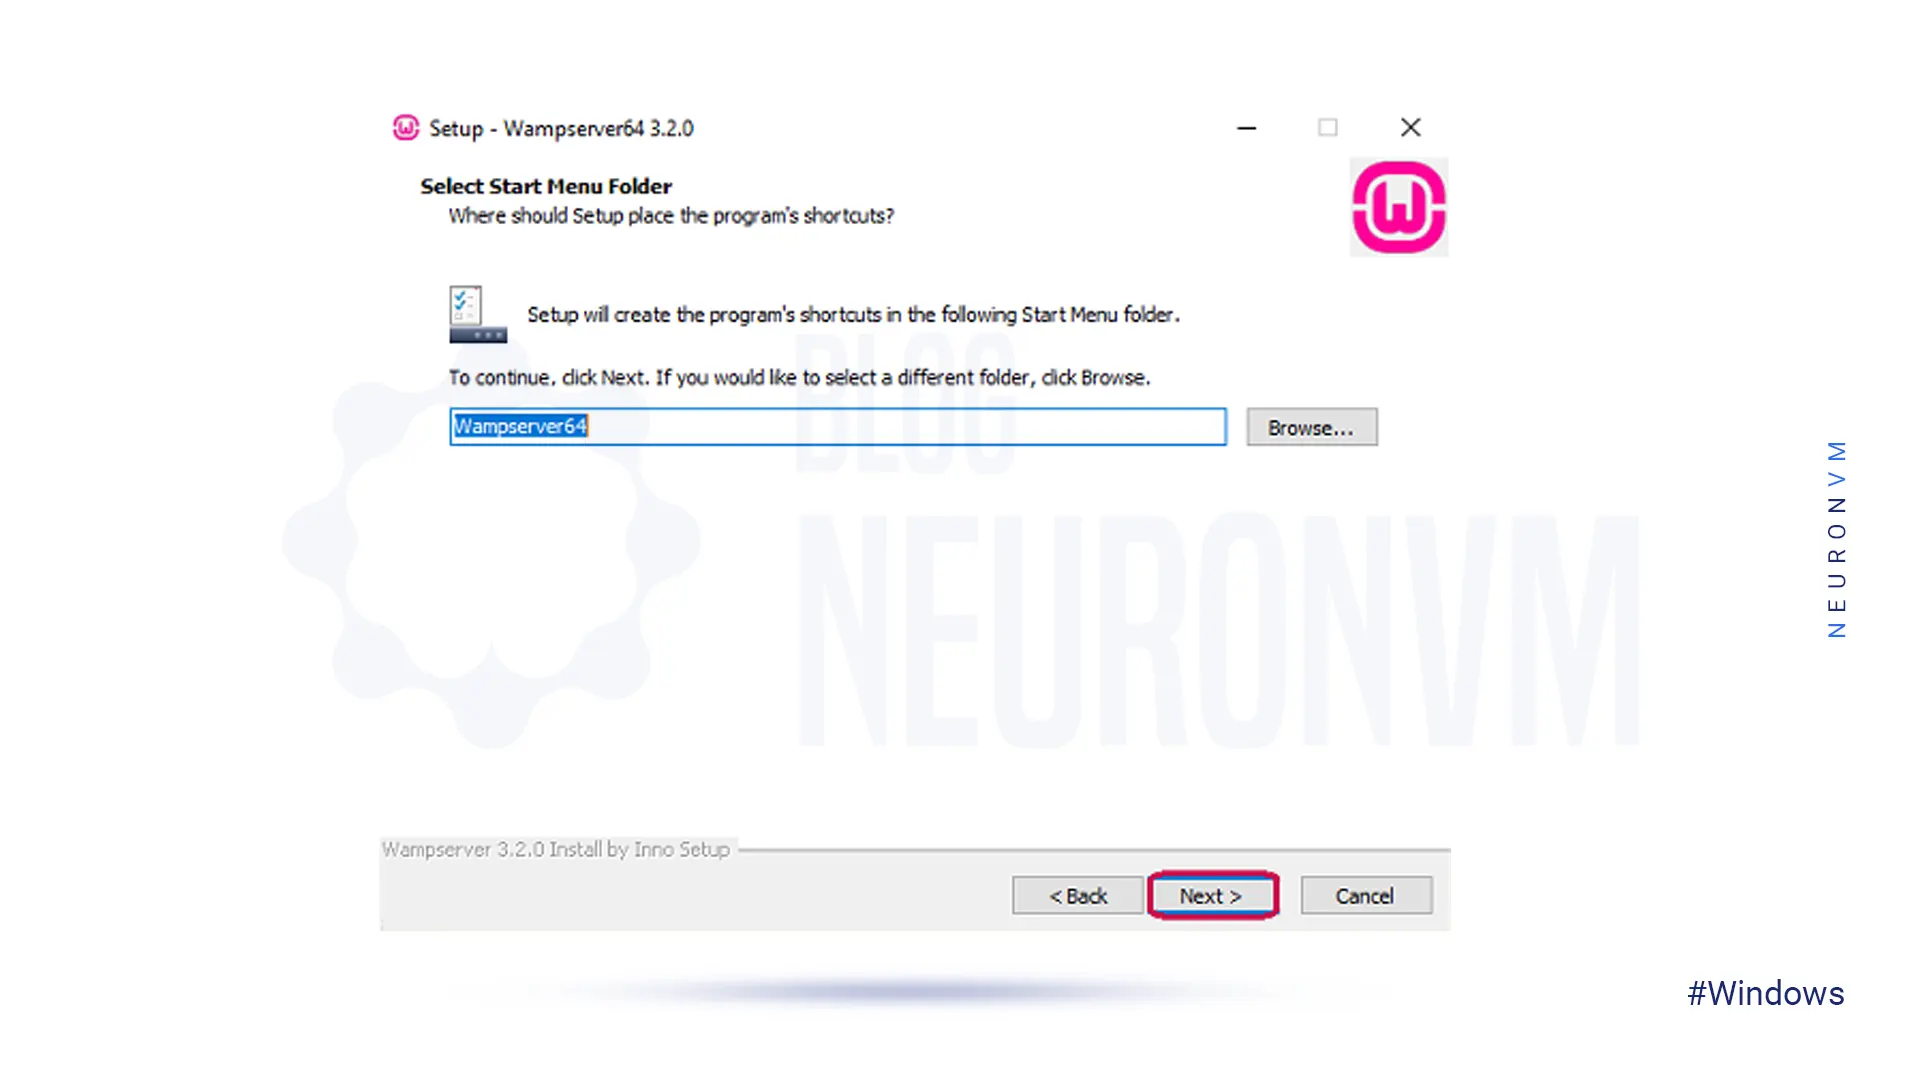
Now you should select the start menu folder:
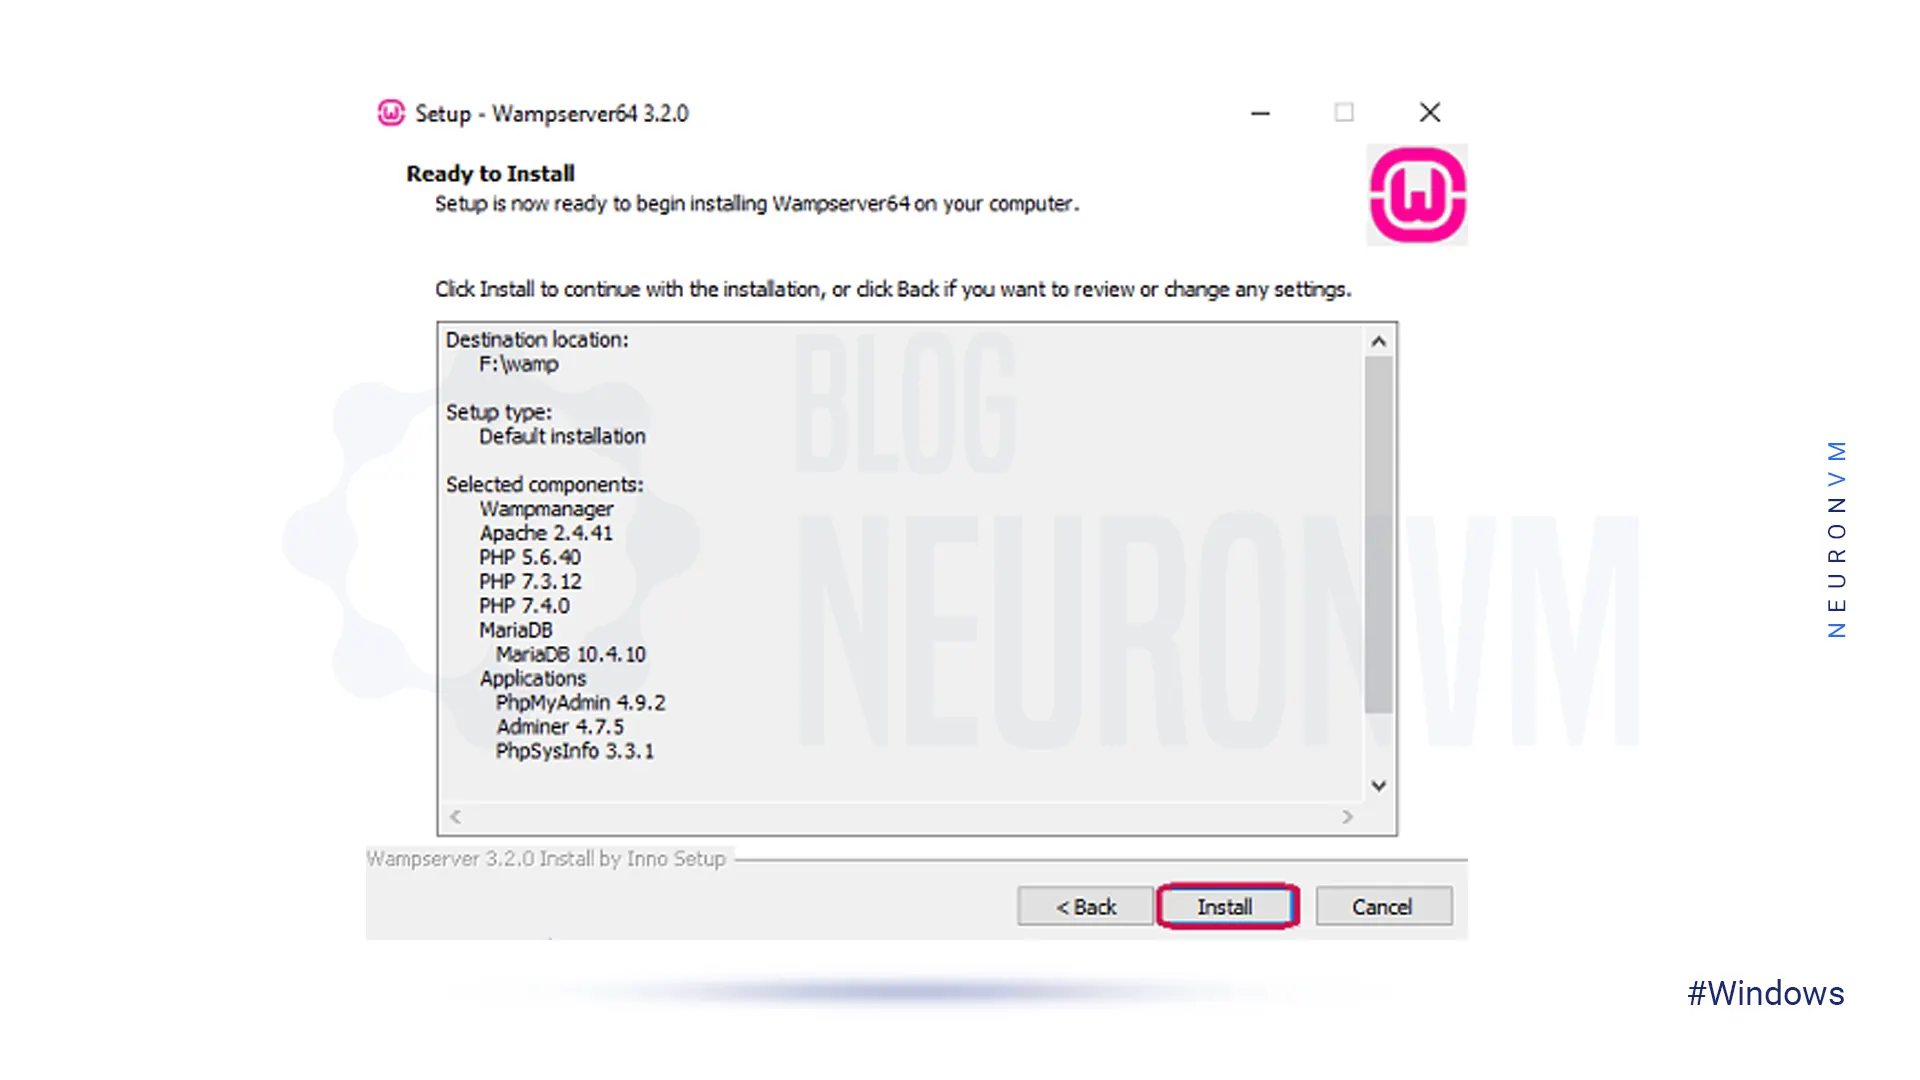
Here, you will see the installation window. So, press the button to install the WAMPServer file on your system:
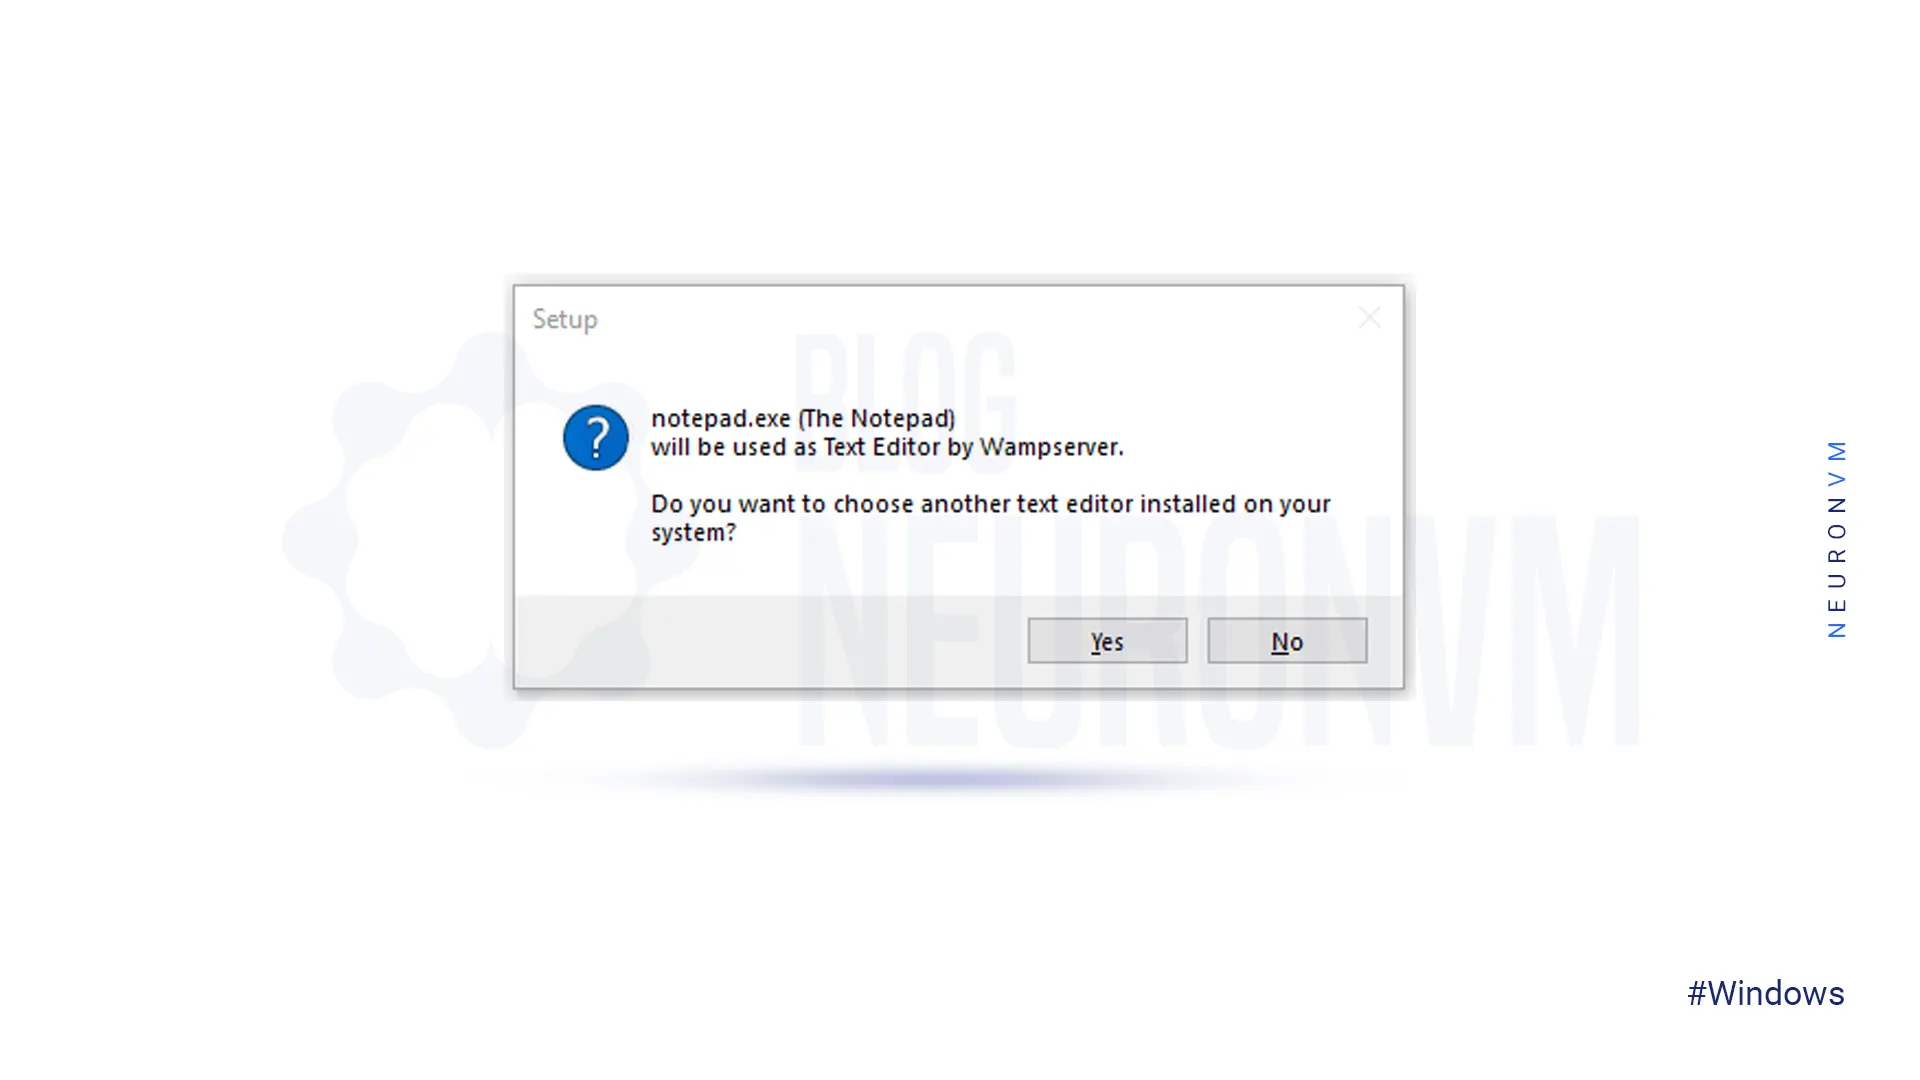
Now, you should choose a default browser and a text editor for your server. Then, on the last window press Finish:
————–
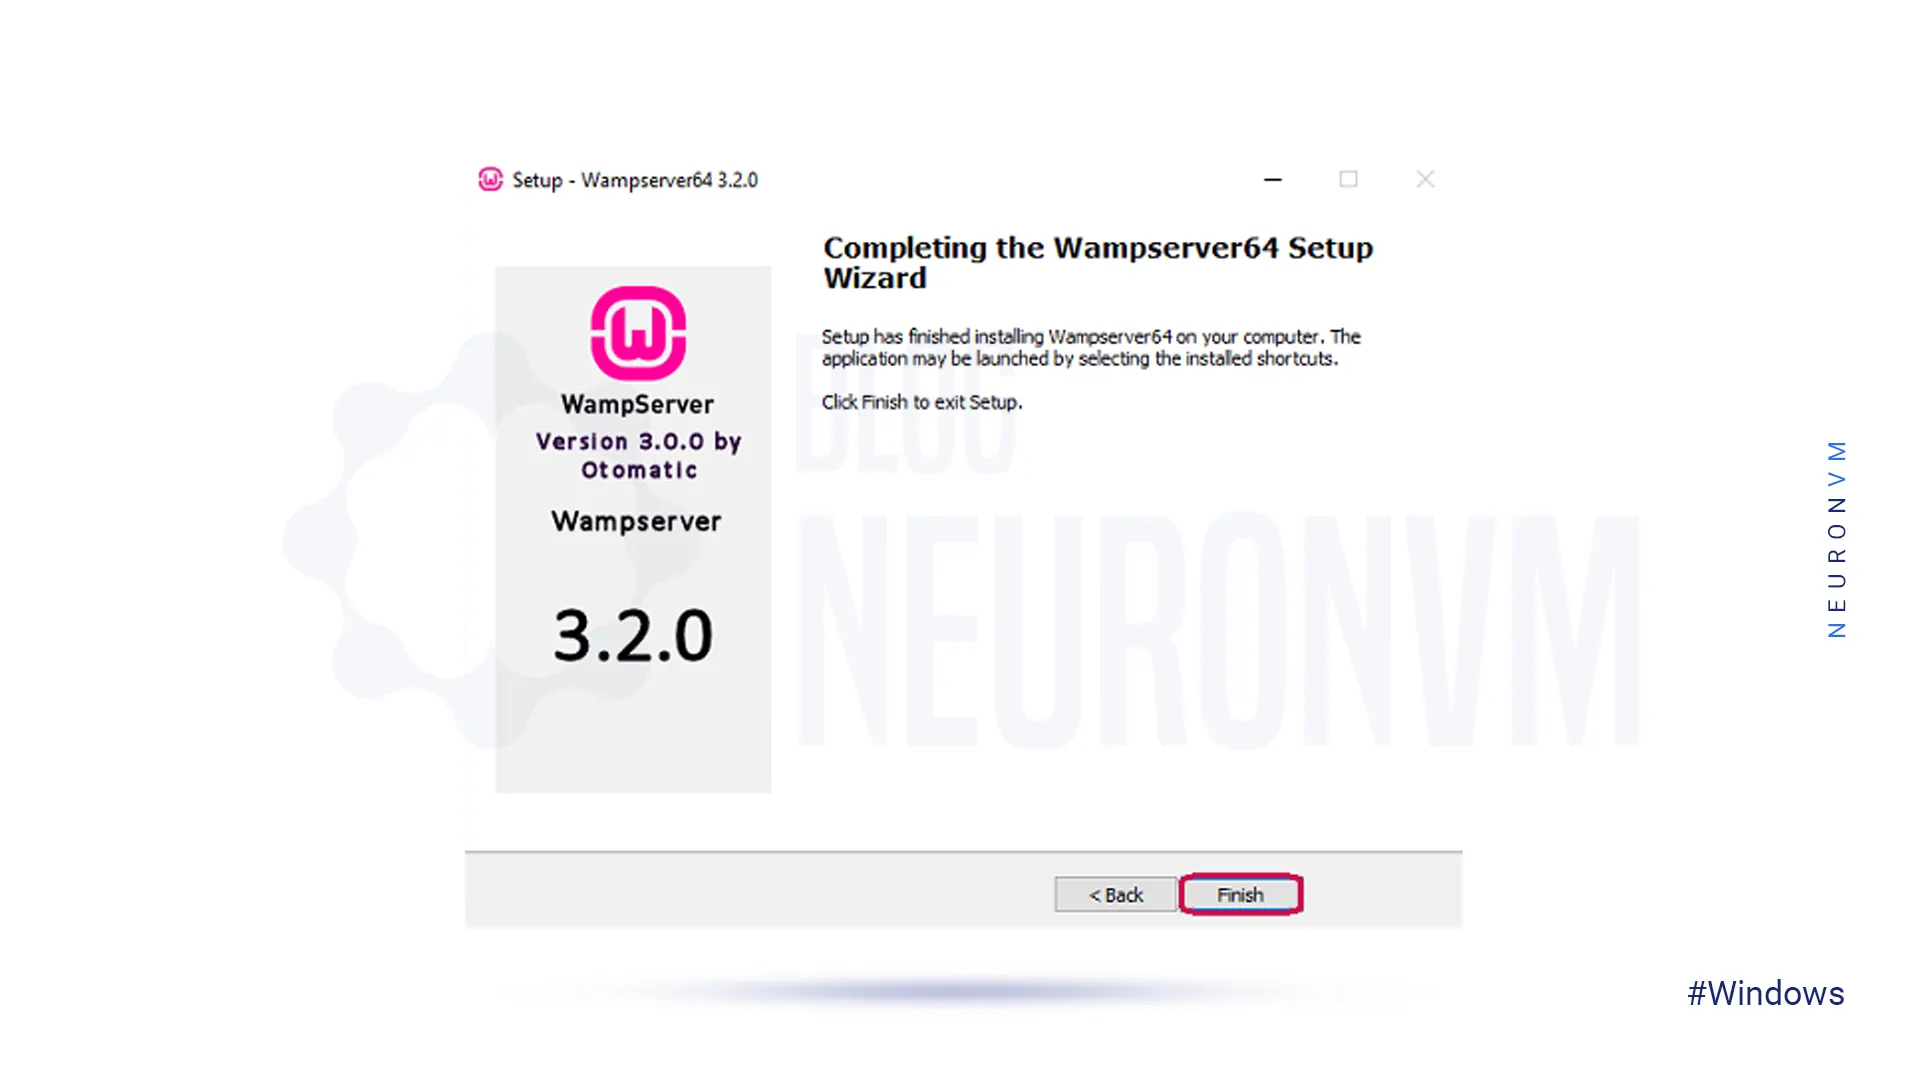
Done! Now you have a WAMPServer on your system.
Downloading and installing WAMPServer on Windows 10 is a straightforward process that allows you to set up a local server environment for developing and testing websites or web applications. By following the steps outlined in this guide, you can easily install the WAMPServer on your Windows computer and start developing your projects in a local server environment. With WAMP Server, you can quickly prototype and test your web projects before deploying them to a live server, making it an essential tool for web developers and designers. If you encounter problems while installing or using WAMPServer, you can read the article Troubleshooting WampServer Problems on Windows 10.
 Tags
Tags


This tutorial is going to explain How to setup TightVNC on Windows 7/8/10. A software server/client ...


 Tags
Tags
NetBeans is a popular software development platform, primarily for Java, that provides wizards and t...
Tags


