


Each Desktop is a graphical user interface, with its own shape and icon, such as how icons, windows, menus are displayed, and other graphical features. The Linux operating system has several desktop environments. Due to the modular nature of desktop environments in Linux, you can choose any of these desktops. This article will teach you How to Configure XFCE Desktop on Rocky Linux. If you intend to buy a Linux VPS server to run the Rocky Linux operating system, we suggest you use the plans provided on our website, which are provided with immediate delivery.
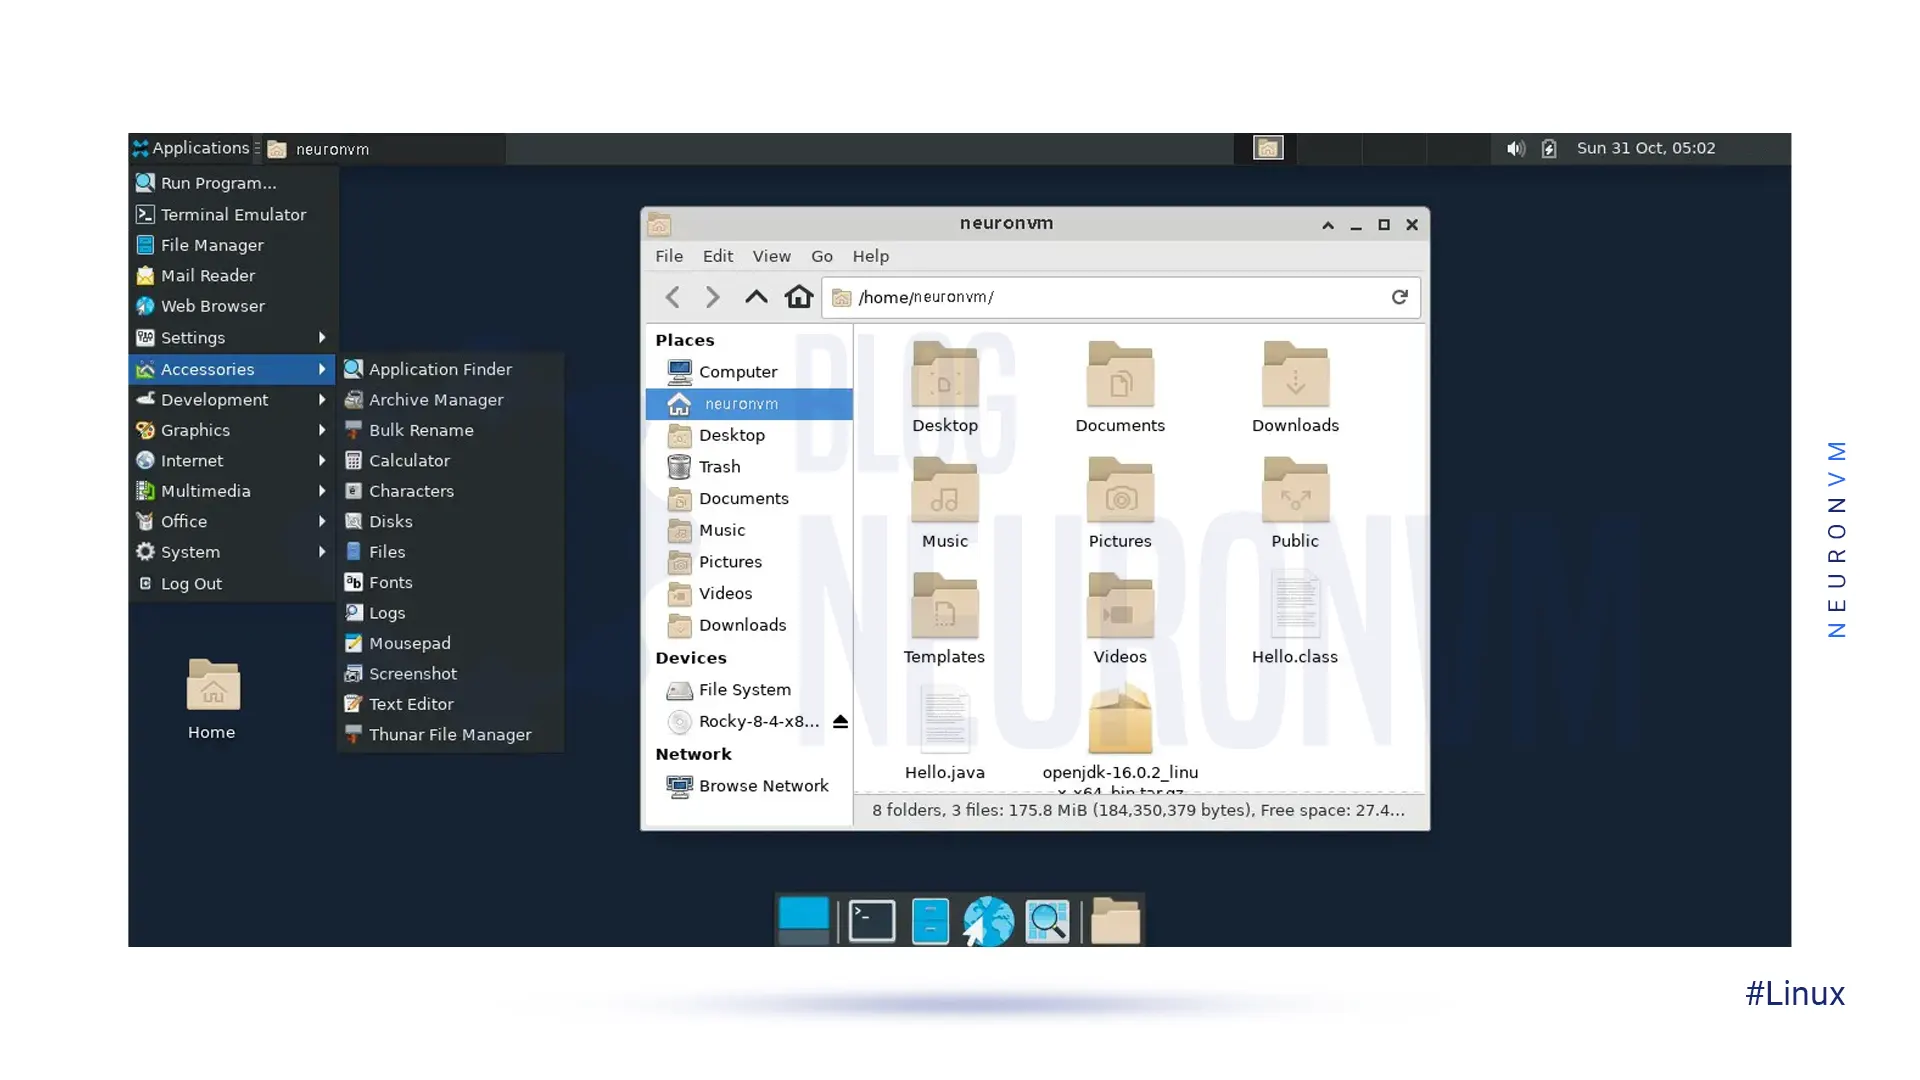
The components of the XFCE Desktop Environment include:
– The File Manager is called Thunar.
– The Panel is located at the top of the window.
– Windows Manager is a specialized Xfwm that utilizes its own Composer Manager.
– The Display Manager is called XFCE LightDM.
– The System Tray is a set of icons on the right side of the panel.
– The Favorites bar is a single icon on the left side of the panel that displays favorites, recent apps, and the application menu.
If you are interested in Ubuntu distribution, we suggest you read the article Tutorial Setup Gnome 40 on Ubuntu 20.10.
First, you should update your Linux system with the following command:
sudo dnf update
Before installing the XFCE desktop environment, you need to first install the EPEL repository. EPEL repository is a repository that offers high-quality software packages.
You can enter the following command to install EPEL:
sudo dnf install epel-release
You can see the package groups available for installation on your system with the following command:
sudo dnf --enablerepo=epel group
In this step, you should enable the Power Tools repository. Administrators can use standard Linux VPS server package management tools to deploy and maintain tools on Linux systems with this Power tools repository. To do this run the following command:
sudo dnf config-manager --set-enabled powertools
You can check whether power tools are enabled with the following command:
sudo dnf repolist
Now it’s time to install XFCE packages by entering the following command on your Rocky Linux:
sudo dnf group list
Next, you can check the XFCE Desktop Environment version for installation by running the following command:
sudo xfce4-panel --version
In this step, you should install the XFCE packages by executing the following command:
sudo dnf groupinstall "Xfce" "base-x"
First, you need to set the default Desktop Environment to Graphical by entering the following command. This will enable your system to default to graphical on the next login:
sudo systemctl set-default graphical
Now list the units by running the following command. By doing this you can verify if the default target is set to graphical:
systemctl list-units
If you want minimal server installation, you should enter the following command to start the Desktop environment:
echo "exec /usr/bin/xfce4-session" >> ~/.xinitrc
startx
Then you need to reboot your system by executing the following command:
sudo systemctl reboot
In this step, you should click on settings in the login screen and select Xfce Session:

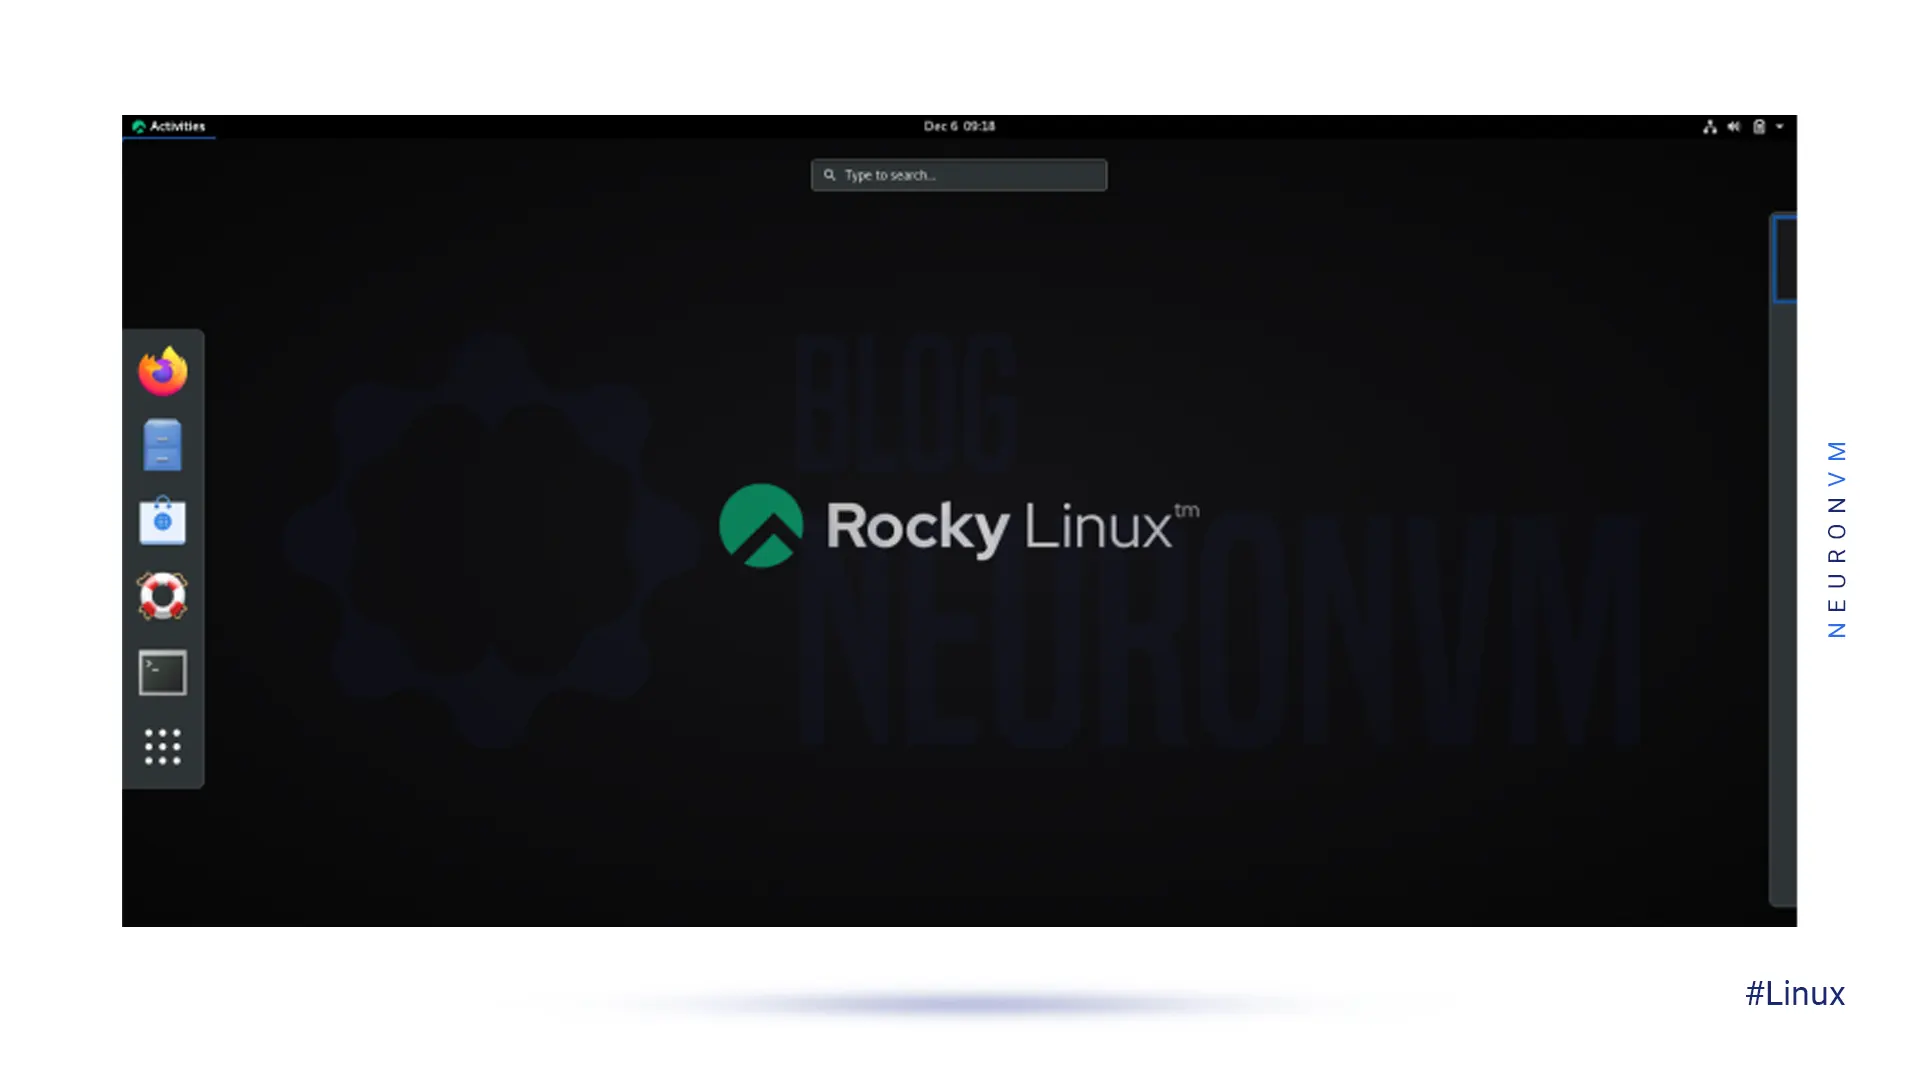
Finally, you should see Xfce Desktop Environment:
XFCE Desktop Environment is one of several desktop environments installed on the Linux system to improve the user experience. This article taught you how to configure XFCE Desktop on Rocky Linux. I hope this article was useful for you.
 Tags
Tags


One of the most popular web hosting control panels in Linux is Cpanel, Which uses a graphical interf...


 Tags
Tags

Accurate timekeeping is a critical component in the deployment of modern software. On the other hand...
Tags


