


In this tutorial, we will show you how to change the hostname on RDP (Remote Desktop Protocol) Server, step by step. Each node or system in the network will have a name called hostname. This name is important as it indicates the system in sending and receiving packets, and is crucial for certain services in the operating system. However, changing the name of the operating system after launching the services can cause problems for the service. Therefore, changing the name of the computer or the host in all operating systems becomes one of the most important points and basic settings.
If you want to buy Admin RDP Server, we suggest you to test and use different plans with different locations that are presented on our website.
There are a few methods to change the hostname on an RDP using GUI:
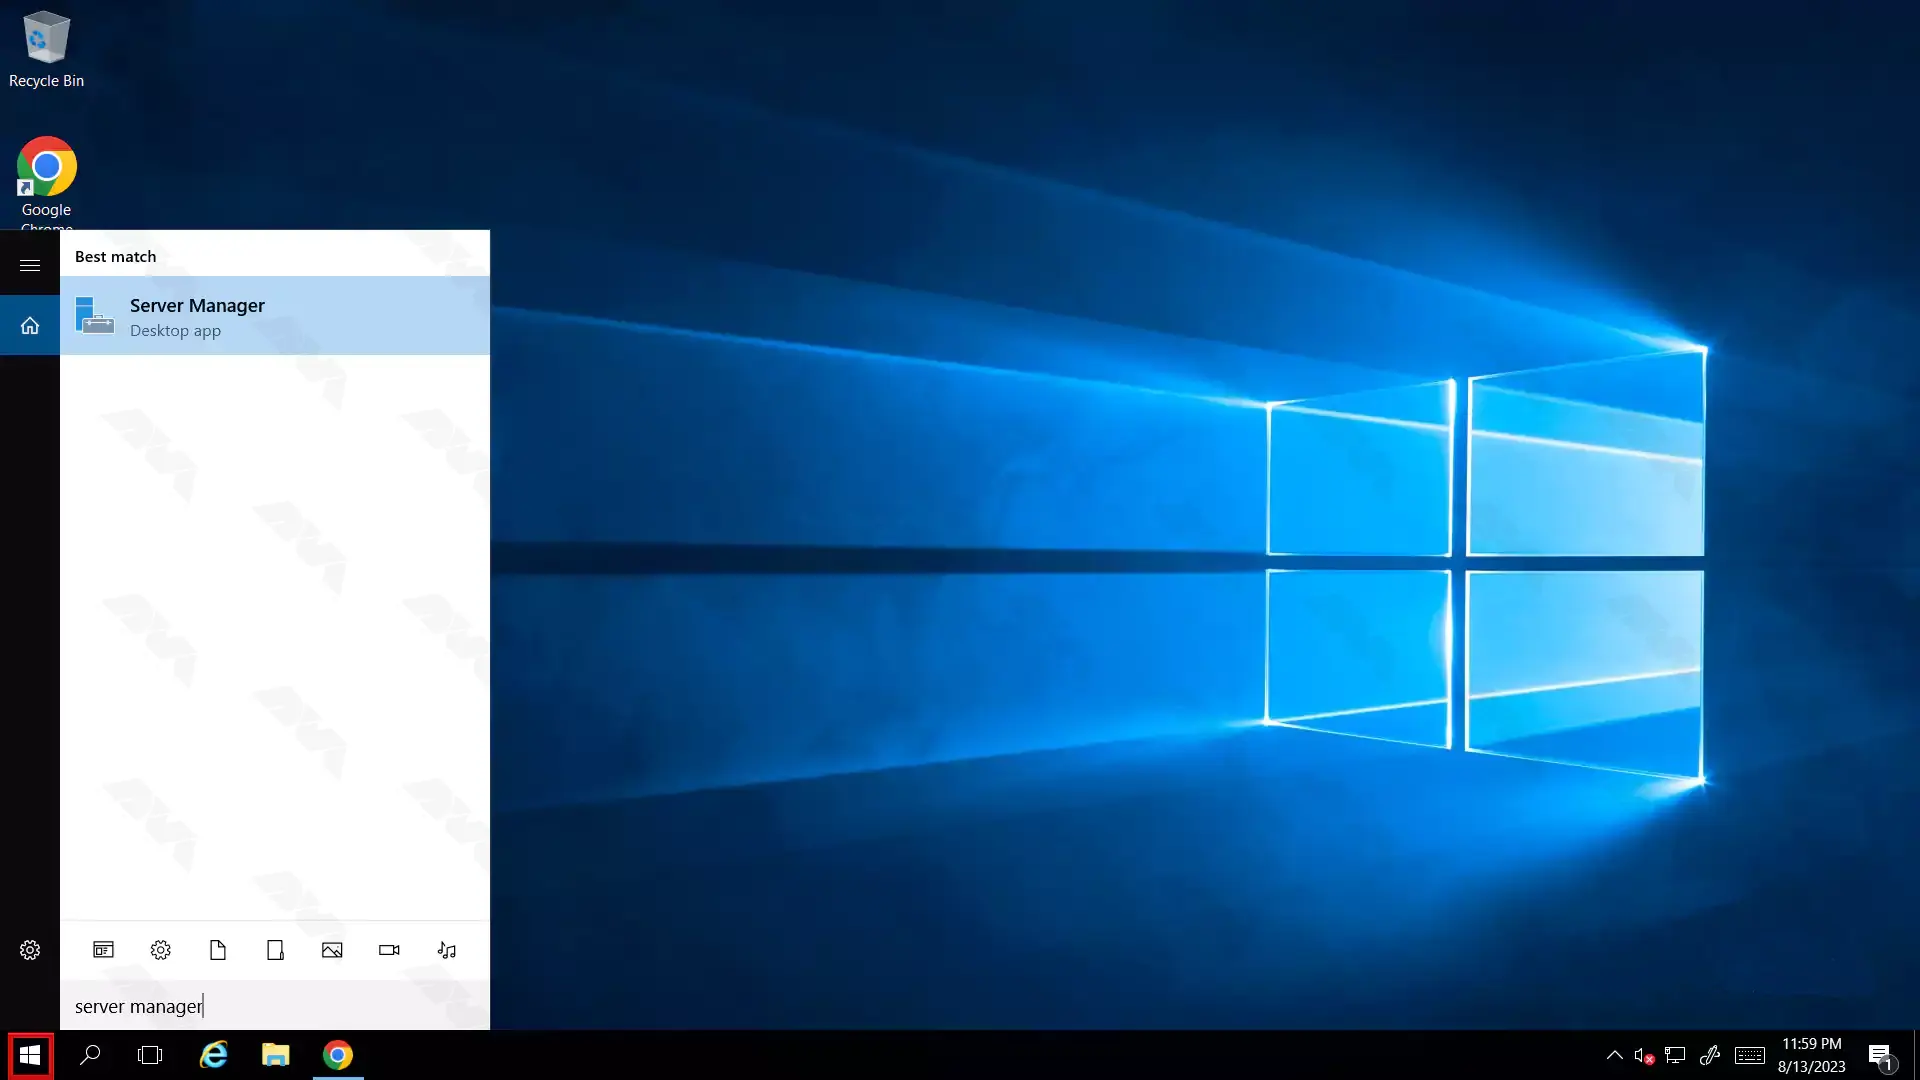
In the first step, you should click the start menu and then click Server Manager:
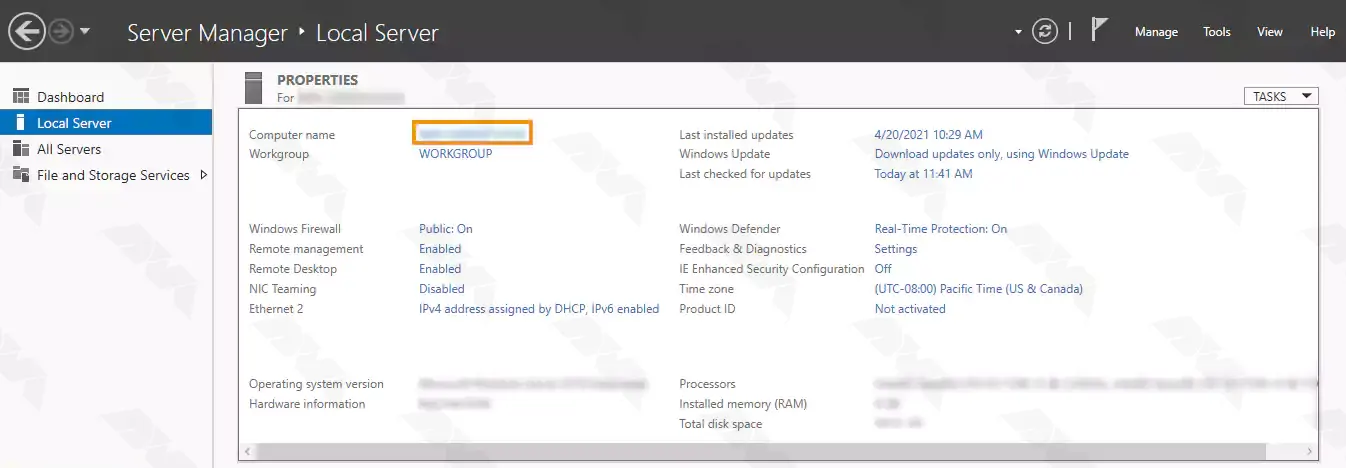
Now you should click on Local Server and in the window that opens, click on your Computer Name:
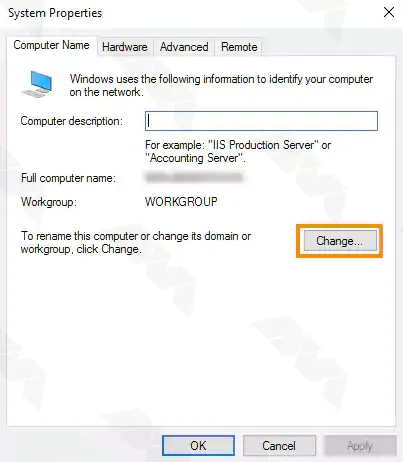
After opening this window, you should click Change:
In this step, you should enter your new computer name and then click OK:
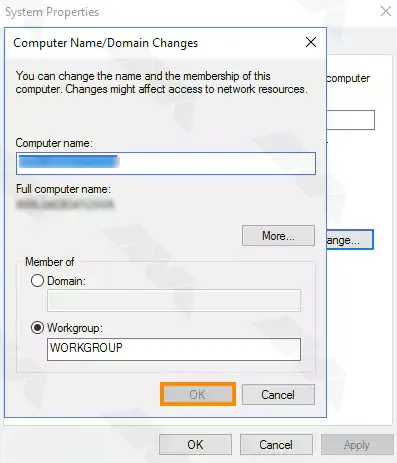
Now you must click OK again:
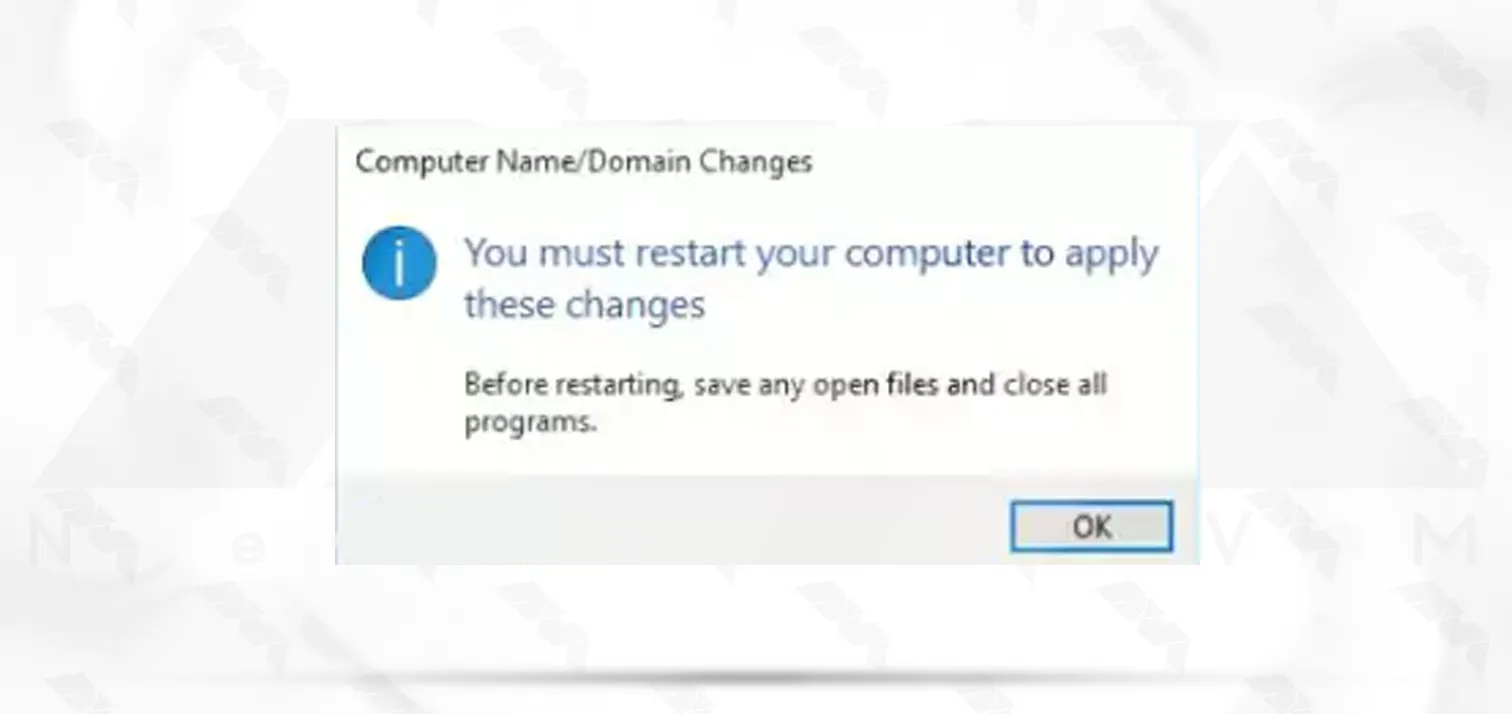
In the end, you should restart your server. After the server restarts, you will see that your hostname will be changed.
In this section, we will teach you how to change the hostname using PowerShell in RDP. The first step would be opening an elevated PowerShell. Therefore, you must use the following command:
PS C:\> Start-Process PowerShell -Verb Runas
Then you need to check the hostname using the following command:
PS C:\> $env:computername
You can specify the hostname in the following command. In this example, we change the hostname to NEURONVM. It should be noted that by using the -Restart parameter, the server will be restarted immediately.
PS C:\> Rename-Computer -NewName "NEURONVM" -Restart
Finally, you need to rerun the following command to check the hostname to notice the changes:
PS C:\> $env:computername
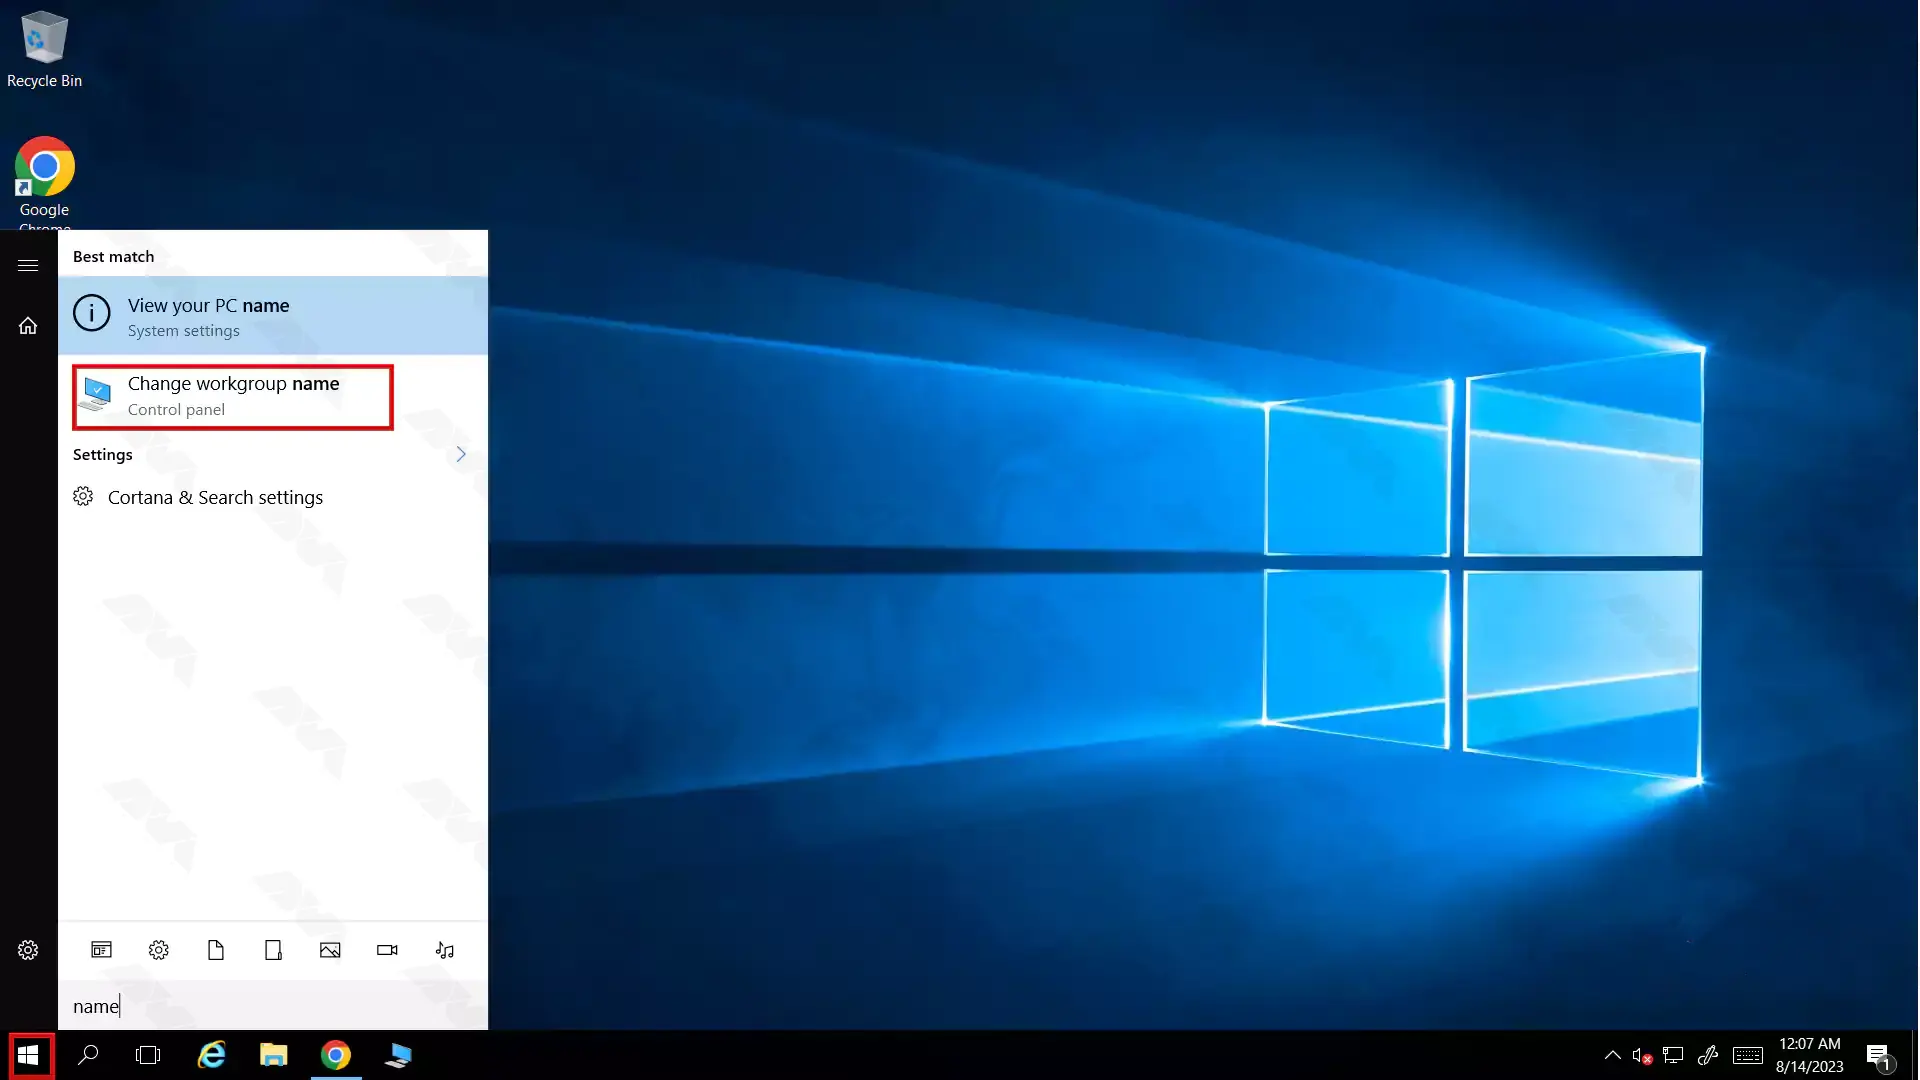
First, enter the word name in the search field and click on view your PC name:
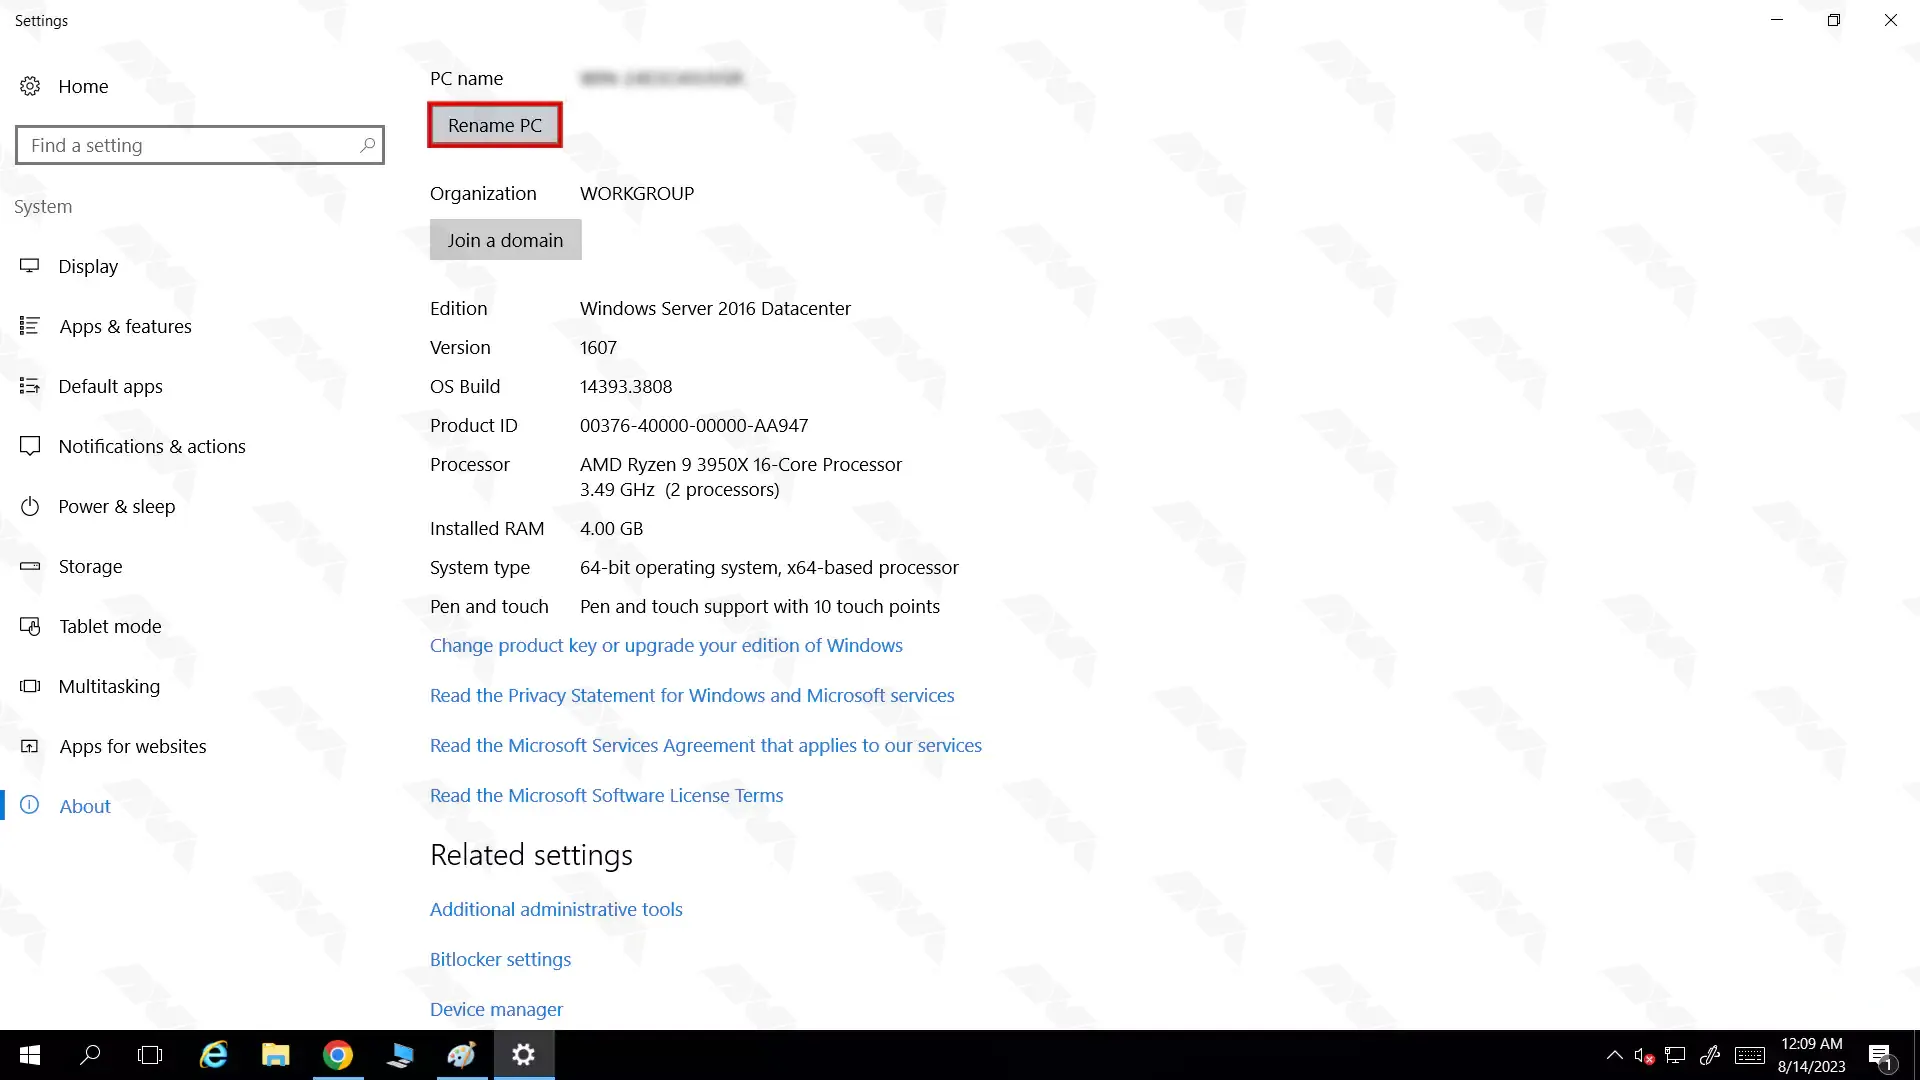
Then enter the Rename PC section:
Now enter your desired name and click the next option:
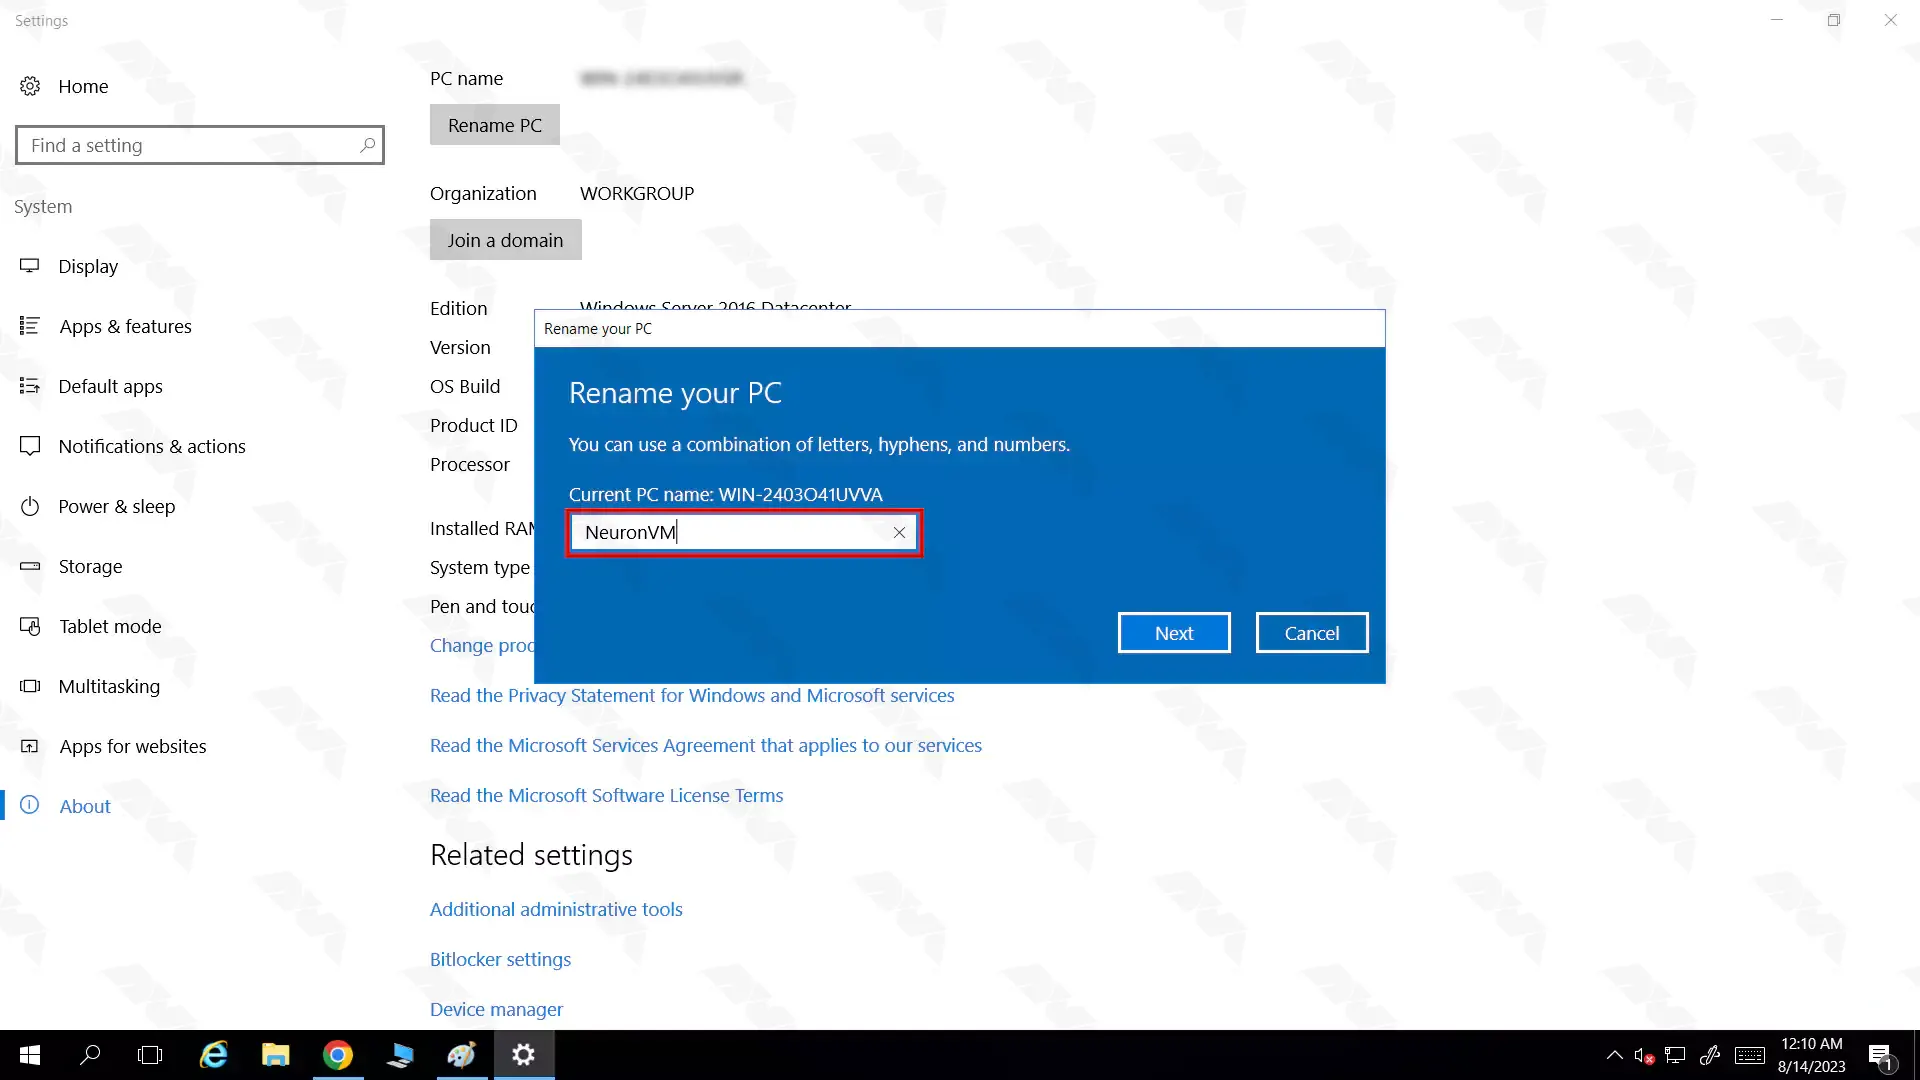
After entering the name and confirmation, restart the server to apply the desired changes.
changing the hostname on RDP is a straightforward process that can greatly enhance the user experience and improve system identification. By following the steps outlined in this guide, users can easily modify their RDP hostname to reflect their desired name or organization. This simple adjustment allows for easier management and organization of remote desktop connections, ultimately streamlining the RDP experience.
 Tags
Tags


If you work in the fields of data science and machine learning, you have heard the Anaconda distribu...


 Tags
Tags

This tutorial presents the way to Change Password on RDP 2016, 2012, and 2019 step by step. One of t...
Tags


